Ninja Foodi Hard Boiled Eggs
Want to know how to make perfect hard boiled eggs in the Ninja Foodi? I have your back, my gorgeous reader. Whether those hard-boiled eggs are used for salads, sandwiches, or snacks, the Foodi makes the job incredibly easy!
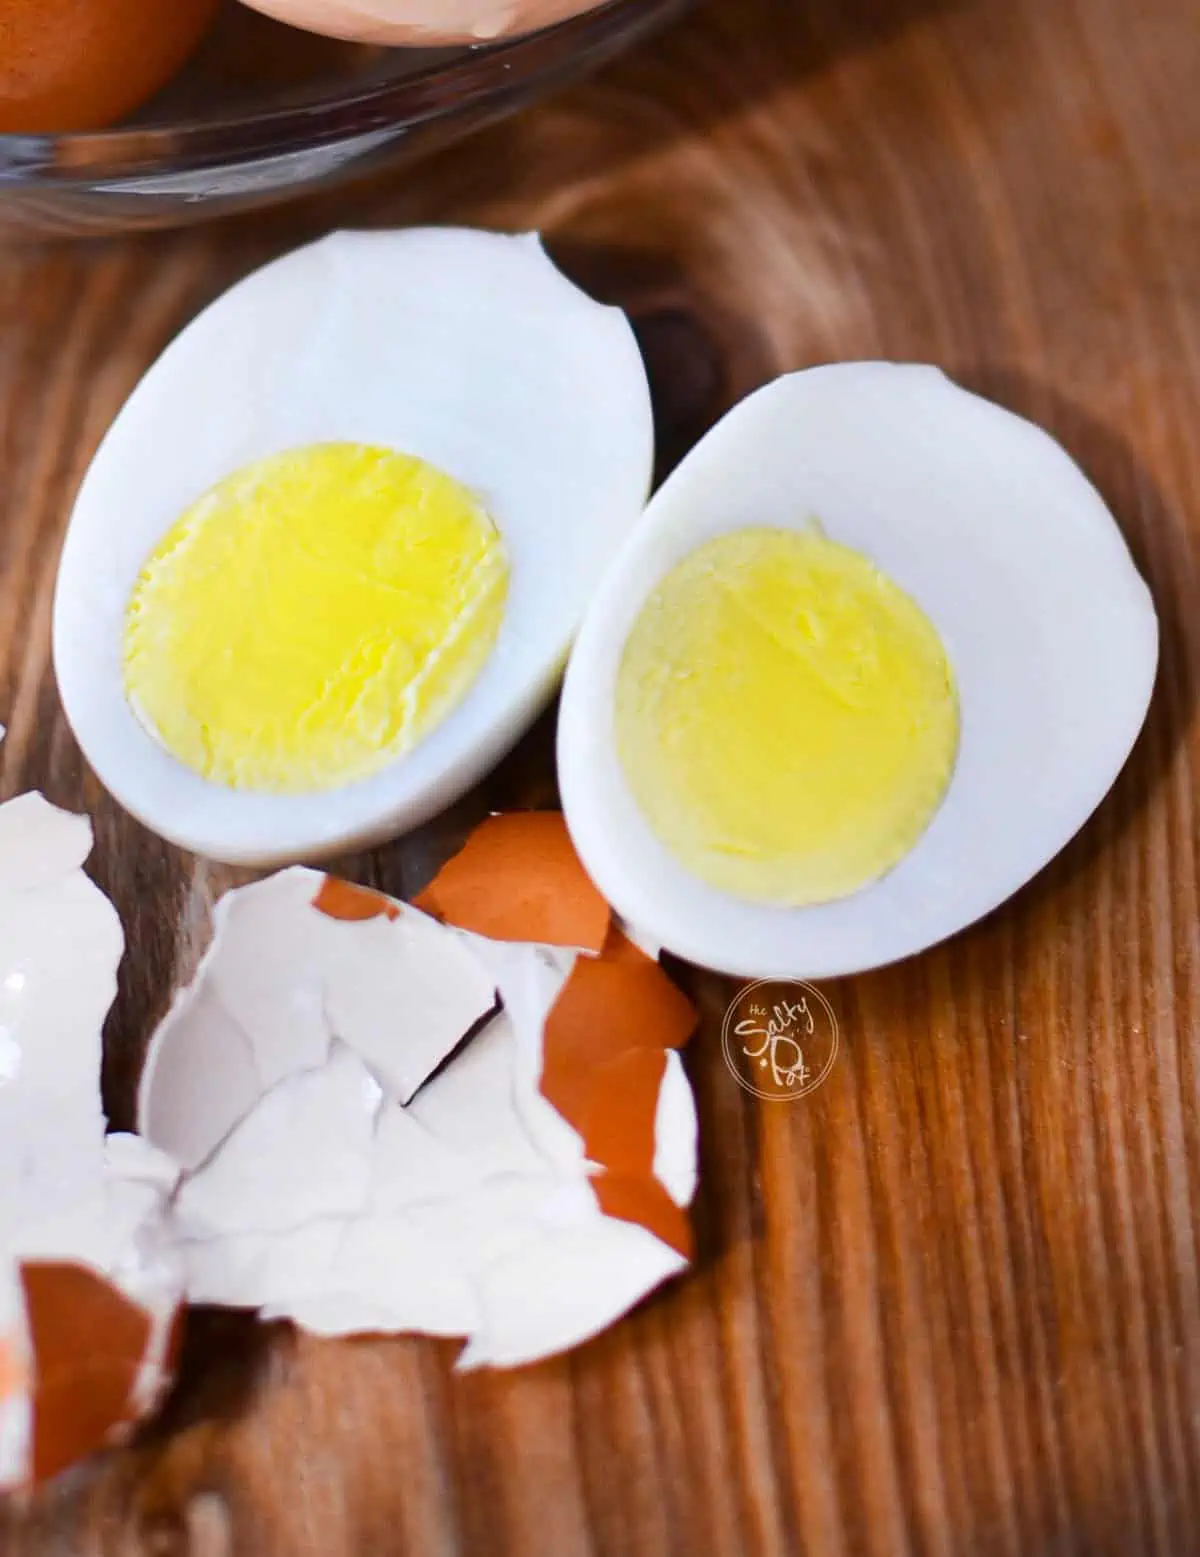
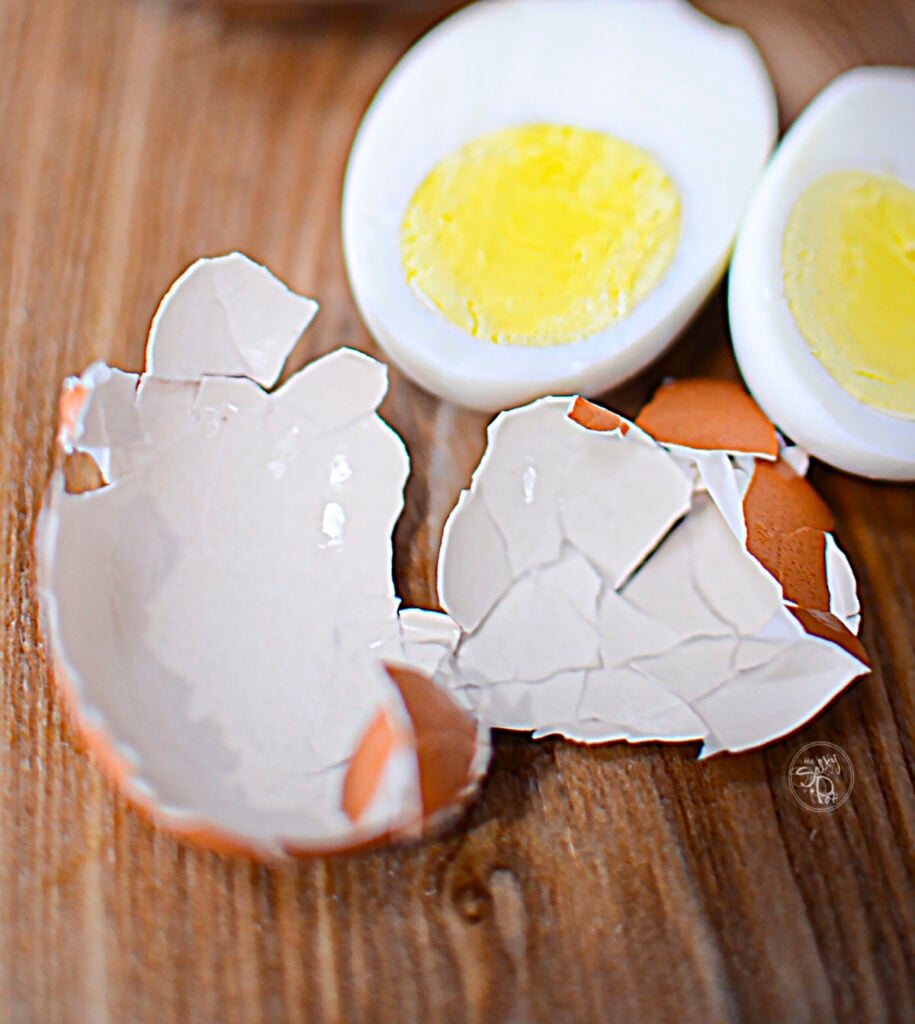
And the best part of all is how EASY THEY PEEL! It’s shocking actually, and once you get used to having them peel so simply, anything else is just a plain hassle.
This post may contain affiliate links. If you make a purchase after clicking a link, I may earn a small commission AT NO COST TO YOU. As an Amazon Affiliate, I earn from qualifying purchases.
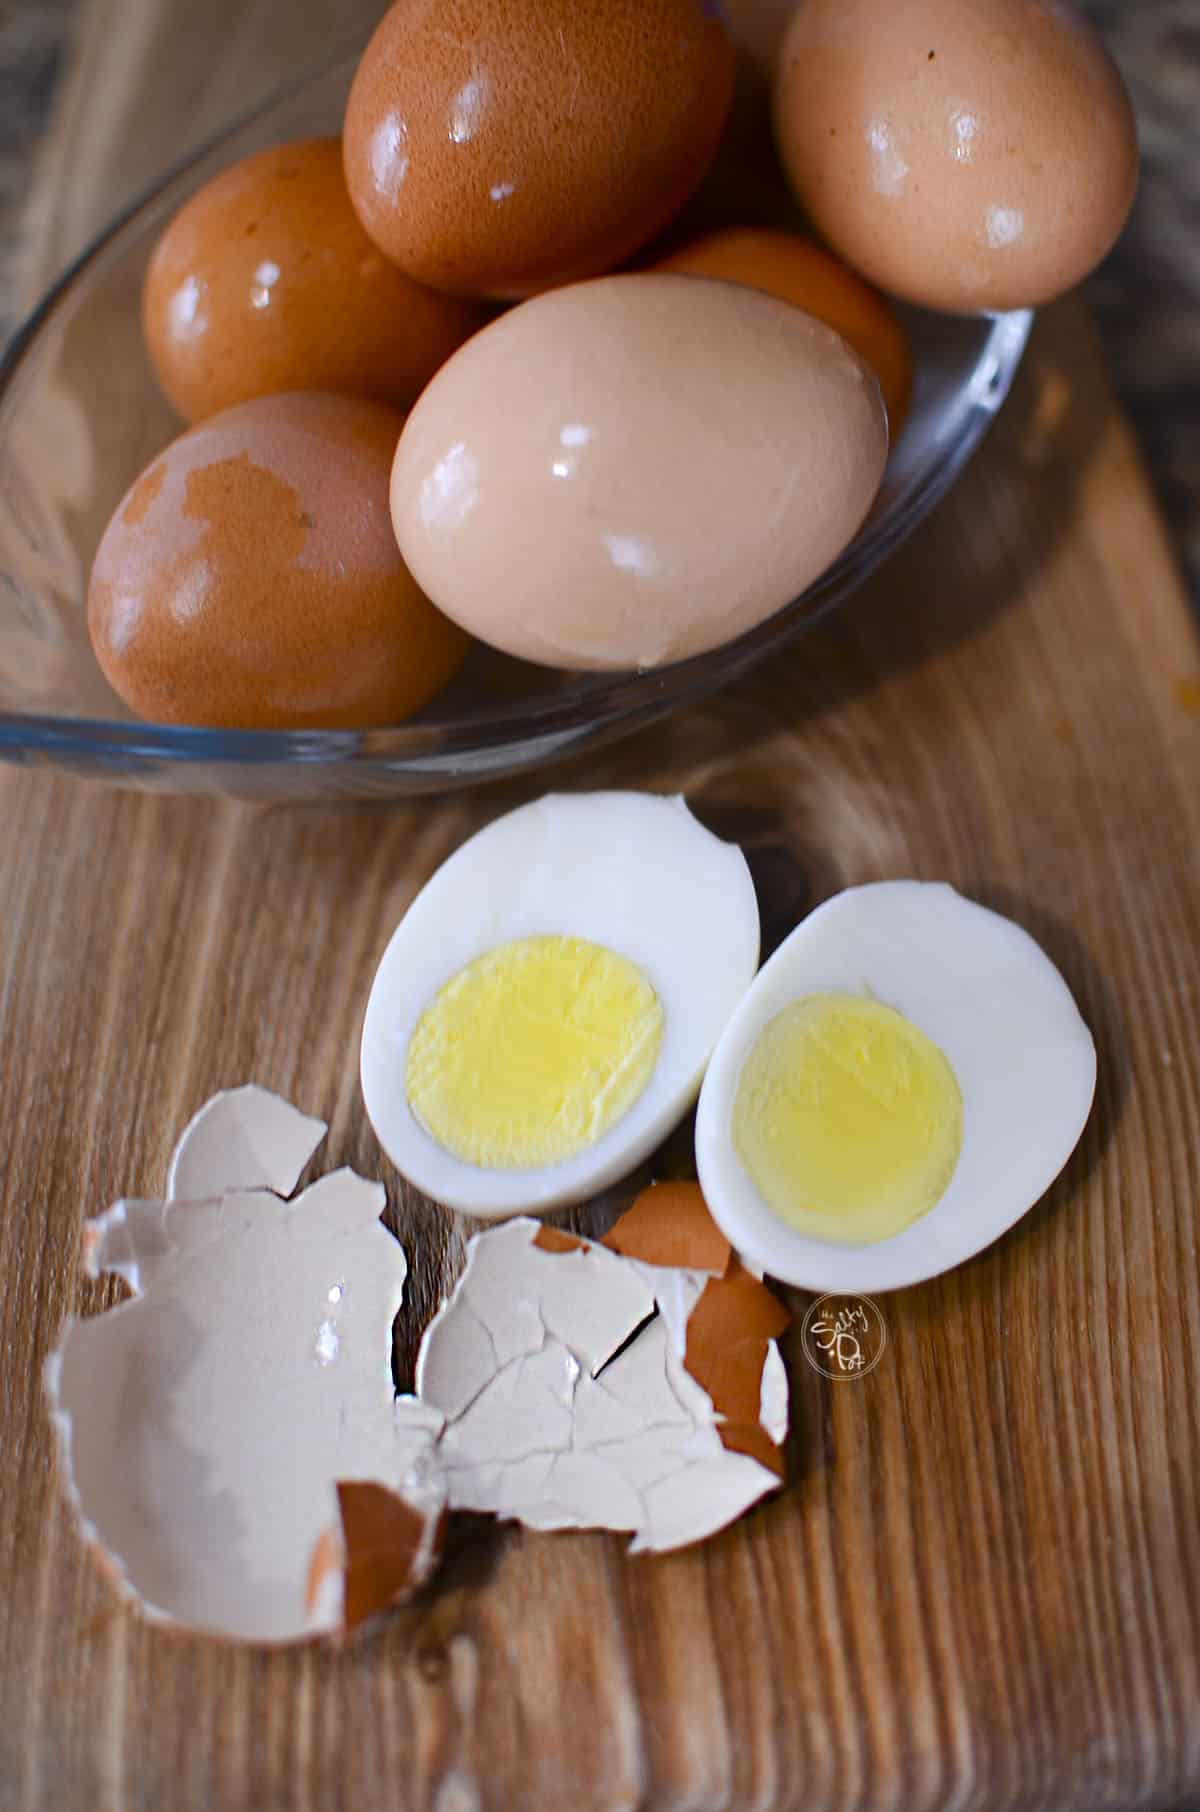
Pressure Cooker Hard Boiled Eggs
These hard-boiled eggs couldn’t be easier to make. They’re perfect for snacking, making deviled eggs, adding into potato salad, egg salad sandwiches, or grating them on top of avocado toast for breakfast. Yes, grating the hard-boiled egg on top of toast ensures all that eggy goodness over the entire surface of the toast. Try it!
How to Make Ninja Foodi Eggs
It’s actually super quick and easy to make. You can follow the 5-5-5 method that certainly works every time! That will be:
- 5 minutes in the pressure cooker,
- 5 minutes natural release, and
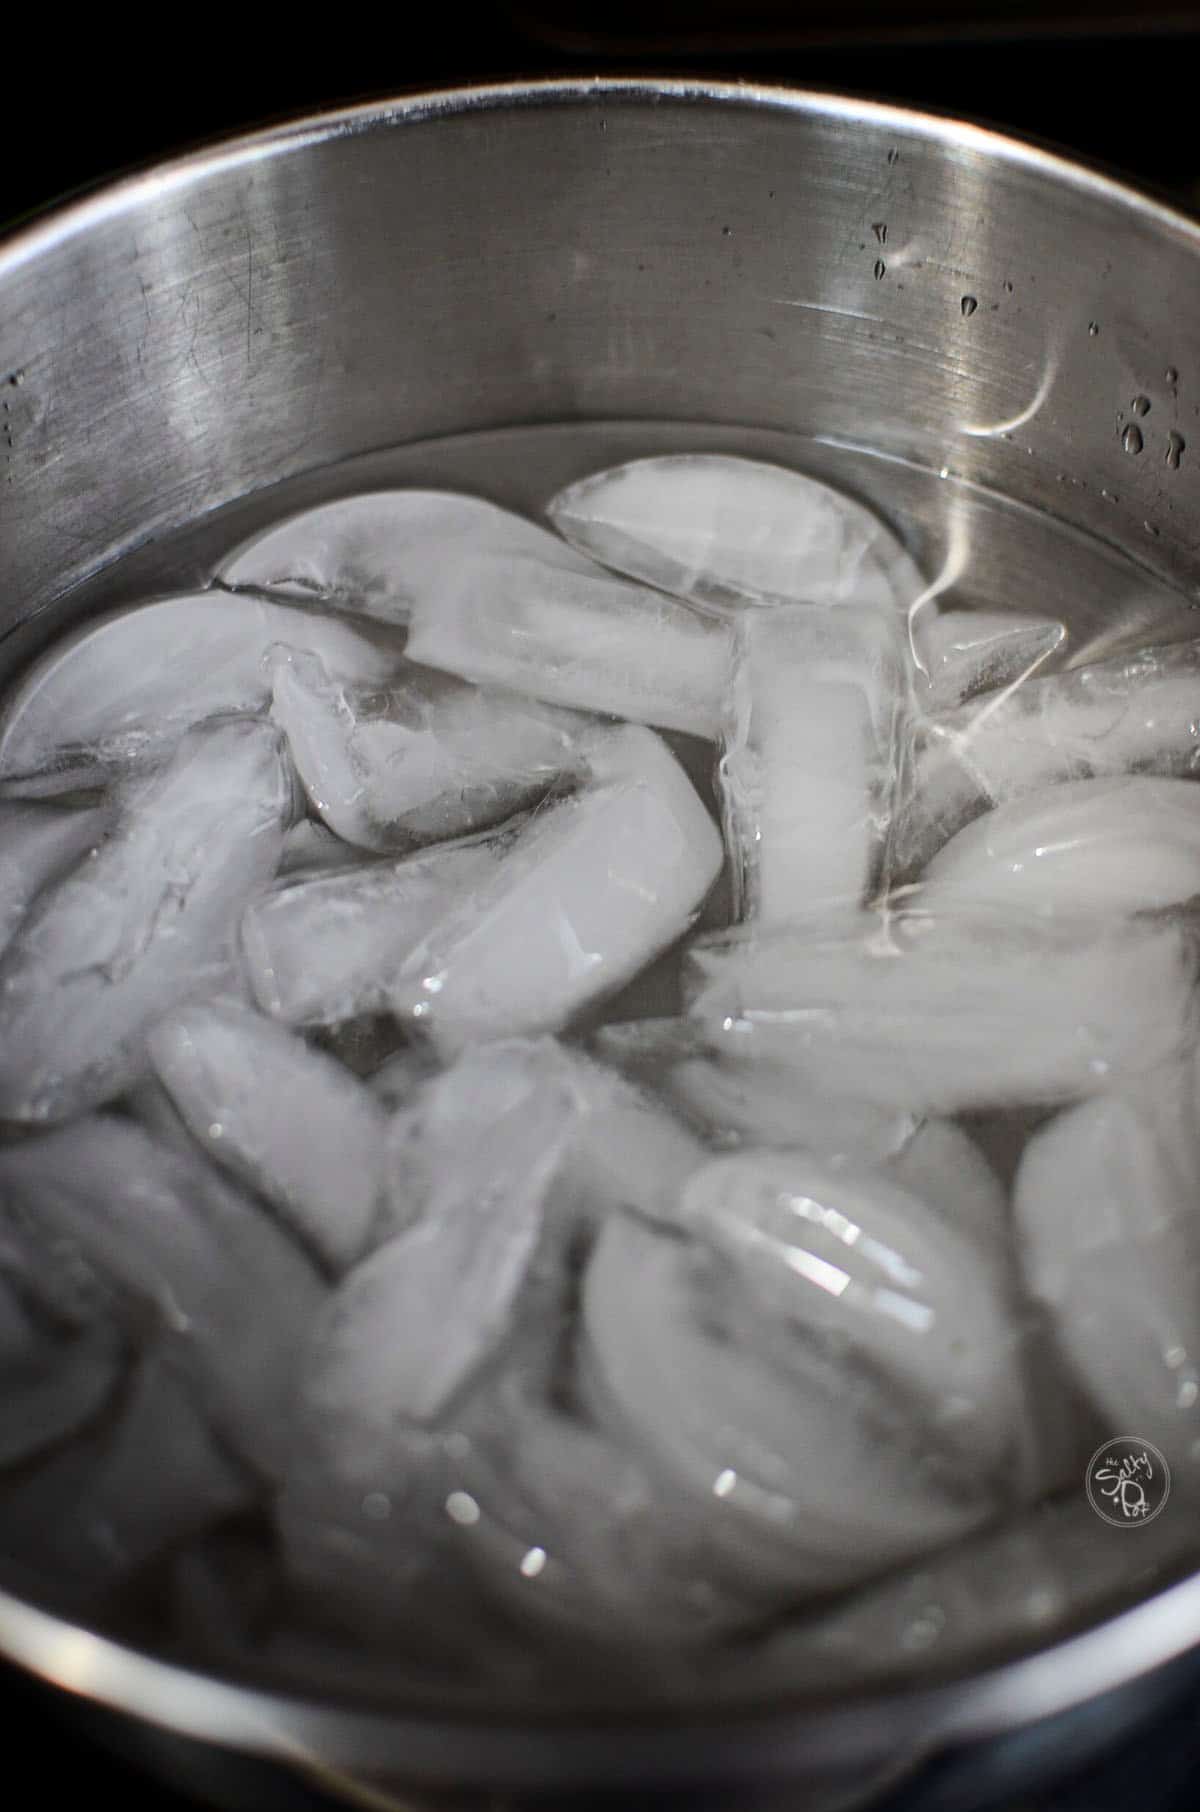
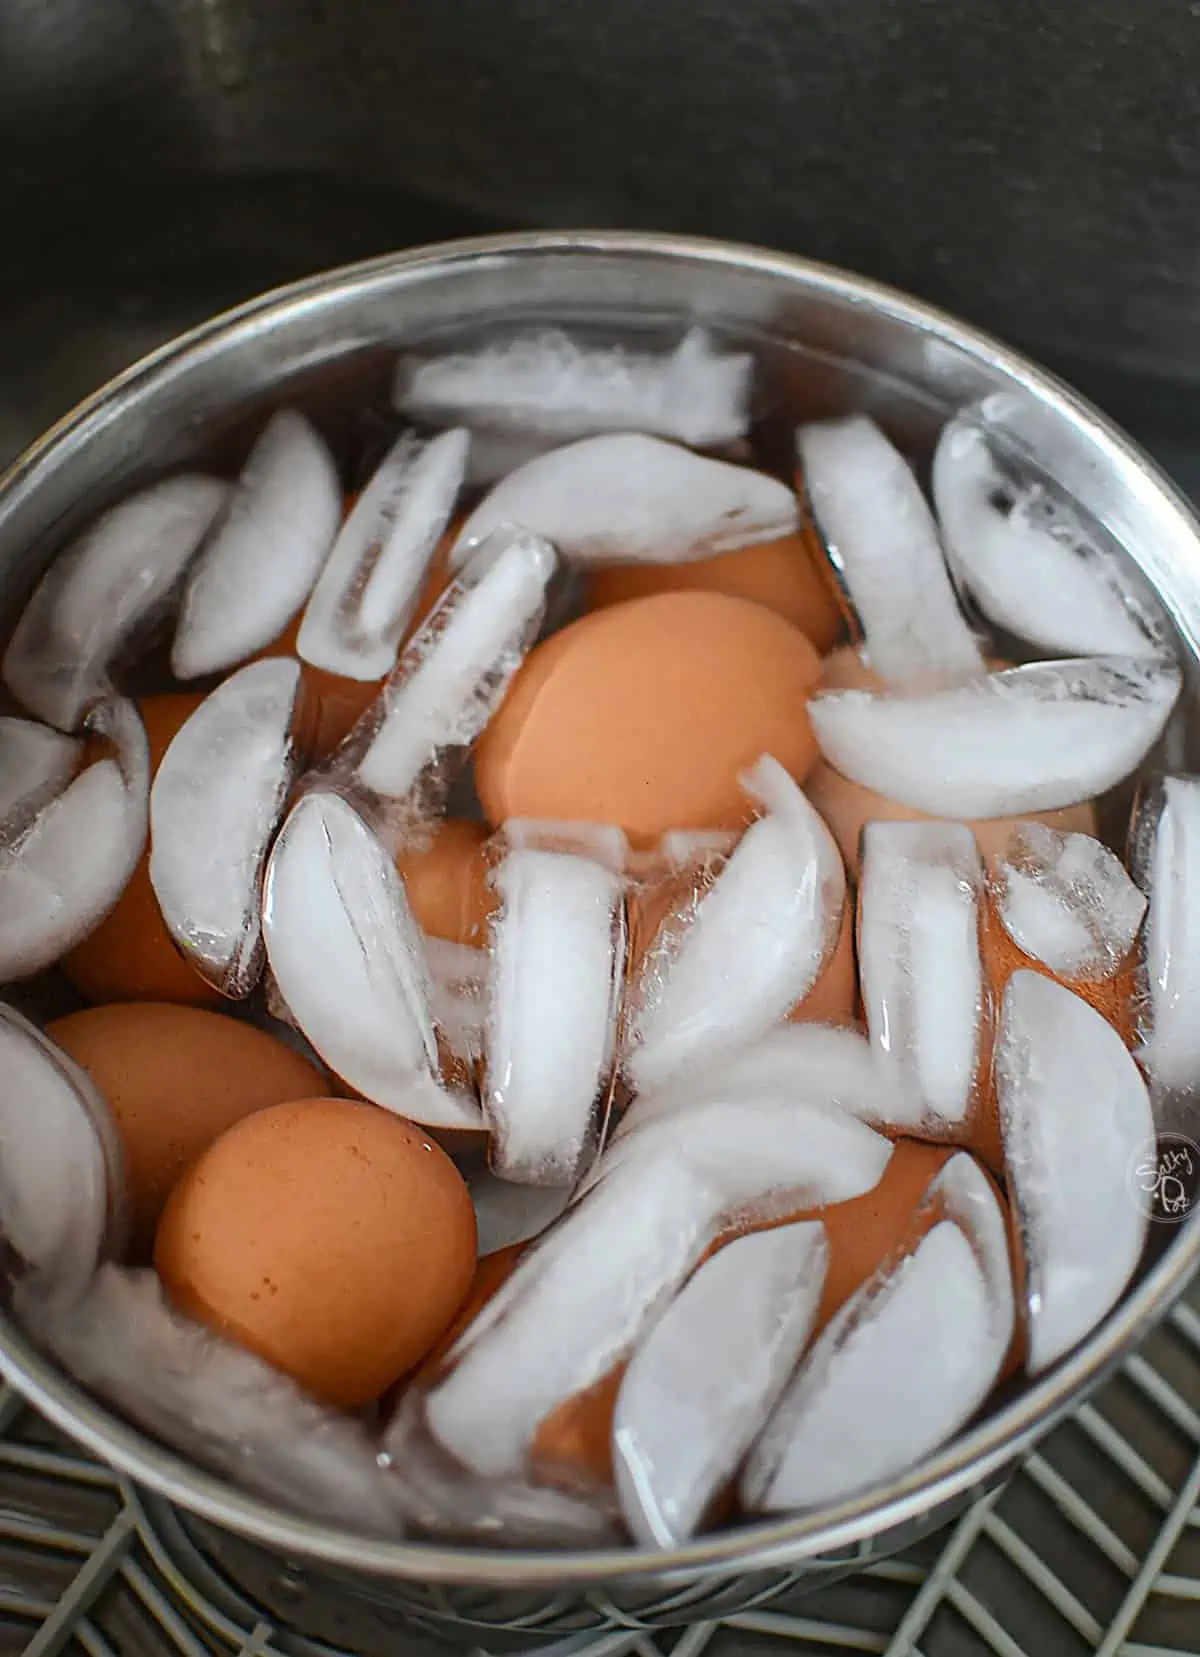
- 5 minutes in an ice bath.
That’s actually it! Easy, right?
Check out the recipe card below to know exactly how to achieve the perfect hard-boiled eggs every time.
Can I use my Instant Pot to make these eggs?
Absolutely! Both the Ninja Foodi and the Instant Pot are pressure cookers and operate pretty much the same (although the Foodi has many more functions). The pressure cooking times are identical and if you’re looking for specific recipe directions, I have a post for Instant Pot Hard Boiled Eggs for you to check out.
How long will hard boiled eggs keep in the fridge?
I wouldn’t keep them any longer than 1 week. Keep them in a glass container with a lid (plastic can sometimes absorb smells) with the shell on.
If you’ve peeled them already, don’t worry. Place a wet paper towel on the bottom of the container to keep the eggs moist as they keep in the container.
I don’t recommend freezing hard boiled eggs. The whites tend to turn rubbery textured when they thaw. Besides, making them in the pressure cooker is so quick, it’s worth making them fresh!
Hard Boiled Egg Facts and Tips
- There’s really no difference between the cooking quality between brown eggs and white eggs nutritionally. It’s just the type of hen that lays them that makes the difference.
- Putting the eggs on an ice bath also makes it easier to peel the shells off.
- Fresh eggs are usually typically harder to peel than older eggs because in fresh eggs, the albumen (egg white) sticks to the inner shell membrane. Making Ninja Foodi boiled eggs help this issue with the pressure cooking method and makes them peel easily.
- Natural release in pressure cooking means not doing anything after the timer has beeped. You simply need to allow the egg to sit there for a couple of minutes and let the pressure release on its own. For hard-boiled eggs, you need 5 minutes, and for soft-boiled ones, 1 minute. There will be a lot less steam if any at all.
Ninja Foodi Eggs are really amazing, especially as part of meal prep. They’d be perfect for many delicious meals like these Sausage Potato Patties or add a couple of hard boiled eggs in the center of this 4 Ingredient Meatloaf dinner, which would make it extra fun with an added bonus of extra protein.
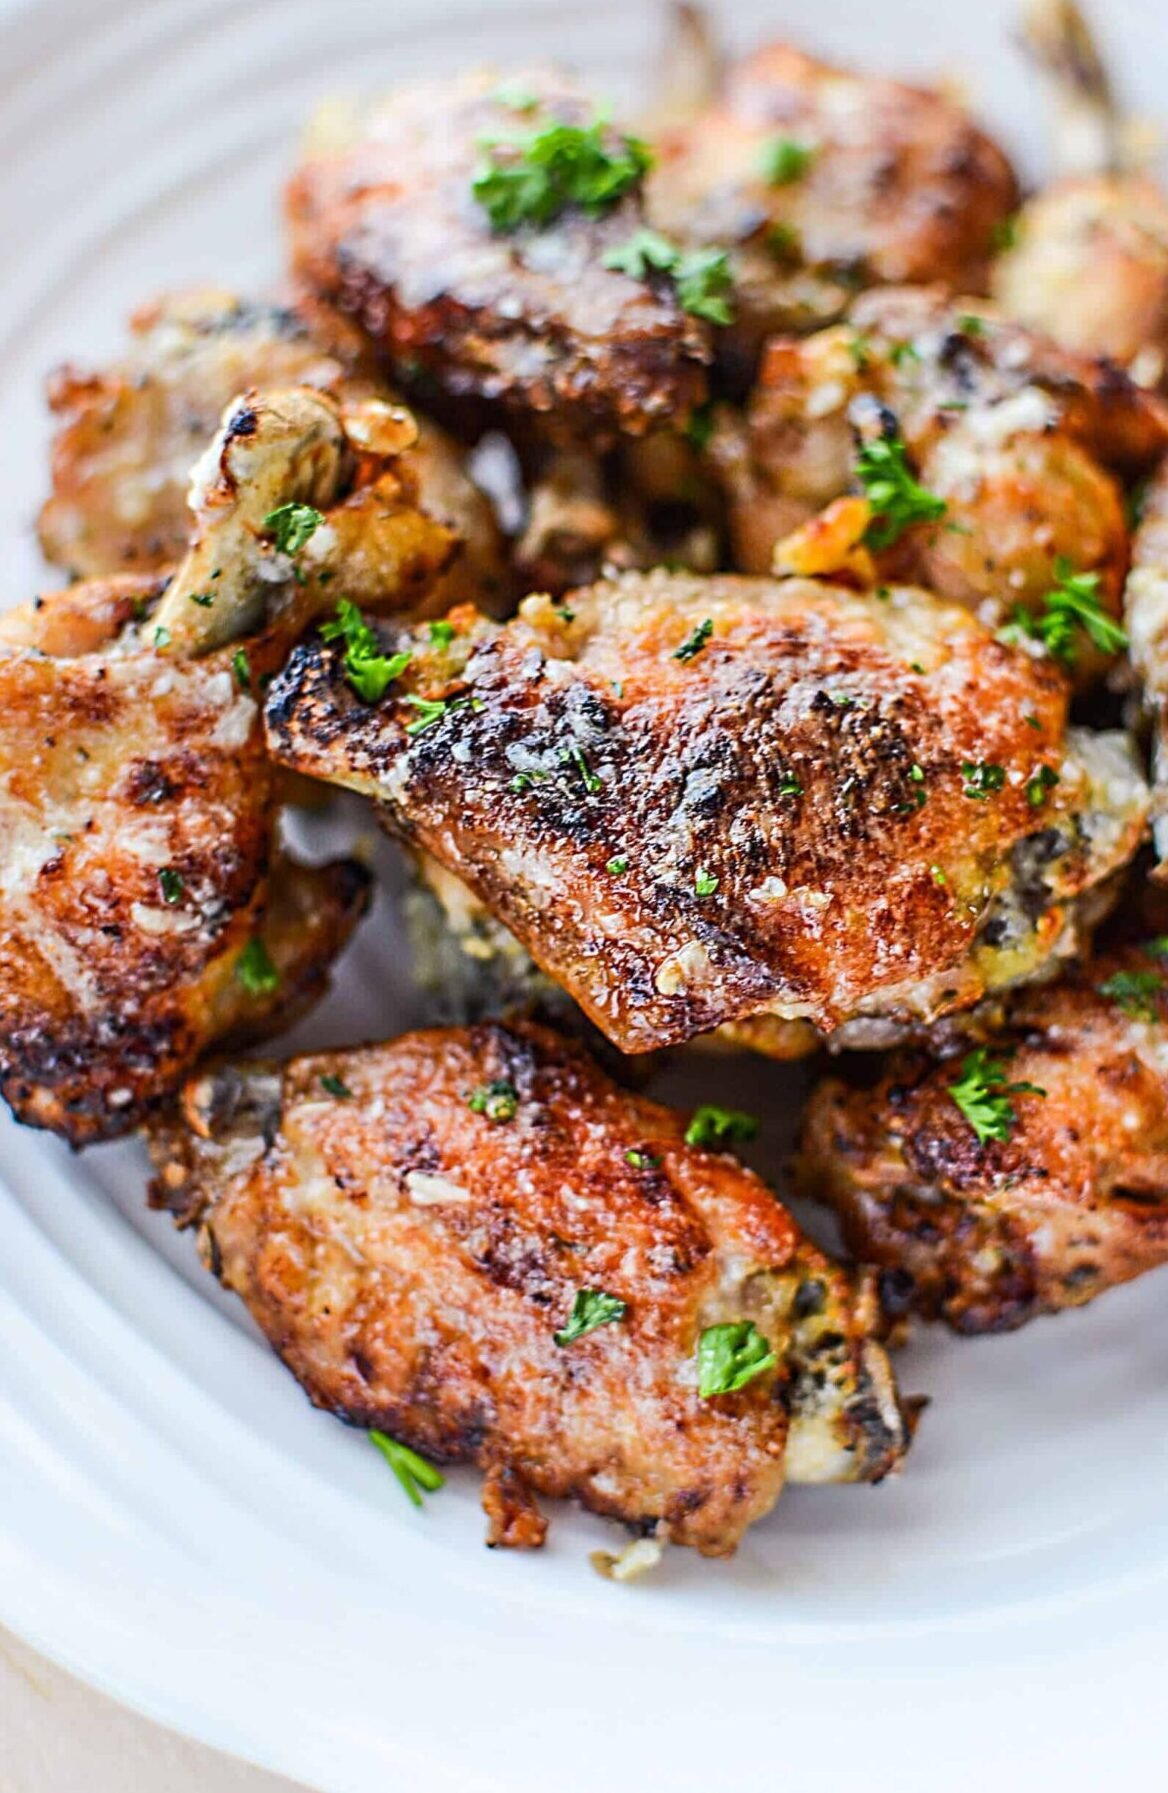
This Ninja hard boiled egg recipe is incredibly simple, just like my other Ninja Foodi recipes. Crazy easy Ninja Foodi Rice (done in 3 minutes cooking time!) or how about some delicious Foodi BBQ Chicken Wings? Deelish!
What have you cooked in your Ninja Foodi?? Share your experiences in the comments below, I’d love to hear about them! Until then, have a fantastic day, and thanks for stopping by The Salty Pot!
~Joanne

Easy Ninja Foodi Hard Boiled Eggs
Perfectly cooked hard boiled eggs are made with this simple method in the Ninja Food Pressure Cooker.
Ingredients
- 12 Eggs
- 1 cup water
Instructions
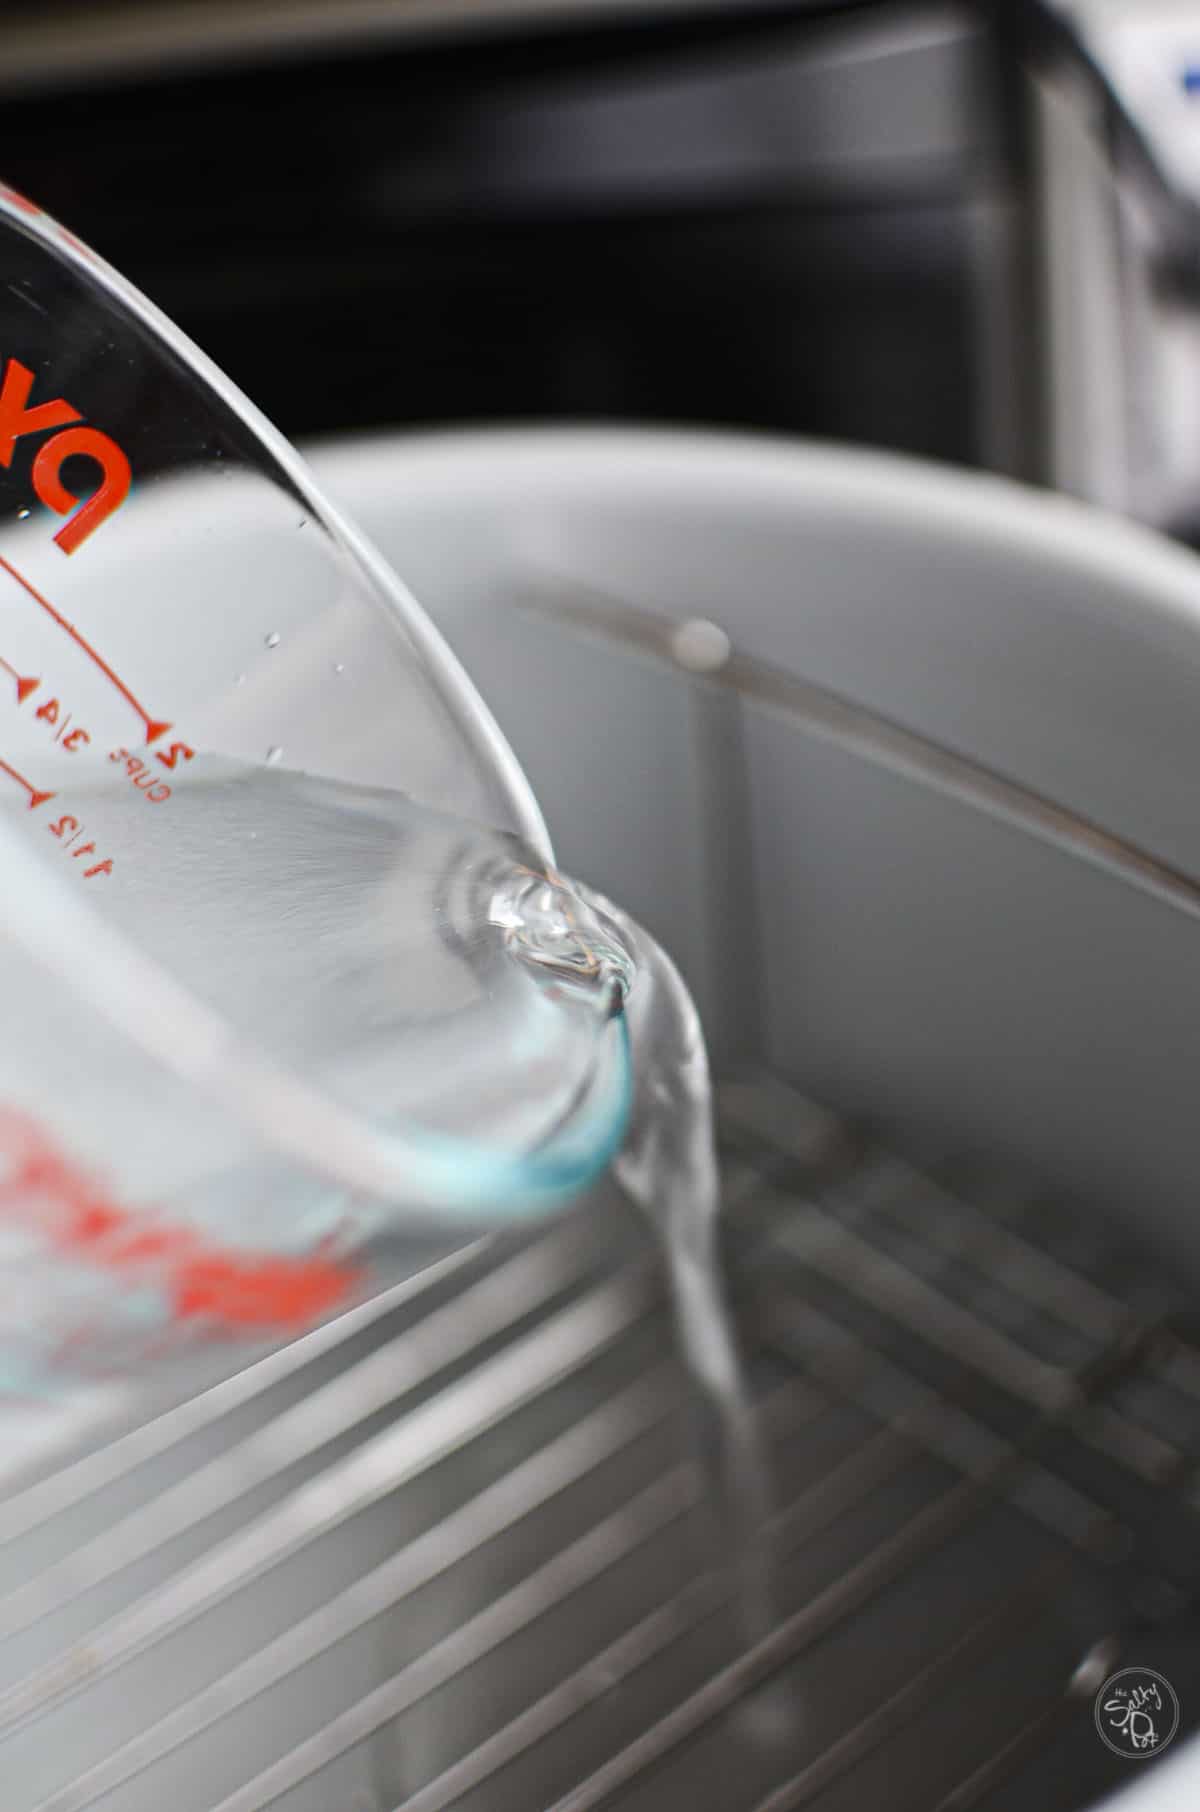
- Place the trivet in the ninja foodi cooking bowl.
- Add one cup of water
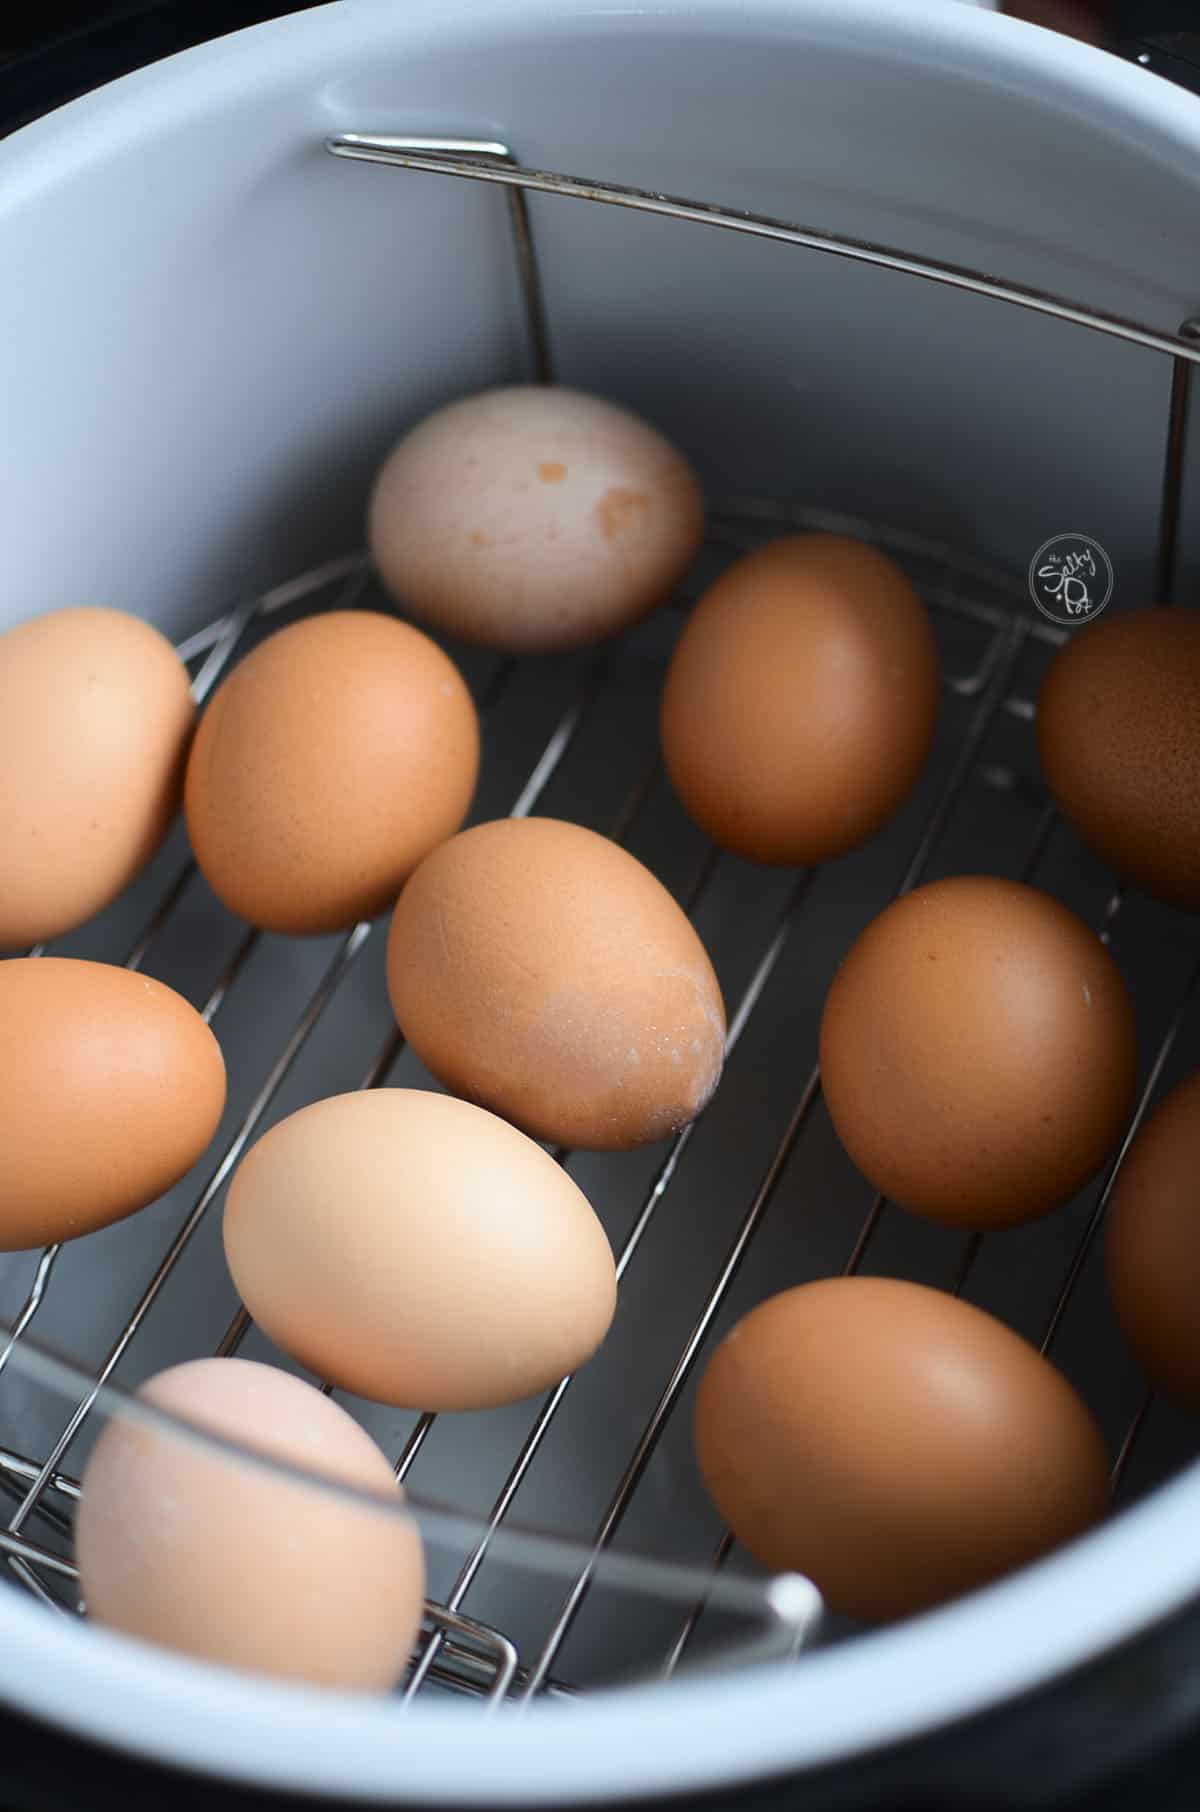
- Add the 12 eggs onto the trivet (see notes below)
- Place the pressure cooking lid onto the foodi and select high pressure for 5 minutes.
- Turn the venting switch to SEAL.
- When the cooking time is complete, do a natural release (in other words, do nothing and watch the counting timer) for another 5 minutes.
- During the natural release time, prepare a large bowl of water with ice.
- When the 5 minute natural release time is up, release any remaining steam in the pressure cooker and open the lid away from your face.
- With tongs, remove the eggs and put them in the ice bath.
- Wait five minutes, and then peel, or immediately put them in the fridge to continue cooling down.
Notes
1. You can do up to 18 eggs in the Ninja Foodi at one time without adjusting the water level or the timing.
2. Peeling the eggs under the ice water or under running water may help to peel, but I find it's unnecessary. They usually peel perfectly with no problems.
3. To peel a hard boiled egg, lightly crack the side of the egg on a flat surface and begin peeling the shell away from the egg.
Nutrition Information:
Yield: 12 Serving Size: 1Amount Per Serving: Calories: 72Total Fat: 5gSaturated Fat: 2gTrans Fat: 0gUnsaturated Fat: 3gCholesterol: 186mgSodium: 72mgCarbohydrates: 0gFiber: 0gSugar: 0gProtein: 6g
All nutritional information is based on third-party calculations and is only an estimate. Each recipe and nutritional value will vary depending on the brands you use, measuring methods, and portion sizes per household.


Should I let the pressure cooker build up pressure (around 12 minutes) and then cook for 5 minutes? Or is the 5 minutes from the time I press start? Thanks
Hi Michael – I’ll assume you’re using the Ninja Foodi to make the eggs, so if that’s the case, simply key in 5 minutes, start, and you’re off to the races. The Foodi will build the pressure it needs and then start counting down the time you entered.
Hope this helps!