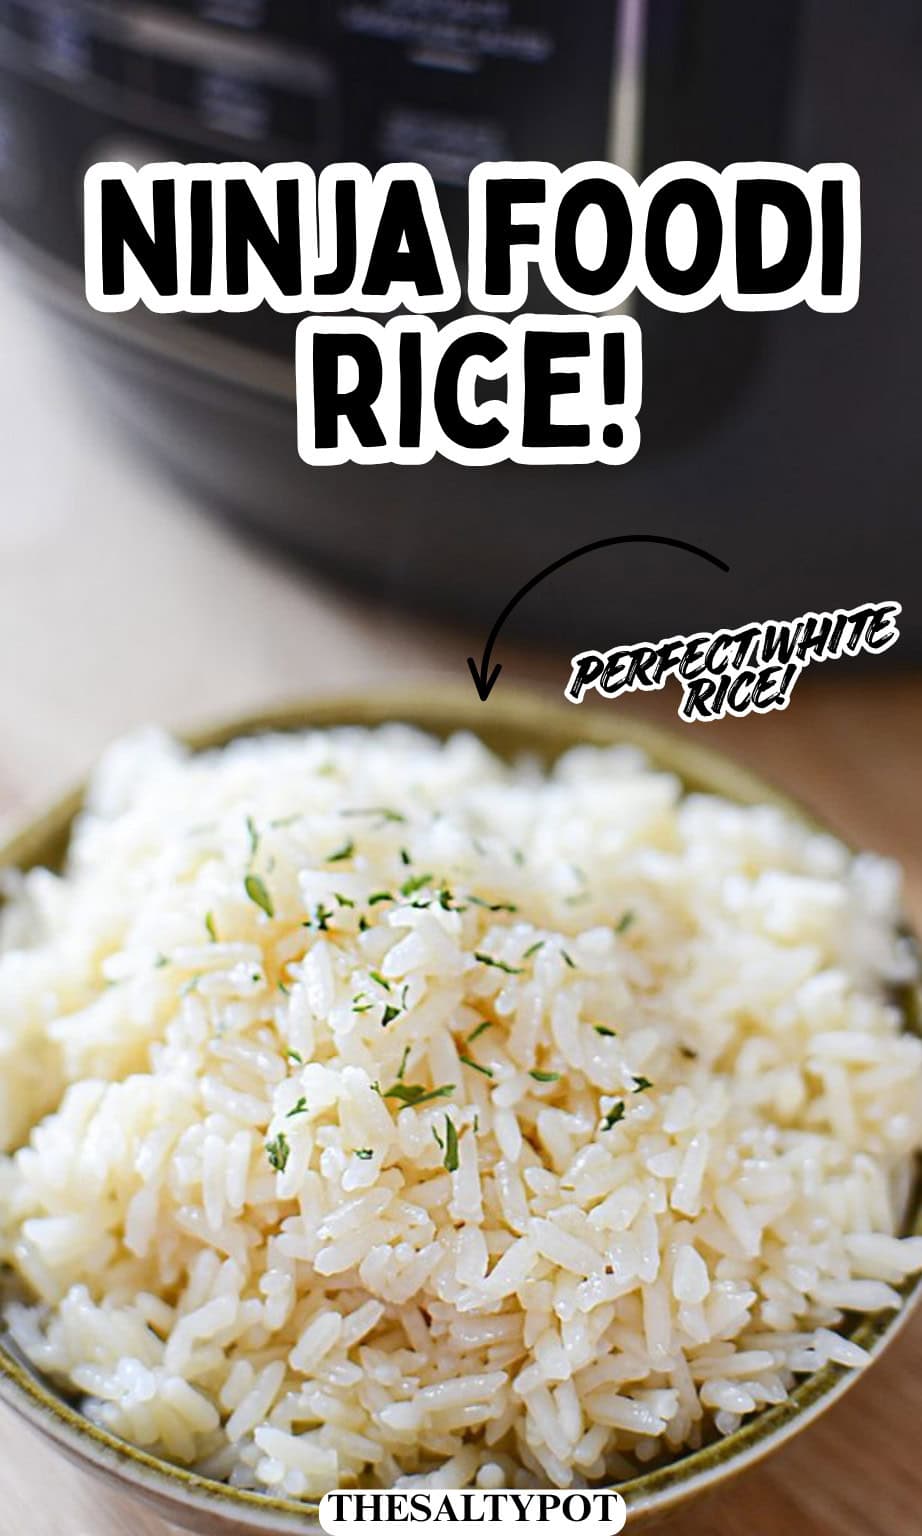
Perfect White Rice in the Instant Pot or Ninja Foodi
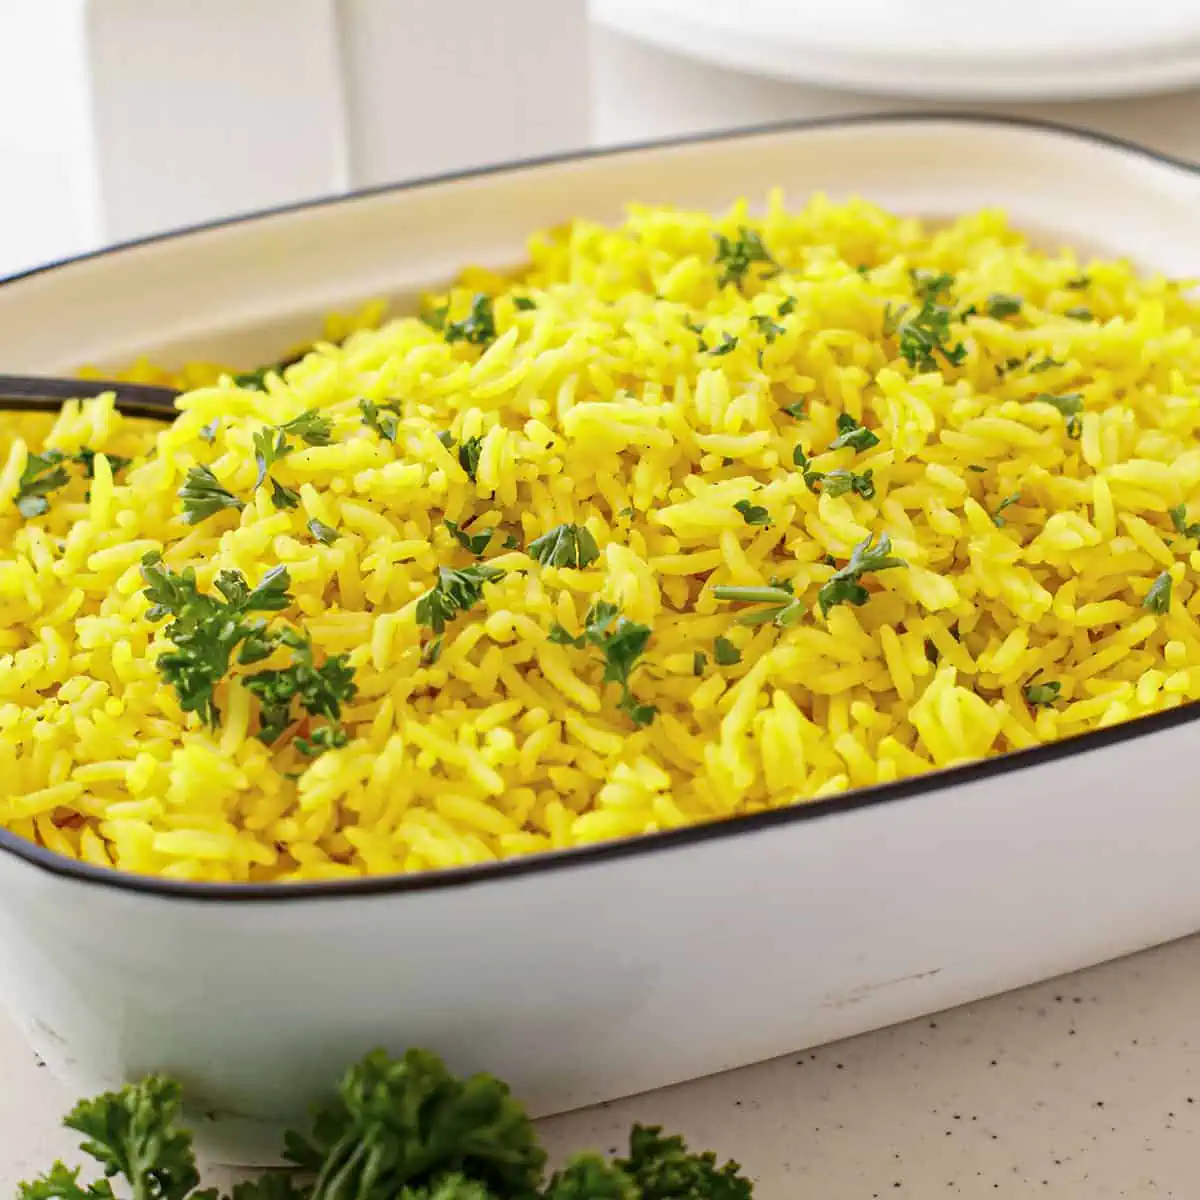
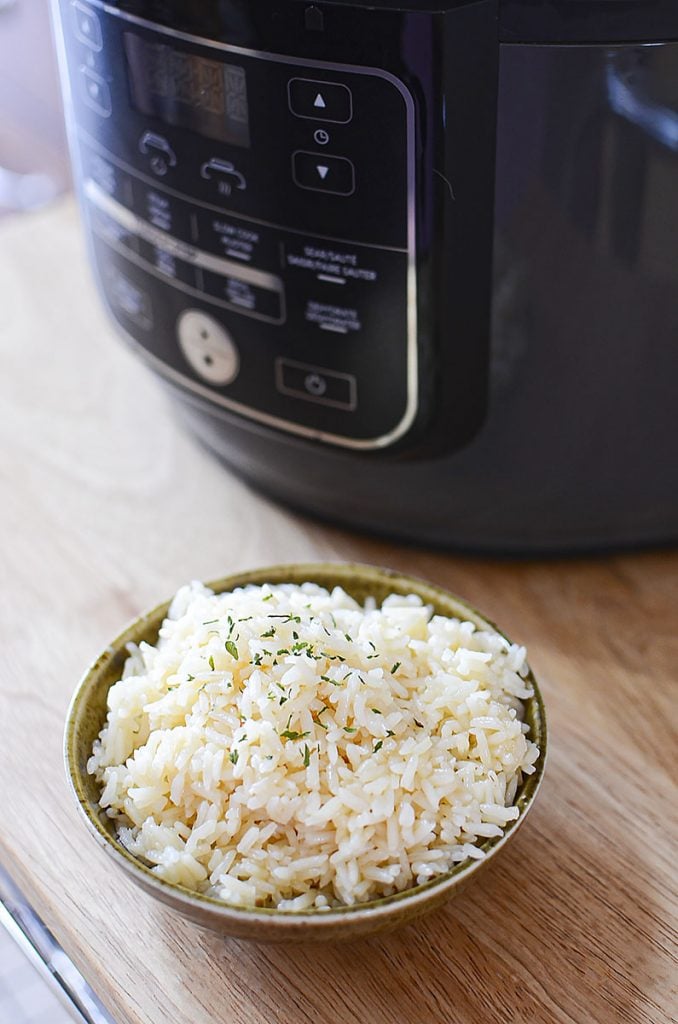
Making fluffy white rice in the Instant Pot or Ninja Foodi is almost suspiciously easy. Add the ingredients, let the pressure cooker work its magic and come back to tender, buttery rice without hovering over a saucepan or scraping something unfortunate from the bottom.
I originally developed this recipe in my Ninja Foodi, but it uses only the pressure cooking function, so it can also be made in an Instant Pot or another electric pressure cooker.
Once you have the basic method down, you can start playing with different flavours. My buttery mushroom rice adds sautéed mushrooms and onions, and it’s ridiculously good beside chicken, beef or anything covered in gravy.
Why Make White Rice in a Pressure Cooker?
Honestly, rice is not particularly complicated. And yet, stovetop rice has an uncanny ability to boil over, run out of water or weld itself to the bottom of the pot the moment you look away.
Pressure cooker rice is much less needy.
You don’t have to watch it, stir it or keep lifting the lid to see whether it has betrayed you yet. Once the cooker comes to pressure, the rice cooks quickly and finishes during a timed natural release.
This method gives you:
- One less saucepan demanding your attention
- Tender, fluffy long grain white rice
- Consistent results without stovetop babysitting
- An easy side dish for almost any meal
- Rice that can be portioned and frozen for later
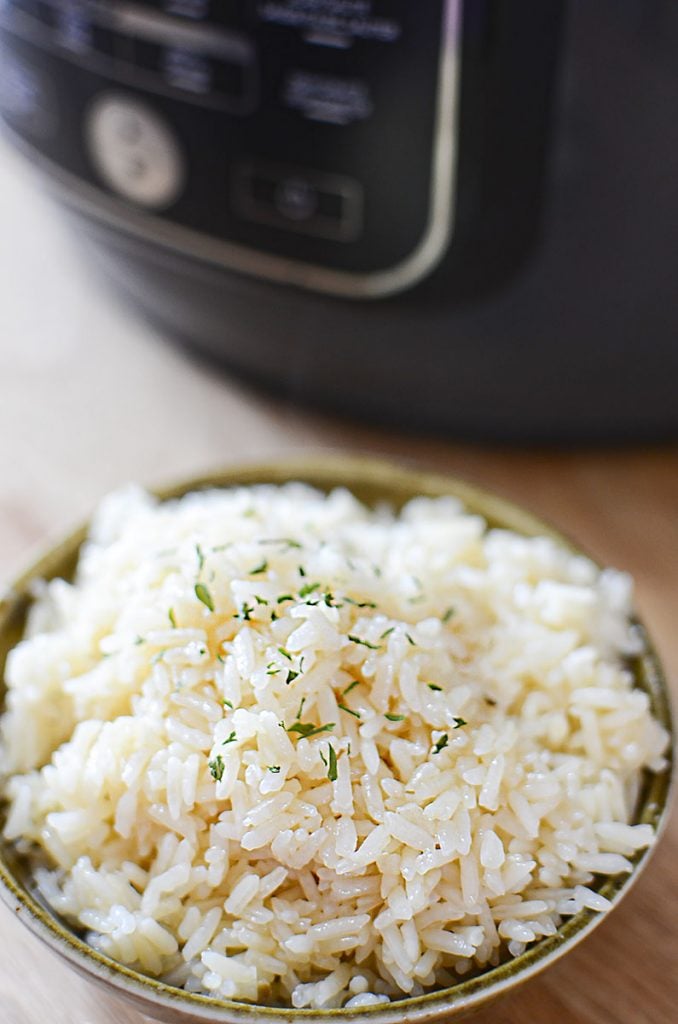
🛒 Ingredient Highlights
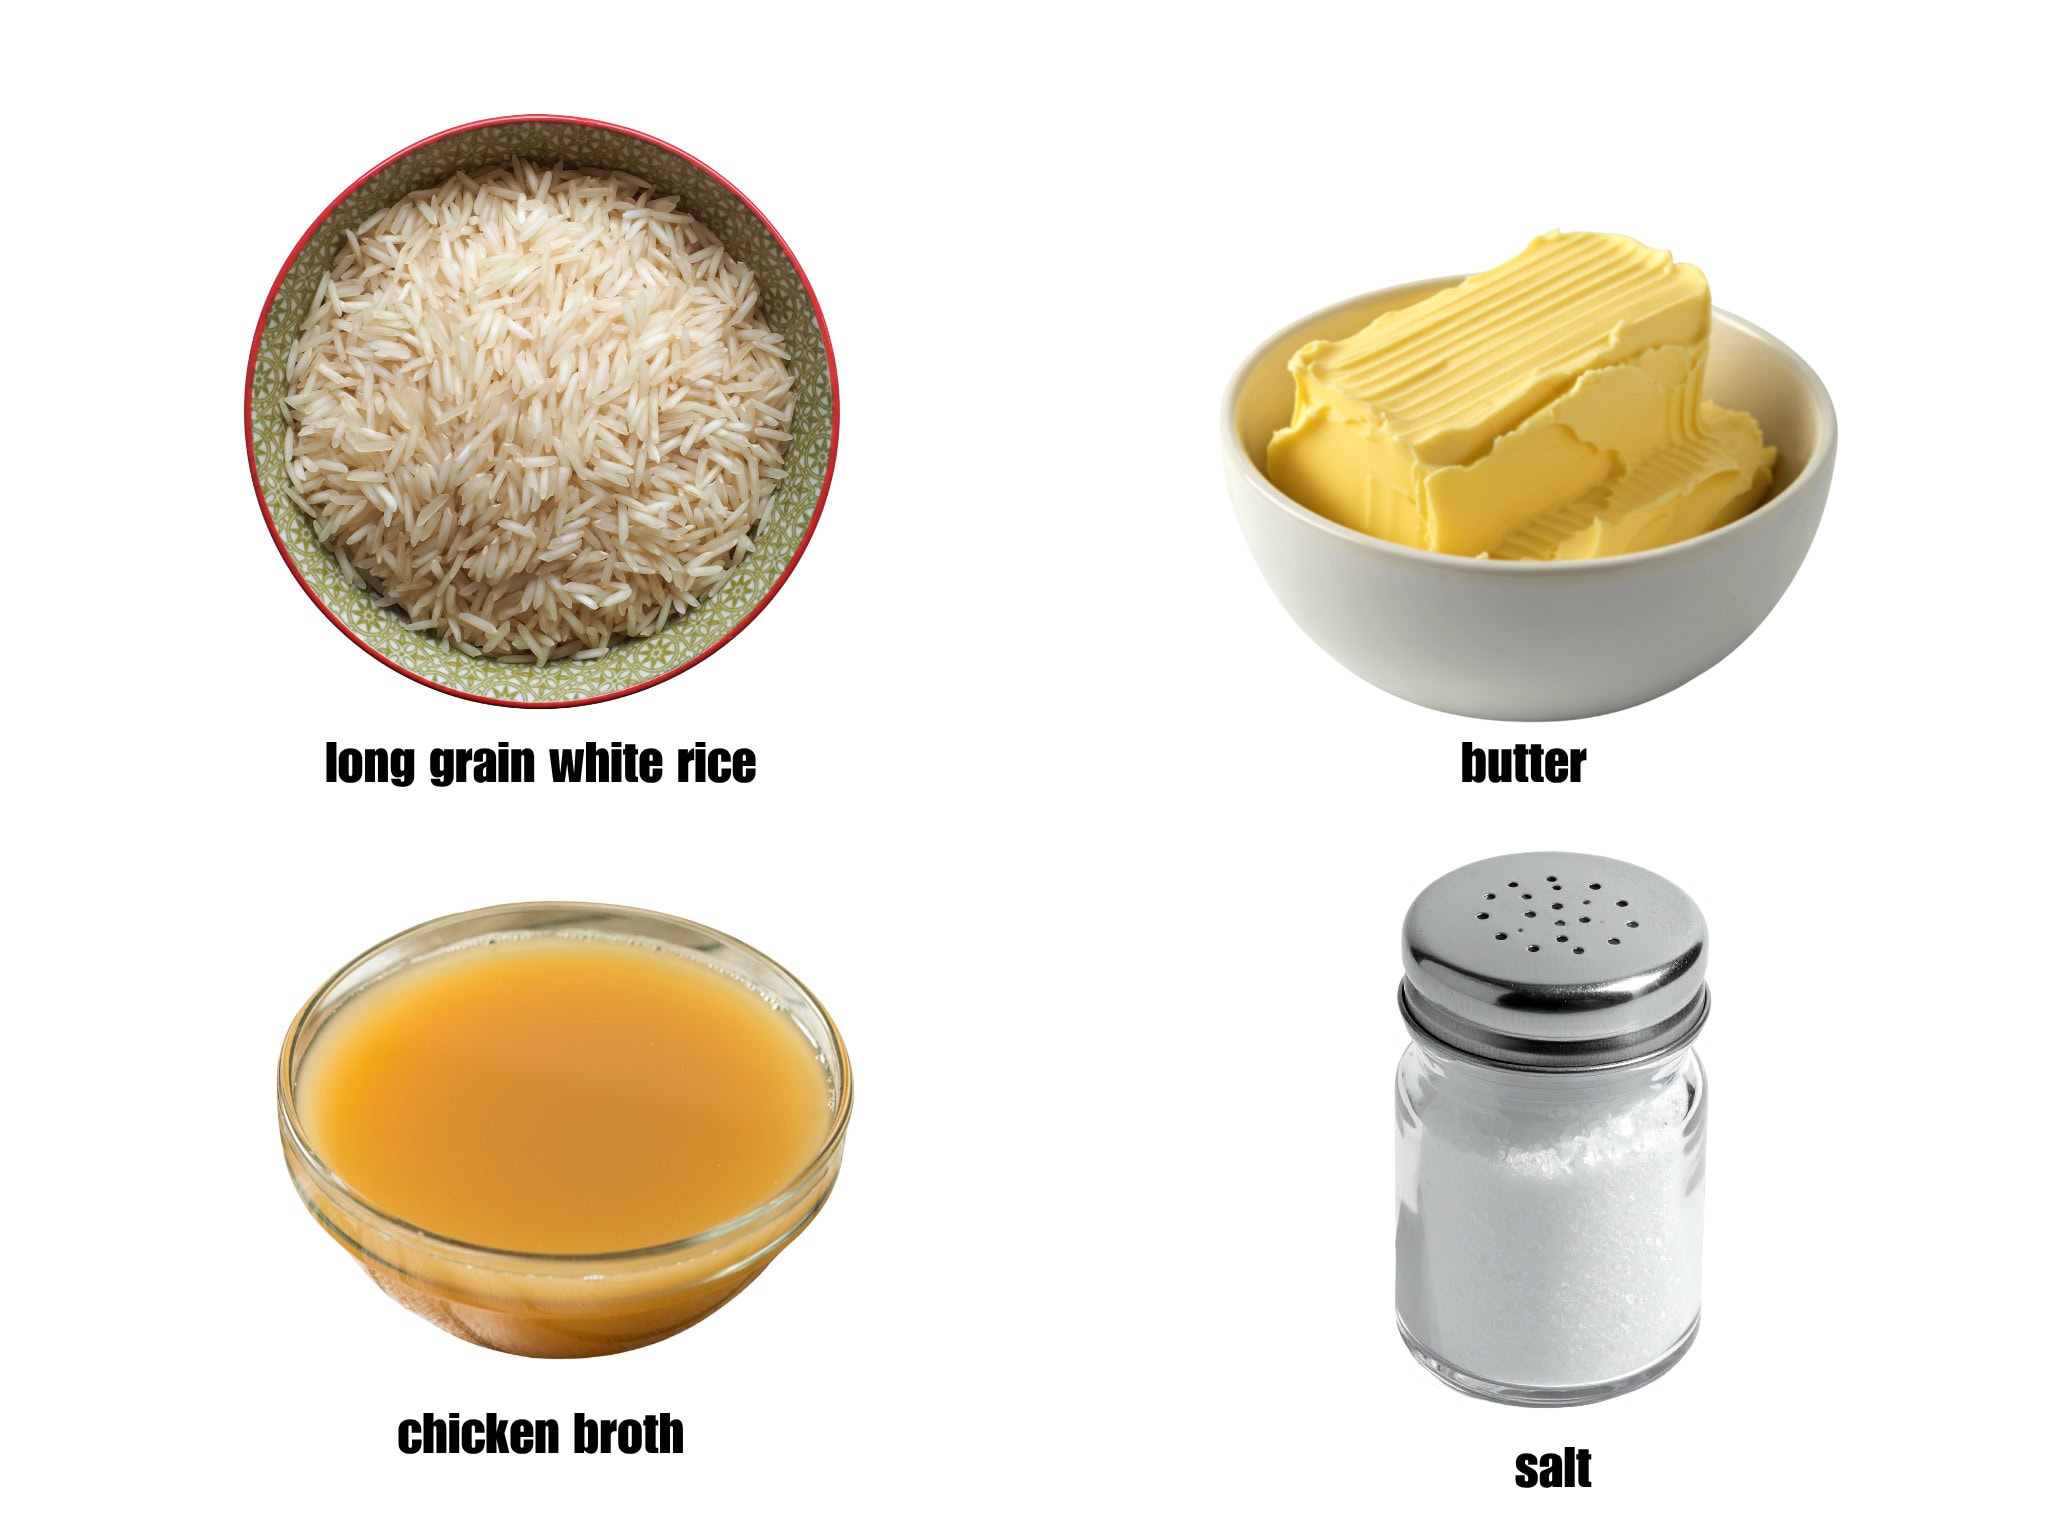
✅ Long grain white rice: Regular long grain white rice gives the most reliable results with this pressure time. Avoid instant, converted, brown or wild rice because they all have their own ideas about timing and liquid.
✅ Chicken broth: Broth gives the rice an easy savoury boost without making it taste overly seasoned. Use low sodium broth so you can control the salt.
✅ Salt: A small amount wakes up the flavour. If your broth is already salty, reduce the added salt or leave it out.
✅ Butter: Stirred in after cooking, butter adds richness and helps separate the grains. It also makes plain rice feel considerably less plain and honestly, this is a step I think is necessary! A bit of butter added to the rice brings it to another level of deliciousness!
What Kind of Rice Should I Use?
This particular recipe is intended for regular long grain white rice.
Jasmine and basmati rice may work with a similar pressure cooker method, but their texture and ideal cooking times can vary. If this is your first time making pressure cooker rice, start with ordinary long grain white rice and save the experimentation for another day.
Do not use these directions for:
- Instant or minute rice
- Brown rice
- Wild rice
- Converted or parboiled rice
- Arborio rice
- Sushi rice
Those varieties need different amounts of liquid, different pressure times or both. Rice may look innocent, but apparently every variety requires its own personal treatment plan.
A Note About Rinsing The Rice
Rinsing removes some of the loose starch sitting on the outside of the grains. Too much surface starch can make the finished rice sticky or gummy.
Place the rice in a fine mesh strainer and rinse it under cool running water until the water becomes mostly clear. Let it drain thoroughly before adding it to the pressure cooker.
That last part matters. Water clinging to poorly drained rice counts as extra liquid, even if you didn’t invite it to the recipe.
Can I Make This Rice in an Instant Pot?
You absolutely can!
The Ninja Foodi and Instant Pot use slightly different buttons and controls, but the basic pressure cooking method is the same. Add the rinsed rice, broth and salt to the inner pot, cook it on High Pressure and allow it to finish with a timed natural release.
I’ve included the specific Instant Pot controls and complete step by step directions in the recipe card below.
I recommend using the Pressure Cook or Manual setting rather than the automatic Rice program. Automatic programs can vary between models, while manually selecting the pressure and cooking time gives you more consistent control.
How to Make White Rice in the Instant Pot or Ninja Foodi
The complete measurements and appliance specific directions are in the printable recipe card, but here is the basic idea:
- Rinse and thoroughly drain the rice.
- Add the rice, broth and salt to the pressure cooker.
- Secure the pressure cooking lid and cook on High Pressure.
- Allow the rice to finish cooking during a timed natural release.
- Carefully vent any remaining pressure, then open the lid away from your face.
- Add the butter, gently fluff the rice and let it rest for a few minutes before serving.
That’s it. No peeking, no frantic stirring and no saucepan bubbling over while you’re distracted by literally anything else.
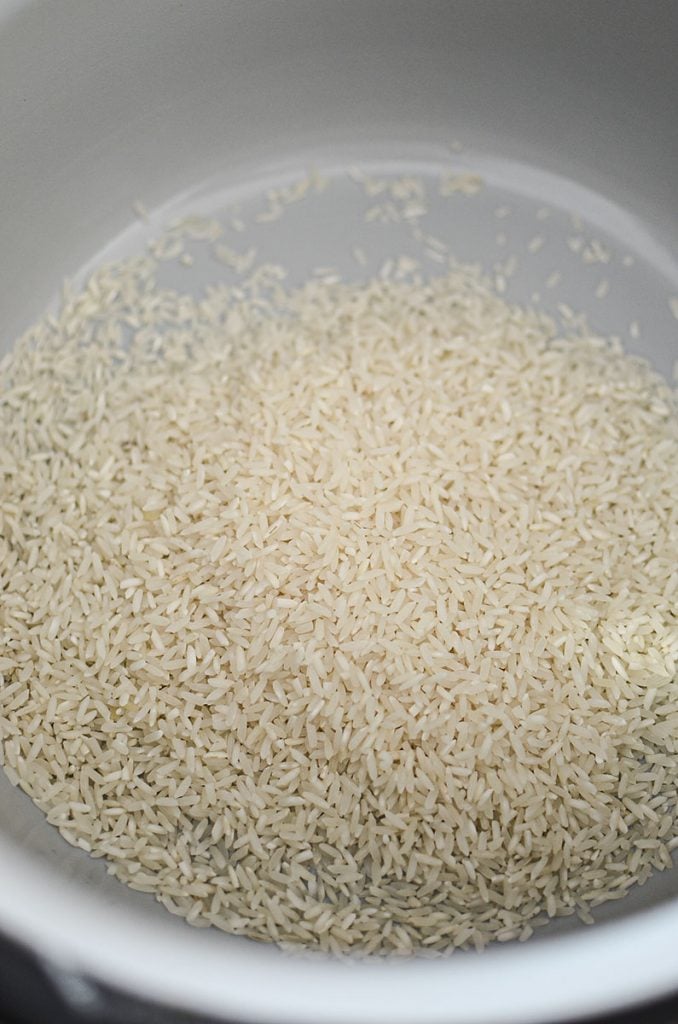
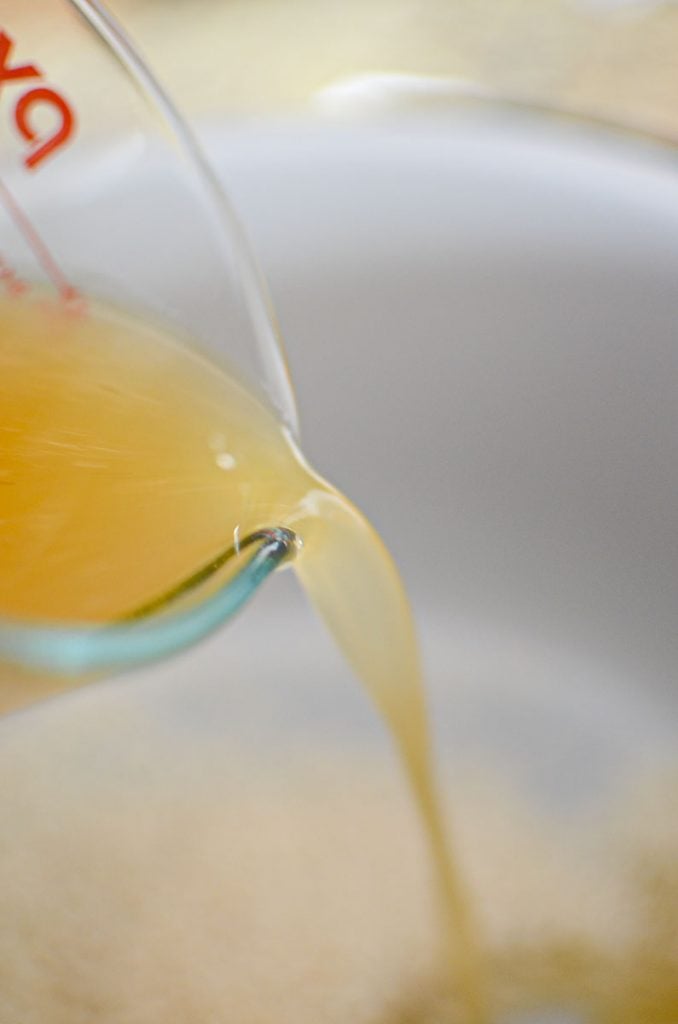
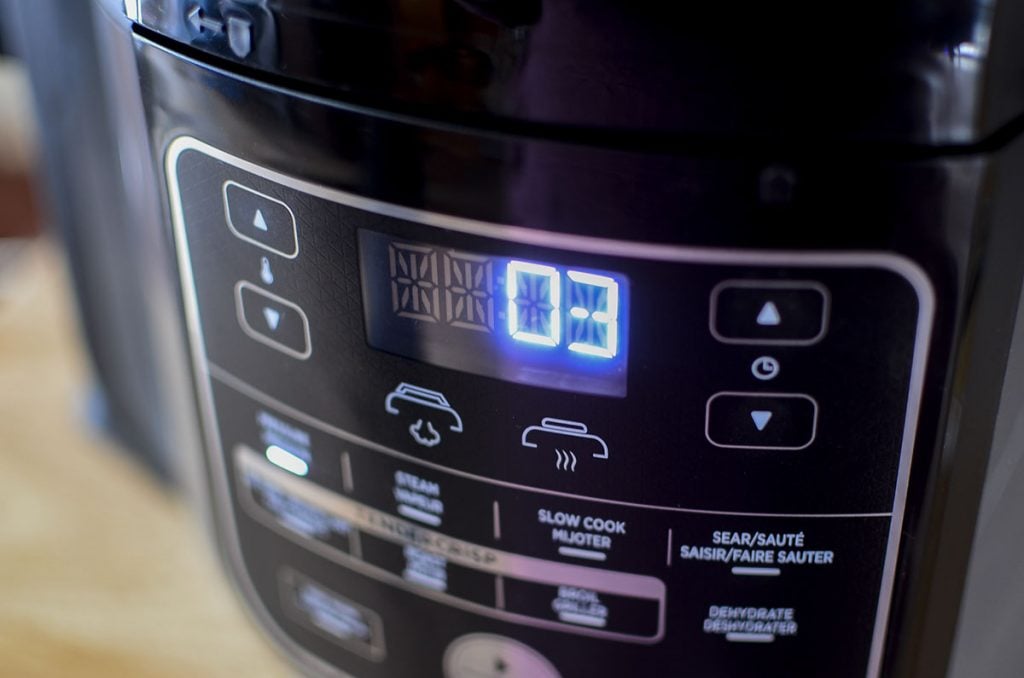
Please refer to the printable recipe card below for exact amounts, detailed instructions, and helpful tips to make this recipe perfect every time.
What Is a Natural Pressure Release?
A natural release simply means leaving the pressure cooker alone after the cooking cycle ends.
Do not immediately move the valve to Venting or press the steam release button. The pressure will gradually begin dropping while the rice continues absorbing the liquid.
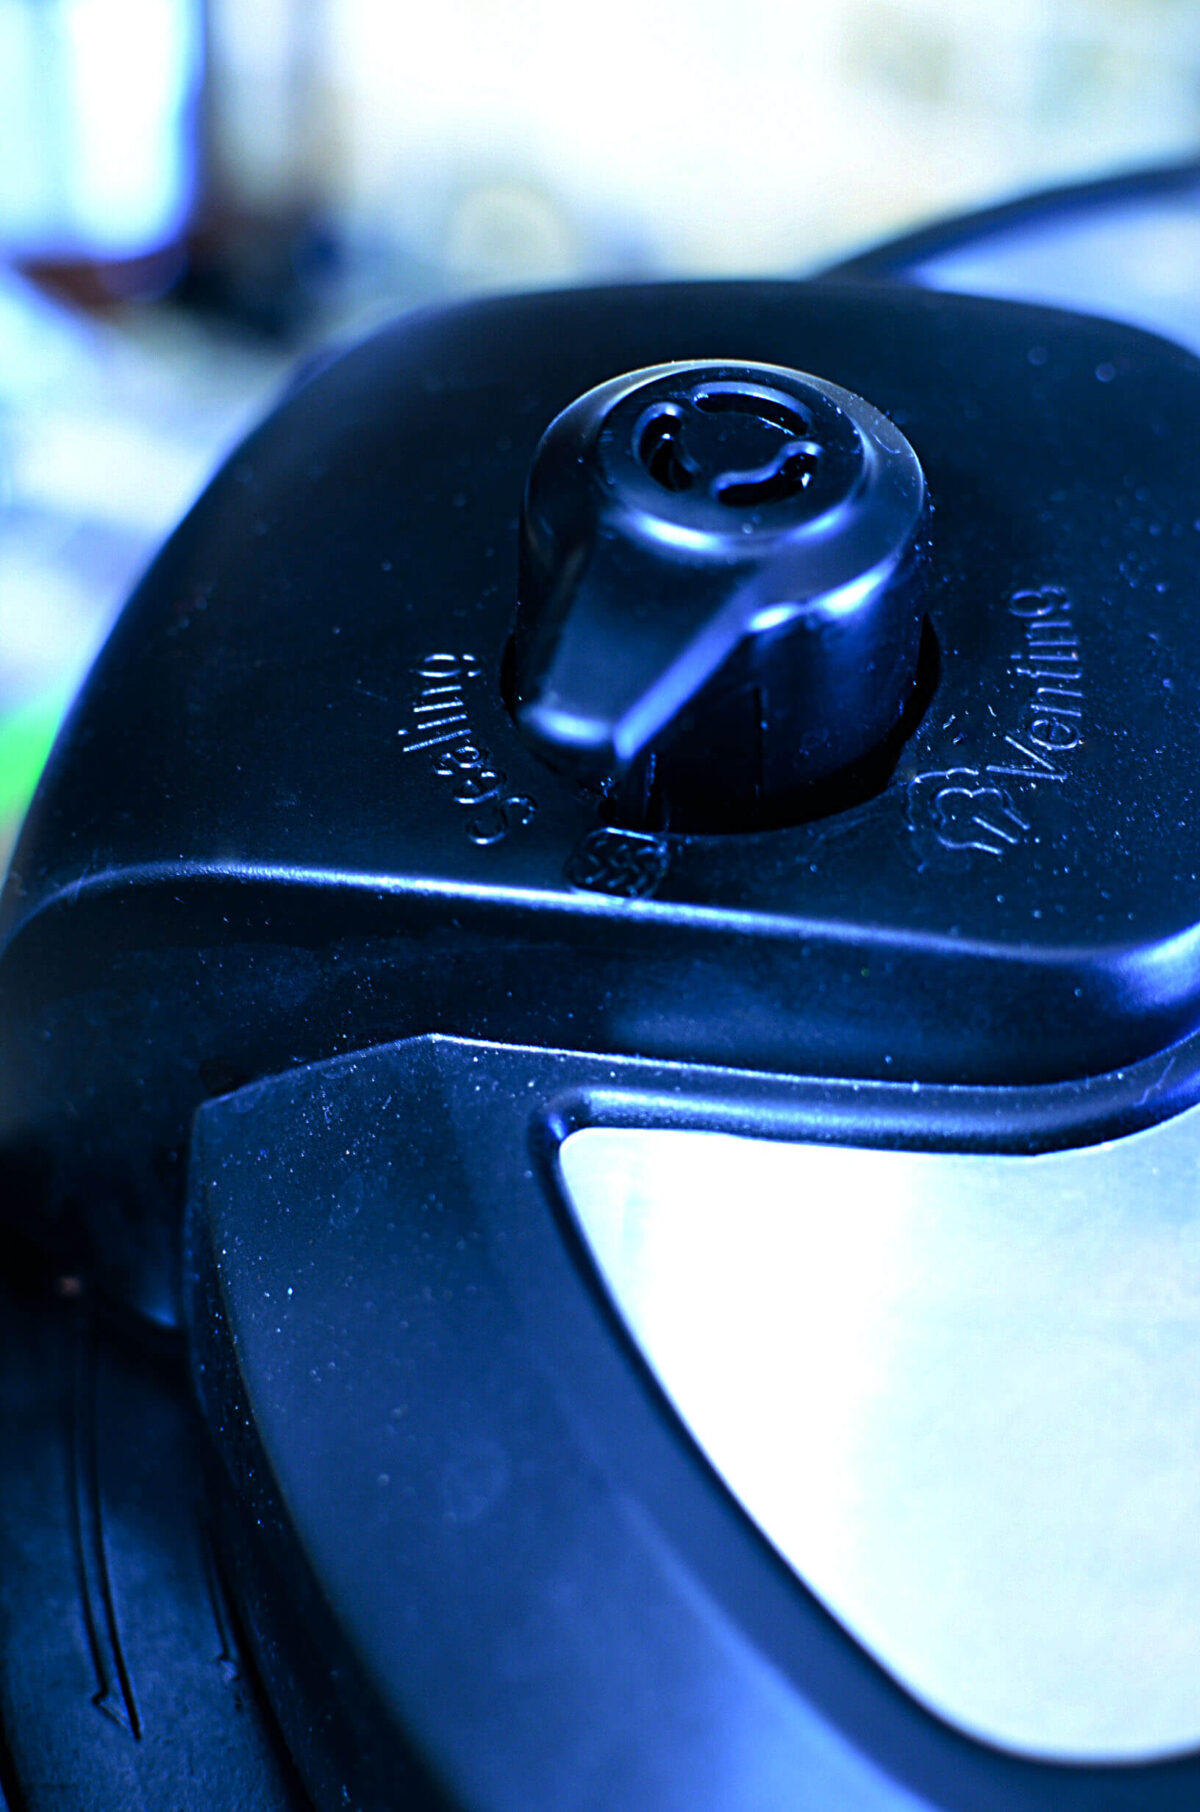
Most pressure cookers begin counting upward once the cooking cycle is finished. When the natural release time listed in the recipe card has passed, carefully vent any remaining pressure.
This resting period is part of the cooking process. Skipping it may leave the rice undercooked, and immediately venting a pot full of starchy food can make liquid sputter from the valve. Nobody needs the kitchen ceiling involved in dinner. (Don’t ask me how I know about all that!)
Tips for Fluffy Pressure Cooker Rice
✅ Rinse the rice until the water becomes mostly clear.
✅ Drain it thoroughly so you don’t accidentally add extra liquid.
✅ Measure the rice and broth accurately.
✅ Use regular long grain white rice for the most predictable results.
✅ Allow the full natural release time before venting the remaining pressure.
✅ Fluff the rice gently with a fork or rice paddle.
✅ Let slightly wet rice rest uncovered for a few minutes before serving.
✅ Remove the rice reasonably soon after cooking rather than leaving it on the “Keep Warm” setting for hours.
Can I Use Water Instead of Chicken Broth?
Yes. – Simply replace the chicken broth with the same amount of cold water.
The rice will have a more neutral flavor, which can be useful when you’re serving it with curry, stir fry or another saucy main dish.
Vegetable broth is another excellent option and keeps the rice vegetarian. You can also add your favourite seasonings, but avoid adding thick sauces before pressure cooking because they can interfere with how the cooker builds pressure.
Doubling The Recipe
To double recipe, double the amounts of the rice, broth, salt and butter, but do not automatically double the pressure cooking time.
A larger batch will take longer to come to pressure, but the cooking time generally remains the same. Complete doubled measurements and timing information are included in the recipe card notes.
Always stay below the maximum fill line recommended by your pressure cooker manufacturer. Rice expands while cooking, and the inner pot is not the place to test its ambitions!
Why Is My Rice Crunchy?
- Crunchy rice may mean the pressure cooker did not seal properly, the grains were not fully covered by liquid or the pressure was released too early.
- Check that the sealing ring and valve are positioned correctly, measure the broth carefully and allow the complete natural release.
- If the rice is only slightly undercooked, add a small splash of hot water or broth, replace the lid and let it sit for another few minutes.
Why Is My Pressure Cooker Rice Mushy?
- Mushy rice is usually caused by too much liquid, using a different variety of rice or not draining the rinsed rice properly.
- Measure carefully and use the rice specified in the recipe. If the finished rice is only slightly wet, fluff it and leave it uncovered for a few minutes. It will continue absorbing moisture as it rests.
Why Is the Rice Sticky?
- A little stickiness is normal, especially when the rice is still hot.
- Rinsing removes excess starch and helps the grains remain more separate. Gently fluff the rice after cooking rather than aggressively stirring it into submission.
Why Did I Get a Burn Warning?
- Make sure the inner pot is clean before you begin and that no old food residue is stuck to the bottom.
- The rice should be sitting in the measured cooking liquid before the pressure cooking cycle begins. If your particular model repeatedly gives a burn warning when cooking small batches, consult its manual for the minimum amount of liquid required.
What to Serve With Pressure Cooker White Rice
This buttery white rice works with practically anything that has a sauce, gravy or an urgent need for carbohydrates.
Try serving it with:
- Roast Chicken in the Ninja Foodi
- Ninja Foodi (or Instant pot) Beef and Mushroom Stew
- Pork chops or Pork Tenderloin with Creamy Mushroom Sauce
- Salmon or shrimp
- Slow Cooker Sausage Curry
- Stir fry
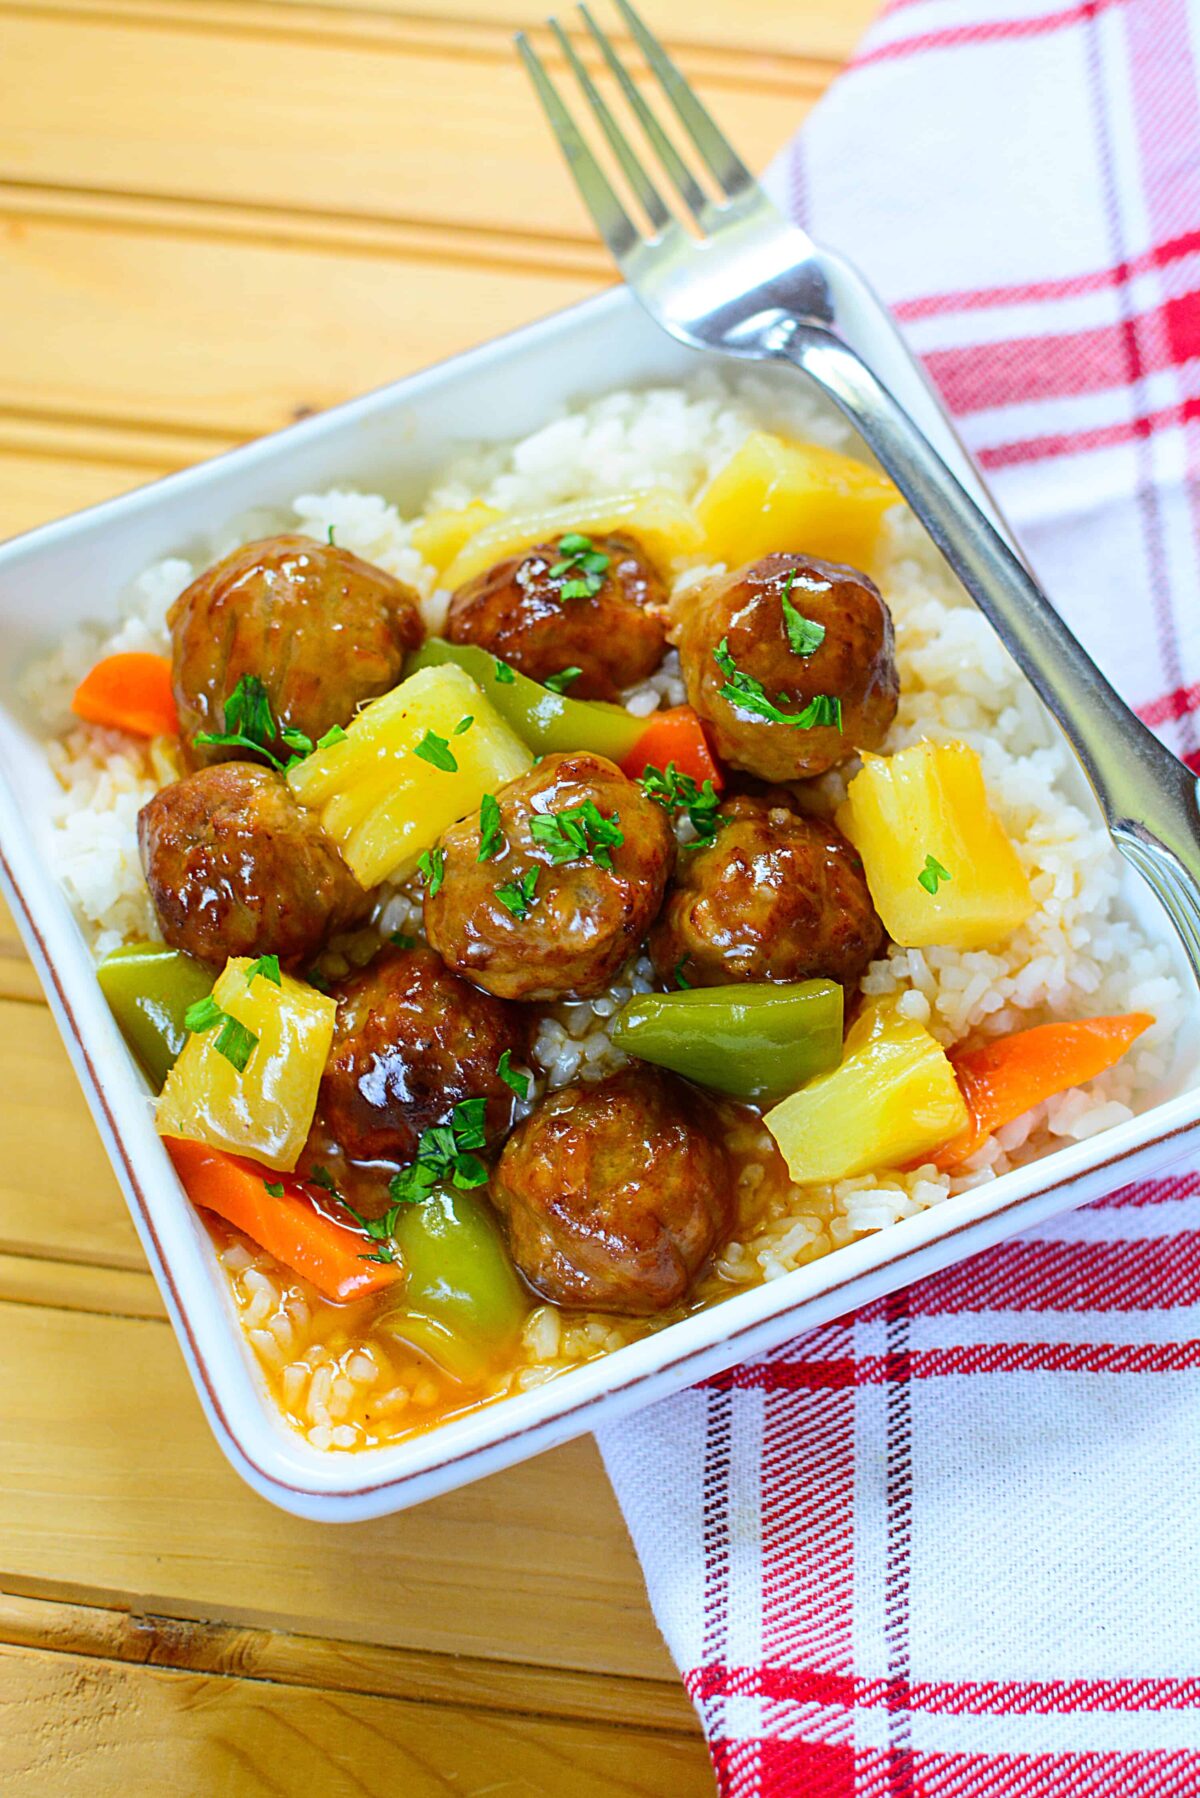
- Sweet and Sour Pineapple Meatballs
- Oven Roasted Low and Slow BBQ Ribs
- Roasted vegetables
- Saucy chicken thighs wrapped in bacon
Storing Leftover Rice
- Transfer leftover rice to shallow airtight containers and refrigerate it promptly. Cooked rice should not be left sitting at room temperature for longer than two hours.
- Use refrigerated rice within three to four days.
- To reheat it, add a small splash of water or broth, cover it loosely and microwave until steaming hot. The added moisture helps soften rice that has firmed up in the refrigerator.
Can I Freeze Cooked Rice?
- Yes, and it freezes really well actually! Divide the cooled rice into meal sized portions and transfer it to freezer safe containers (Like these Souper Cubes I’ve been using a lot lately. They are SO handy and freezes everything in perfect cubes!) or bags. Flattening freezer bags makes the rice easier to store and helps it thaw more quickly.
- For the best texture, use the frozen rice within three months.
- Thaw it overnight in the refrigerator or reheat it from frozen in the microwave. Add a spoonful of water before reheating to create a little steam and bring the rice back to life.
Thanks for Stopping By
Pressure cooker rice is one of those simple kitchen tricks that makes dinner feel just a little more manageable. Whether you make it in the Ninja Foodi or Instant Pot, I hope it saves you from hovering over another saucepan and wondering whether the bottom has burned yet.
Thanks so much for stopping by The Salty Pot today. I hope if you love the recipe, you’ll leave a star rating on the recipe card and a comment below! I’ll see you next time!
***DON’T FORGET TO PIN THIS RECIPE SO YOU CAN COME BACK IT! ***
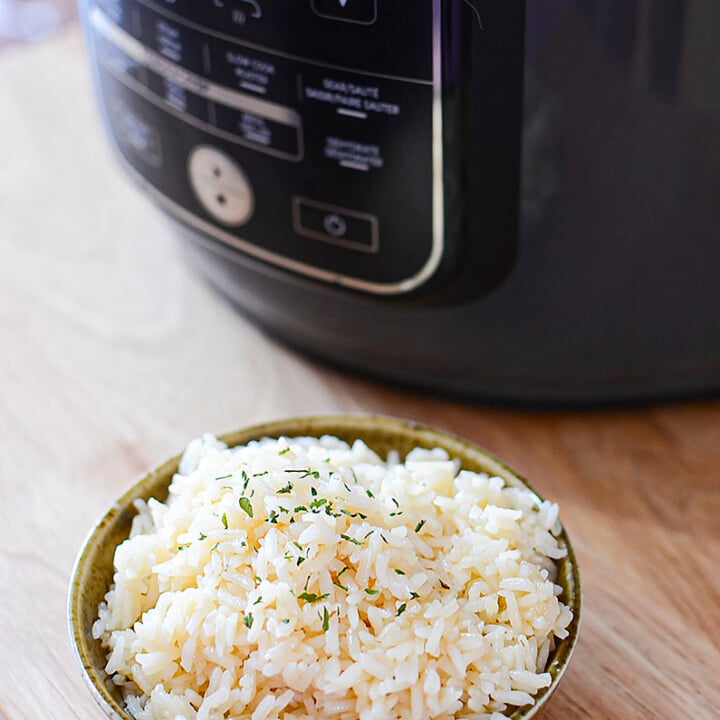
Instant Pot and Ninja Foodi White Rice
Fluffy, buttery white rice made in the Ninja Foodi or Instant Pot without babysitting a saucepan. It pressure cooks for only three minutes, then finishes during a ten minute natural release for easy, reliable rice every time.
Ingredients
- 1 cup Rice, white, regular rice
- 1 1/4 cup Chicken broth, low sodium
- 1/2 teaspoon Salt
- 1/2 Tablespoon butter
Instructions
- Place the rice in a fine mesh strainer and rinse it under cool running water until the water becomes mostly clear. Allow it to drain thoroughly.
- Transfer the rinsed rice to the Ninja Foodi cooking pot.
- Add the chicken broth and salt. Stir briefly to make sure all the rice is covered by the liquid.
- Secure the pressure cooking lid and move the pressure release valve to the Seal position.
- Select Pressure, choose High and set the cooking time to 3 minutes.
- When the cooking cycle ends, leave the pressure cooker alone for 10 minutes. This is the timed natural release and is part of the cooking process.
- After 10 minutes, carefully move the pressure release valve to Vent to release any remaining pressure.
- Wait until the pressure pin has dropped completely, then open the lid away from your face.
- Add the butter and gently fluff the rice with a fork or rice paddle.
- Let the rice rest uncovered for a few minutes, then serve.
Ninja Foodi Instructions
Notes
Instant Pot directions:
Rinse and thoroughly drain the rice.
Add the rice, broth and salt to the stainless steel inner pot.
Secure the lid and move the steam release valve or switch to Sealing.
Select Pressure Cook or Manual, choose High Pressure and set the cooking time to 3 minutes.
When the cycle ends, allow a 10 minute natural release.
Carefully vent any remaining pressure. Once the float valve drops, open the lid away from your face.
Add the butter, fluff the rice and let it rest for a few minutes before serving.
Use the Pressure Cook or Manual setting on the Instant Pot rather than the automatic Rice program. Automatic programs can vary between models.
This recipe was developed for regular long grain white rice. Brown rice, wild rice, instant rice, converted rice, Arborio rice and sushi rice require different liquid amounts or cooking times.
Rinse the rice until the water becomes mostly clear, then drain it thoroughly. Water left clinging to poorly drained rice adds extra liquid and can make the finished rice softer.
If you use regular salted broth, reduce or omit the additional salt.
Chicken broth gives the rice a savoury flavour, but vegetable broth or cold water can be substituted in the same amount.
For a double batch, use 2 cups of rice, 2½ cups of broth, 1 teaspoon of salt and 1 tablespoon of butter. Keep the pressure cooking time at 3 minutes and the natural release at 10 minutes. Never fill the pressure cooker above the manufacturer’s recommended maximum line for grains.
If the rice looks slightly wet when the lid is opened, fluff it and let it rest uncovered for five minutes. It will continue absorbing moisture as it sits.
Store leftover rice promptly in an airtight container in the refrigerator for 3 to 4 days.
Add a small splash of water before reheating and heat until steaming hot.
Cooked rice can be frozen in meal sized portions for up to 3 months.
Nutrition Information:
Yield: 6 Serving Size: 1/2 cupAmount Per Serving: Calories: 65Total Fat: 1gSaturated Fat: 1gUnsaturated Fat: 1gCholesterol: 4mgSodium: 384mgCarbohydrates: 12gFiber: 0gSugar: 0gProtein: 1g
All nutritional information is based on third-party calculations and is only an estimate. Each recipe and nutritional value will vary depending on the brands you use, measuring methods, and portion sizes per household.