Whether you’re into meal prepping or are cooking the entire holiday turkey dinner for friends and family, making a butterflied turkey is one of the best (and easiest!) ways to get the bird ready! This cooking technique is really the easiest and quickest way to make sure the main event bird turns out amazing!
I would say that if this is the first time cooking a turkey, learning how to make a butterflied turkey is an almost foolproof way to make it perfect!
Spatchcocking a Turkey 101: What is Spatchcocking a Bird?
Spatchcocking (or butterflying) is basically a technique that involves the removal of the backbone of the turkey to lay it flat. It’s also called ‘butterflying’ the turkey (or chicken) because when it’s laid flat, it’s symmetrical like a butterfly.
It allows for even overall cooking, and there’s more surface area exposed to the heat in order for the skin to become super crispy.
And believe it or not, doing it is actually easier than it looks.
How to Make a Butterflied Turkey
All you need to have is a whole turkey (of course) and a pair of good-quality poultry shears. You can’t actually use regular kitchen shears for this one.
Start by laying the turkey on a chopping board- breast side down. FYI, I recommend putting a damp cloth under the cutting board so that as you work to spatchcock the turkey, the board won’t slide around the counter, making things really unsafe!
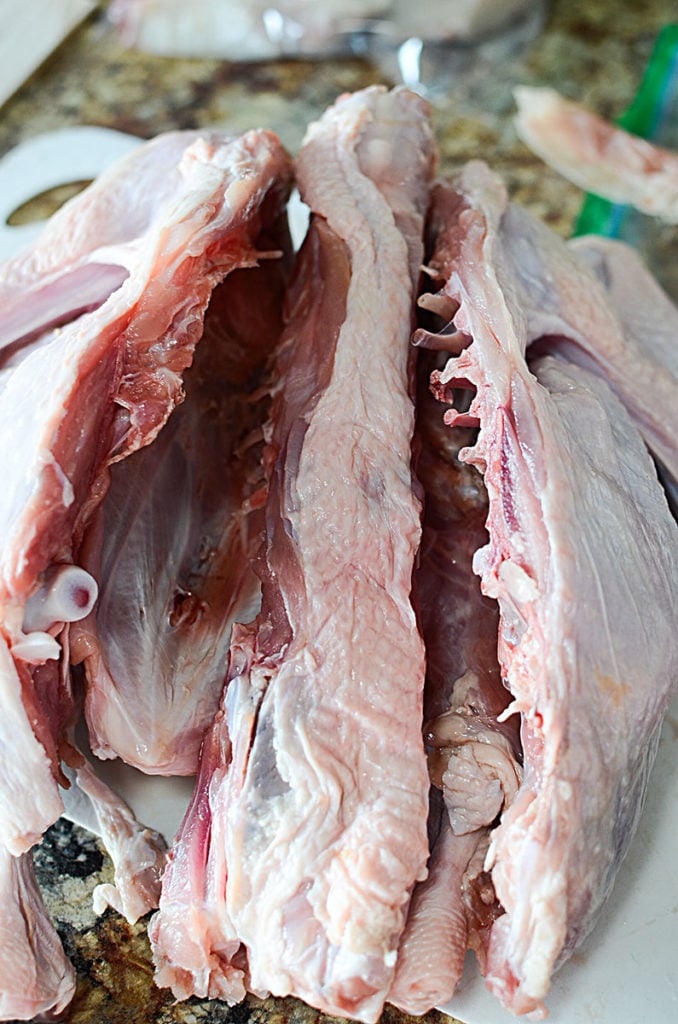
So, with your shears, cut along both sides of the backbone. Work from the bottom to the top, one side at a time. Once the backbone is out, flip the turkey and press down on the breasts using your hands, getting to get the bird flat.
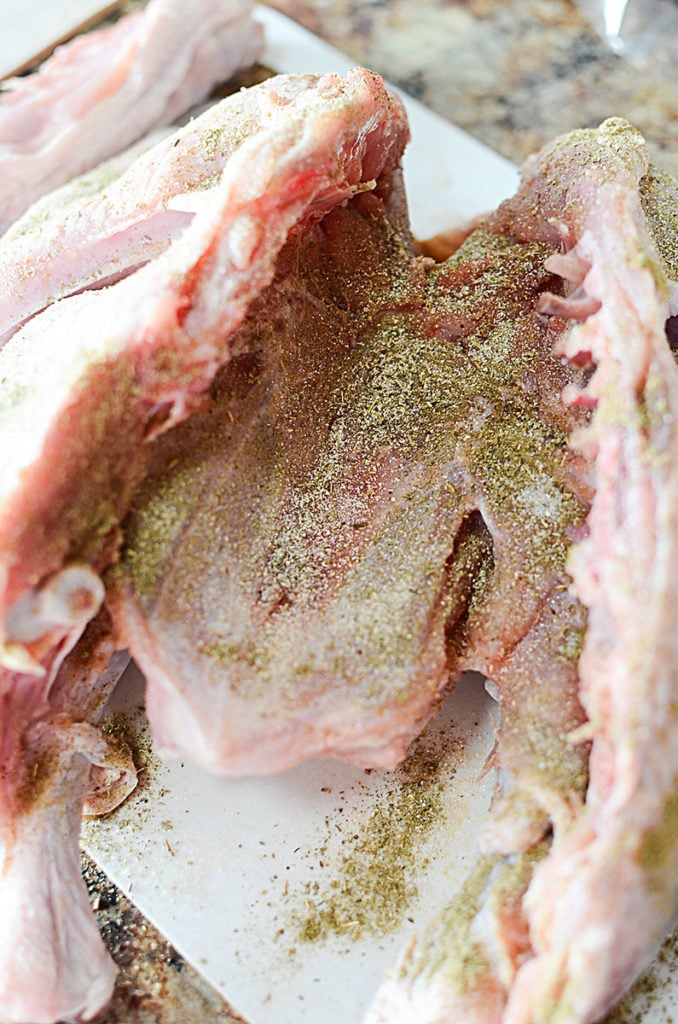
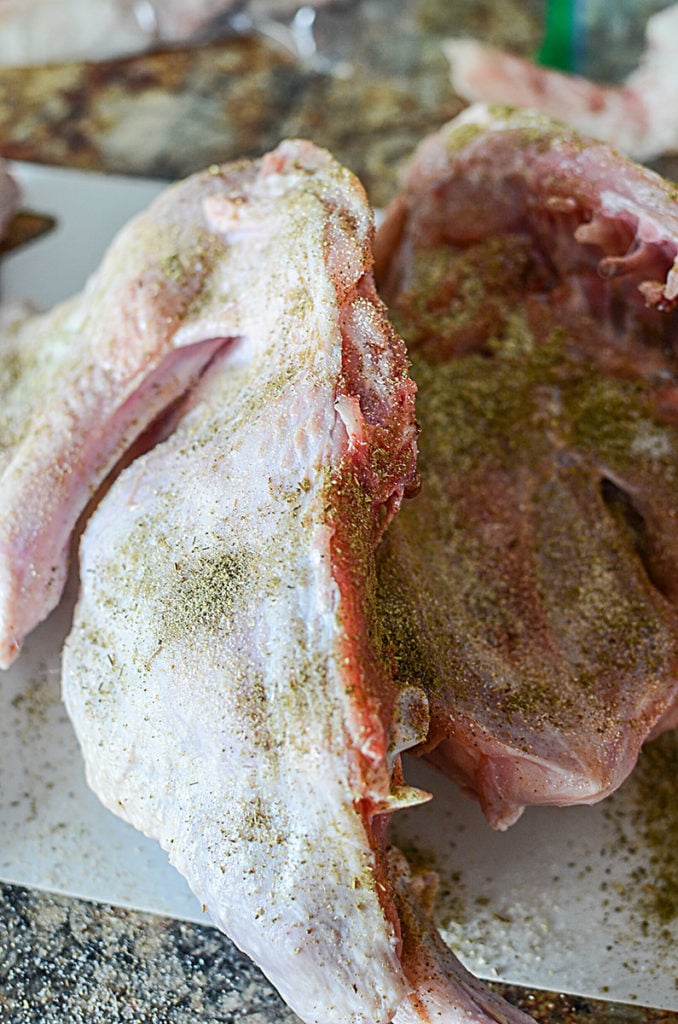
Now tuck the tips of the wings behind the breast and remove the excess fat and skin from around the cavity areas. Season the bird and you’re off to the cooking races!! That’s it!
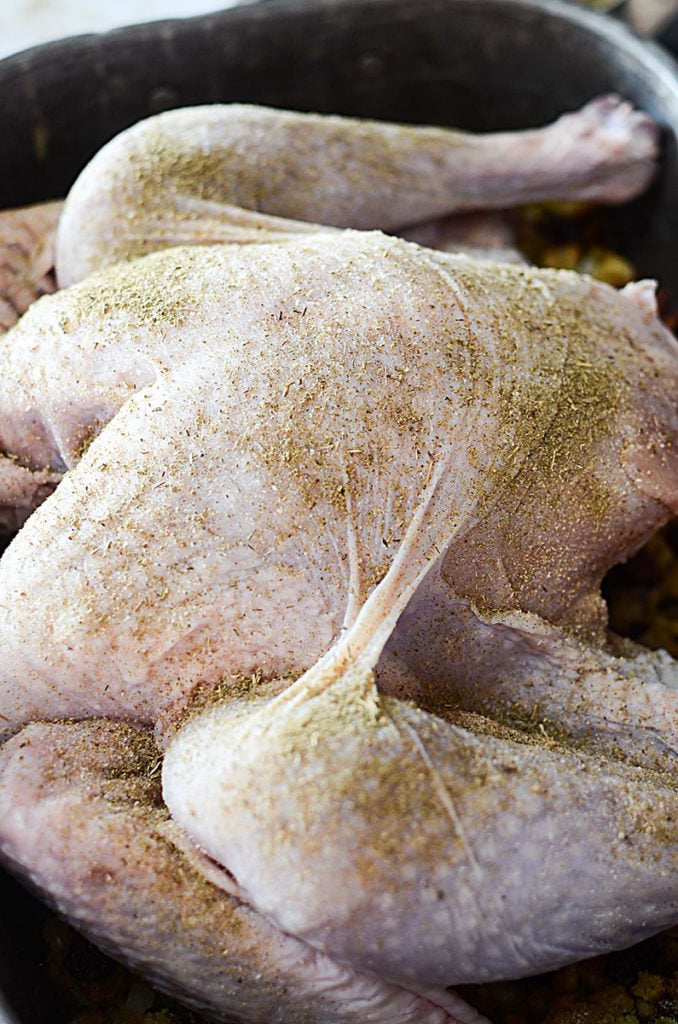
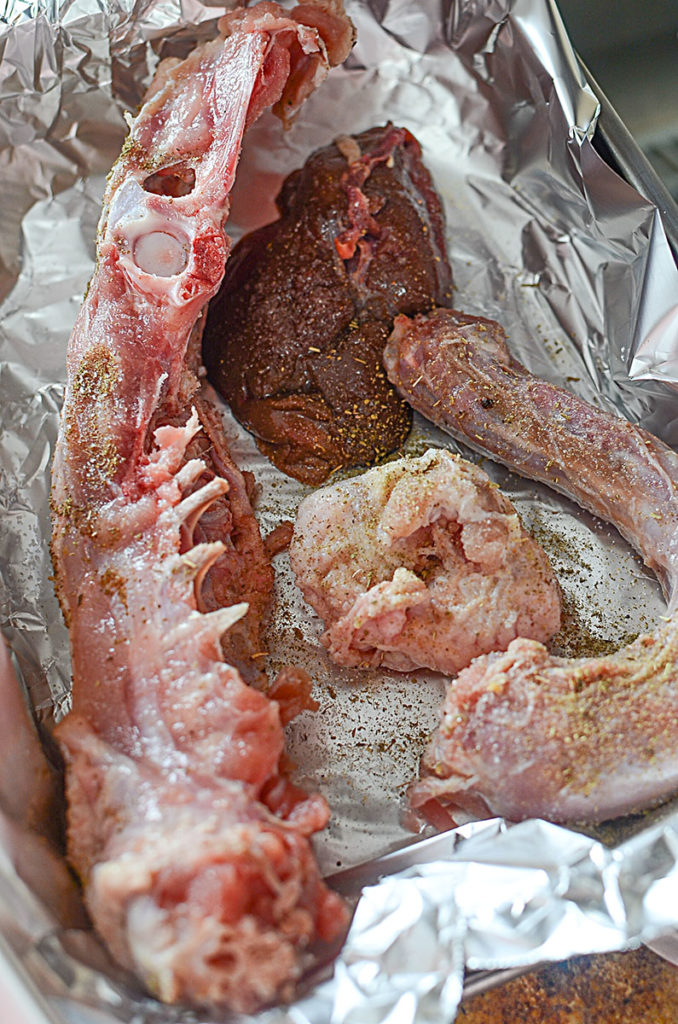
Remember to save the backbone, the neck giblets from the turkey. Wrap these in foil (or see notes in the recipe card) to begin the makings of your gravy!
Why Spatchcock A Turkey, Really?
Now that you’ve got the hang of it comes the question- why should you actually spatchcock a turkey? Well, there are several reasons.
- With spatchcocking, the bird cooks much more evenly.
- The turkey also develops a nice, crisp outer covering and stays tender and juicy from the inside.
- As opposed to other cooking techniques, with spatchcocking, the breasts of the turkey don’t dry out before the thighs are done.
- Since the bird is laid flat, it cooks faster. Some experts believe that spatchcocking a turkey can slash its cooking time in half!
But What About Stuffing? – Getting the Stuffing Right
Before you go ahead and cook the spatchcocked turkey, decide what you would want to pair it with. Maybe a nice stuffing and some flavorful gravy. Whatever it is, follow these tips to make it even better.
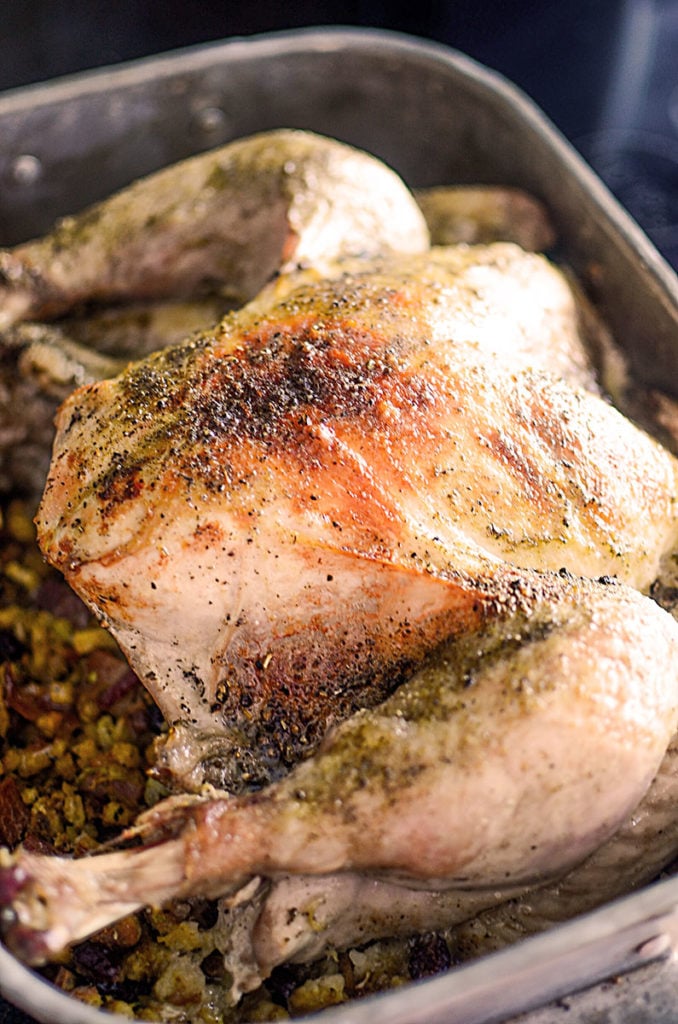
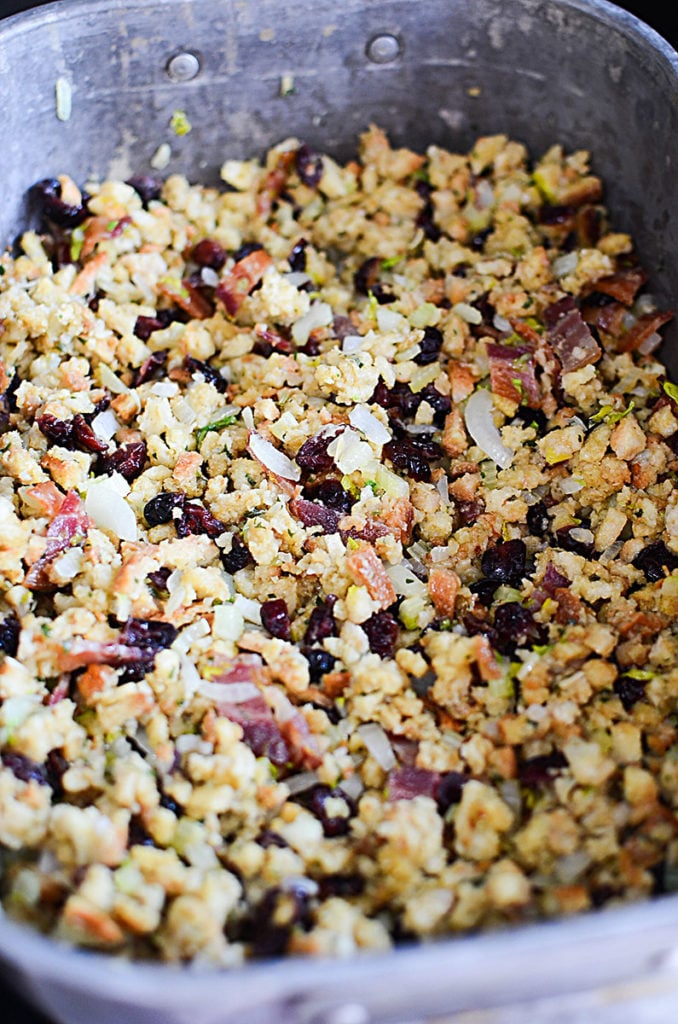
- Don’t be shy to use store-bought boxed turkey stuffing! I find they are a good (and convenient) base to start with if you don’t have the time to make your own from scratch. I like to doctor up that boxed stuffing to add even more flavor. So, regardless of what stuffing you use, place and cook the turkey over the stuffing!! That way, when it cooks, the juices from the turkey will drip into the stuffing and lend it a kick of flavor.
- What I like to do is to place the neck, giblets, and other pieces into a foil pouch, which you can place beside the turkey as it gets cooked. Once done, you can use the liquid in the pouch to make some gravy.
- To make the gravy, you use those drippings and combine it with some homemade turkey broth or bullion dissolved in water, or even some store-bought turkey broth.
- Alternatively, you can keep those extra turkey bits and slowly simmer them in a pot on the stove with water and other ingredients to make gravy. Check the recipe card below for more ideas!!
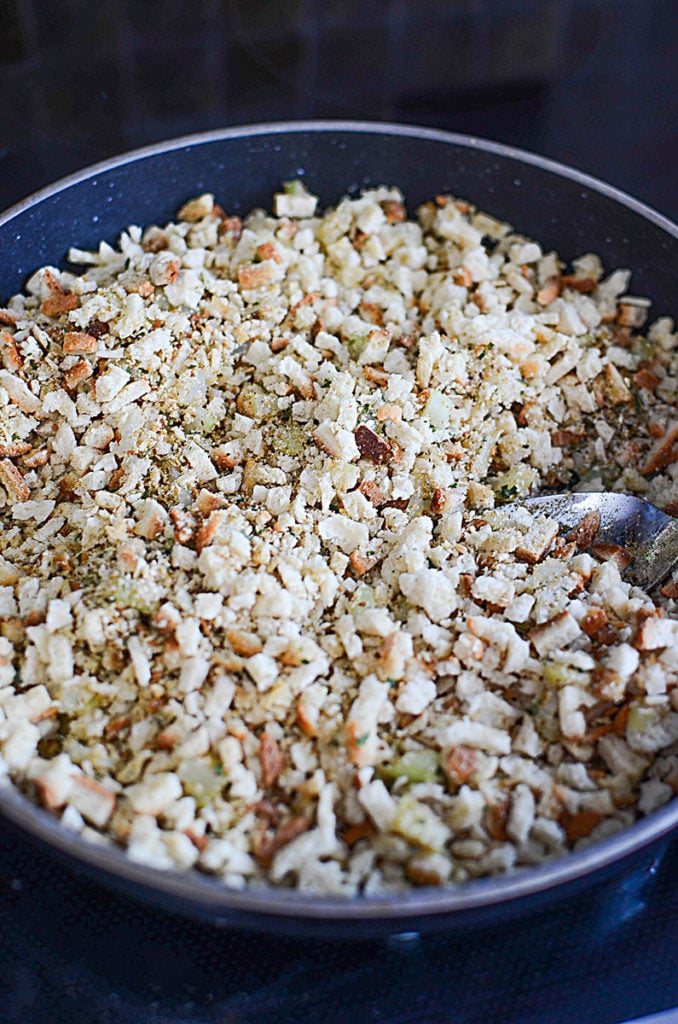
- If you’re looking to make your own homemade stuffing for the turkey, why not start out with these garlic butter croutons? The flavor is out of this world!!!
- Want the gravy to have a darker, richer color? Add some colorants like kitchen bouquet or browning.
Important Tip:
When cooking the turkey, make sure you check the temperature with a food thermometer to ensure that the meat is cooked perfectly and that there is no risk of any foodborne illness. The FDA recommends a temperature of 175 degrees at the thickest part of the thigh to cook the turkey. There is some controversy regarding what temp actually means cooked, and what means overdone. My research has shown that most pull the turkey at 165 and tent it to 170 – 175 degrees. Please use your own discretion.
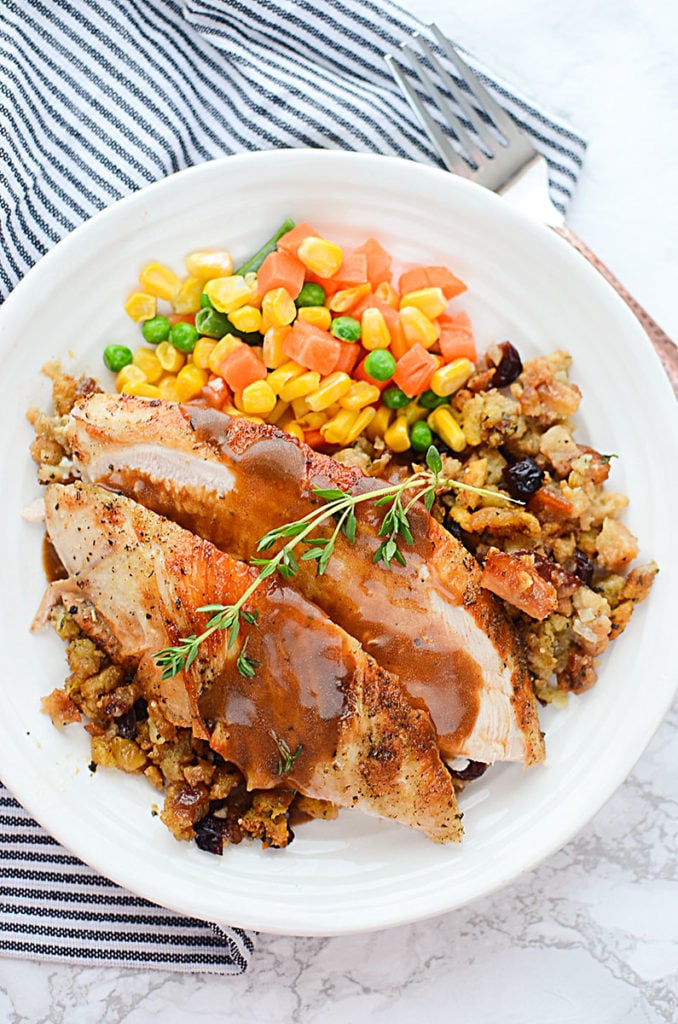
Serving Suggestions For Your Butterflied Turkey
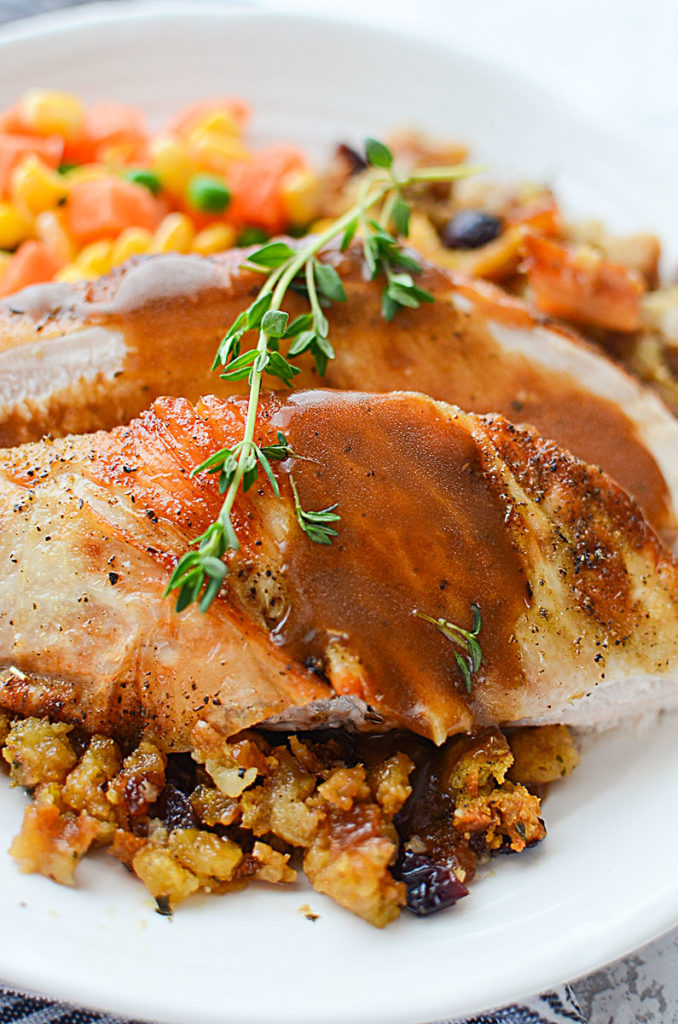
Got the spatchcocked turkey ready? Now’s the time to serve it. The crispy and juicy turkey works wonderfully with all of these amazing side dishes.
- Roasted or mashed potatoes
- Instant pot loaded mashed potatoes
- Roasted root veggies like beets and carrots.
- Instant pot sweet potatoes
- A green salad
- Cranberry sauce
- Mac & cheese
- A side of lazy cabbage rolls.
By the way, if you’re unsure of how to carve your cooked spatchcocked turkey, take a peek at this video tutorial that helps show you how to do it!
Utilizing Turkey Dinner Leftovers
Once you carve the spatchcocked turkey, you might have some bits and pieces leftover. Guess what? You can actually put those to use as well! Waste not, want not, right?
You can try preparing an individual turkey dinner and freezing them for a quick weekday dinner. The extra bones can be used to prepare a delicious and flavorful Ninja Foodi turkey broth or if you don’t have a Ninja Foodi, you can also make delicious stovetop chicken stock/broth as well!! Another super cool idea is to utilize the leftover bits of flesh for a quick turkey pot pie.
Not in the mood to put in a lot of effort? You can also try using the extra bits of turkey to prepare a light turkey soup, or make it a more filling one by using the stuffing as a thickening agent and adding some veggies into the mix!!
I hope that when you give the method of spatchcocking a turkey a try, you’ll find that the days of overcooked breasts or undercooked thighs are over. Using this cooking method puts everything all on one cooking plane so that it cooks evenly and perfectly! Thanks so much for stopping by The Salty Pot today, and I hope you have an incredible day!!
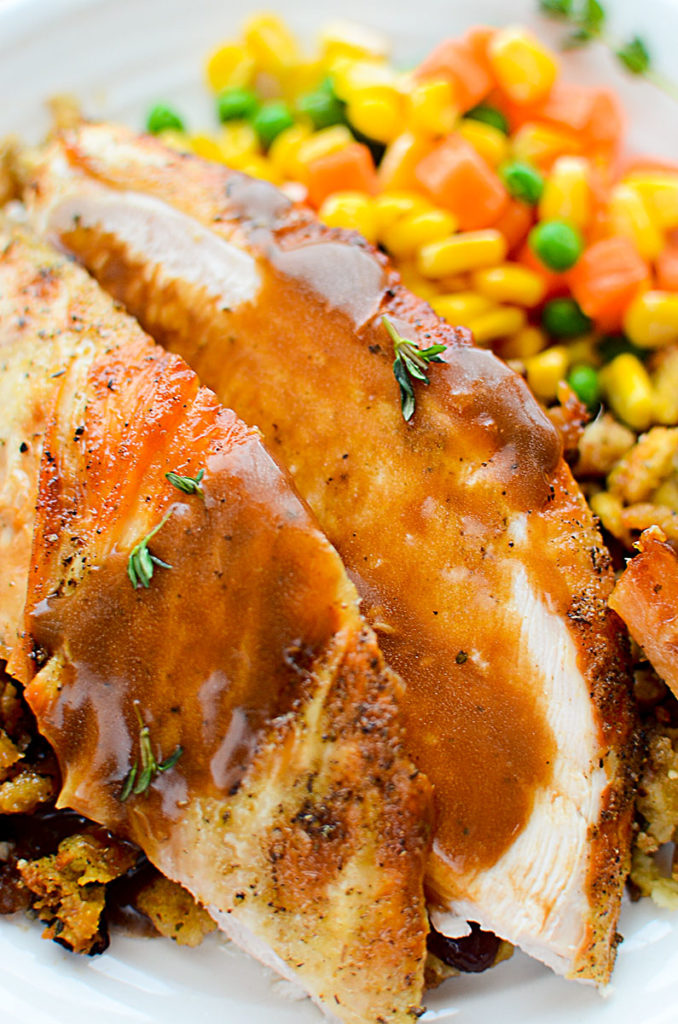
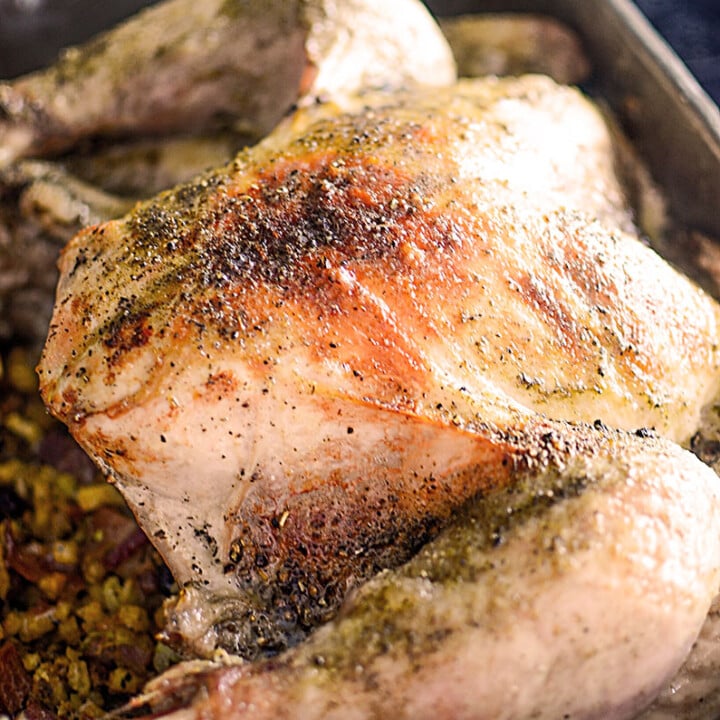
SPATCHCOCKED TURKEY 101
A how-to method of cooking the perfect turkey. A spatchcocked turkey cooks evenly and has fewer instances of drying out. Plus, there more surface area for more crispy skin, and using my method for roasting, you still get to enjoy that savory dressing!!
Ingredients
- 1 10 - 12 lb turkey, patted dry, giblets and such removed
- 1 box commercially prepared stuffing
- ½ large onion, chopped
- 3 celery sticks, chopped
- 3 strips bacon, cooked and crumbled
- ½ c dried cranberries
- 1 teaspoon poultry seasoning
- 1 teaspoon garlic powder
- 1 ½ teaspoon thyme, dried
- as desired, salt and pepper
- 1 ½ c chicken bouillion
- 2 tablespoon butter
- 1 tablespoon flour
Instructions
- Preheat oven to 375
- In a frying pan, melt 1 tablespoon butter. Add the celery and onion. Saute until translucent.
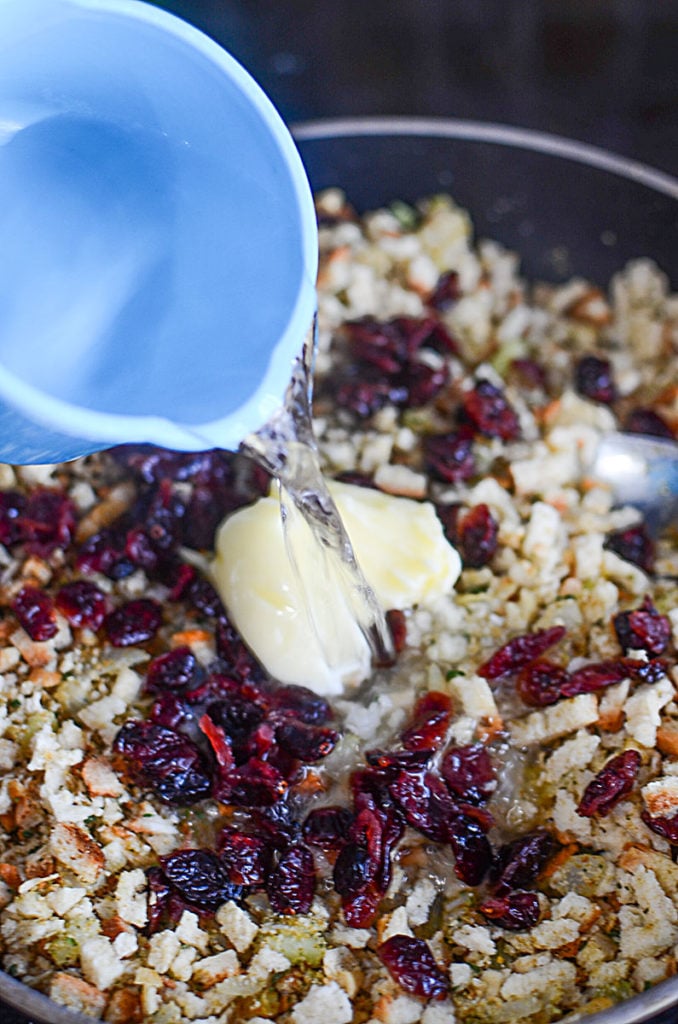
- Add the box of stuffing, cranberries, and bacon, and prepare according to the box directions.
- Place the stuffing in the bottom of the roasting pan. Set aside.
- Remove the giblets from inside the turkey and set aside. Pat the turkey dry with kitchen towels.
- For extra security, place a damp towel underneeath the cutting board to prevent it from slipping around.
- With a good pair of kitchen shears, begin at the bottom right side of the turkey spine. Begin to cut along the backbone, from the bottom to the top. Repeat on the other side, completely freeing the backbone from the turkey.
- Set aside the backbone and flip the turkey over, breast up. Place both hands on the turkey breasts and press down, flattening the turkey as much as possible.
- Season the turkey with poultry seasoning, thyme, garlic, salt, and pepper. Remember to season both sides of the turkey.
- Place the turkey, breast side up, on top of the dressing.
- Take the backbone, neck, giblets and such, and wrap them in foil. Place them beside the turkey in the roasting pan. (see notes)
- Roast the turkey until you reach an internal temperature of 165 at the thickest part of the turkey thigh. Remove the turkey and tent it for 15 minutes to finish the cooking (see notes below)
GRAVY:
Remove the foil packet and set aside. In a saucepan, melt 1 tablespoon of butter and add the flour. Stir until a nice paste forms.
Add the turkey drippings and extra bouillon. Keep stirring until the gravy thickens.
Season with salt and pepper.
(If you are simmering the turkey parts on the stovetop, remove the pieces and add the turkey stock, slowly, to the butter/flour mixture. Continue to add extra broth as needed)
Notes
** If you want extra dressing/stuffing, double the celery, onions, bacon, and cranberries, and use two boxes of stuffing.
For the turkey neck and giblets, instead of cooking them beside the turkey in a foil packet, you could bring all those pieces into a saucepan, season them, and simmer them for a long time on the stovetop to begin to make your gravy.
Tenting the turkey means after removing it from the oven, place a large piece of tin foil over the top, loosely, to retain some of the heat and let it finish cooking. The turkey will rise anywhere from 5 - 10 more degrees as it rests.
Cooking Times
Cooking the turkey on top of the dressing will make it so it's quicker than traditional roasting but not as fast as cooking the turkey on its own. If you were to cook the bird on its own, you can crank the heat up to 425 and have it done in just over an hour or so. But because we want to preserve our yummy dressing, we have to cook it slightly lower and longer. So at 375, start checking the temp of the bird around the two-hour mark and go from there. Some ovens run hotter or cooler than others, so it's best to check every 20 minutes or so, or use an internal probe at the thigh.
IMPORTANT TIP:
When cooking the turkey, make sure you check the temperature with a food thermometer to ensure that the meat is cooked perfectly and that there is no risk of any foodborne illness. The FDA recommends a temperature of 175 degrees at the thickest part of the thigh to cook the turkey. There is some controversy regarding what temp actually means cooked, and what means overdone. My research has shown that most pull the turkey at 165 and tent to 170 – 175 degrees. Please use your own discretion.
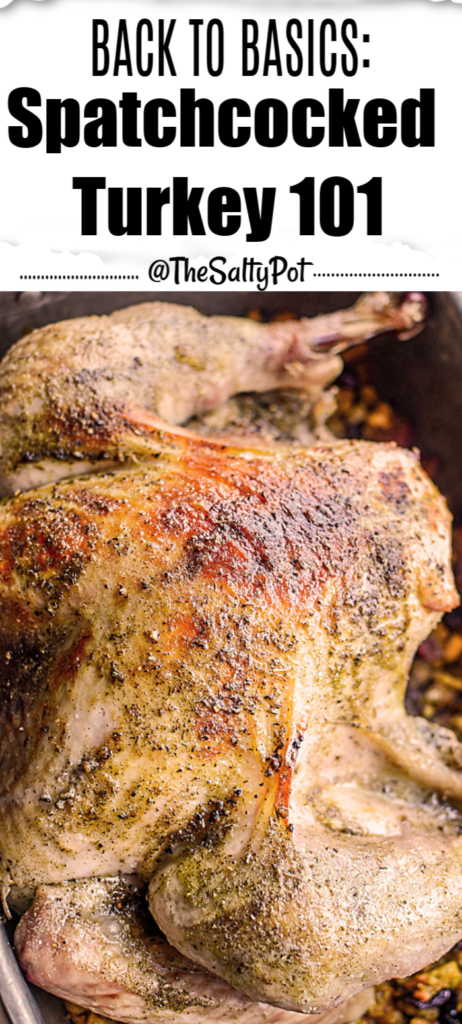
**DON’T FORGET TO PIN THIS SPATCHCOCKING A TURKEY 101 RECIPE TO YOUR FAVORITE PINTEREST BOARD TO USE FOR LATER!!**


Leave a Reply