Old Fashioned Butter Tarts
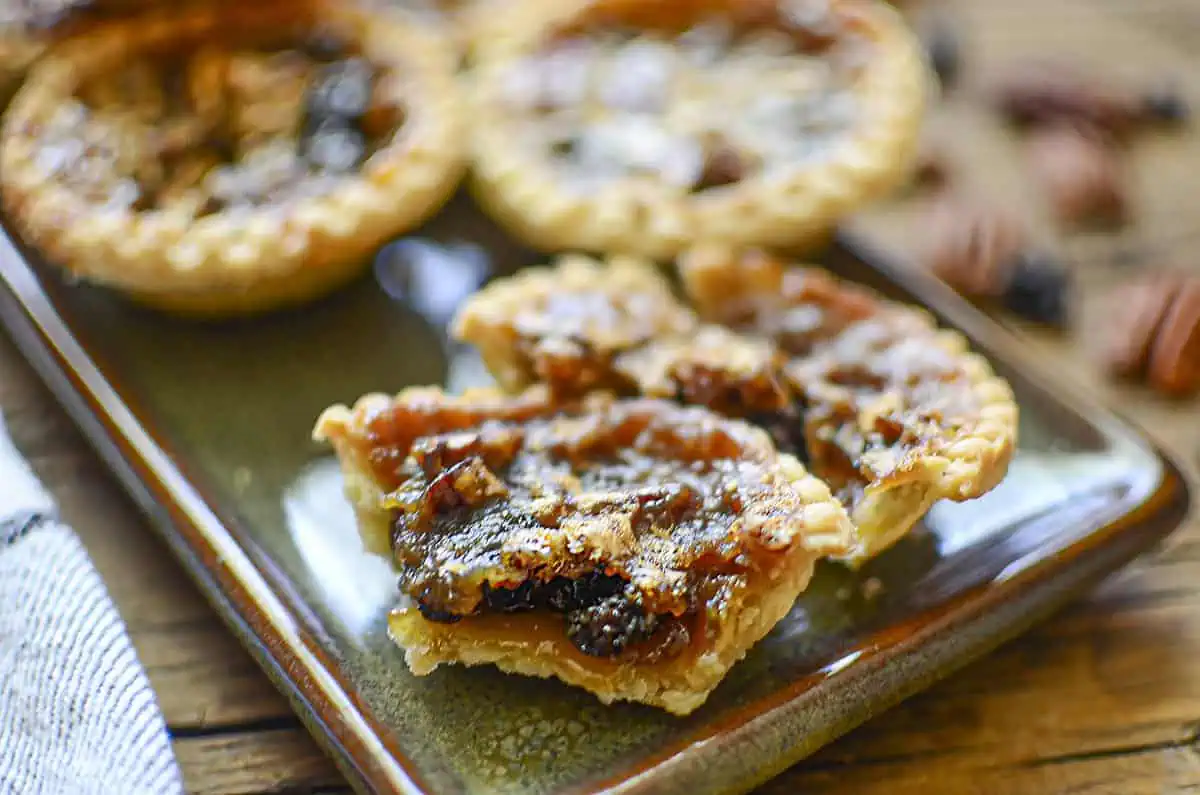
Old-fashioned butter tarts have sweet, buttery flavors with pecans and raisins encased in a light flaky tart shell.
Absolutely wonderful with a coffee or tea, and simply divine served warm from the oven!

Old Fashioned Butter Tarts = Distinctly Canadian!
Buttery Sweet Dessert Tarts
Old Fashioned Butter Tarts (or Canadian Butter Tarts) are a hotly debated dessert amongst Canadians. It’s down to the filling really, and is argued between a runny (slightly runny to drip on the chin when bit into) or a gooey inside (solid but gooey with no running center).
Also, it’s debated whether the tart should have additions like walnuts or pecans and raisins. Depending on the Canadian, some feel it’s not a true Butter Tart unless it has the additions, and others are purists who prefer the tart without the extra ingredients.
This traditionally Canadian tart has quite a history. The Canadian Broadcasting Company (CBC) did a wonderful and interesting history piece on the classic butter tart!
Ingredients You’ll Need
I love this recipe because it has all those classic, buttery, butter tart flavors but it’s crazy how fast the recipe comes together!
Remember when shopping for the ingredients in your butter tarts you want to have the best quality you possibly can get. This will help to ensure that you get that amazing buttery texture that everyone loves.
Tart shells: I always prefer to use a pre-made tart shell. I think that butter tarts made with thinner pastry shells allow the filling to shine. However, some people love a thicker, homemade pastry shell that they make themselves, like the one made over at Where Is My Spoon!
Brown sugar: Light or Dark brown sugar is fine to use here. I don’t recommend using white sugar. Brown sugar has molasses mixed in and the depth of flavor is a real flavor payoff in my opinion.
Butter: Unsalted would be your best bet when using butter. If you only have salted on hand, that’s fine as well, just leave out the added salt in the batter. Margarine works in this recipe, but it may not lend that rich buttery flavor we all crave in the tart.
Eggs: The freshest eggs you can have on hand are a perfect choice.
Vanilla: I like to use my Homemade Vanilla recipe, but the vanilla extract you have on hand will work nicely as well.
Optional Additional Ingredients
Corn Syrup: This is where the debate comes in. Do you want the filling slightly runny which is a delight in itself, or do you prefer or a gooey, non-runny inside? If you’re opting for a nice thicker caramel-type runny filling, opt to include the corn syrup.
Nuts: In these butter tarts, I used pecans. However, a classic touch when making these Canadian tarts is to use walnuts. The slight bitterness from a walnut helps to cut through the rich sweetness of the filling. I didn’t have walnuts on hand, so pecans are equally as delicious. I’ve seen almonds used in a pinch, but you’ll want to chop them fairly fine.
Raisins: Any raisin (Sultana, Thompson, Golden) that you have on hand is good to use if you want to add them. A handy hint would be to soak the raisins in some warm water for 30 minutes before using them if they are particularly tough or hard.
Interesting Ingredients: Depending on the season, holiday, or whatever ingredients you have on hand, you can add to the batter to put your own twist on the flavors. Cranberries, chocolate chips, coconut, raspberries, pears, apples, etc, can all be added to the tarts to switch things up. I made Cranberry Pear Butter Tarts at Christmas time that were a HUGE hit with my Mother’s sewing group. (The recipe was given out many times!)
If you are looking for an easy treat for your family and friends the old-fashioned butter tarts are a great choice!
Storing Suggestions
Room Temperature: Butter tarts can be kept for up to 2 days at room temperature if kept in a container that is air-tight.
Fridge: You’re looking at 7-10 days in the fridge if kept in a quality, airtight container.
Freezing: These dessert tarts freeze beautifully for up to 3 months! Separate the layers with parchment paper if storing on top of each other and use a high-quality, freezer-friendly container to keep them in.
Thawing: Remove them from the freezer an hour or so before serving and leave at room temperature. If serving the next day, remove them from the freezer in the container and keep them in the fridge with the lid on.
Other Desserts to Serve with these Tarts:
These mini tarts can be enjoyed with Minty Brownie Bars, Rhubarb Crumb Bars, and Walnut Date Bites.
For more ideas around the holidays, these whipped shortbread cookies, Eggnog Walnut Fudge, and Santa hat Cupcakes are perfect for the Christmas season to serve alongside the tarts.
If you want a fun twist on this flavor that screams warm and cozy Canada winter day try this Cranberry Pear Maple Butter Tarts recipe. If you really love tarts you will love these Ninja Foodi Mini Apple Tarts or a deliciously healthy fall treat like these Sour Cherry Chia Seed Tarts.
I hope you love these old-fashioned butter tarts! When you make the recipe I’d love to know what you thought of them, and if you customized the recipe at all! Please let me know in the comments below and don’t forget to give the recipe a STAR rating in the recipe card below. Have a wonderful day!

Old Fashioned Butter Tarts
Sweet, buttery, and classically Canadian, these Old Fashioned Butter Tarts will be a staple on your dessert table. Easy to make, and VERY easy to eat!
Ingredients
- 12 tart shells, ready-made
- 1/2c Brown sugar
- 1/4c Butter, salted, melted
- 1/2c Corn syrup, golden (amber or dark) **see notes
- 1 Egg
- 2 tsp Vanilla
- 1/2 c raisins
- 1/2 c pecans
Instructions
- Preheat the oven to 400F
- Place the frozen tarts on a foil-lined baking sheet.
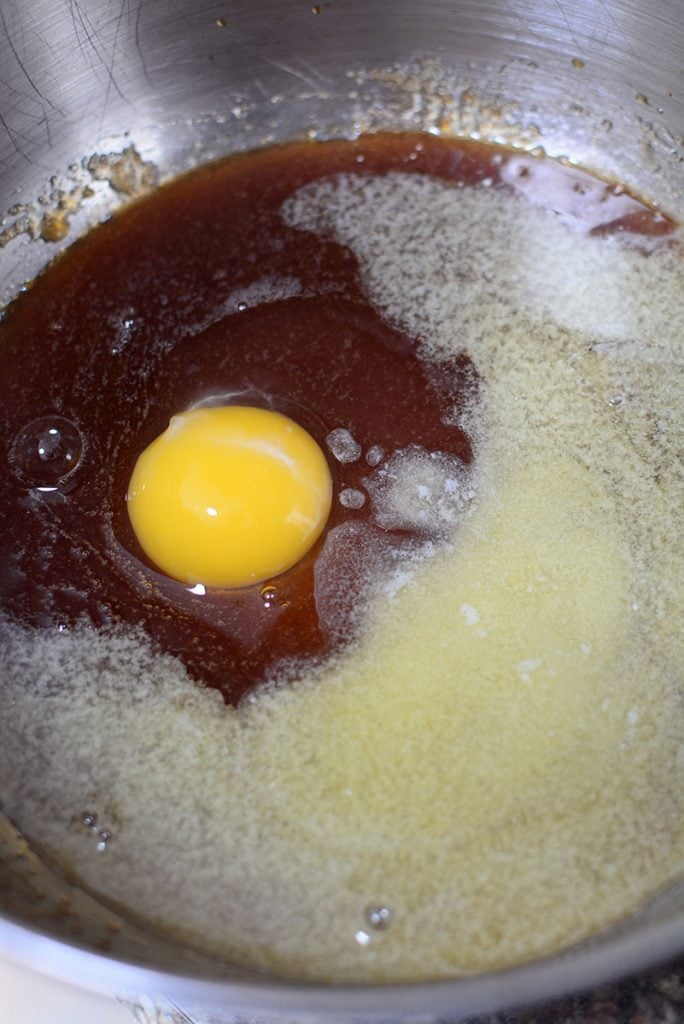
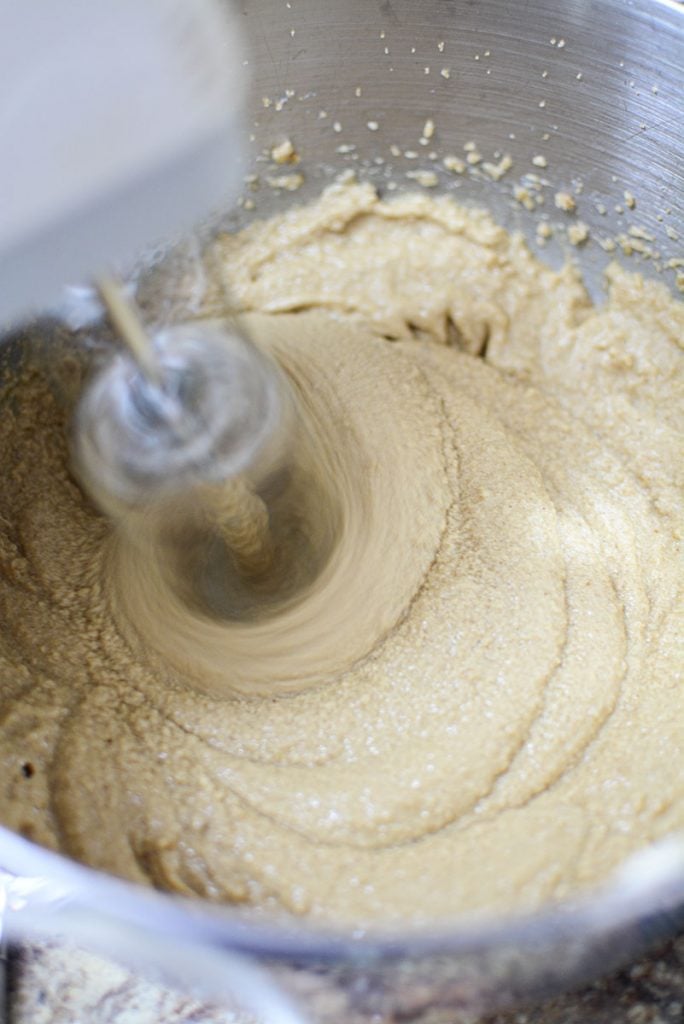
- In a bowl, combine and mix all the ingredients except the raisins and nuts. Set aside.
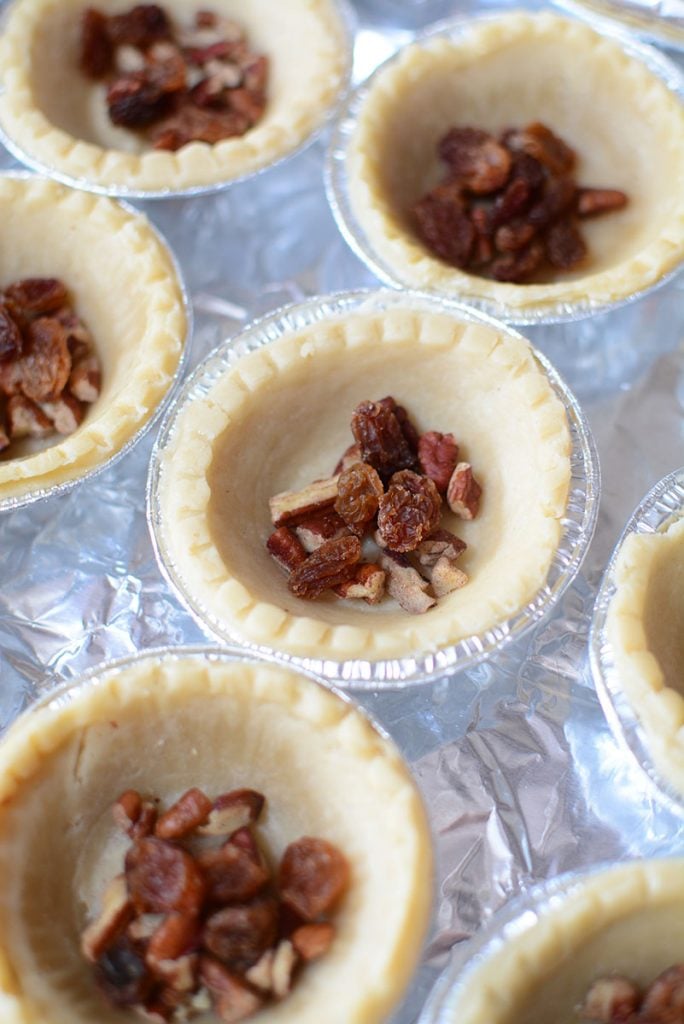
- Evenly divide the nuts and the raisins between all 12 tarts.
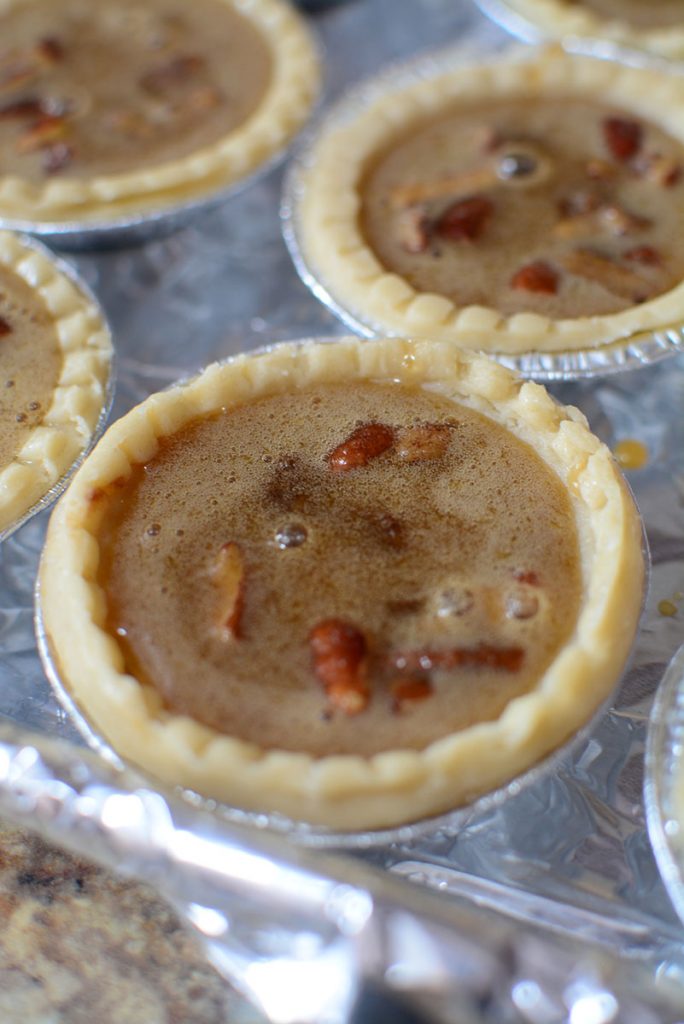
- Whisk the filling again and evenly divide it between all 12 tarts. I use a large coffee spoon, fill each tart with a spoonful, and then go back and divide the remaining mixture into all the tarts, evenly.
- Bake for 18 minutes or until the tops are cooked and the crust is golden brown.
- Remove and let cool.
- Enjoy!
Notes
1. Feel free to make your own tart shell pastry. I prefer to use commercially prepared tart shells because they are thinner shells.
2. I used pecan pieces, but you can use walnuts as well.
3. If the raisins are hard before you work with them, boil some water and submerge them in a few cups and let them sit for 30 minutes to plump up and soften.
4. If you use unsalted butter for this recipe, add a half teaspoon of salt to the filling.
5. Regarding the corn syrup: Add if you want a slightly runny inside that resembles caramel. If you prefer the inside gooey and chewy, omit the corn syrup.
Nutrition Information:
Yield: 12 Serving Size: 1Amount Per Serving: Calories: 590Total Fat: 25gSaturated Fat: 14gTrans Fat: 1gUnsaturated Fat: 9gCholesterol: 71mgSodium: 202mgCarbohydrates: 89gFiber: 3gSugar: 60gProtein: 6g
All nutritional information is based on third-party calculations and is only an estimate. Each recipe and nutritional value will vary depending on the brands you use, measuring methods, and portion sizes per household.



Nervous about not prebaking the crust-do they cook all the way through?
They absolutely do! 🙂
I pre bake mine for 8-10 mins