Santa’s Hat Cupcakes
It’s Christmas time, and you know what that means – Santa’s Hat Cupcakes! They are always on the list for Christmas Baking and they bring some holiday cheer to the dessert table, classroom party, or just a fun delicious treat.
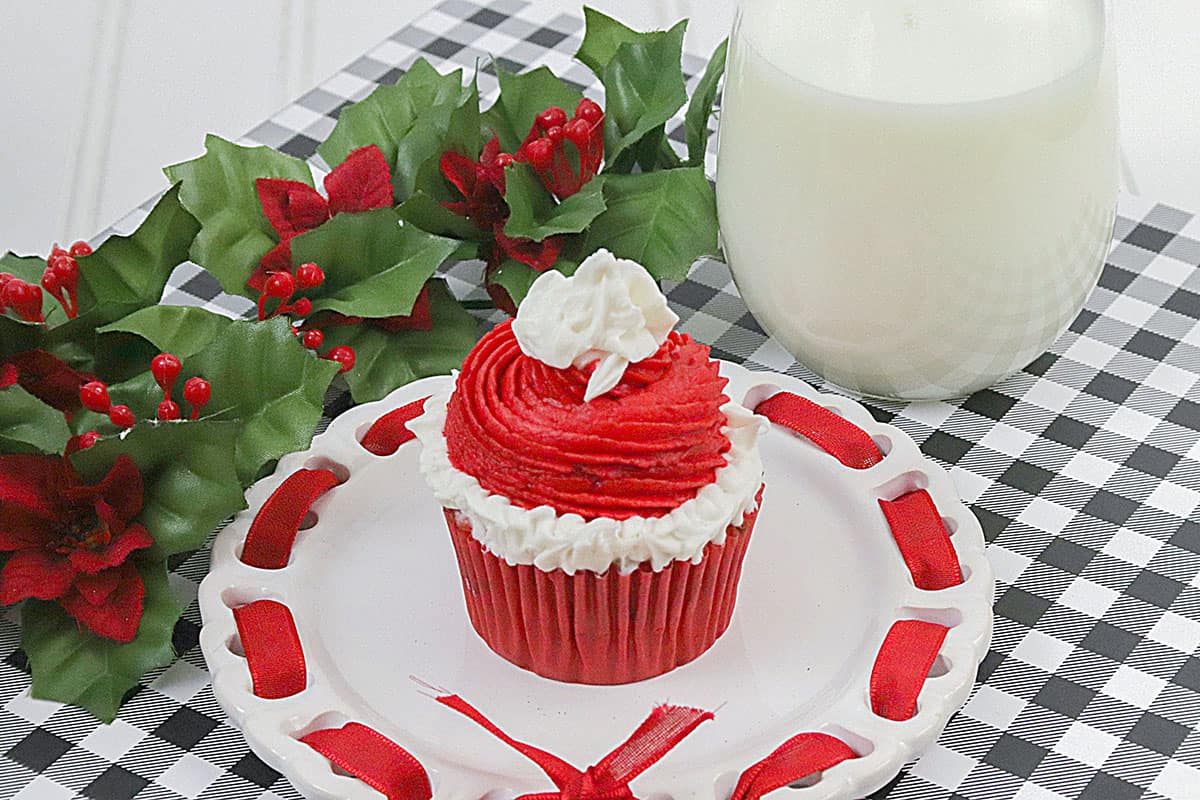
Cute as a button, Santa’s cupcakes are not only delicious but the epitome of a festive dessert. (Perfect to leave for Santa with a glass of milk on Christmas Eve!)
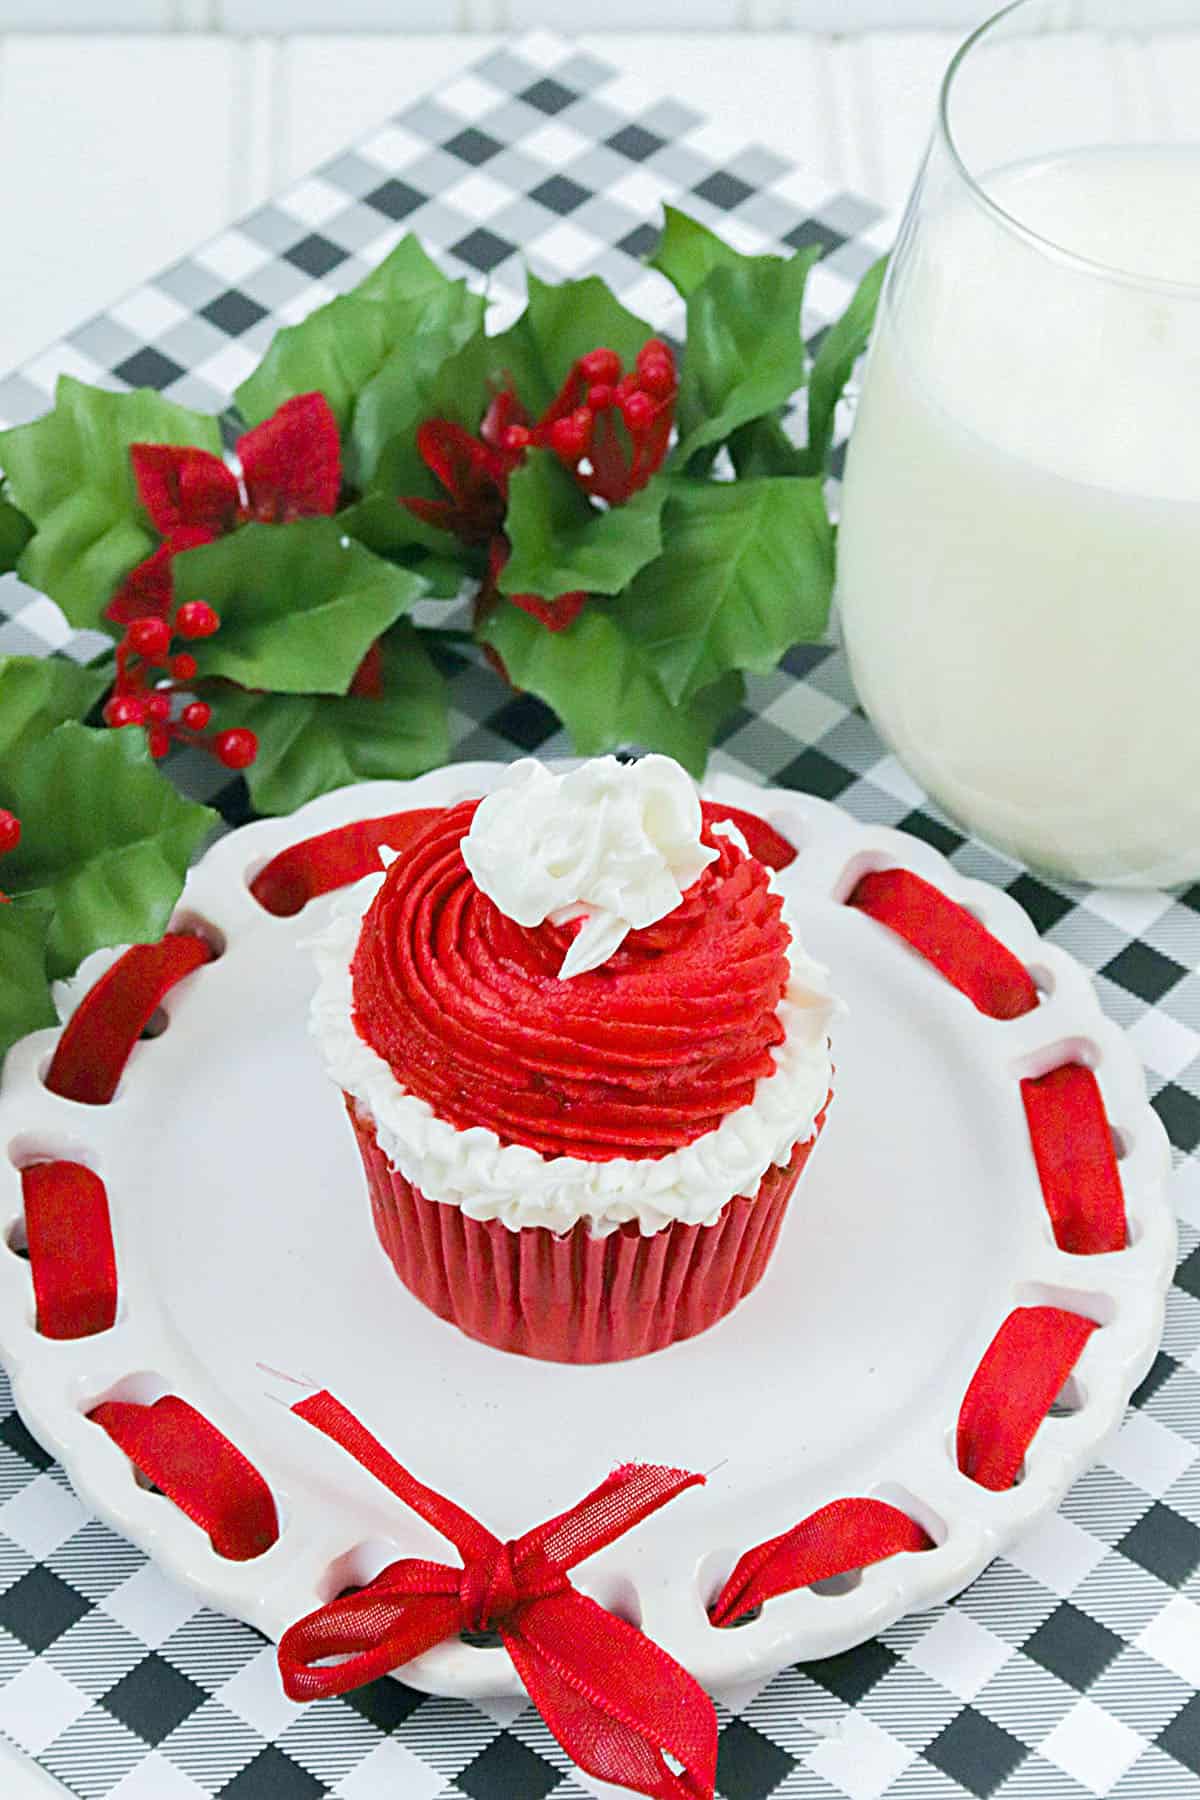
Santa’s Hat Cupcakes – Pretty and Festive!
Why This Santa’s Hats Cupcakes Recipe Works
Sometimes, we know how the Christmas season can get, and it’s easy to get a tad (or a whole lot) overwhelmed with all the things that need to be done. It’s nice to have a break from doing all the tasks and instead, get to make something fun and stinkin’ adorable!
So I have to say, my friend was making these adorable Christmas cupcakes and I’m thrilled that I get to share them with you! I love the fact that they look like tiny hats that Santa would wear (which little ones will LOVE).
And super easy to make as well. Win-Win!
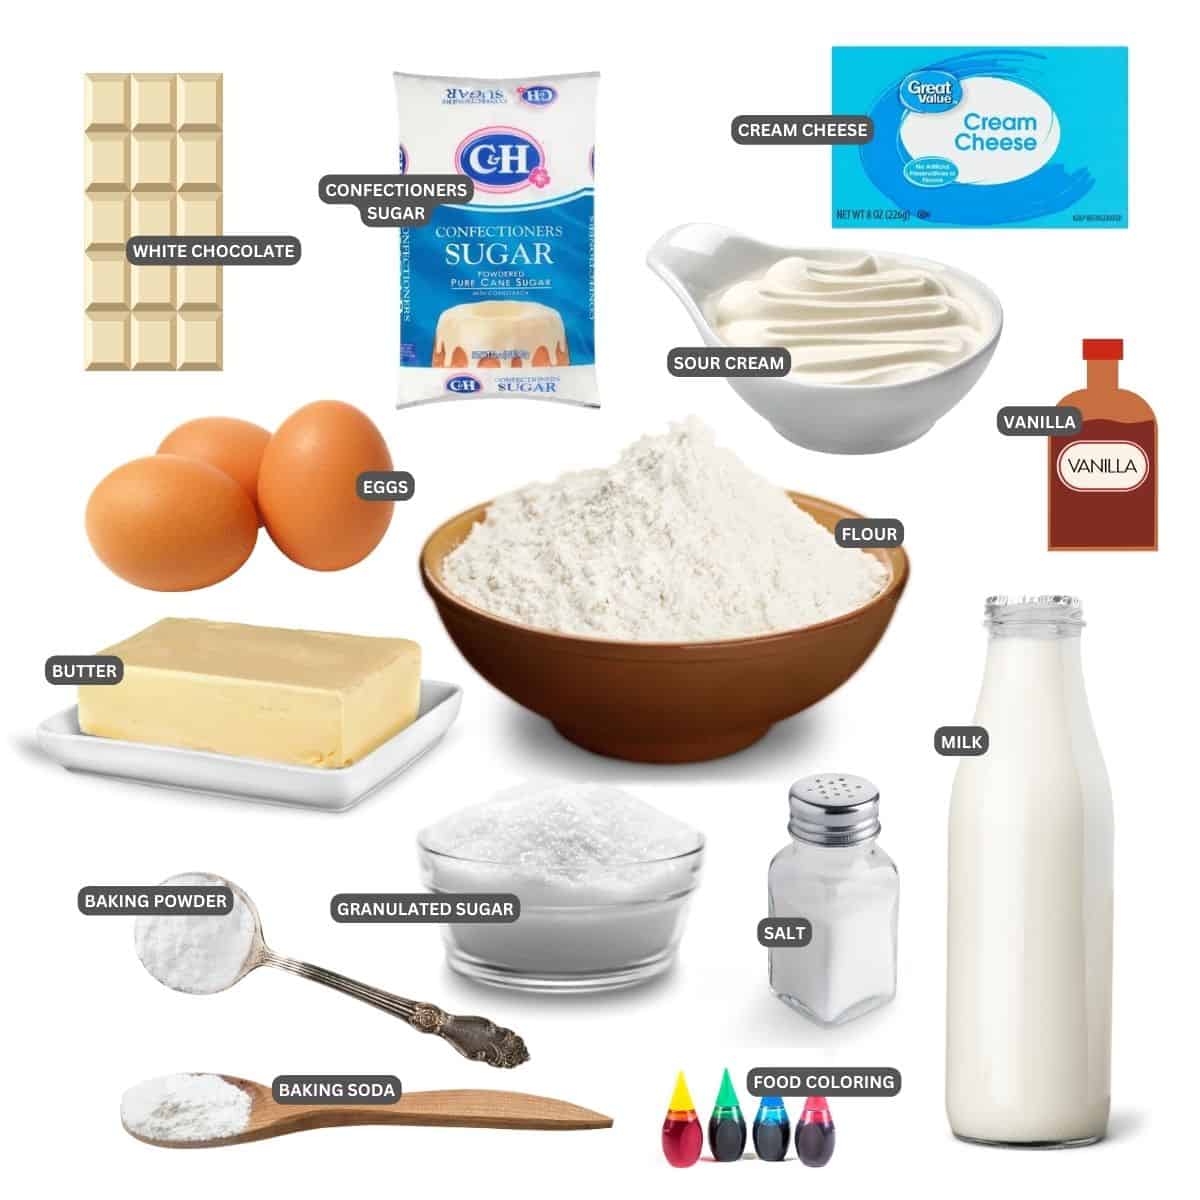
Ingredients Needed To Make These Adorable Festive Cupcakes
I’ll bet you have almost everything in your pantry right now! You’ll need:
For the Cupcake Ingredients:
- All-purpose flour
- Sugar – Use regular white sugar here. If you only have brown sugar on hand, that will work as well.
- Baking Powder – Use the freshest available for good leavening power.
- Baking Soda – Same as the baking soda.
- Salt
- Butter – Please leave it at room temperature to soften. It will be much easier to incorporate into the batter that way.
- Milk – A higher fat percentage milk will lend a richer cupcake. If you’d prefer to keep the calories down slightly, use 1 percent or skim milk.
- Sour cream
- Vanilla
- Eggs – Room temperature eggs (or, at least right out of the fridge) will make a lighter, more fluffy cupcake.
- White baking chocolate
- Green and red food coloring (Optional) – No food color is necessary in the cupcake batter. I think it helps add to the festive feelings of the baked treat, but if you’d rather not add it, that’s totally fine.
Butter Cream Frosting Ingredients
- Unsalted Butter
- Confectioners’ sugar – Don’t use regular granulated sugar. The grains of the sugar will not dissolve, making the icing very grainy.
- Milk
- Cream Cheese – Same as with the butter, use room temperature cream cheese for best results.
- Green and red food coloring
Making these Santa’s Hat Cupcakes Perfect
These aren’t hard to make, so that’s part of the beauty of these holiday cupcakes. While I like baking cupcakes in silicone liners if you don’t have them, I recommend using paper cupcake liners for this recipe. However, if you know all the homemade cupcakes will be eaten ‘in-house’ and not given away, then go ahead and use the silicone liners.
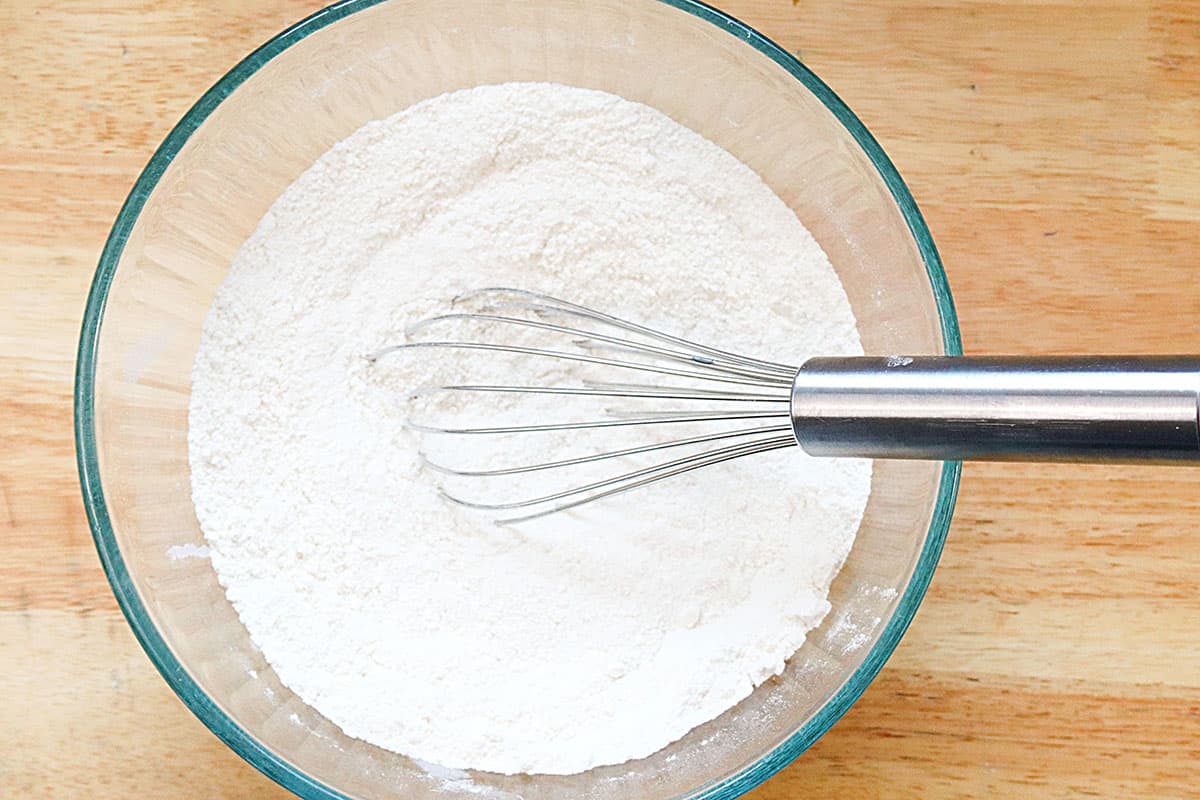
In a large mixing bowl, add flour, sugar, baking soda, baking powder, and salt. Whisk dry ingredients well.
Using a hand or stand mixer, cream together butter and vanilla until light and fluffy. Add in sour cream and mix on low speed for 1 minute. Add in milk and mix on medium for 1 minute.
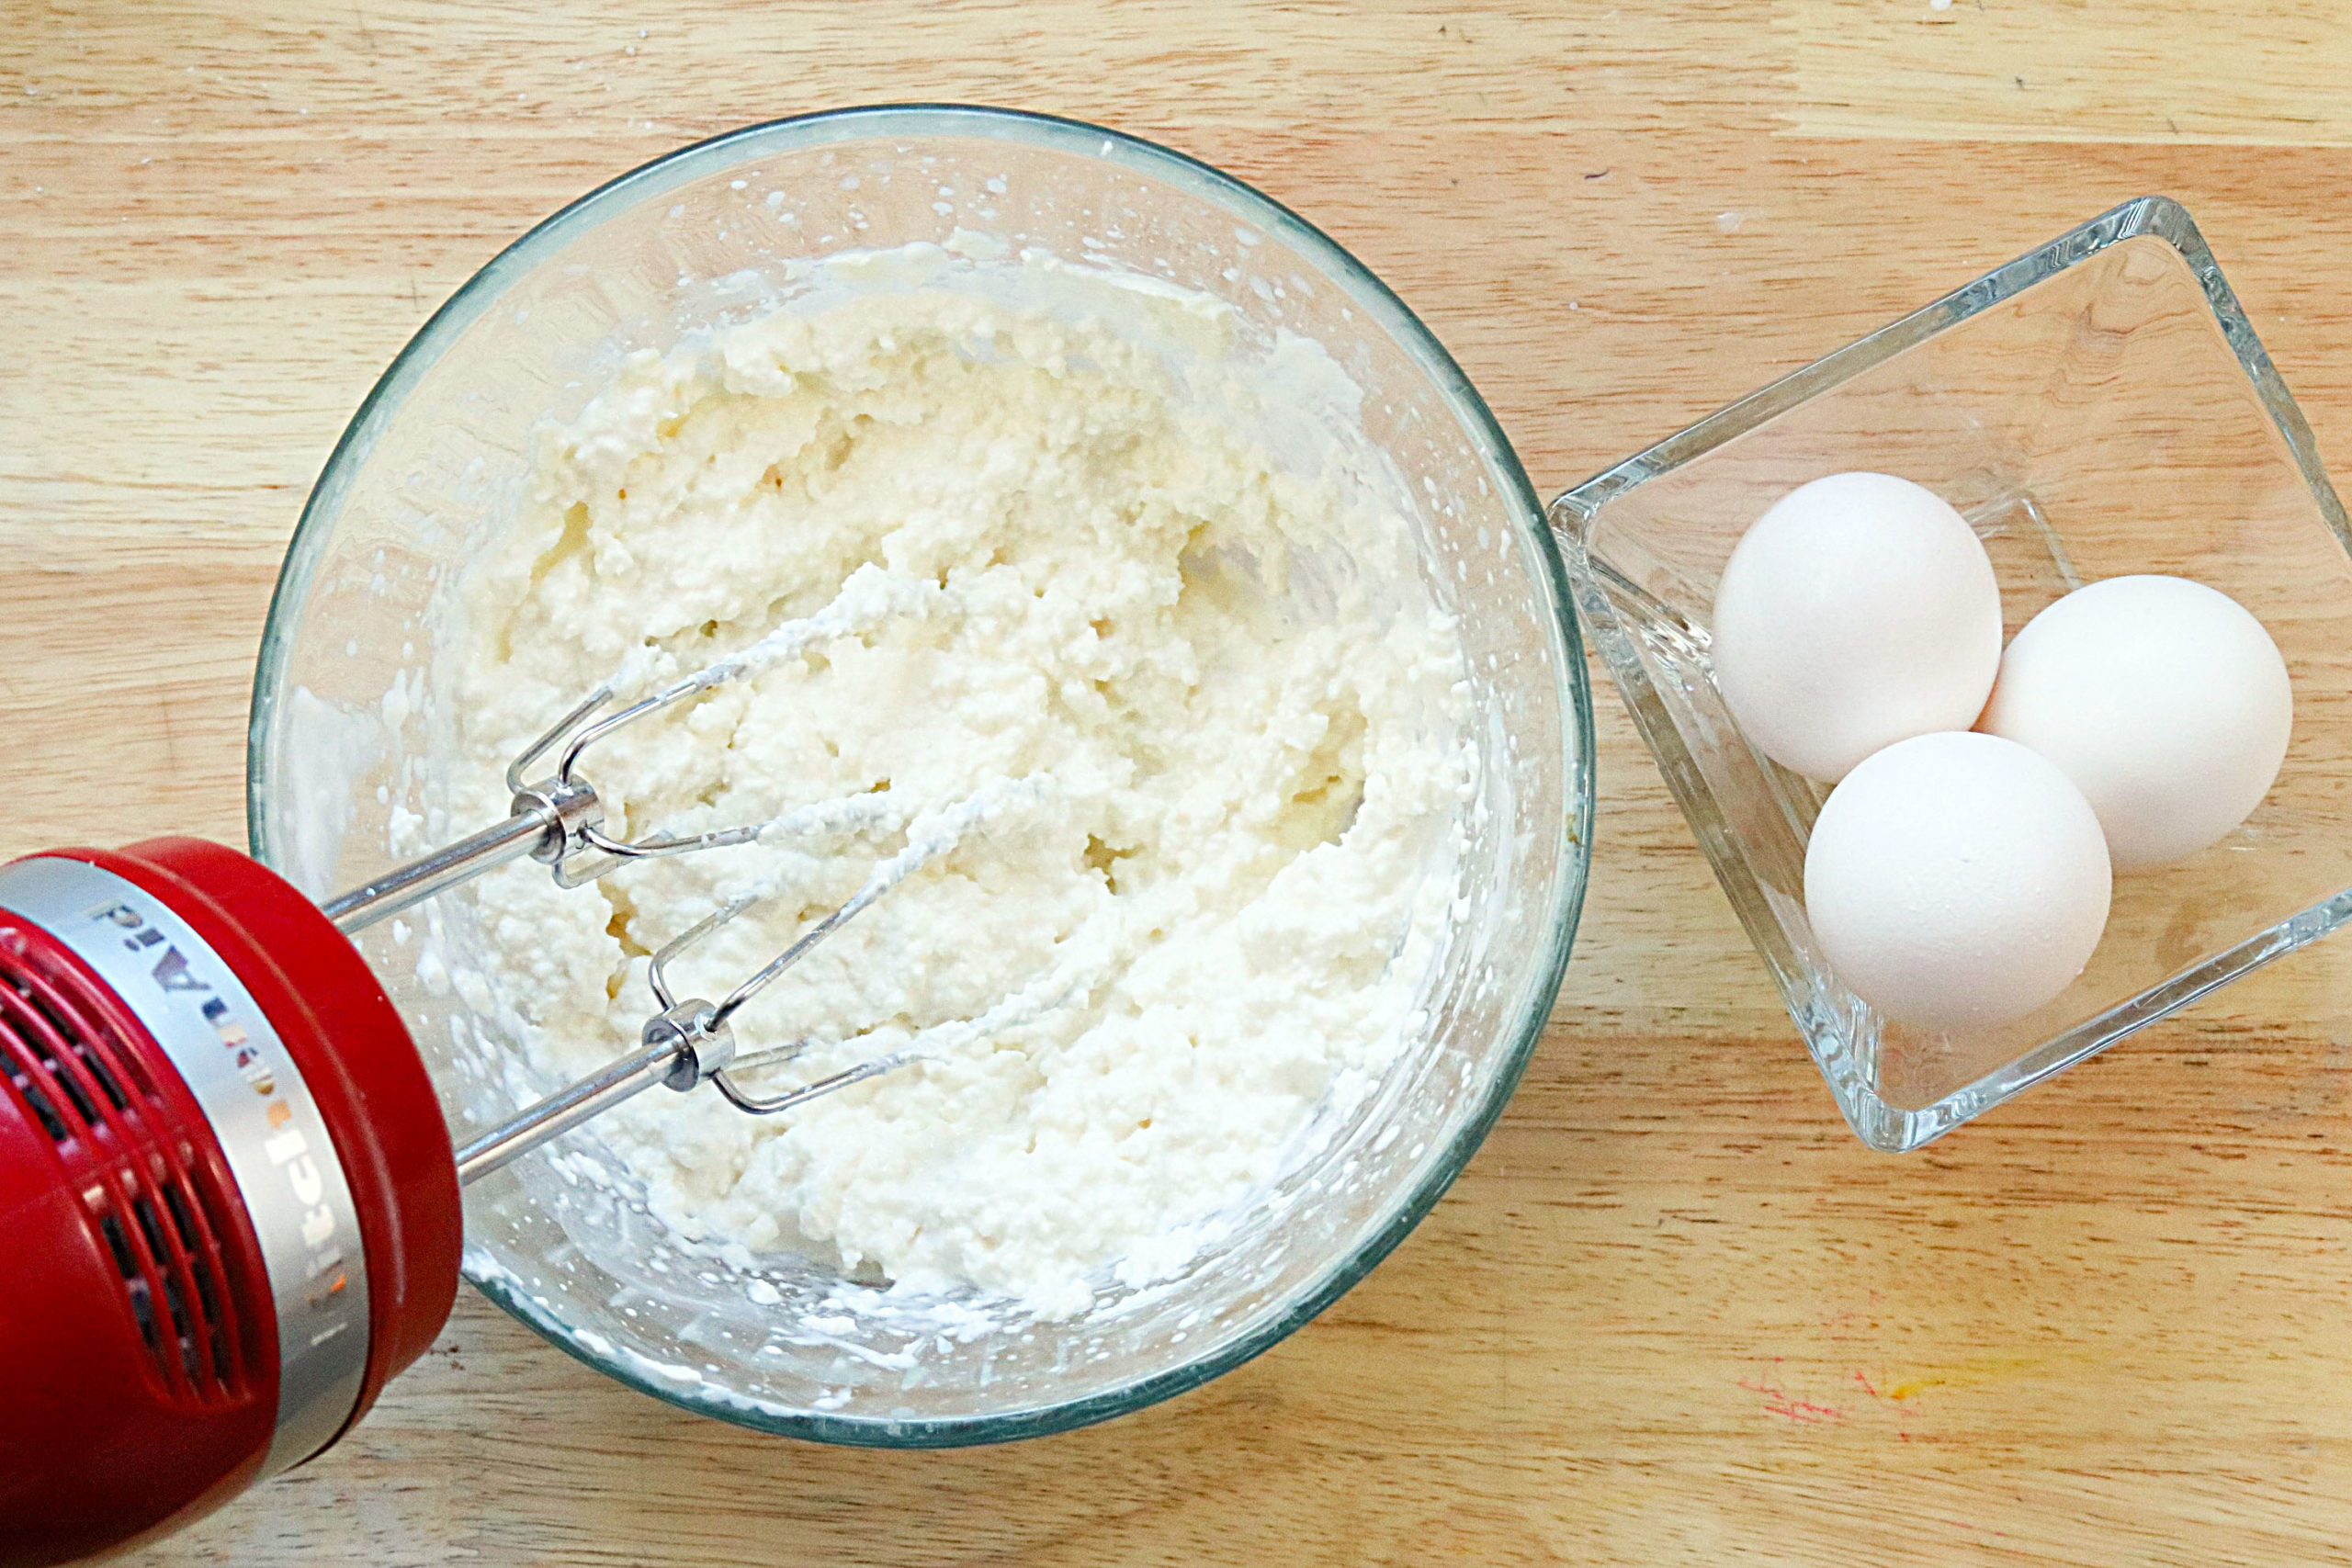
On low, mix in eggs, one at a time.
Using the microwave, melt baking chocolate. Mix into the wet ingredients.
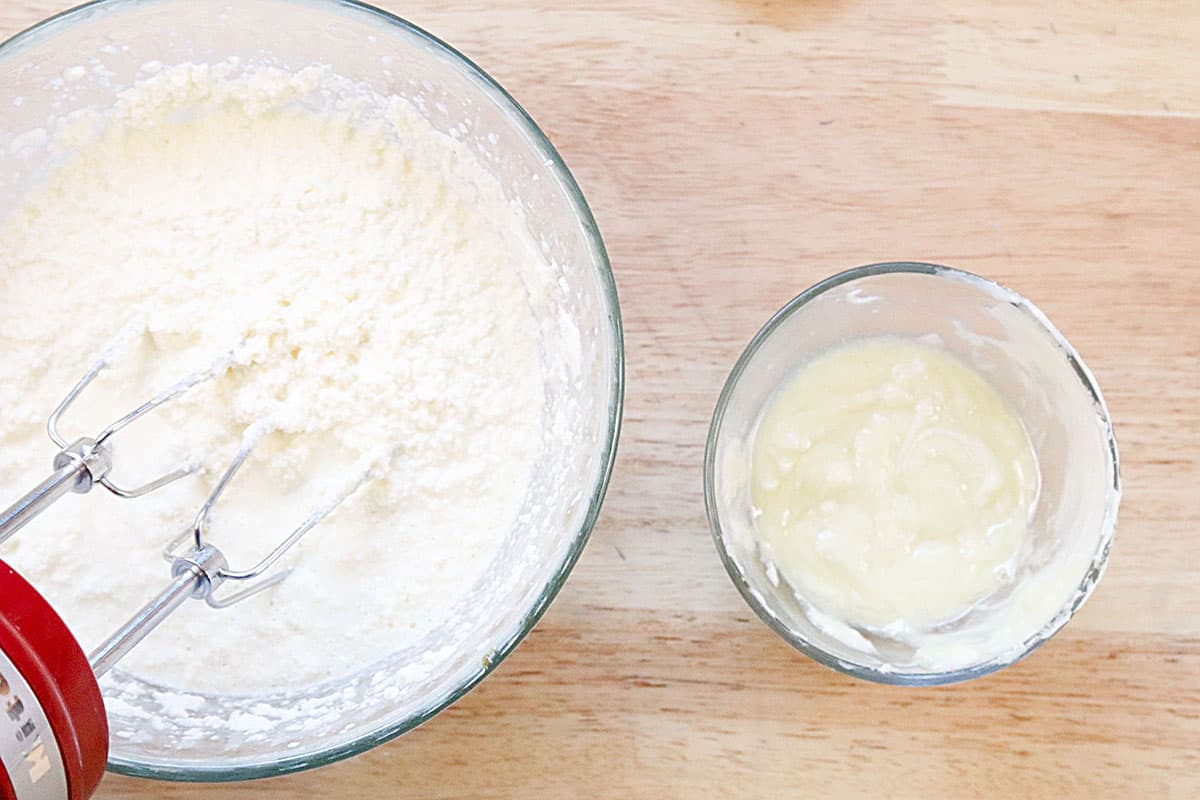
Fold the wet ingredients into the dry ingredients. Divide batter evenly between 3 small bowls.
Add green food coloring to one, and red food coloring to the other, and leave the third bowl uncolored.
Line a 12-cup muffin pan with baking liners.
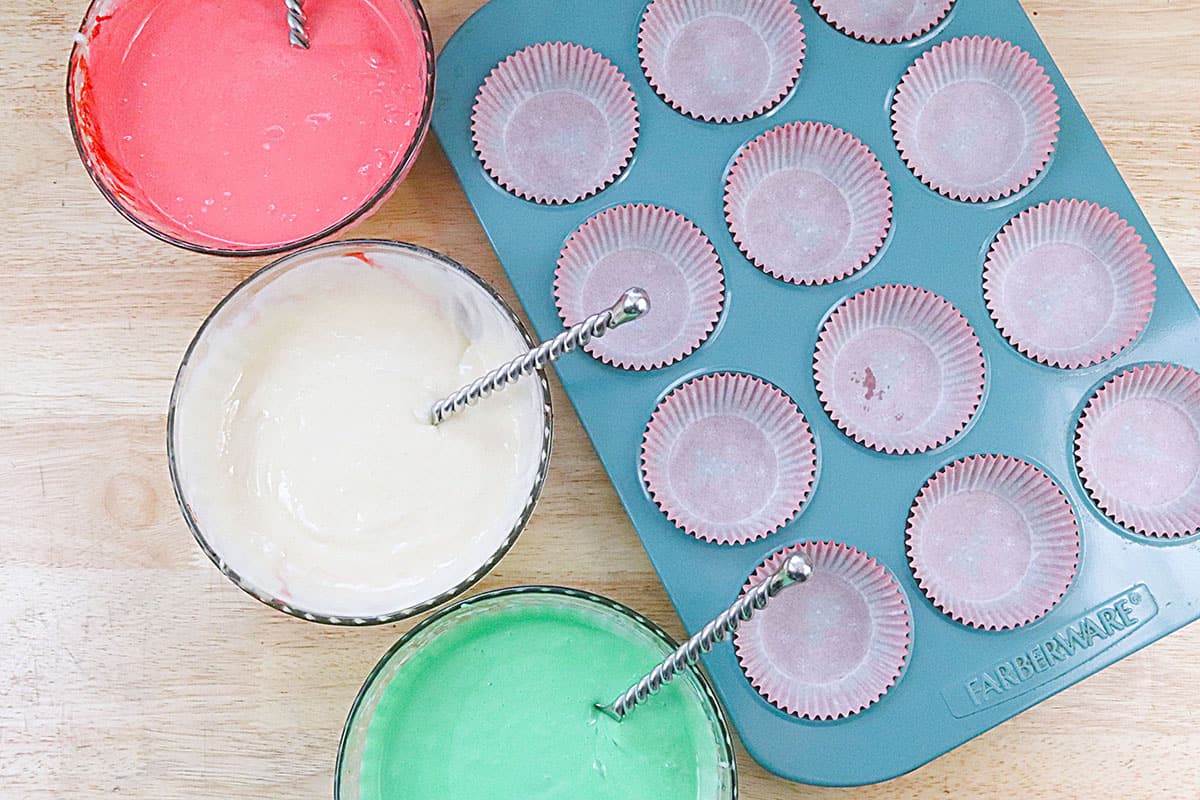
Using a spoon, add each color of batter into the muffin tin until about 2/3 full. Bake for 15-17 minutes, or until a toothpick comes out clean.
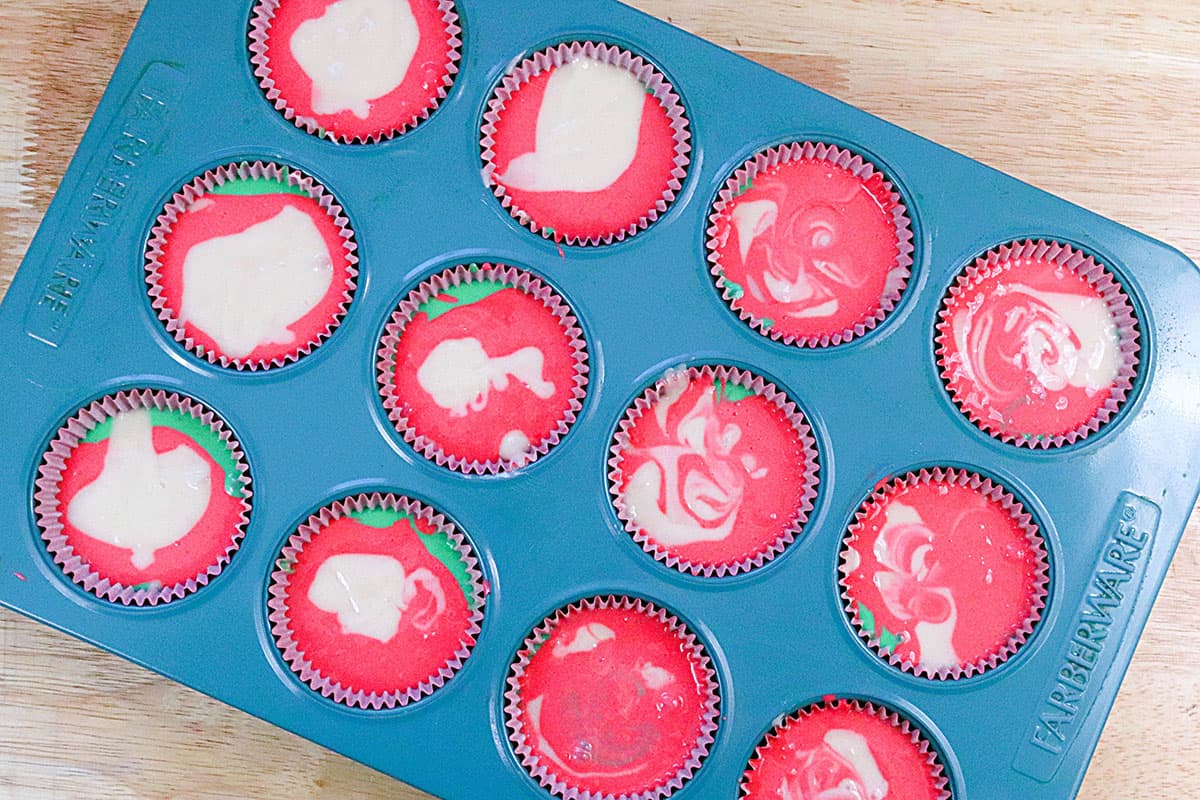
While the cupcakes are baking, start the frosting.
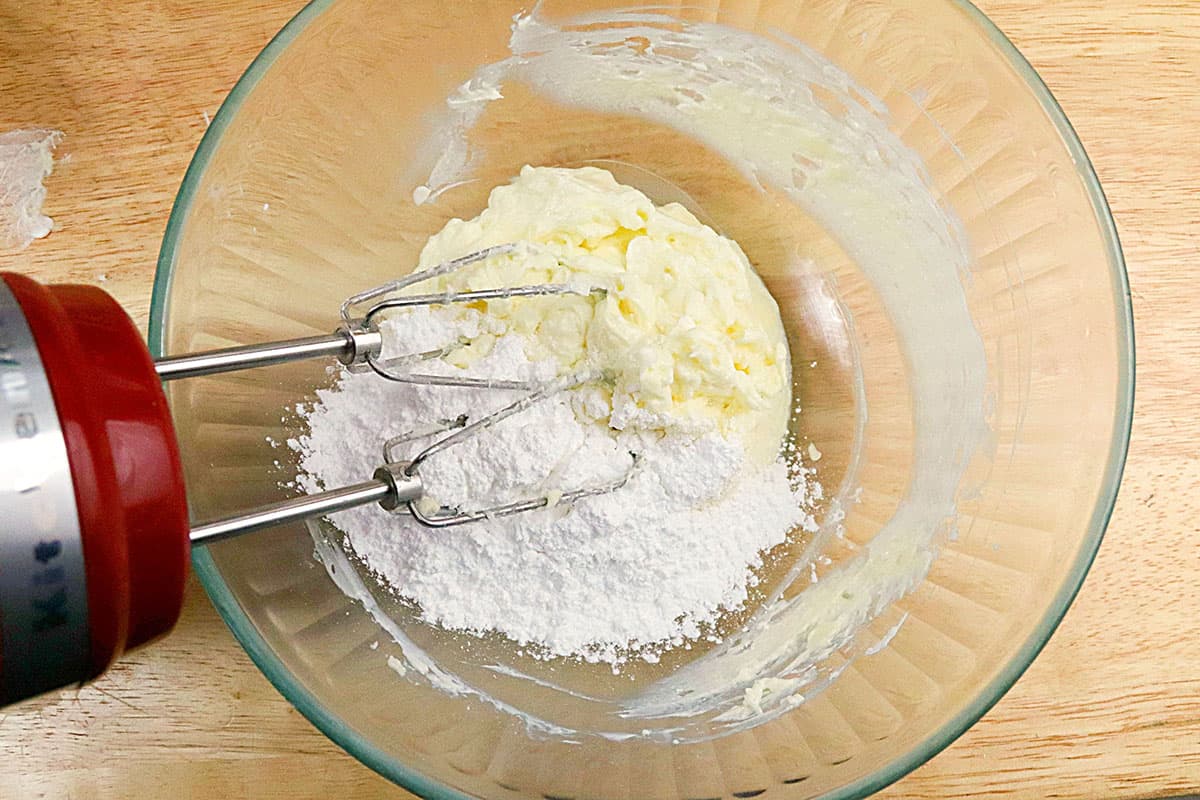
Add the frosting ingredients to a bowl and mix until fluffy. Separate the frosting into two bowls and using the red food coloring, color one of the bowls of frosting a festive red color.
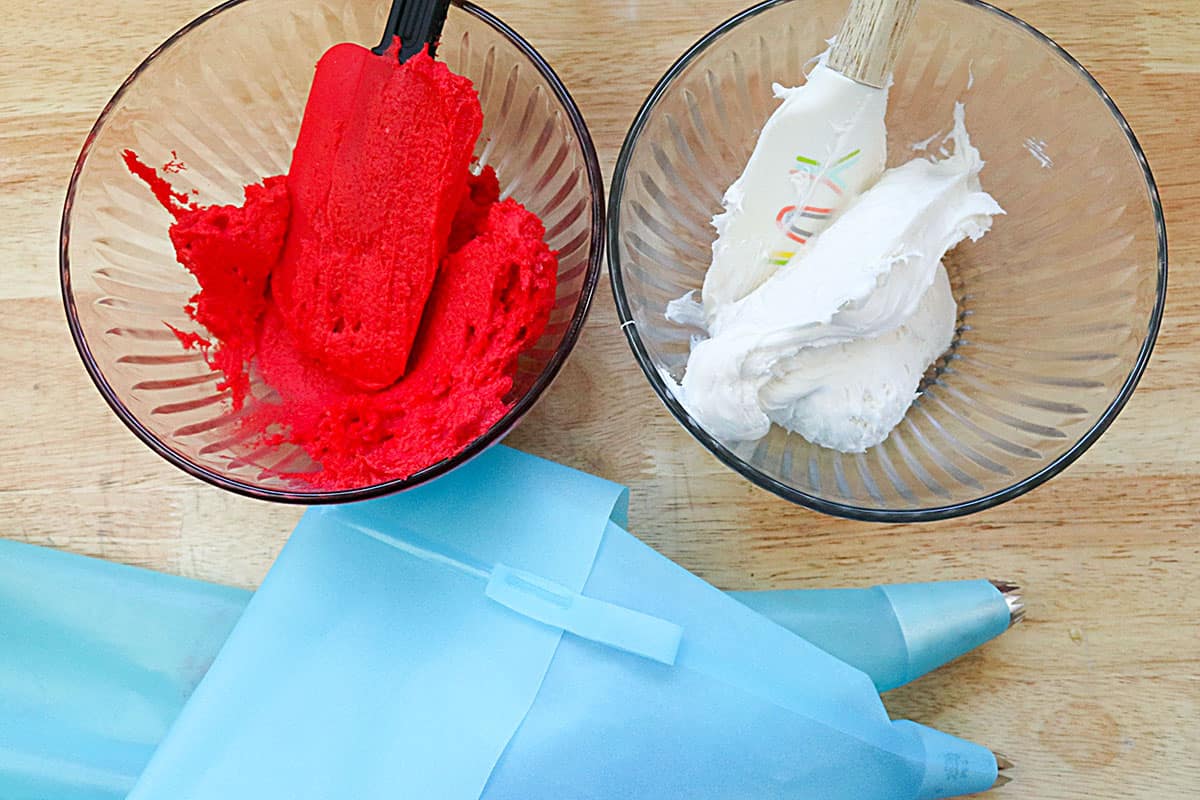
Wait until the baked cupcakes cool completely to frost.
To Pipe the Hat Onto The Cupcake
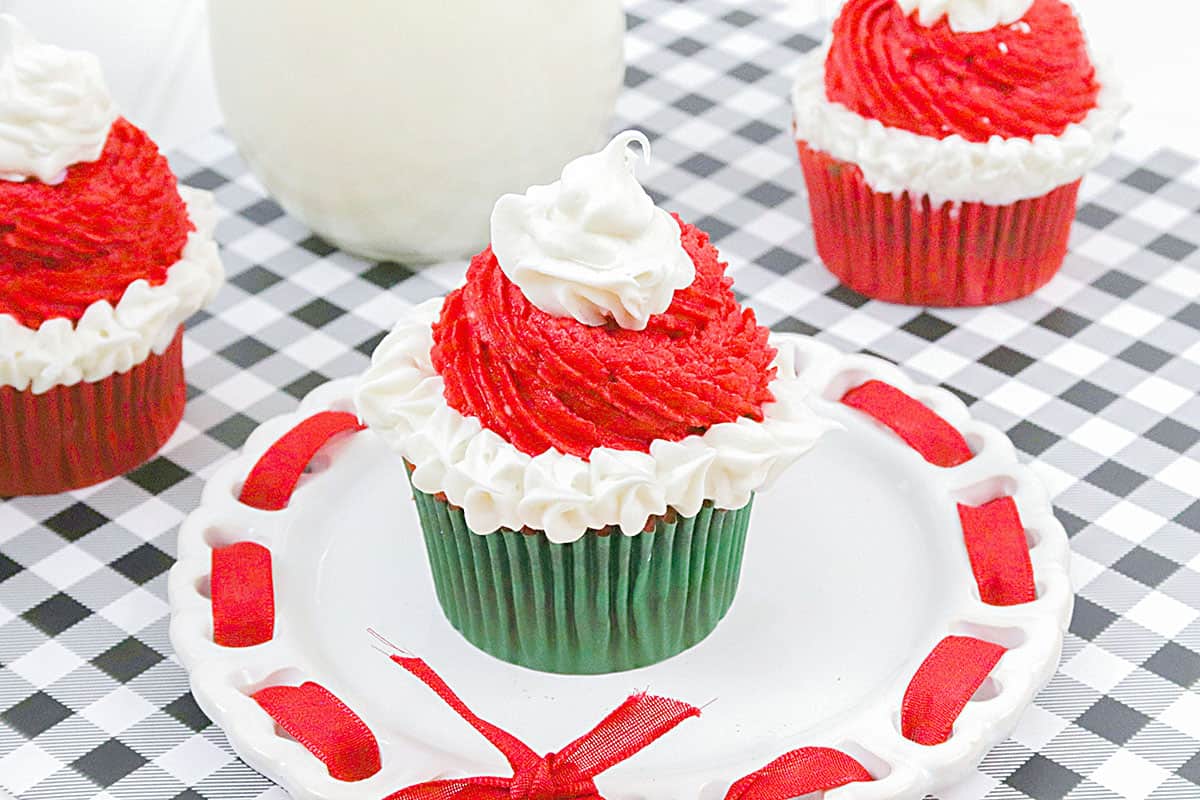
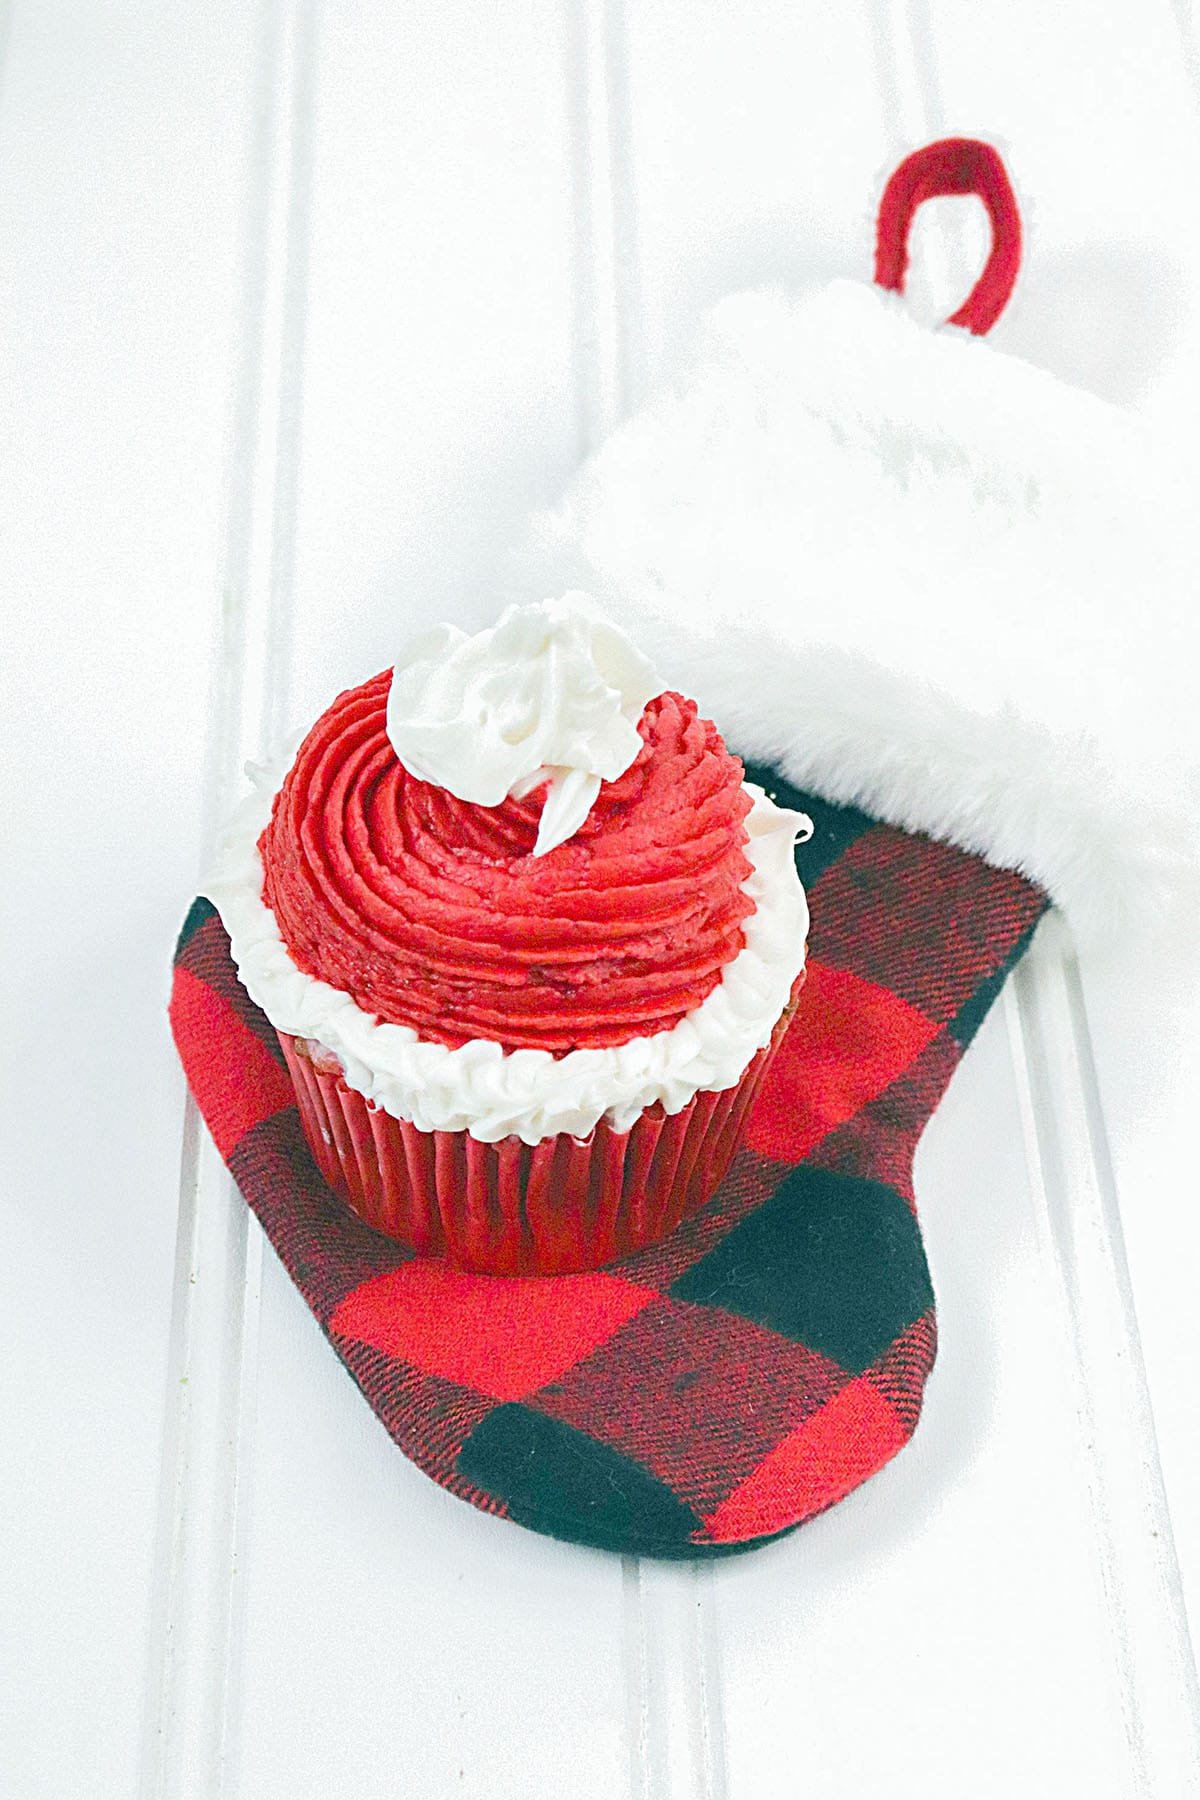
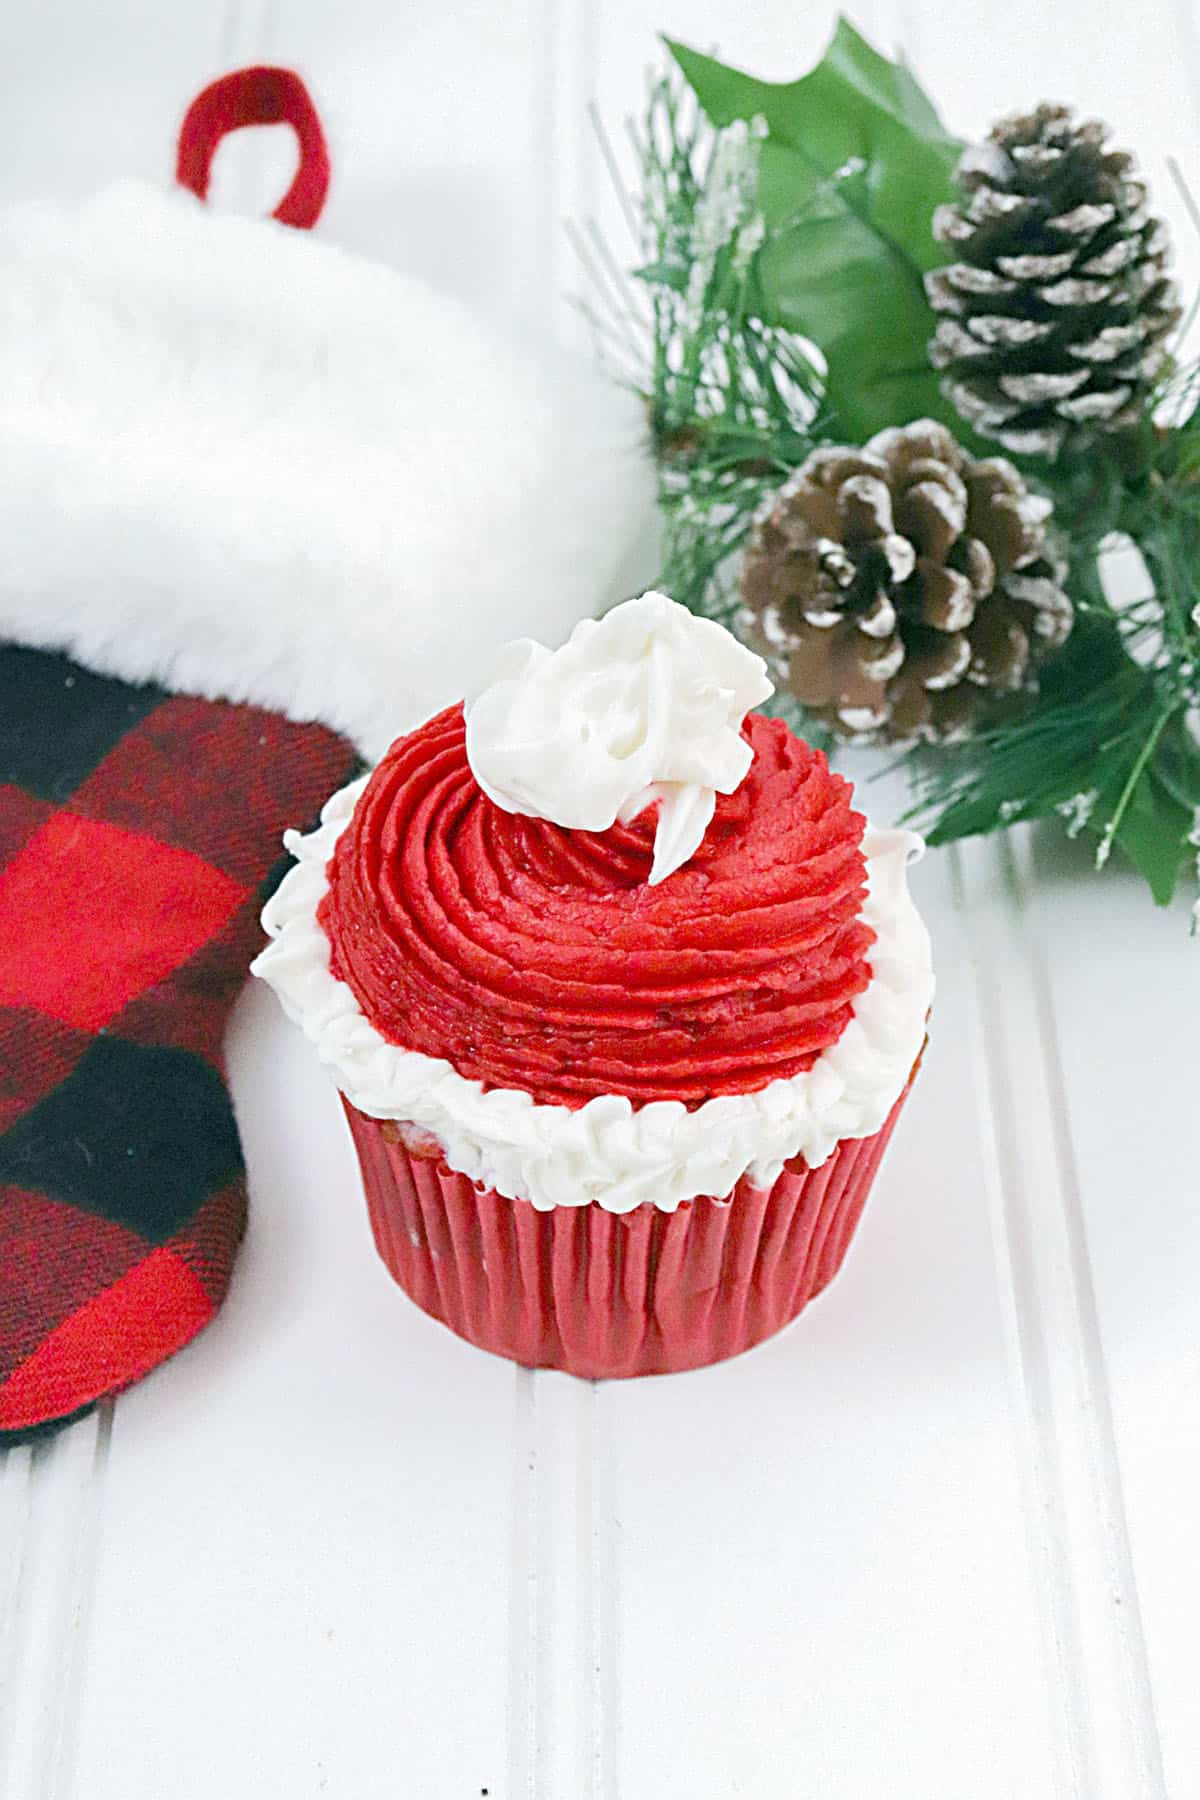
Pipe a swirl onto the top of the cupcake with the red icing, leaving a border on the edge to pipe the white ‘fur’ portion of that hat.
With the white icing, pipe individual little dollops around the edge of the cupcake, right next to the red icing swirl. This completes the white fur edge of his hat.
Place a dolloped swirl of white icing on top of the red to make the pompom, or tip of his hat.
Everything from cookies, cakes, candies, rolls, etc, etc, etc are on the Christmas dessert/treat list every year.How Long Will These Cupcakes Keep For?
If kept in an air-tight container, the frosted cupcakes will be good for approximately 5 days in the fridge. Be sure to keep them covered because the icing could dry out if uncovered in the fridge.
Questions You Might Have About This Cupcake Recipe
Yes, absolutely. I will say though, that butter will give the cupcakes a much richer and more full-bodied flavor in comparison to using margarine. If you can use butter, use it.
If not, that’s totally fine, and use margarine. The amounts will be the same, and your cupcakes will bake up just as nicely.
Yes, that’s not a problem. Go ahead and make up the cupcakes a day or two ahead of time. Keep them in an airtight container, in the refrigerator. When you’re ready to frost, make up the icing the day you’re serving them and then go ahead and pipe them out. Personally, I would serve them the day I frosted them so they are nice and fresh. Cover them in some loose-fitting plastic wrap and again, keep them chilled.
Bring them out a short while before serving to come up to room temp.
Can I Freeze These Cupcakes?
Sure can! I would freeze them in a freezer-friendly, airtight container or even a well-sealed freezer bag. It would also help to keep the freshness if you added one sheet of paper towel to the freezer bag.
When you want to serve them, thaw them on the countertop or in the fridge overnight. I don’t recommend putting them in the microwave to thaw.
Remember, freeze the cupcakes UNFROSTED. I do not recommend freezing them with the frosting on top unless you have a way to keep the cover off of the frosting to avoid flattening it.
There you have it! I hope that when you make these adorable Santa’s Hat Cupcakes you tag me in a post on Facebook or email me a few pics because I’d love to see them. If you’re looking for more super easy and festive Christmas treats, take a peek at my Wagon Wheel Reindeers, Santa’s Sweet and Salty Cookies, my Butter Caramel Toffee Cookies, or my famous Eggnog Walnut Fudge!
Thanks so much for stopping by The Salty Pot and have a fantastic day. See you next time!
~Joanne
SANTA'S HAT CUPCAKES
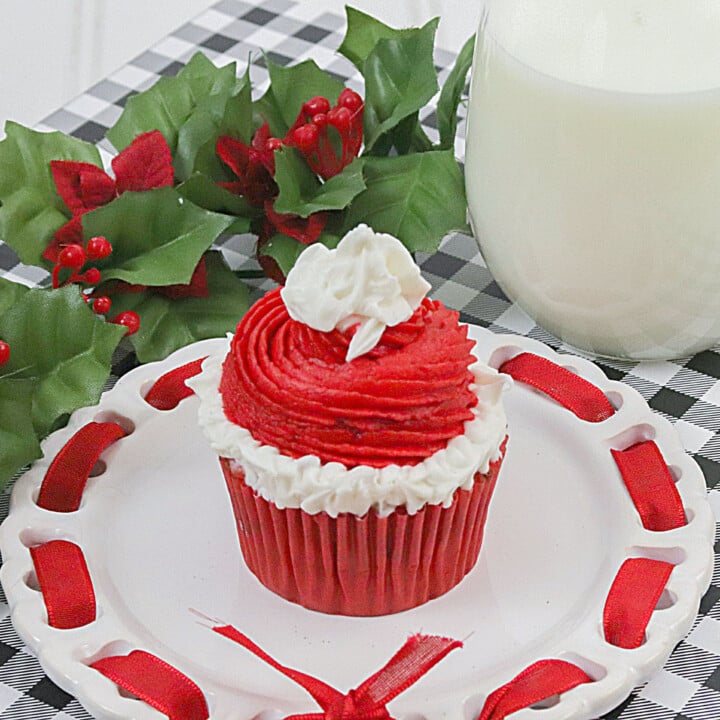
These adorable Santa's Hat Cupcakes are as easy to make as they are to eat! Any little one's eyes will brighten like Christmas morning when they see these super cute little cakes. (Plus, if you get them help make them, they'll love them even more!!
Ingredients
- Cupcake Ingredients:
- • 2 ½ cups all-purpose flour
- • 2 cups white granulated sugar
- • 2 teaspoons baking powder
- • 1 teaspoon baking soda
- • 1 teaspoon salt
- • ½ cup butter, softened
- • ½ cup milk
- • ½ cup sour cream
- • 2 teaspoons vanilla
- • 3 large egg
- • 6 ounces of white baking chocolate
- • Green and red food coloring
- Frosting Ingredients
- • 1 stick room temperature unsalted butter
- • 1 stick room temperature unsalted butter
- • 4 cups confectioners’ sugar
- • 4 cups confectioners’ sugar
- • 1/4 cup whole milk
- • 1/4 cup whole milk
- • 4 ounces cream cheese, room temperature
- • 4 ounces cream cheese, room temperature
- • Red food color gel
- • Red food color gel
Instructions
Step 1: Preheat oven to 350 degrees. In a large mixing bowl,
add flour, sugar, baking soda, baking powder and salt.
Step 2: Whisk dry ingredients well.
Step 3: Using a hand or stand mixer, cream together butter and vanilla until light and fluffy. Add in sour cream and mix on low speed for 1 minute. Add in milk and mix on medium for 1 minute.
Step 4: On low, mix in eggs, one at a time.
Step 5: Using the microwave, melt baking chocolate. Mix into the wet ingredients.
Step 6: Fold the wet ingredients into the dry ingredients.
Step 7: Divide batter evenly between 3 small bowls. Add green food coloring to one, and red food coloring to the other, and leave the third bowl uncolored.
Step 8: Line a 12-cup muffin pan with baking liners.
Step 9: Using a spoon, add each color of batter into the muffin tin until about 2/3 full. Bake for 15-17 minutes, or until a toothpick comes out clean.
Directions for Frosting:
Step 1: In a large mixing bowl or stand mixer, cream together butter and cream cheese and beat until light and fluffy.
Step 2: Slowly mix in the powdered sugar, 1 cup at a time, while adding a bit of milk in between each cup. Mix for 1 minute or until creamy.
Step 3: Separate frosting into two bowls, adding red food coloring to one and leaving the other without color. Place into two separate piping bags.
Pipe the red frosting in a swirl. Next, take the piping bag with the white frosting and add a tip to the top of the red swirl. Then pipe small swirls around the base of the red swirl.
·
·
Notes
Be sure cupcakes are completely cooled before you begin to frost them. Also, if you're not super practiced at piping, practice a bit on some waxed or parchment paper till you get the hang of it. You can scoop that frosting back into the piping bag when you're ready to begin with the cupcakes.
Nutrition Information:
Yield: 12 Serving Size: 1Amount Per Serving: Calories: 711Total Fat: 31gSaturated Fat: 18gTrans Fat: 0gUnsaturated Fat: 11gCholesterol: 105mgSodium: 515mgCarbohydrates: 101gFiber: 3gSugar: 75gProtein: 8g
All nutritional information is based on third-party calculations and is only an estimate. Each recipe and nutritional value will vary depending on the brands you use, measuring methods, and portion sizes per household.
