Delicious and Unique Pickle Brined Fried Chicken
Pickle Brined Fried Chicken isn’t just delicious—it’s a total game-changer. The brine works double duty, keeping the chicken super juicy while adding a subtle tangy depth of flavor. Then, it gets coated in a perfectly seasoned, crispy crust that delivers that irresistible crunch with every bite. It’s everything you love about fried chicken but with a little something extra that makes it stand out.
And the best part? It’s easy to make with simple ingredients you probably already have on hand (just like my air fryer butterflied chicken legs recipe!). Trust me, once you try this, it’s going to be the most requested fried chicken at every cookout!
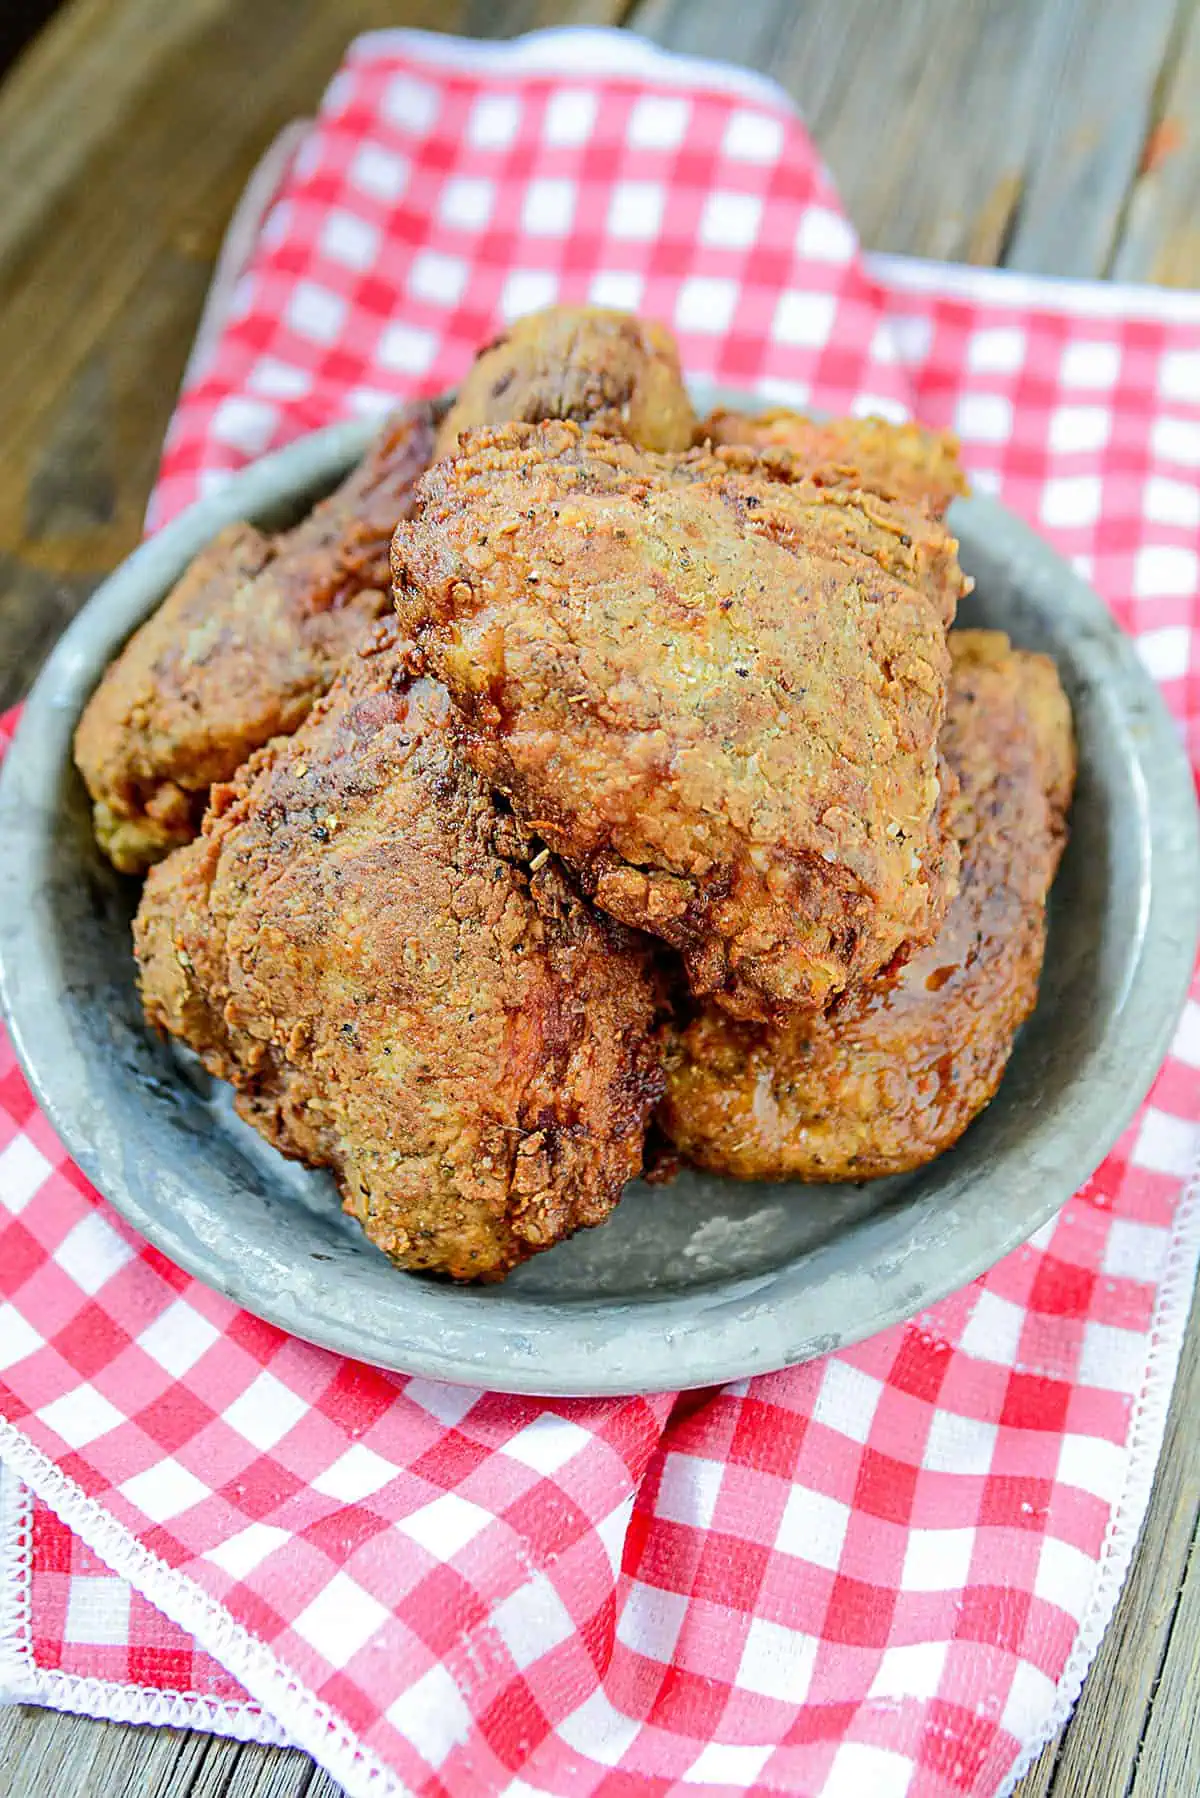
Why You’ll Love This Fried Chicken
🔥 Unbelievably Juicy – Thanks to the pickle brine, this chicken stays moist and tender. I know it sounds a little unconventional, but once you try it, you’ll never want to make fried chicken any other way!
👌 Crazy Easy – Brining is as simple as dunking your chicken into your favorite pickle brine and letting it work its magic. Just be sure to pick a pickle brine you love—while it doesn’t overwhelm the chicken with pickle flavor, you don’t want any surprise spices you don’t enjoy.
✨ A Fun Twist on Fried Chicken – You might be thinking, Won’t this taste like a big ol’ fried pickle? Nope! The brine adds moisture and just a hint of something special without overpowering the classic fried chicken flavor. It’s a little quirky, a little unexpected, and totally worth trying!
🌟Ingredient Highlights
- CHICKEN: Normally, I will use a whole chicken and break it down into pieces however, it’s easy enough to purchase already cut whole chicken, or, your favorite chicken pieces for this recipe.
- PICKLE BRINE: I’ve done it both ways (making my own and using store-bought leftover pickle brine) and both work out fine. It’s easier to use the leftover brine (a great no-waste solution!) when you eat all the pickles. If you don’t have leftover pickle juice you can make your own brine easily enough.
One important thing to know about this recipe is that a long marinating time is ideal for the chicken to turn out juicy, juicy, and oh, yeah, juicy. The idea is to marinate the chicken pieces in pickle brine for 6 – 12 hours (or overnight) before you even begin to season it. The pickle brine helps wonderfully tenderize the chicken. - BUTTERMILK: This helps bind the flour onto the chicken pieces. If you don’t have buttermilk, you can try using plain Greek yogurt and adding a splash or two of milk to give the same thick consistency.
- FLOUR: Plain, all-purpose flour is going to form our coating for the chicken. I’ve never used any other type of flour as all-purpose is pretty standard.
- SEASONINGS: Garlic powder, regular paprika and smoked paprika, onion powder, lemon pepper, and cayenne if you like a bit of a zip, and I love to add a bit of poultry seasoning in there as well. These are what I use, but are just suggestions, and I recommend using herbs and spices that are your favorite.
- OIL: This, of course, is for frying. Use an oil with a high smoke point such as vegetable, avocado (my fave), grapeseed, etc. Do not use olive oil.

How To Make Fried Pickle Brined Fried Chicken
1. BRINE – Pour the pickle juice into a container that will hold all the chicken pieces. I’ve used thick freezer-friendly ziplock bags (place bag in a bowl after sealing well) and I’ve also used containers that are skinny and tall – so you can fill the container with chicken and then pour in the brine. This way, all the brine will come in contact with the pieces. Place in the fridge and marinate for 6 – 12 hours or overnight. I like to prepare the pieces in the morning and let it brine all day.
2. SEASON – Remove the chicken from the brine and pat dry with clean kitchen towels. Dry it very well! This will help the seasonings stick even better to the chicken. Season with salt and pepper then set aside while you mix up the rest of your seasonings. When you have the flour and seasonings mixed up, place it in a ziplock bag (the easiest way to coat the chicken in my opinion) or a shallow container. Pour the buttermilk into a bowl for dipping.
3. COAT – Dip the chicken in the buttermilk, and then throw the chicken into the seasoned flour mixture and give it a shake. (Shake one piece at a time). Coat it well and then place it on a plate to rest for about 10 minutes or so.
4. FRY – While the chicken is resting, have your oil heating up, either in a deep (tall) frying pan or a deep fryer if you have one. After resting, place the chicken pieces into the oil (slowly and away from you please, splashing oil doesn’t tickle!).
Fry the chicken for 15 – 20 minutes or so (use a thermometer and it should read 165 when done). The fry time will depend on how thick your chicken pieces are. Be sure to carefully flip your brined chicken over in the oil at least once for even browning. If the chicken is browning too fast before it’s ready, simply turn down the heat a tiny bit.
5. REST – Let your fried chicken rest on some kitchen towels to soak up any grease and let the internal juices redistribute before digging in.
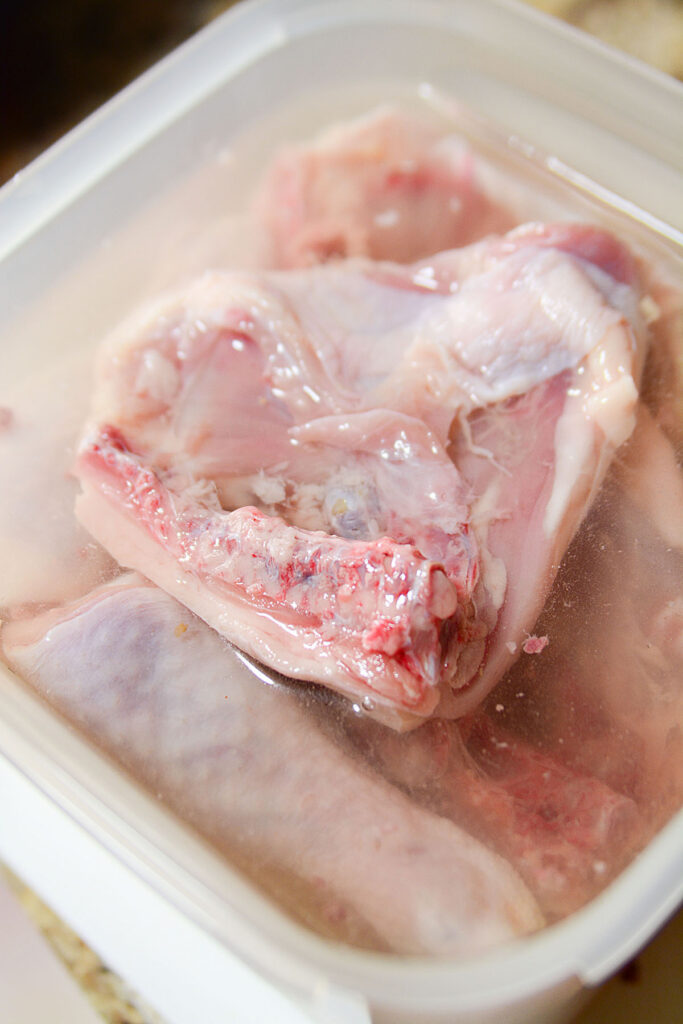

***The exact ingredient amounts and detailed cooking instructions with notes are located in the printable recipe card at the bottom of this post.
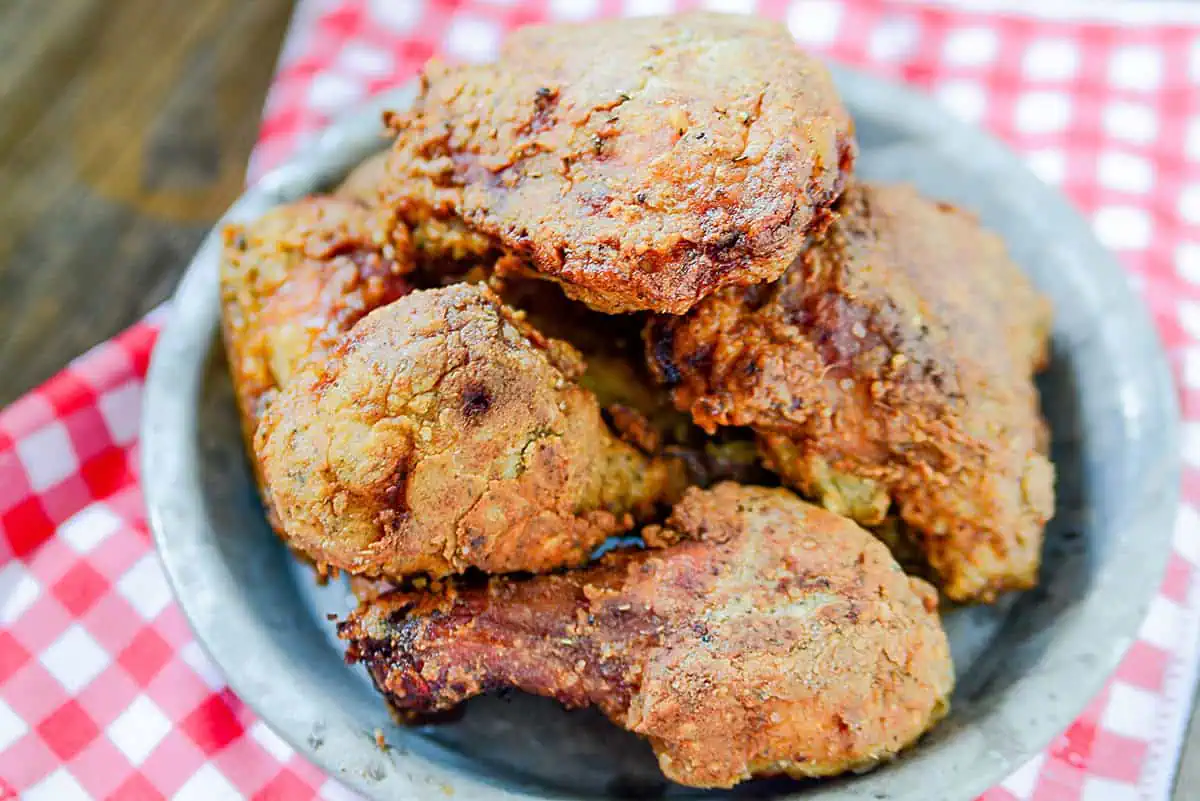
Double Dipping The Chicken In The Batter
You could double-dip the chicken for a thicker coating but just remember to extend the cooking time by a few minutes. Also, keep a consistent heat in the oil because if the oil is allowed to cool down too much while frying, the coating can get a bit greasy.
When you add the chicken to the oil initially, the temperature will come down slightly but will go back up to 350. Just keep an eye on it and adjust the heat if necessary.
Using Boneless Chicken Instead Of Bone-in Pieces
Using boneless chicken is an option if you prefer not to deal with bones. This will affect your frying time by making it a bit shorter, so you’ll want to keep an eye on it.
This is why it’s imperative to have a cooking thermometer during this process. I personally think it’s one of the most essential tools to have in the kitchen. This is the one I use.
Serving Fried Chicken
The sides you can serve chicken brined in pickle juice is endless. To echo that pickle theme, I have served it with my creamy dill pickle pasta salad. Or for another cold veggie side, this shredded carrot salad with raisins is fantastic.
Some hot sides could be buttery hot honey carrots, or these smoky hassleback potatoes are fun (and delicious as well!)
Storing
Incidentally, you can freeze this pickle-brined fried chicken quite easily. I have frozen it for up to a month with no problems. When I want to have it for dinner, I will take it out and give it plenty of time to thaw completely.
After thawing, simply place it on a baking sheet and crisp it back up in the oven to warm through thoroughly. You could broil it for the last minute or so just to get that extra crispy covering but keep an eye on it, as it can burn quickly.
If you’re looking for other chicken recipes, why not check out my Chicken Pancetta and Cheddar Bake that’s easy peasy to put together and equally lip-smacking’! And if that doesn’t strike your fancy, there’s a collection of Scandalous Chicken Recipes that will cover any sort of chicken craving you might be having!
This Chicken Recipe’s Second Act
If you have leftover chicken and would like to repurpose it, remove the coating from any of the extra pieces and then pull off the cooked chicken.
The chicken can be used in a basic chicken noodle soup that’s quick and easy to make, a chicken salad with pecans and cranberries, or add it to some gnocchi and make this cheesy chicken gnocchi bake.
Have you made this chicken marinated in a pickle juice recipe? I’d love to hear what you thought about it, or if you switched it up in any way! Please leave me a comment and star rating in the recipe card or in the comment section below.
I really hope you have a fantastic day, and thank you so much for stopping by The Salty Pot. -Joanne
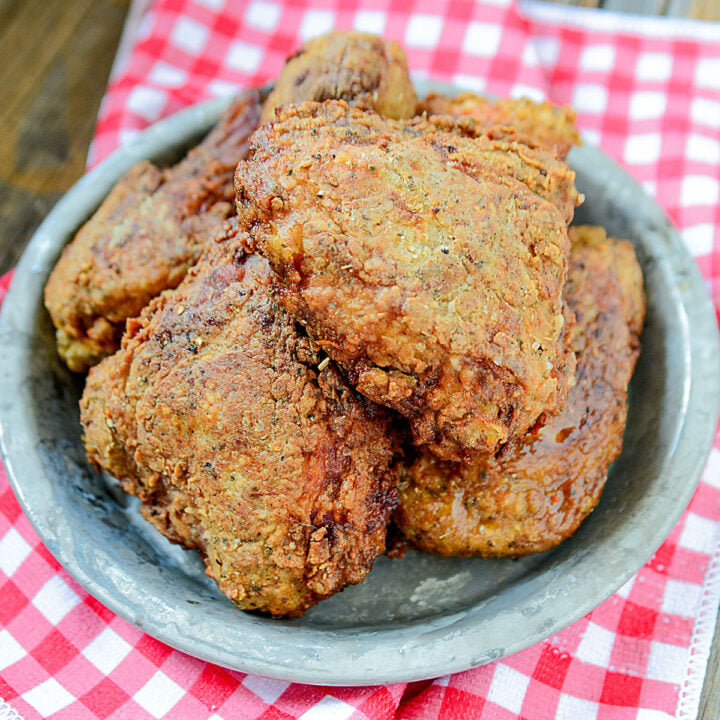
Pickle Brined Fried Chicken Recipe
This super tasty pickle brined fried chicken is an absolute must for fried chicken night! It's crispy, savory, and moist, you won't even give the Kentucky brand another thought!
Ingredients
- 1 chicken, cut into pieces (or use separate pieces, like thighs and drumsticks)
- 2 - 3 c pickle brine
- 2 – 3 c milk or buttermilk
- 1 ½ c flour
- 2 tsp garlic
- 1 tbsp poultry seasoning
- 1 tsp smoked paprika
- ½ tsp regular paprika
- 1 tbsp lemon pepper
- 1 tsp onion powder
- pinch cayenne, or more if you like it spicy
- Cooking oil enough for 1” in the pan you’re using.
Instructions
- Place chicken pieces into a container that is taller than wider. Pour in the pickle juice. An alternative solution is to place the chicken in a sturdy freezer zip lock bag, pour in the pickle juice, and remove all the air in the bag so that the chicken is surrounded by the pickle juice. Marinade for 6 – 12 hours.
- Drain the chicken pickle juice from the chicken and place it onto a poultry safe cutting board and season the chicken with pepper.
- In a bowl, combine the flour and all other dry seasonings together. Set the buttermilk into a large shallow bowl for dipping.
- Dip the chicken pieces into the buttermilk.
- Then, dip the chicken pieces into the seasoned flour. Be sure to get all surfaces covered in the seasoning. Let sit for 10 minutes.
- After sitting, place the chicken into the oil slowly, and away from your face to prevent splashes. Cook the chicken for approximately 15 minutes altogether, but turning a few times while cooking.
The internal temperature of the chicken should register 165 degrees internally on a thermometer. (If using your deep fryer, follow the mfg instructions for cooking chicken). - Drain on a paper towel and serve!
Meanwhile, Preheat oil in a deep cast iron pan with high sides. The oil should read 350 on a thermometer when ready to start cooking.
Notes
For safety sake, it's important that when placing the chicken into the frying oil, that you place it slowly, and away from you so that if there are any splashes, the oil will be directed away from you.
If you find the buttermilk is not sticking to the chicken, you can quickly dip the chicken in the flour mixture lightly, then in the buttermilk, and then again into the seasoned flour.
Nutrition Information:
Yield: 4 Serving Size: 2 piecesAmount Per Serving: Calories: 500Total Fat: 15gSaturated Fat: 6gTrans Fat: 0gUnsaturated Fat: 8gCholesterol: 52mgSodium: 2807mgCarbohydrates: 65gFiber: 4gSugar: 6gProtein: 26g
All nutritional information is based on third-party calculations and is only an estimate. Each recipe and nutritional value will vary depending on the brands you use, measuring methods, and portion sizes per household.



Is that the sweet or savory one? I thought they both had dill in them.
Hey James! I used savory 😉
Will this work for tenders? Or just chicken on the bone?
I’ve never tried it Jessica, but I think it would? I maybe wouldn’t leave it as long in the brine though. If you give it a go, PLEASE let me know how it goes, I’m interested in hearing about it! (You can email me if you’d like at joanne@thesaltypot.com) 🙂
Hey Michael. You can use any type of garlic you prefer. However, I used garlic POWDER, not salt (no need to add more sodium in this seasoned flour). I would also probably not used minced garlic because I think it would end up coated in flour and not stick to the chicken. Just my two cents 😉