Low Sugar Blueberry Pie Filling
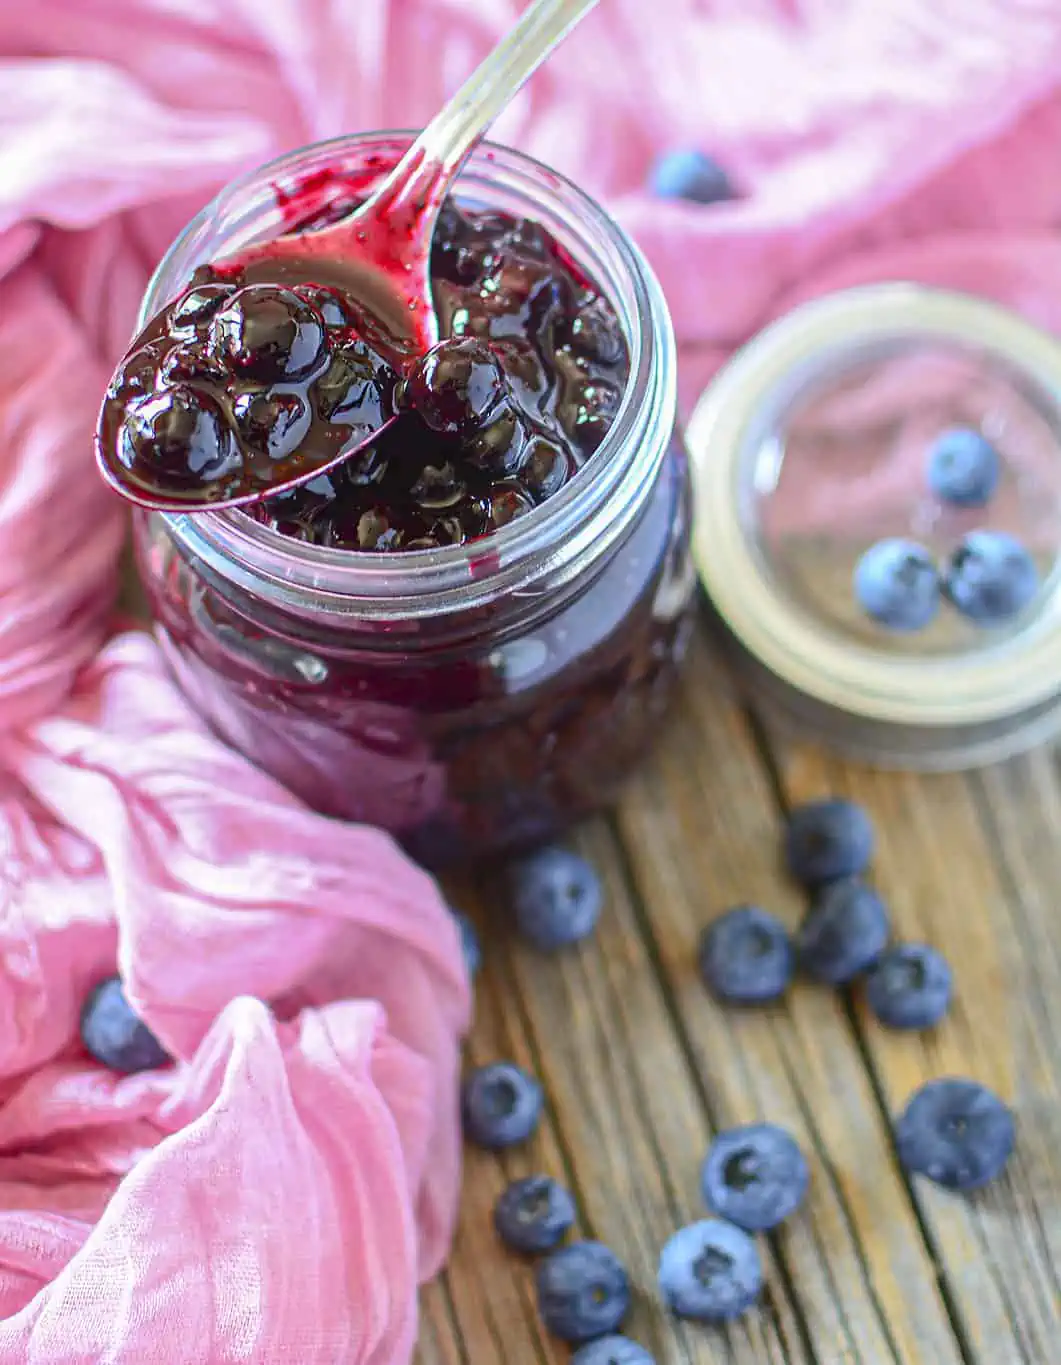
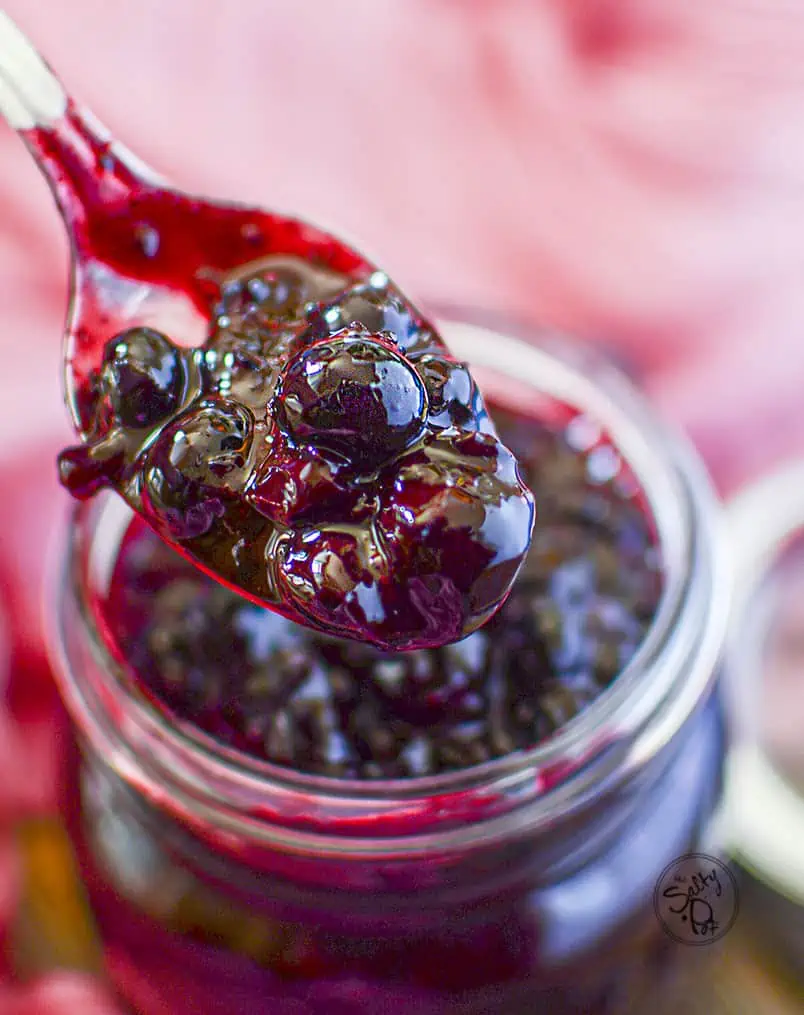
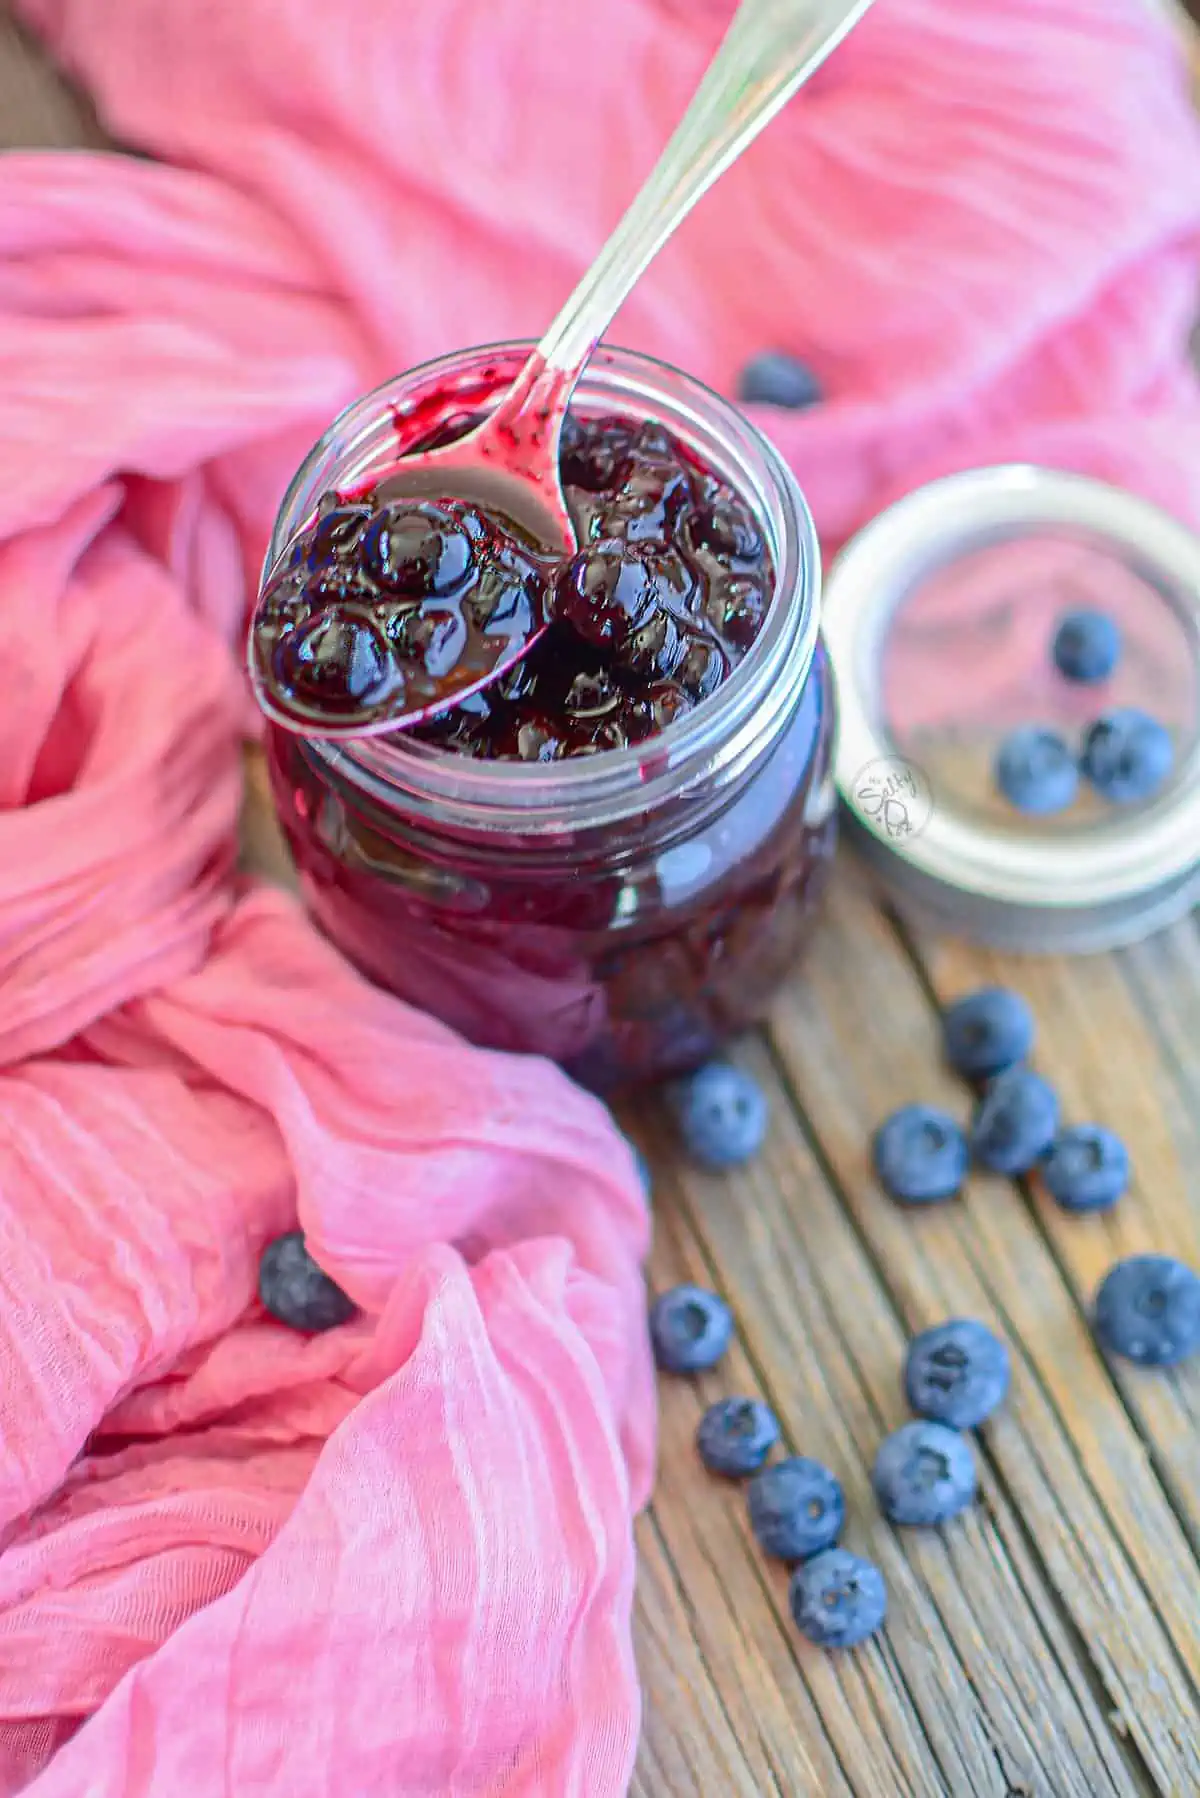
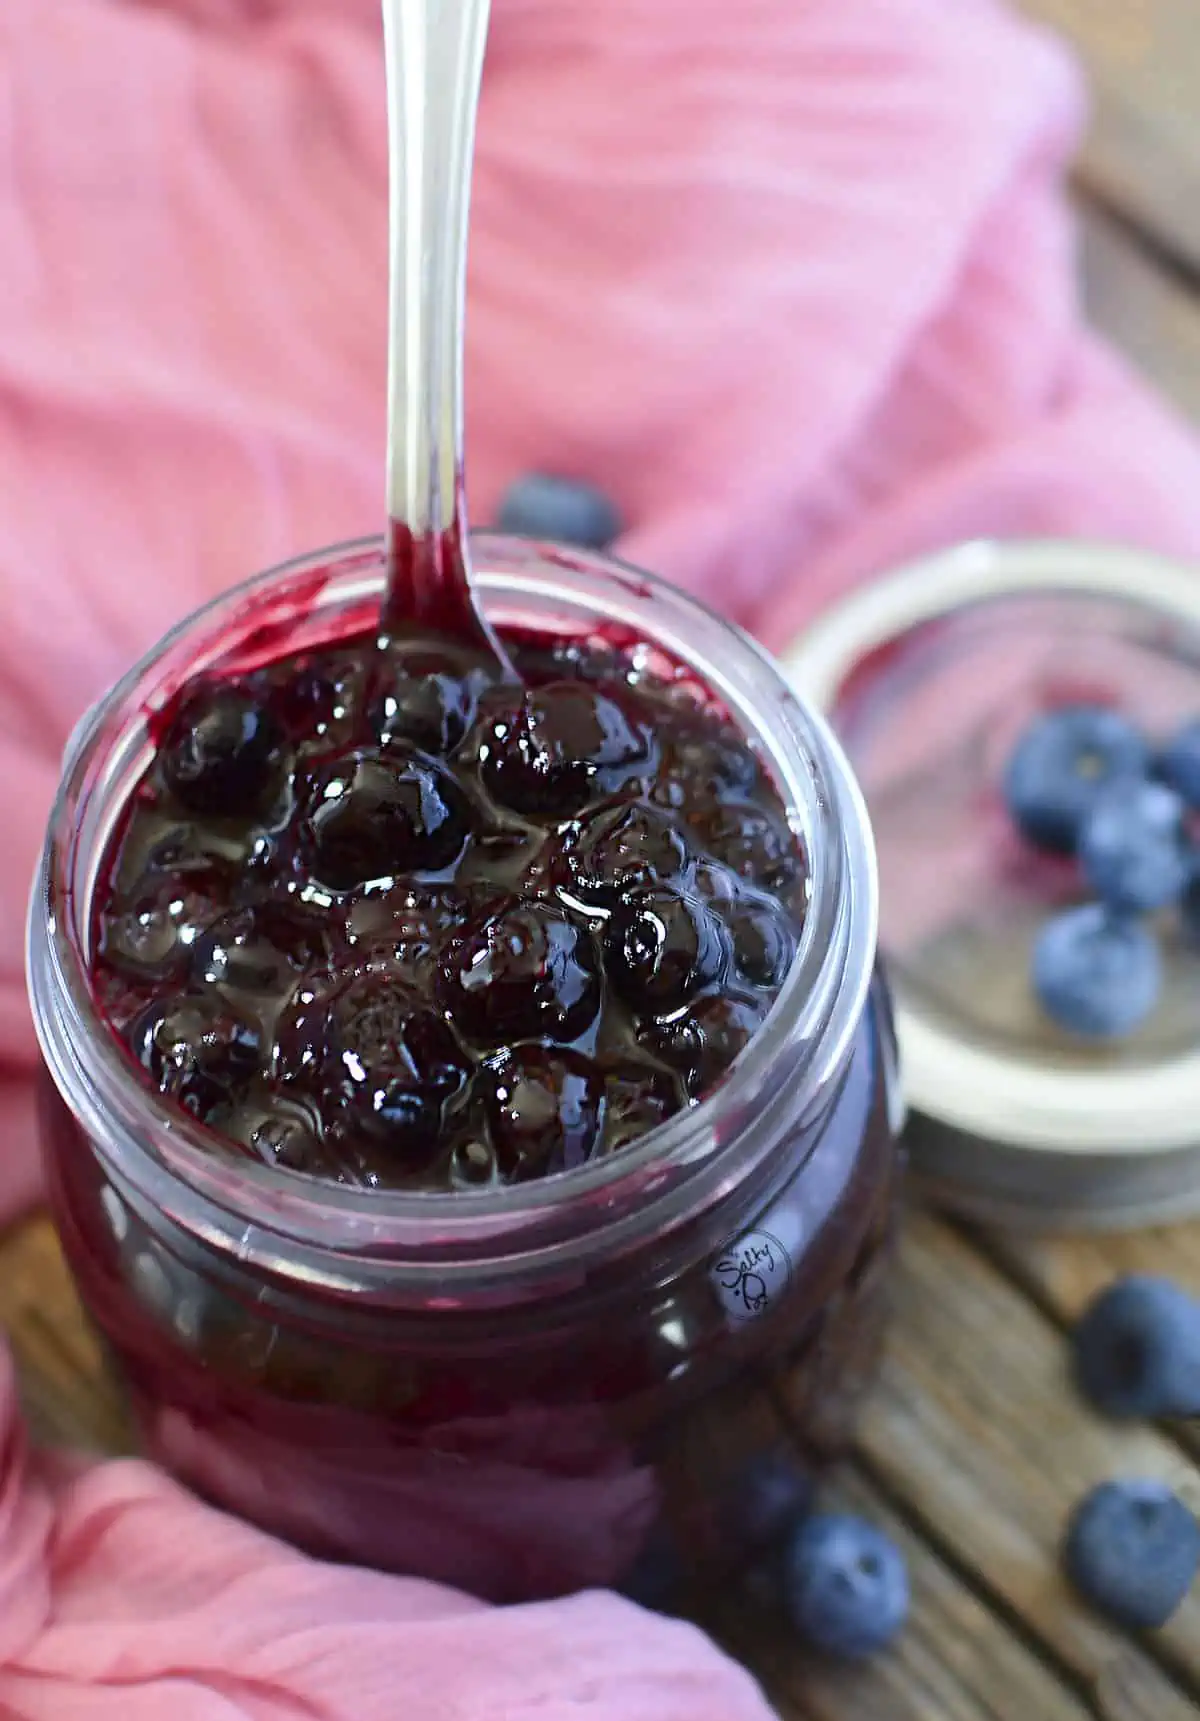
This lightly sweet and fresh-tasting, Low Sugar Blueberry Pie Filling is stacked with juicy ripe blueberries in a rich fruity sauce. What’s even better is that this berry pie filling captures the essence of summer blueberries while being lower in sugar than most common blueberry pie recipes, allowing the true flavor of the berries to shine through.
Why I Love This Homemade Blueberry Pie Filling
I love this homemade blueberry pie filling because it is flavorful and versatile – leaving me with many great options on how you can use it.
It’s easy to make and helps me use up any perfectly ripe seasonal blueberries that I might have on hand.
I love its low sugar content for two reasons – it’s easier on your blood sugar and it allows the true blueberry flavor to shine.
Just as a side note, if you are looking to reduce your sugar intake even more, take a peek at this Keto Blueberry Sauce, but honestly, you can’t go wrong with this blueberry pie filling.
The Ingredients You’ll Need
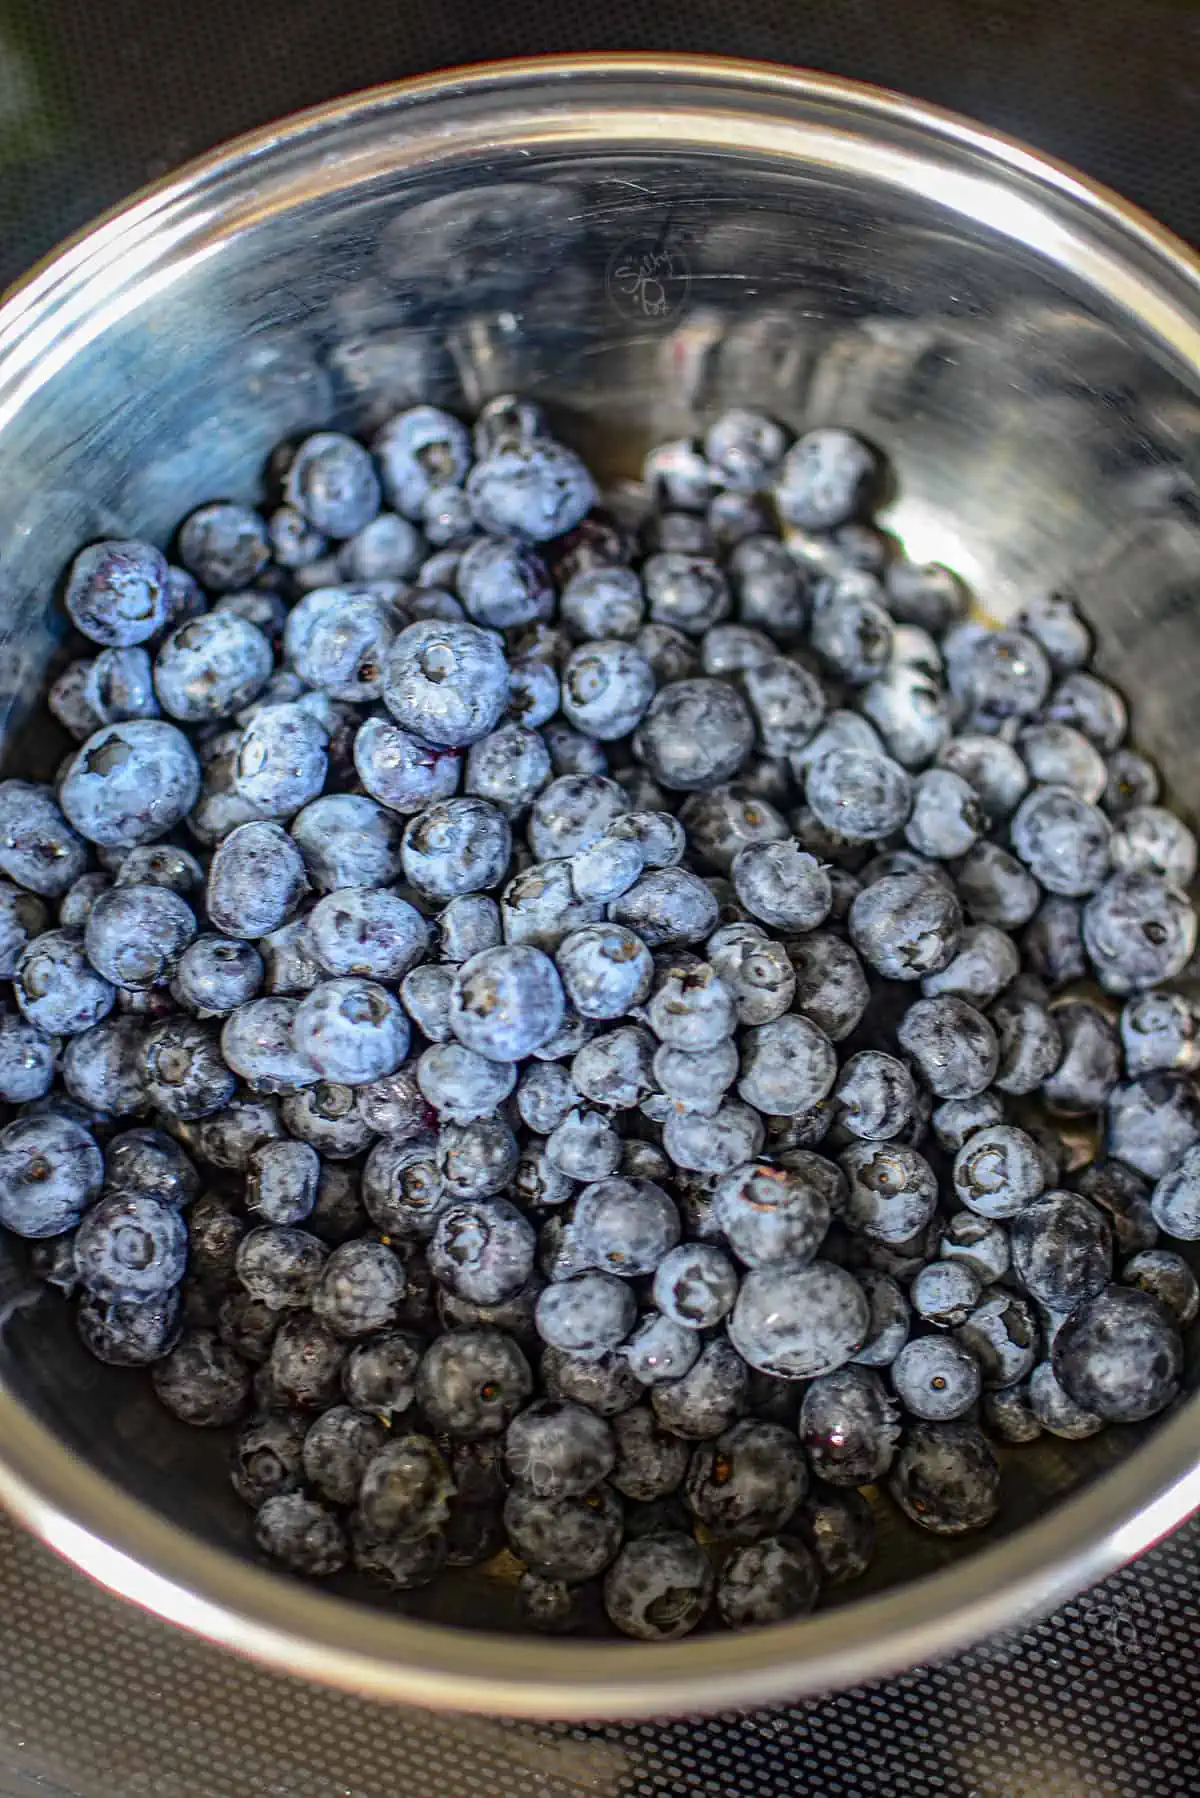
- Blueberries: This recipe is versatile in that you can use both fresh or frozen blueberries. If you’re using fresh ones, be sure to inspect them for dryness or mold.
- Cornstarch or arrowroot powder: The thickening agent for this pie filling.
- Maple Syrup: This is our sweetener for the recipe. I love the hint of maple that it brings to this filling, but if you’re not a maple syrup fan, see below for other sweeteners you can use.
- Lemon (zest and juice): Adding lemon juice adds a brightness to the recipe that can’t be explained but is definitely a bonus to the filling’s flavors.
- Sea salt: To enhance the fruit flavors.
- Water: To mix with the thickening agent.
Making Pie Filling With Blueberries
Heat the blueberries and add the maple syrup (or whatever sweetener you’re choosing to use.)
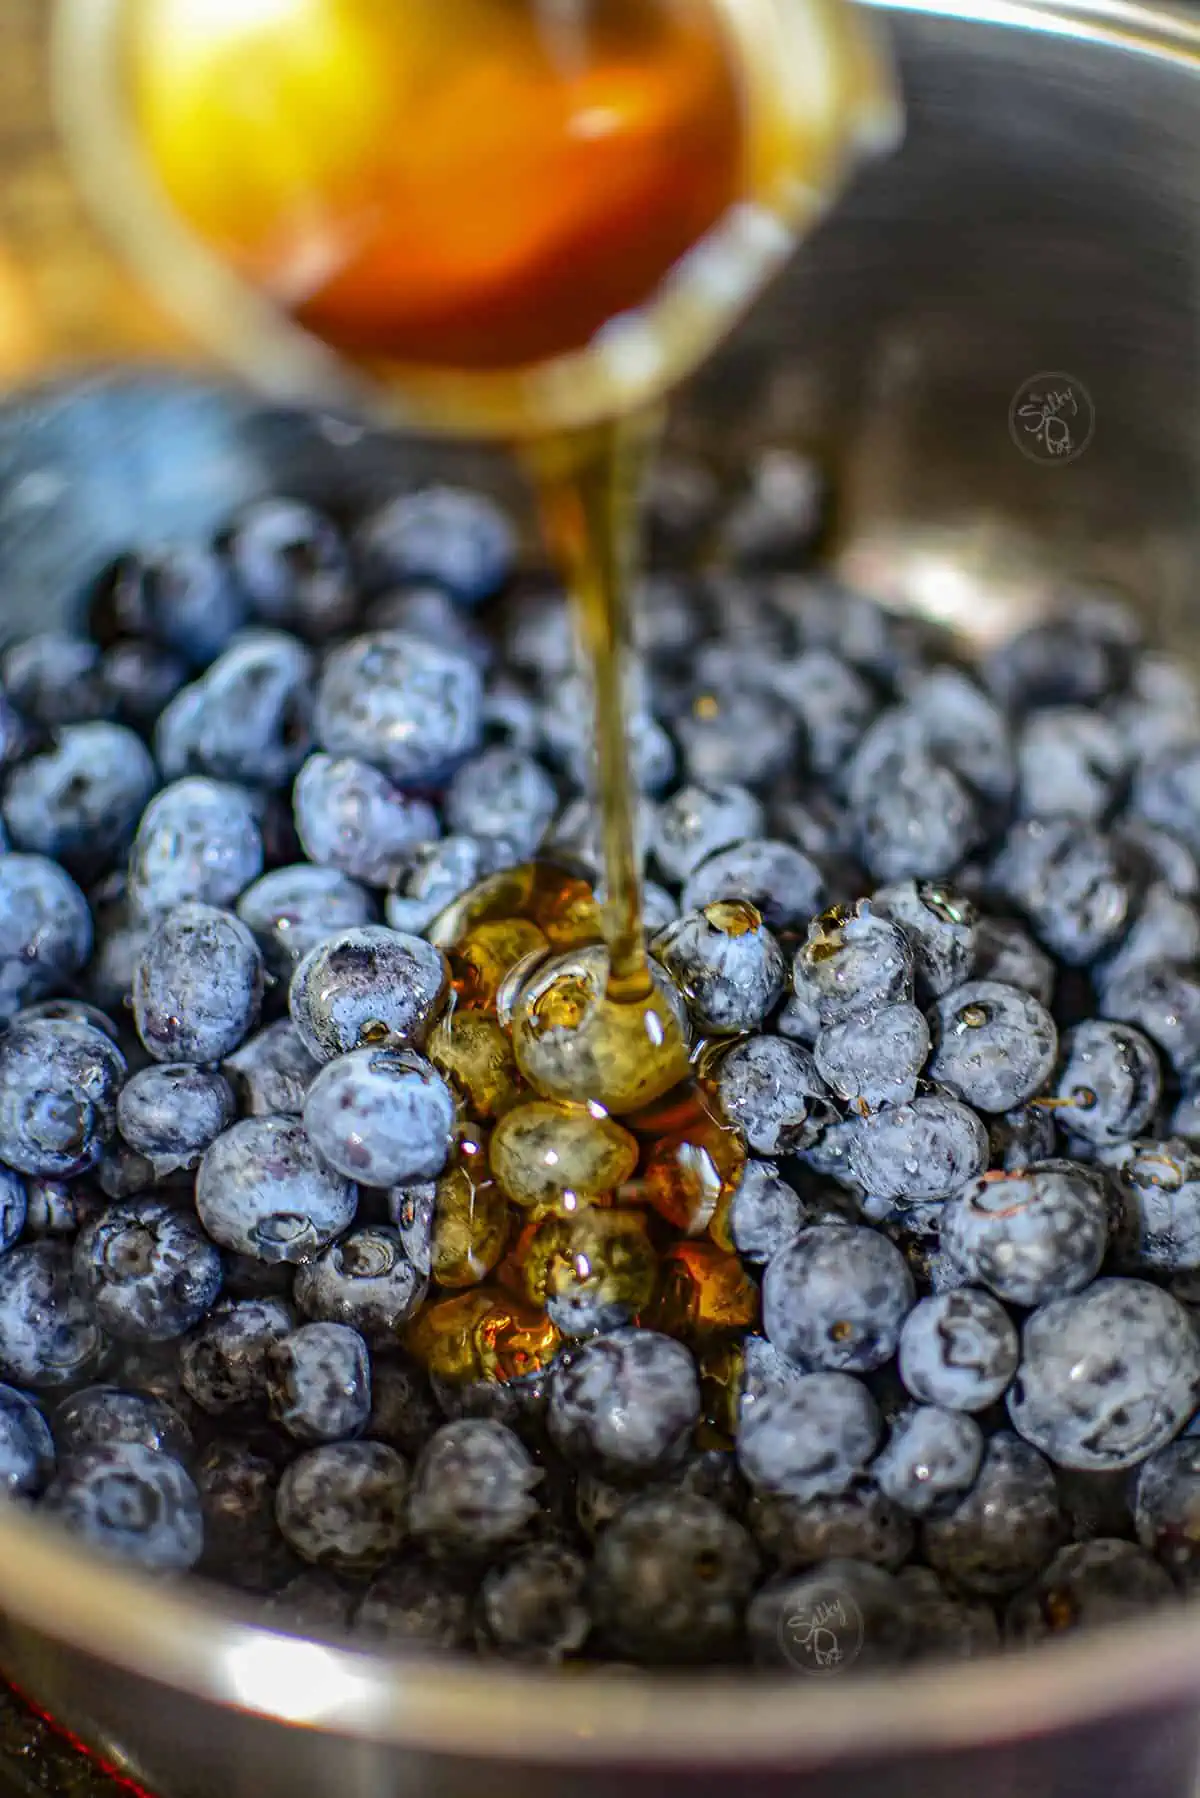
Add the lemon juice and zest.
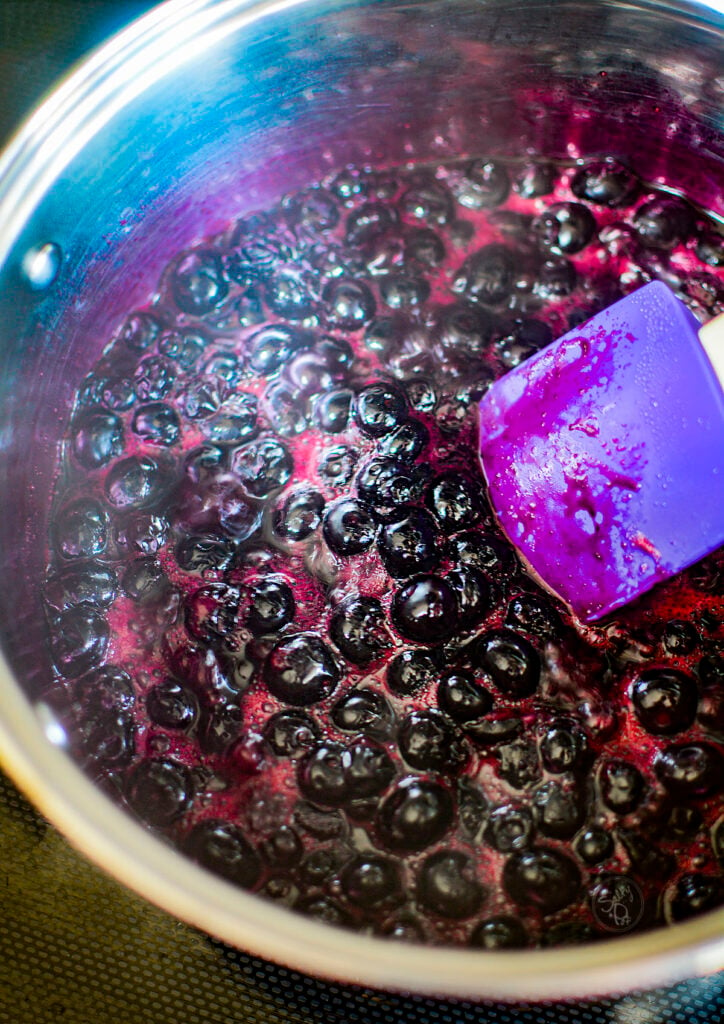
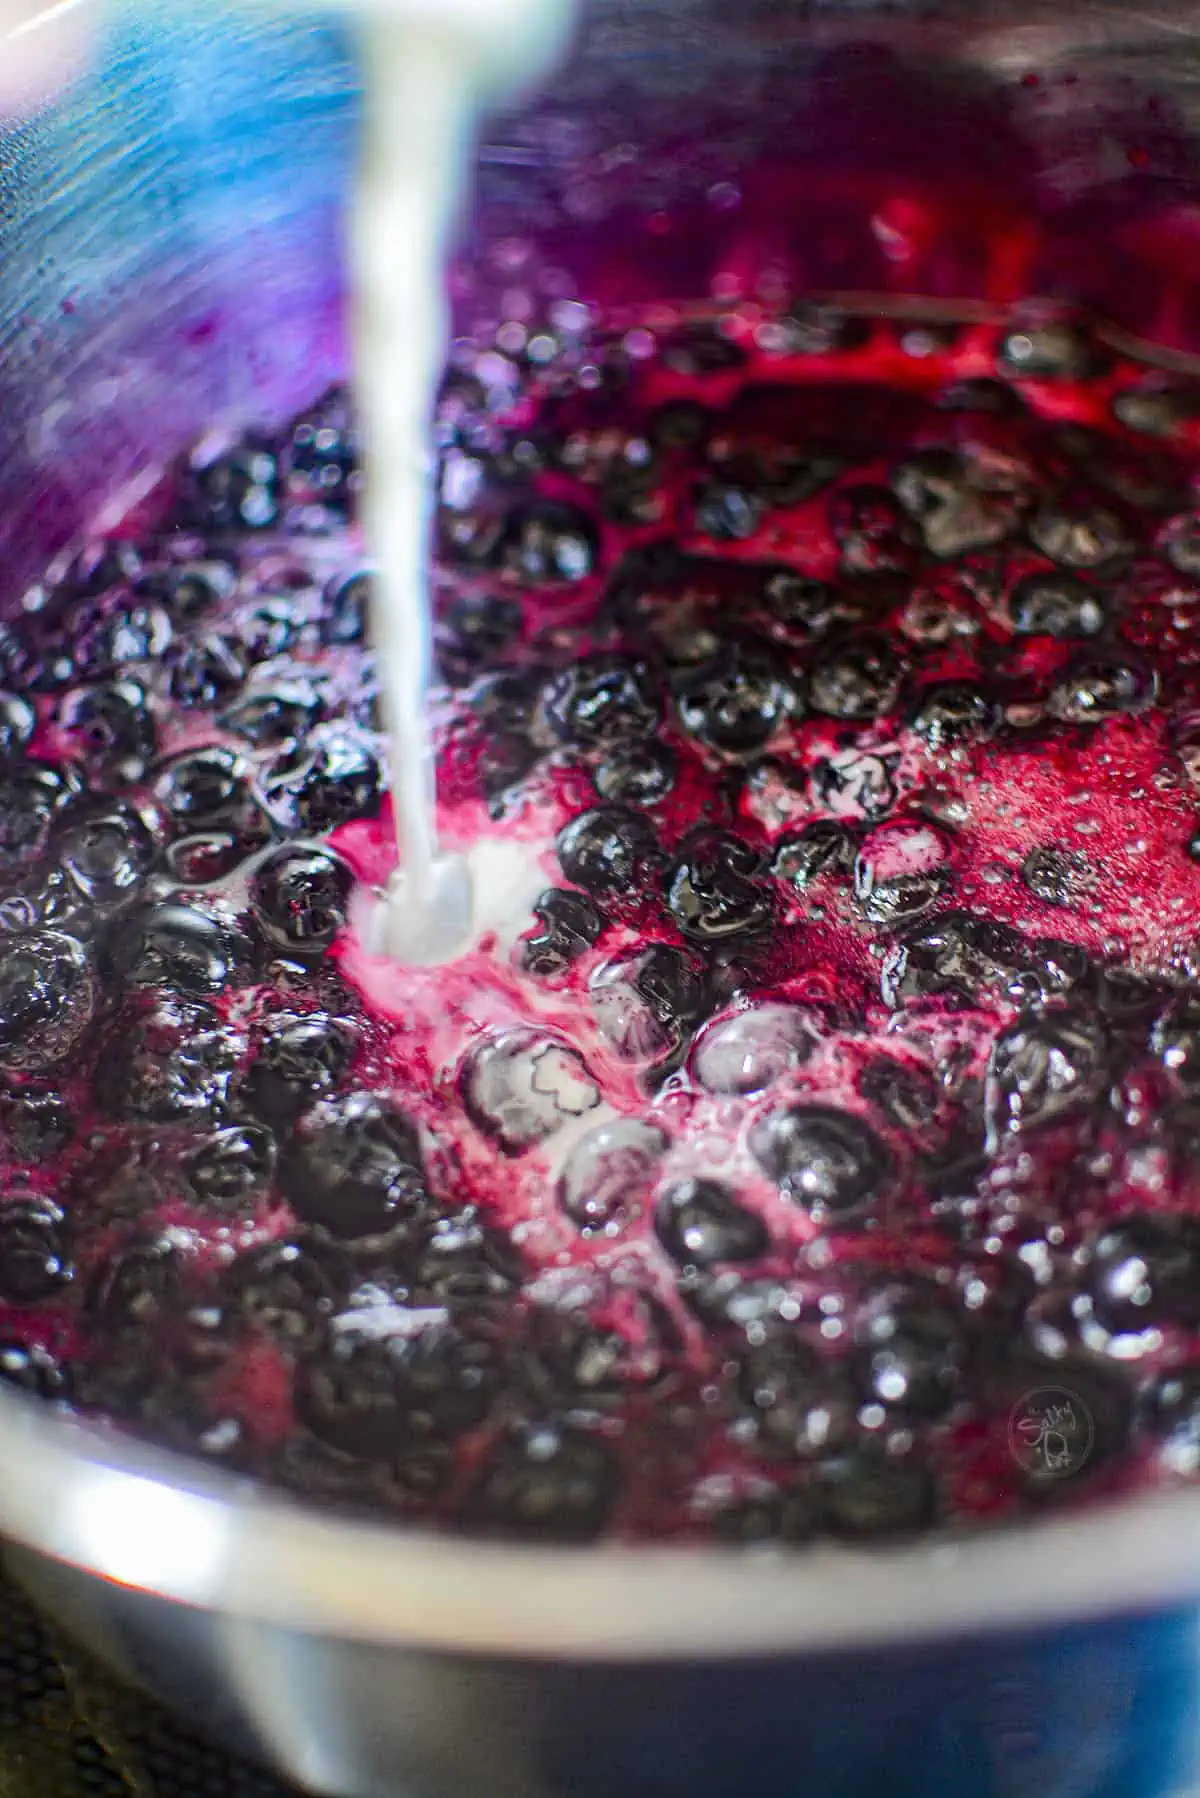
When the blueberries get saucy, add the thickening agent and water mix. Stir until the blueberry mixture starts to thicken.
When thickened remove off the heat and transfer to another container to cool completely.
Making This Recipe Your Own
This recipe is not limited to blueberries. Use this recipe with any berry that strikes your fancy. This is a great way to make everything from mulberry pie filling to cherry pie filling. This recipe will work for blackberries, raspberries, and strawberries. The only thing that might change is your sweetener and how much you add.
If the berries are on the tart side, you might want to add a bit more sweetener. Sour cherries, for example, can be tart so you’d want to use a bit more sweetener if they’re not exactly perfectly ripe.
It’s important to taste as you go to make your own adjustments to the recipe in terms of sweetness.
With a few additions, spices like cinnamon and nutmeg are a great way to add a dash of flavor that sets your pie apart from others. You can enhance the flavor by adding a bit of vanilla paste to your homemade blueberry pie filling as well.
Ways To Use Blueberry Pie Filling
If you find yourself with a large batch of blueberries you can have a lot of fun making use of them by making blueberry pie filling and putting it to work in new creative ways.
Pie filling can be used to make pies (obviously), hand pies, cheesecakes, and even homemade pop tarts after running through a blender.
Mix it into baked oats or swirl it into cupcakes. It’s always delicious to make a parfait with vanilla yogurt and some crushed graham crackers.
You can use blueberry pie filling as a topping for waffles, pancakes, or different desserts. Try serving it on top of vanilla bean ice cream or over a simple yellow cake for a unique flavor that will stand out.
Try using this filling as a base for a quick and easy slow-cooker blueberry cobbler or dump cake.
Storing Your Pie Filling
When you make your own pie filling you can store it in the refrigerator to use in 3 to 4 days or you may choose to freeze it for a few months at a time.
A fun tip for freezing the filling is to store the filling in a freezer-friendly ziplock bag. Be sure to remove as much air as possible and then place it into a pie plate that you would use for actually making the pie. This way you can take the filling out of the freezer and place it right into the pie shell to bake from frozen.
******(Keep in mind, you’ll want to add an additional 20 – 25 minutes to your baking time).
Canning Blueberry Pie Filling For Shelf Storage
If you have experience with canning fruits and fillings, you can change out the cornstarch for Clear Gel to can your blueberry pie filling in bulk for use all winter long.
Another option is if you can’t source any Clear Gel, then go ahead and can the blueberries in the sauce they produced when you cooked them on the stovetop but do not add any other thickeners. It’s unsafe to try and can pie filling when it’s thickened with flour.
When you’re ready to use the pie filling, thicken the blueberries and their juice with cornstarch on the stove before you put it in the pie crust for baking.
Questions You Might Have
Absolutely you can! And you won’t have to thaw them. Measure out what you need and add them to the pot. Let them thaw in the pot and then proceed with the rest of the recipe. Be sure and keep those juices that run out of the blueberries as they thaw!
That’s not a problem. As long as the amount still comes to four cups, feel free to mix it up! However, it will be very important to taste the filling after you thicken it and make any adjustments you need to the sweetness levels in case the other berries are more tart than the blueberries you used.
Did you make this Blueberry Pie filling recipe? If you loved it as much as I do, please consider leaving a ***STAR*** rating in the recipe card below, along with a comment, and if you have any questions about the recipe, please let me know so I can help you make the pie filling absolutely scrumptious! Thanks for stopping by The Salty Pot and I hope to see you next time!
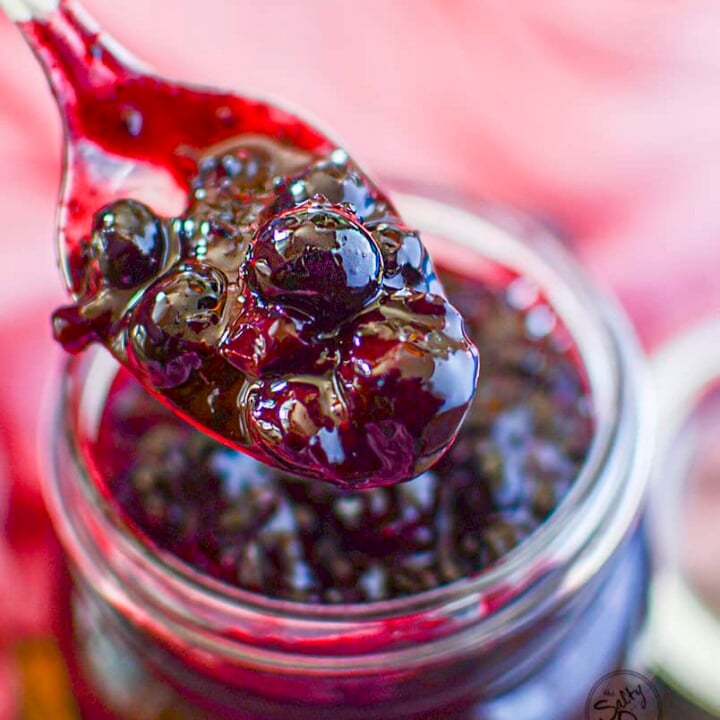
Low Sugar Blueberry Pie Filling
Experience the summer freshness of your blueberry pie filling, bursting with sun-kissed berries at their peak. It's absolutely perfect for people wanting a low-sugar filling for all their delicious desserts.
Ingredients
- 4 cups of blueberries, cleaned and rinsed.
- 1/4 cup maple syrup
- 1/2 cup water
- 1 tablespoon cornstarch
- 1 tablespoon lemon juice
- zest of one lemon
Instructions
- Rinse and inspect the blueberries for any mold, stems or blemishes. Discard any that you see.
- Place the blueberries in a heavy-bottomed pot. Turn the heat to medium and smash a few berries to get the process going. (see notes)
- When the blueberries are broken down and saucy, turn the heat up and bring to a boil. Add the lemon juice, maple syrup and lemon zest. Mix well.
- Mix up the cornstarch and water. Pour the slurry into the fruit and stir until thickened. When thickened, remove it off the heat and let it cool completely.
- After completely cooled, store the filling in an air-tight container in the fridge until you're ready to use it.
Notes
If the blueberries seem a bit dry, feel free to add a quarter of a cup of water or juice to the pot to help them start to break down.
it's a good idea to taste the filling before you complete the recipe to adjust for sweetness. A lot of fresh berries can vary in tartness depending on the type of blueberries you have.
Nutrition Information:
Yield: 64 Serving Size: 1 tablespoonAmount Per Serving: Calories: 9Total Fat: 0gSaturated Fat: 0gTrans Fat: 0gUnsaturated Fat: 0gCholesterol: 0mgSodium: 0mgCarbohydrates: 2gFiber: 0gSugar: 2gProtein: 0g
All nutritional information is based on third-party calculations and is only an estimate. Each recipe and nutritional value will vary depending on the brands you use, measuring methods, and portion sizes per household.

