Easy Whipped Brown Butter
Nutty and decadent, Whipped Brown Butter elevates regular butter by a million miles. It’s absolutely scrumptious on practically everything you slather it on.
Best of all, it only takes a few minutes to make.
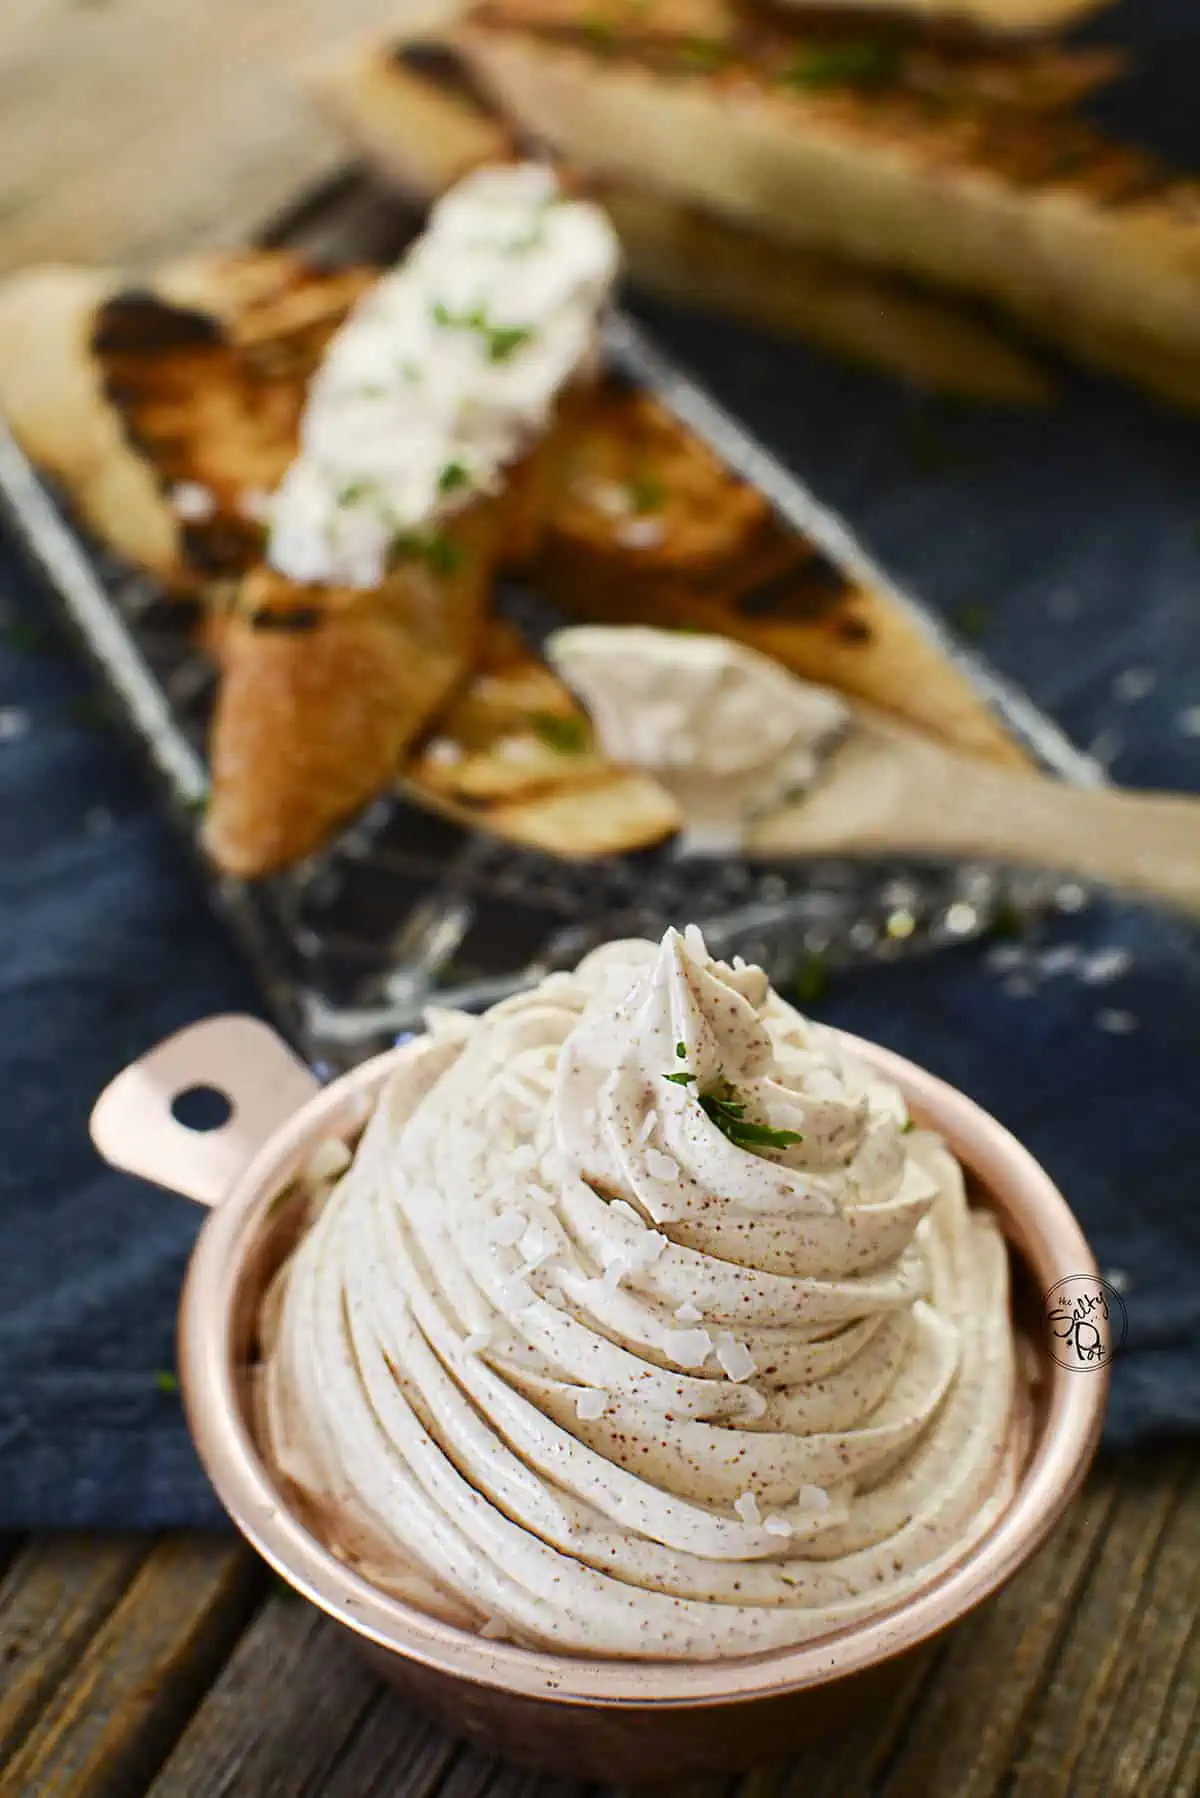
Whipped Brown Butter is as easy as melting butter. Seriously.
Why I love this Brown Butter Condiment
Well… butter. Need I say more? Seriously though, if you like the flavor of regular butter, you will love the flavor of browned butter. Browning the butter brings a deep and warm rich flavor with a nuttiness that can’t really be explained.
In French, it’s called ‘Beurre Noisette‘. In my world, it’s simply called ‘Divine’.
Ingredients Needed To Make Whipped Butter
Butter – Pretty self-explanatory here, however, I want to add a few notes. Try and find the best quality butter you can find. Organic is a great idea. Where I live, raw butter can’t be located, but if I could, I would 100% use that. You can use cultured butter as well which would have a wonderful flavor as well. If all that’s available to you is grocery store butter, that’s completely fine, just find the freshest you can according to the expiry date.
Flaky Salt – This is completely optional, but it REALLY enhances the flavor of the butter. If you don’t want to add the finishing salt, then make this recipe using salted butter rather than unsalted.
How To Make Easy And Delicious Whipped Brown Butter
STEP ONE: Making the Browned Butter
Prepare to melt the regular butter in a skillet. Use one with a heavy bottom and high sides. Bring the skillet over medium-low heat and add the butter. Let it take its time to melt.
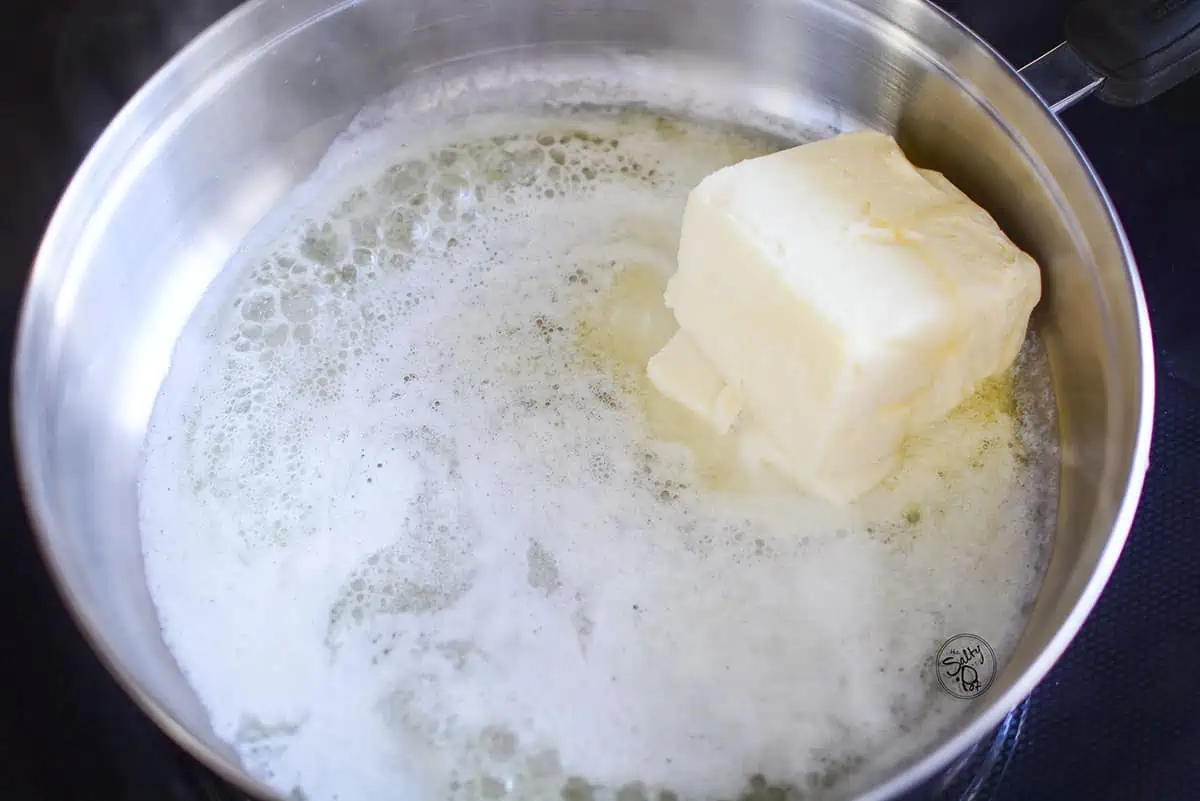
STEP TWO: Once the butter is completely melted, raise the heat to medium and allow the butter to start to simmer and bubble. I like to stir the butter frequently so it doesn’t burn to the bottom of the pan.
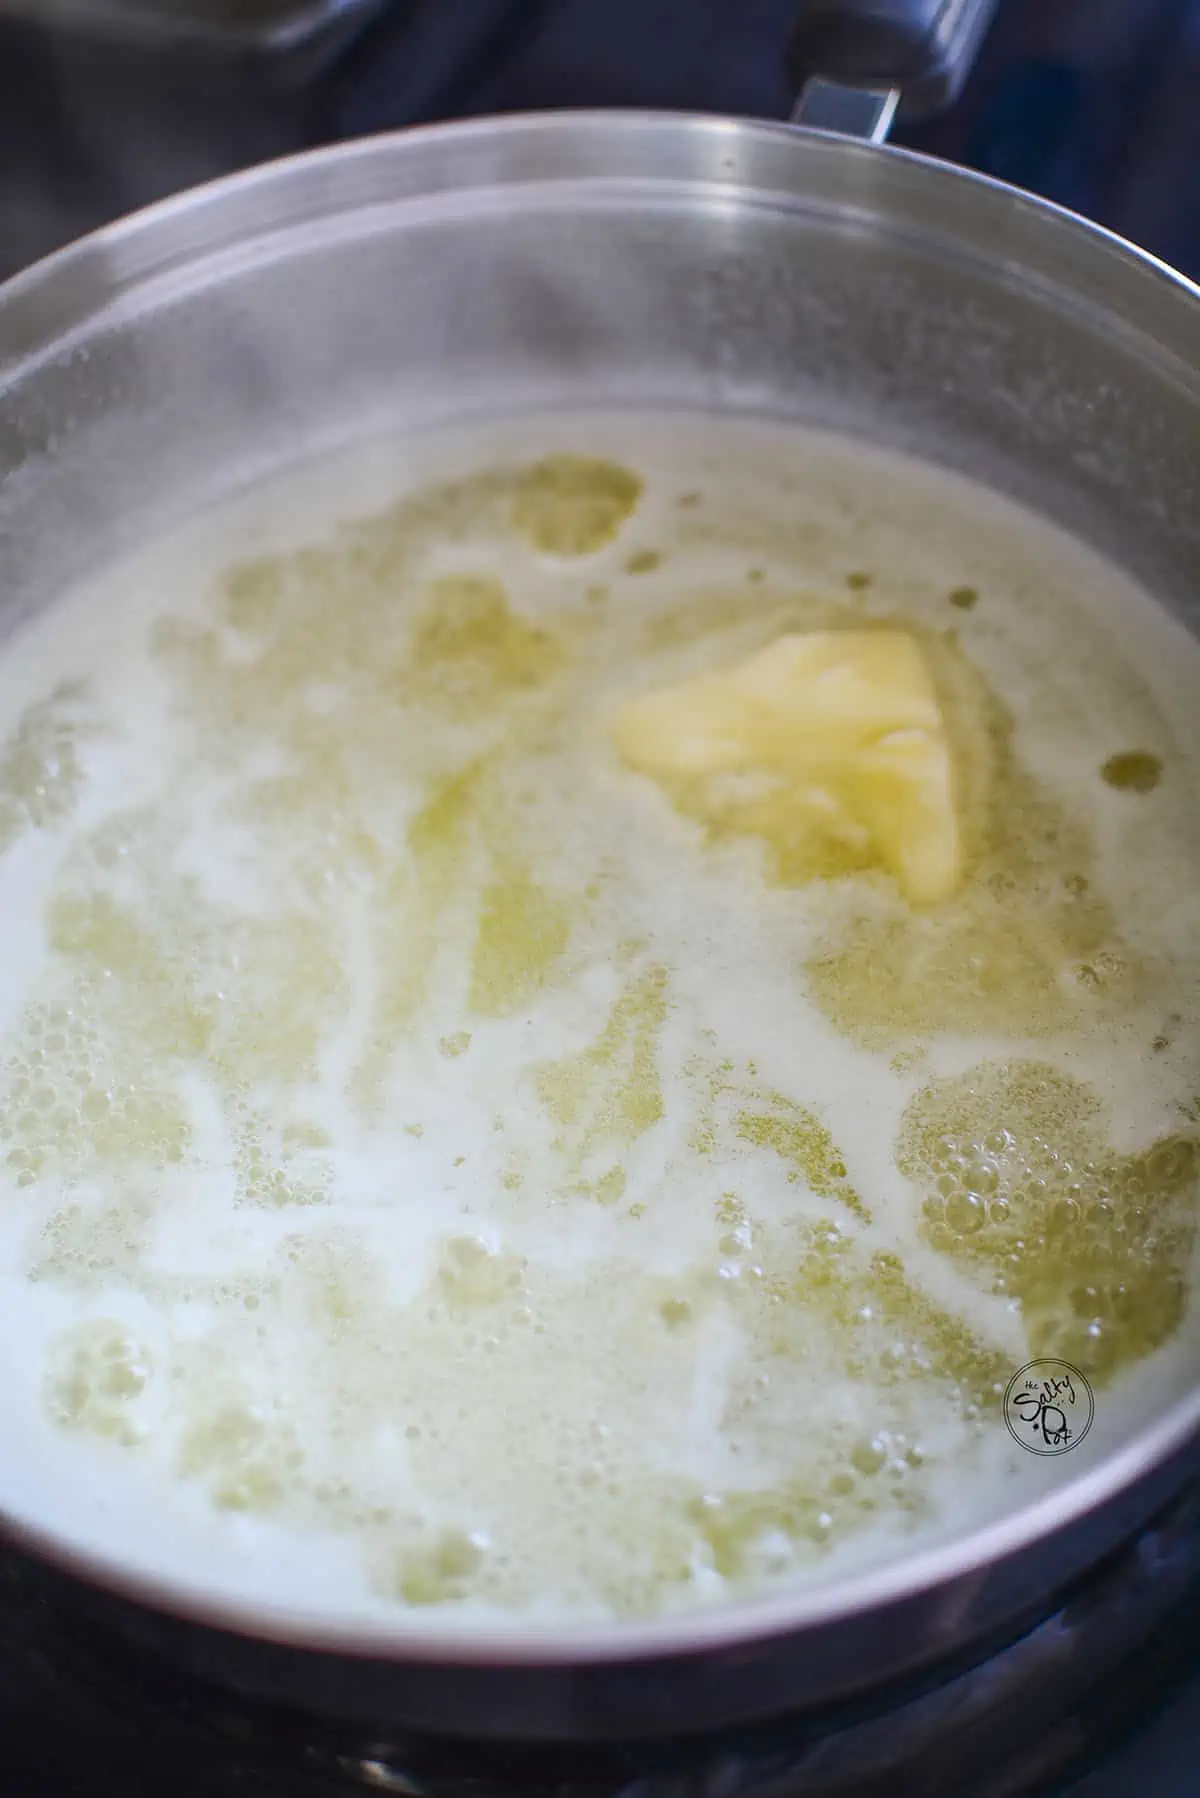
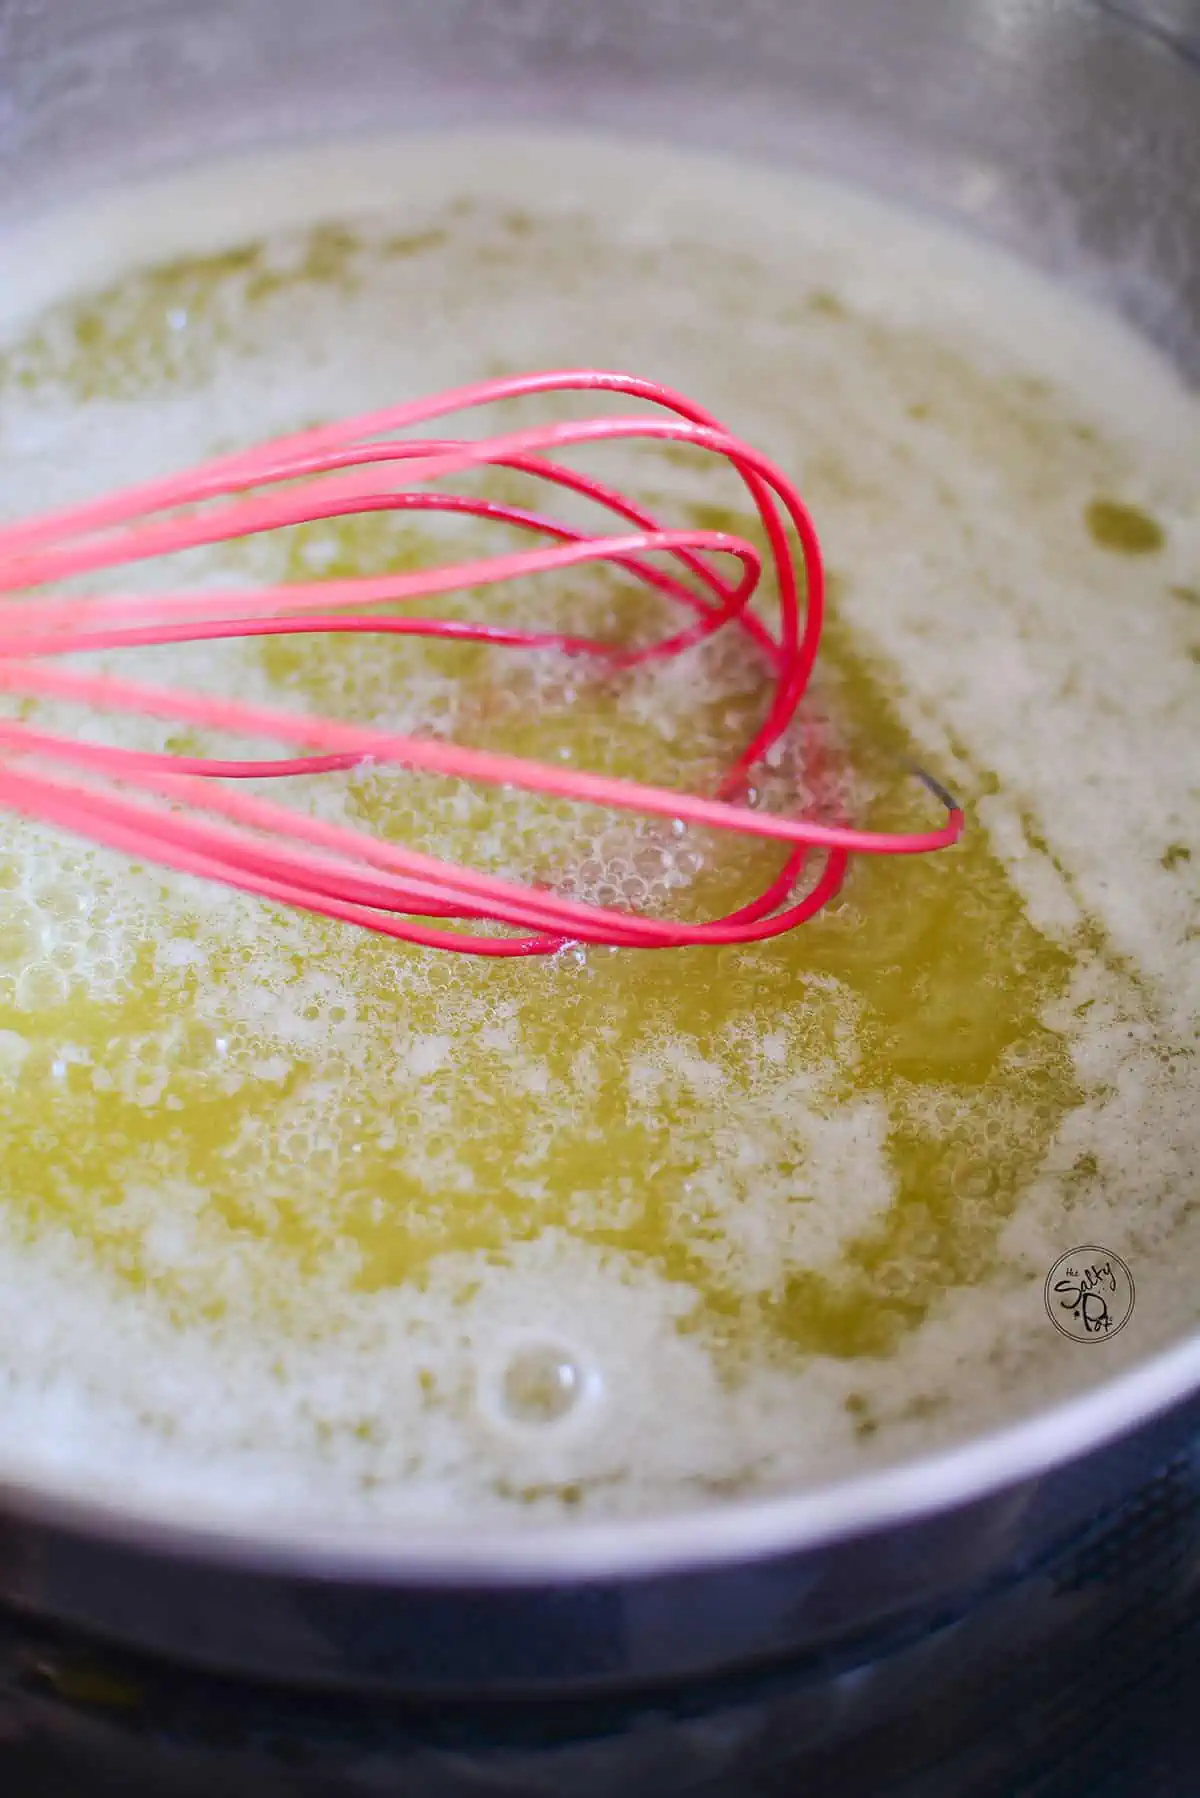
This is basically the whole process of making the brown butter, but you’ll see the butter change in consistency as the water is boiled out of the butter. It will continue to bubble, and as it progresses, you’ll see the bubbles get finer and finer and the milk solids will begin to ‘toast’.
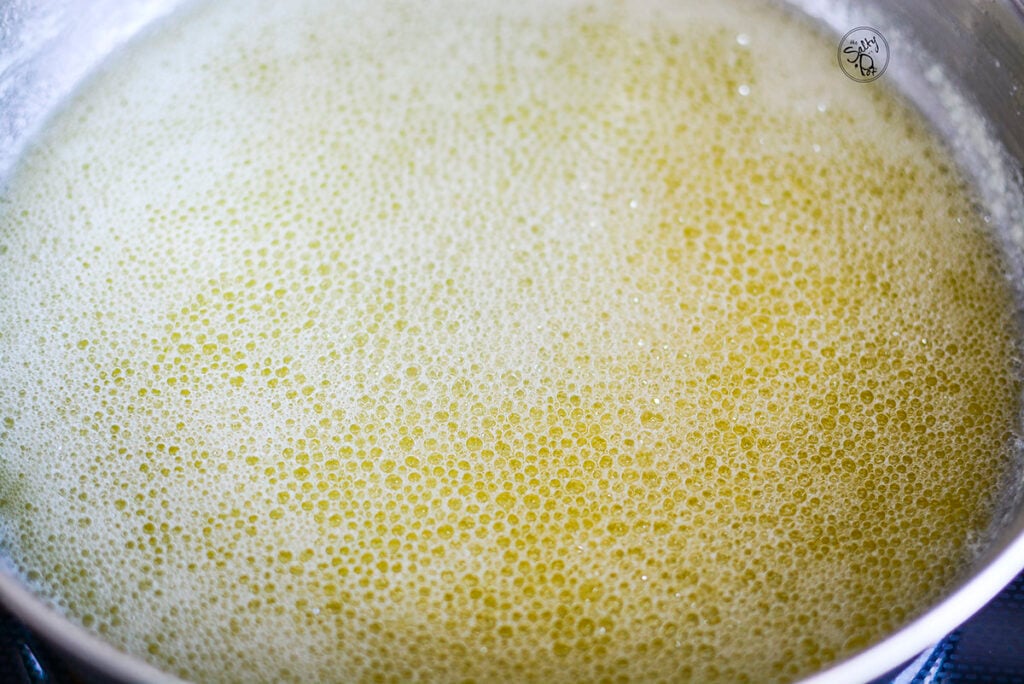
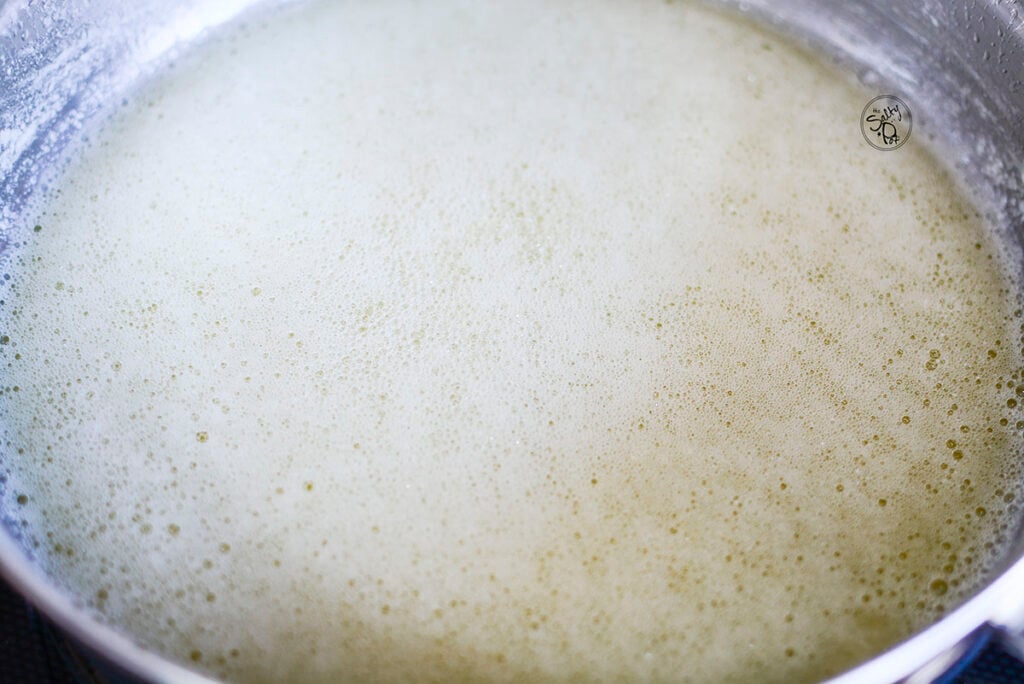
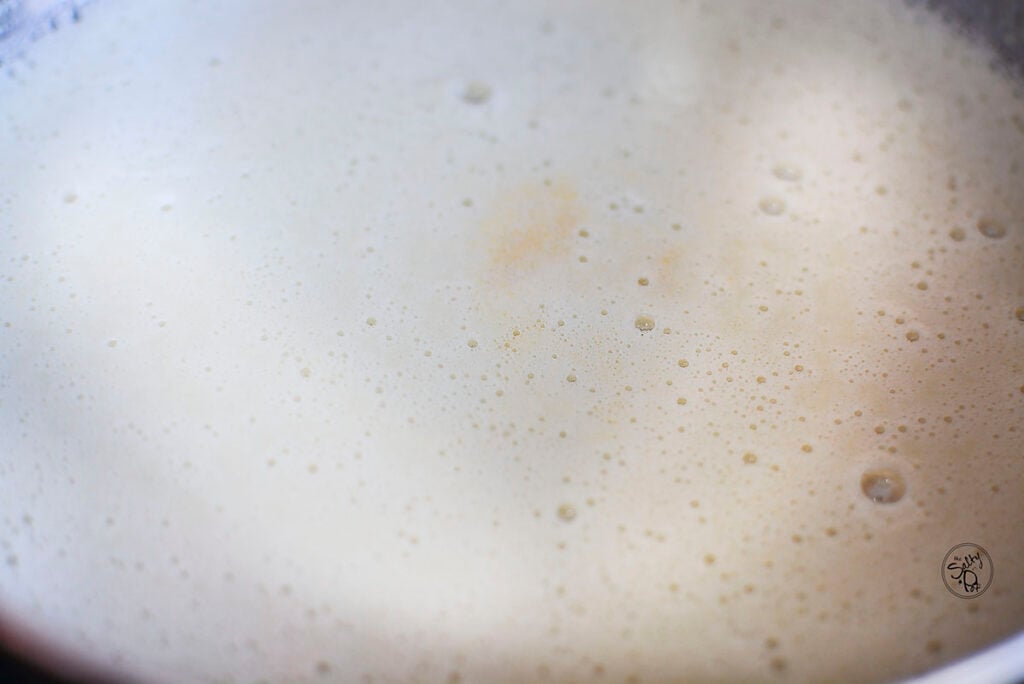
As you can see, the bubbles go from larger to finer as the butter browns in the skillet.
***The complete printable recipe with added notes is listed below.
How Do I Know When The Butter Is Ready?
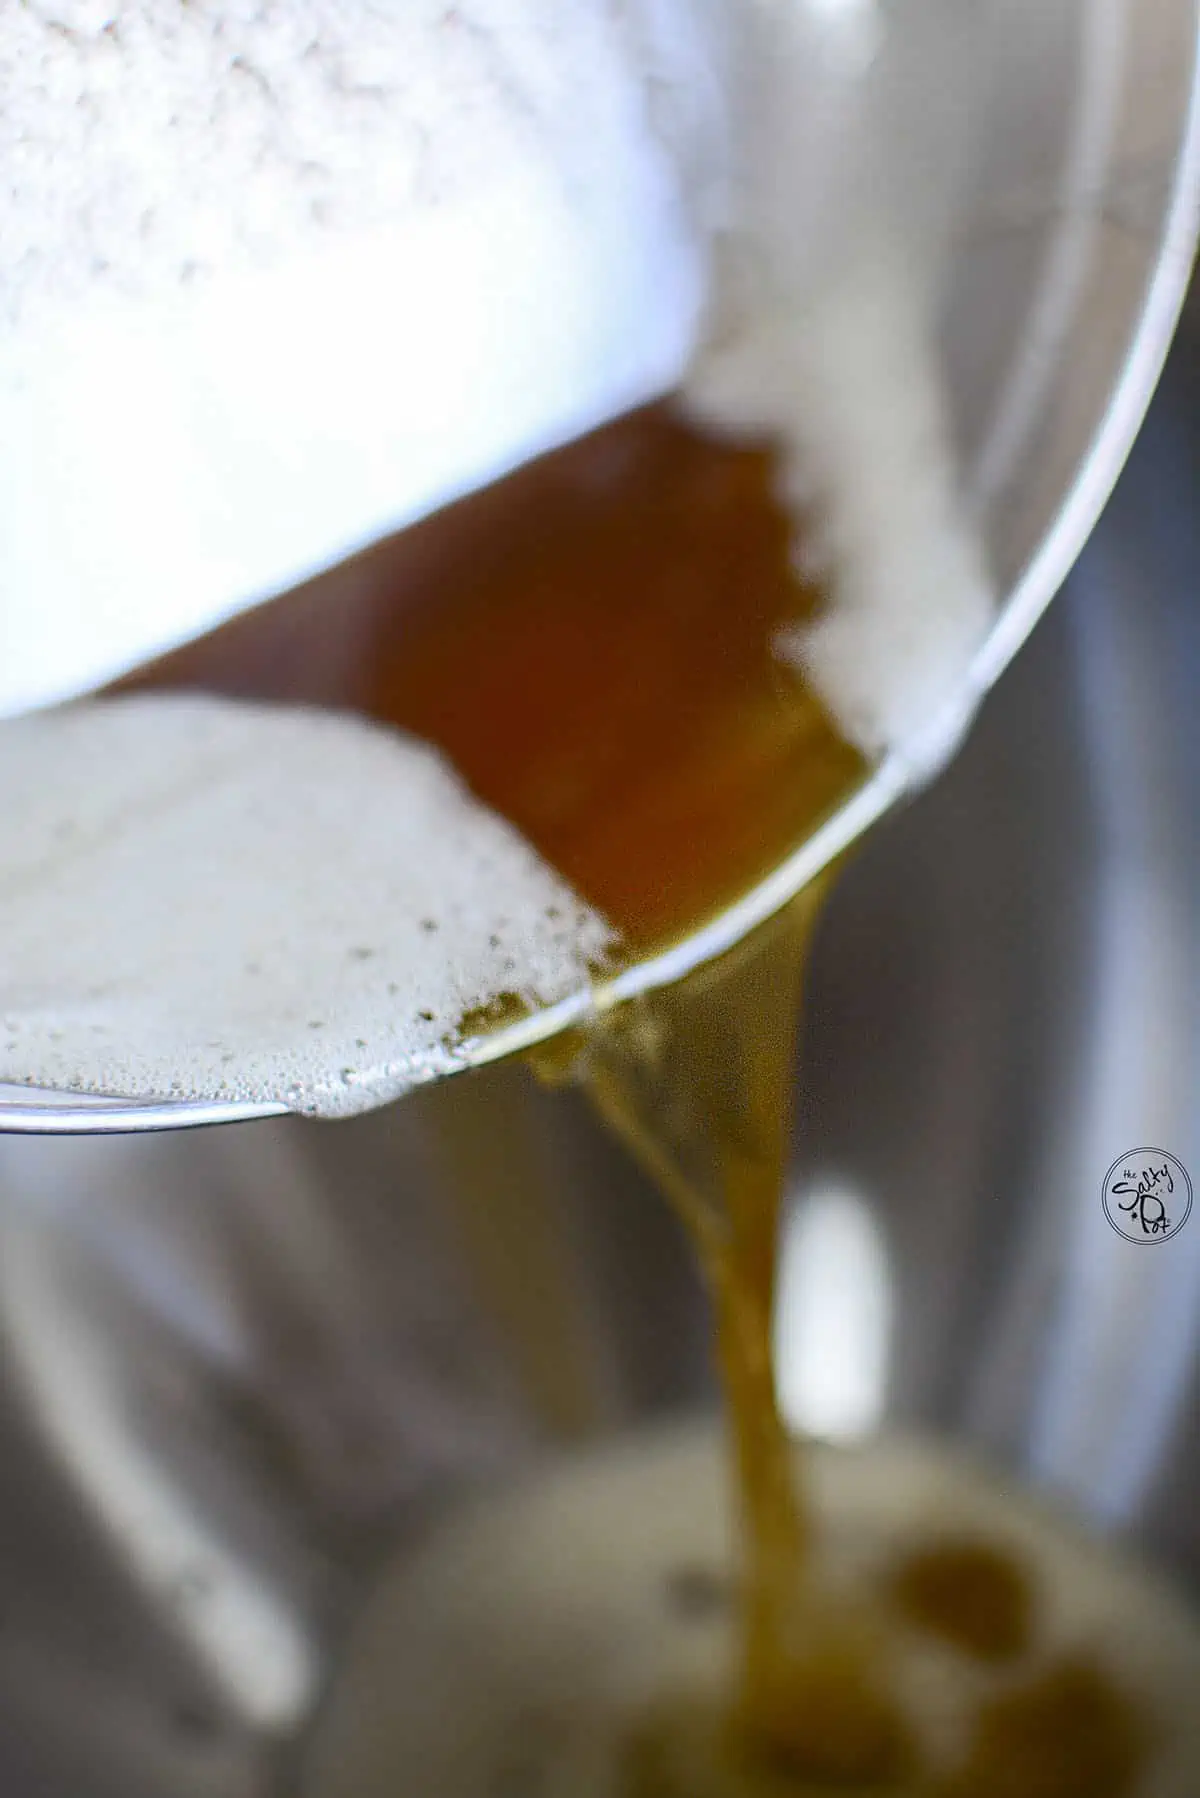
The foaming will pretty much stop and as your stir the butter, you’ll see it’s changed to a nice toasty brown color. Take it off the heat immediately and pour it into a bowl to stop the cooking/browning.
Whipping The Butter
After removing the browned butter from the skillet and into a bowl, let the butter cool. You can put it in the freezer or fridge or let it cool on the counter. Of course, cooling on the counter will take much longer than chilling in the fridge or freezer so it depends on how much time you have. It’s ok if it cools to the point of hardening again, we will be whipping it so it doesn’t matter.
Some folks will cool the bowl of butter over a bigger bowl of ice and stir it until it cools completely, but to me, that’s just a bit too much work.
I placed the butter in my stand mixer bowl and put it in the freezer. It took about 15 minutes for it to cool.
Start whipping the butter with the whisk attachment that comes with your stand mixer. If you don’t have a stand mixer, you can easily whip it using a hand mixer, or for an extra arm workout, feel free to use a whisk.
Continue to whip/whisk the butter until the butter takes on the form of whipped cream. (This took about 10 minutes.) Be careful not to overwhip it as it could get a bit grainy. If this happens, add a teaspoon or two at a time of milk/cream and it should smooth out again.
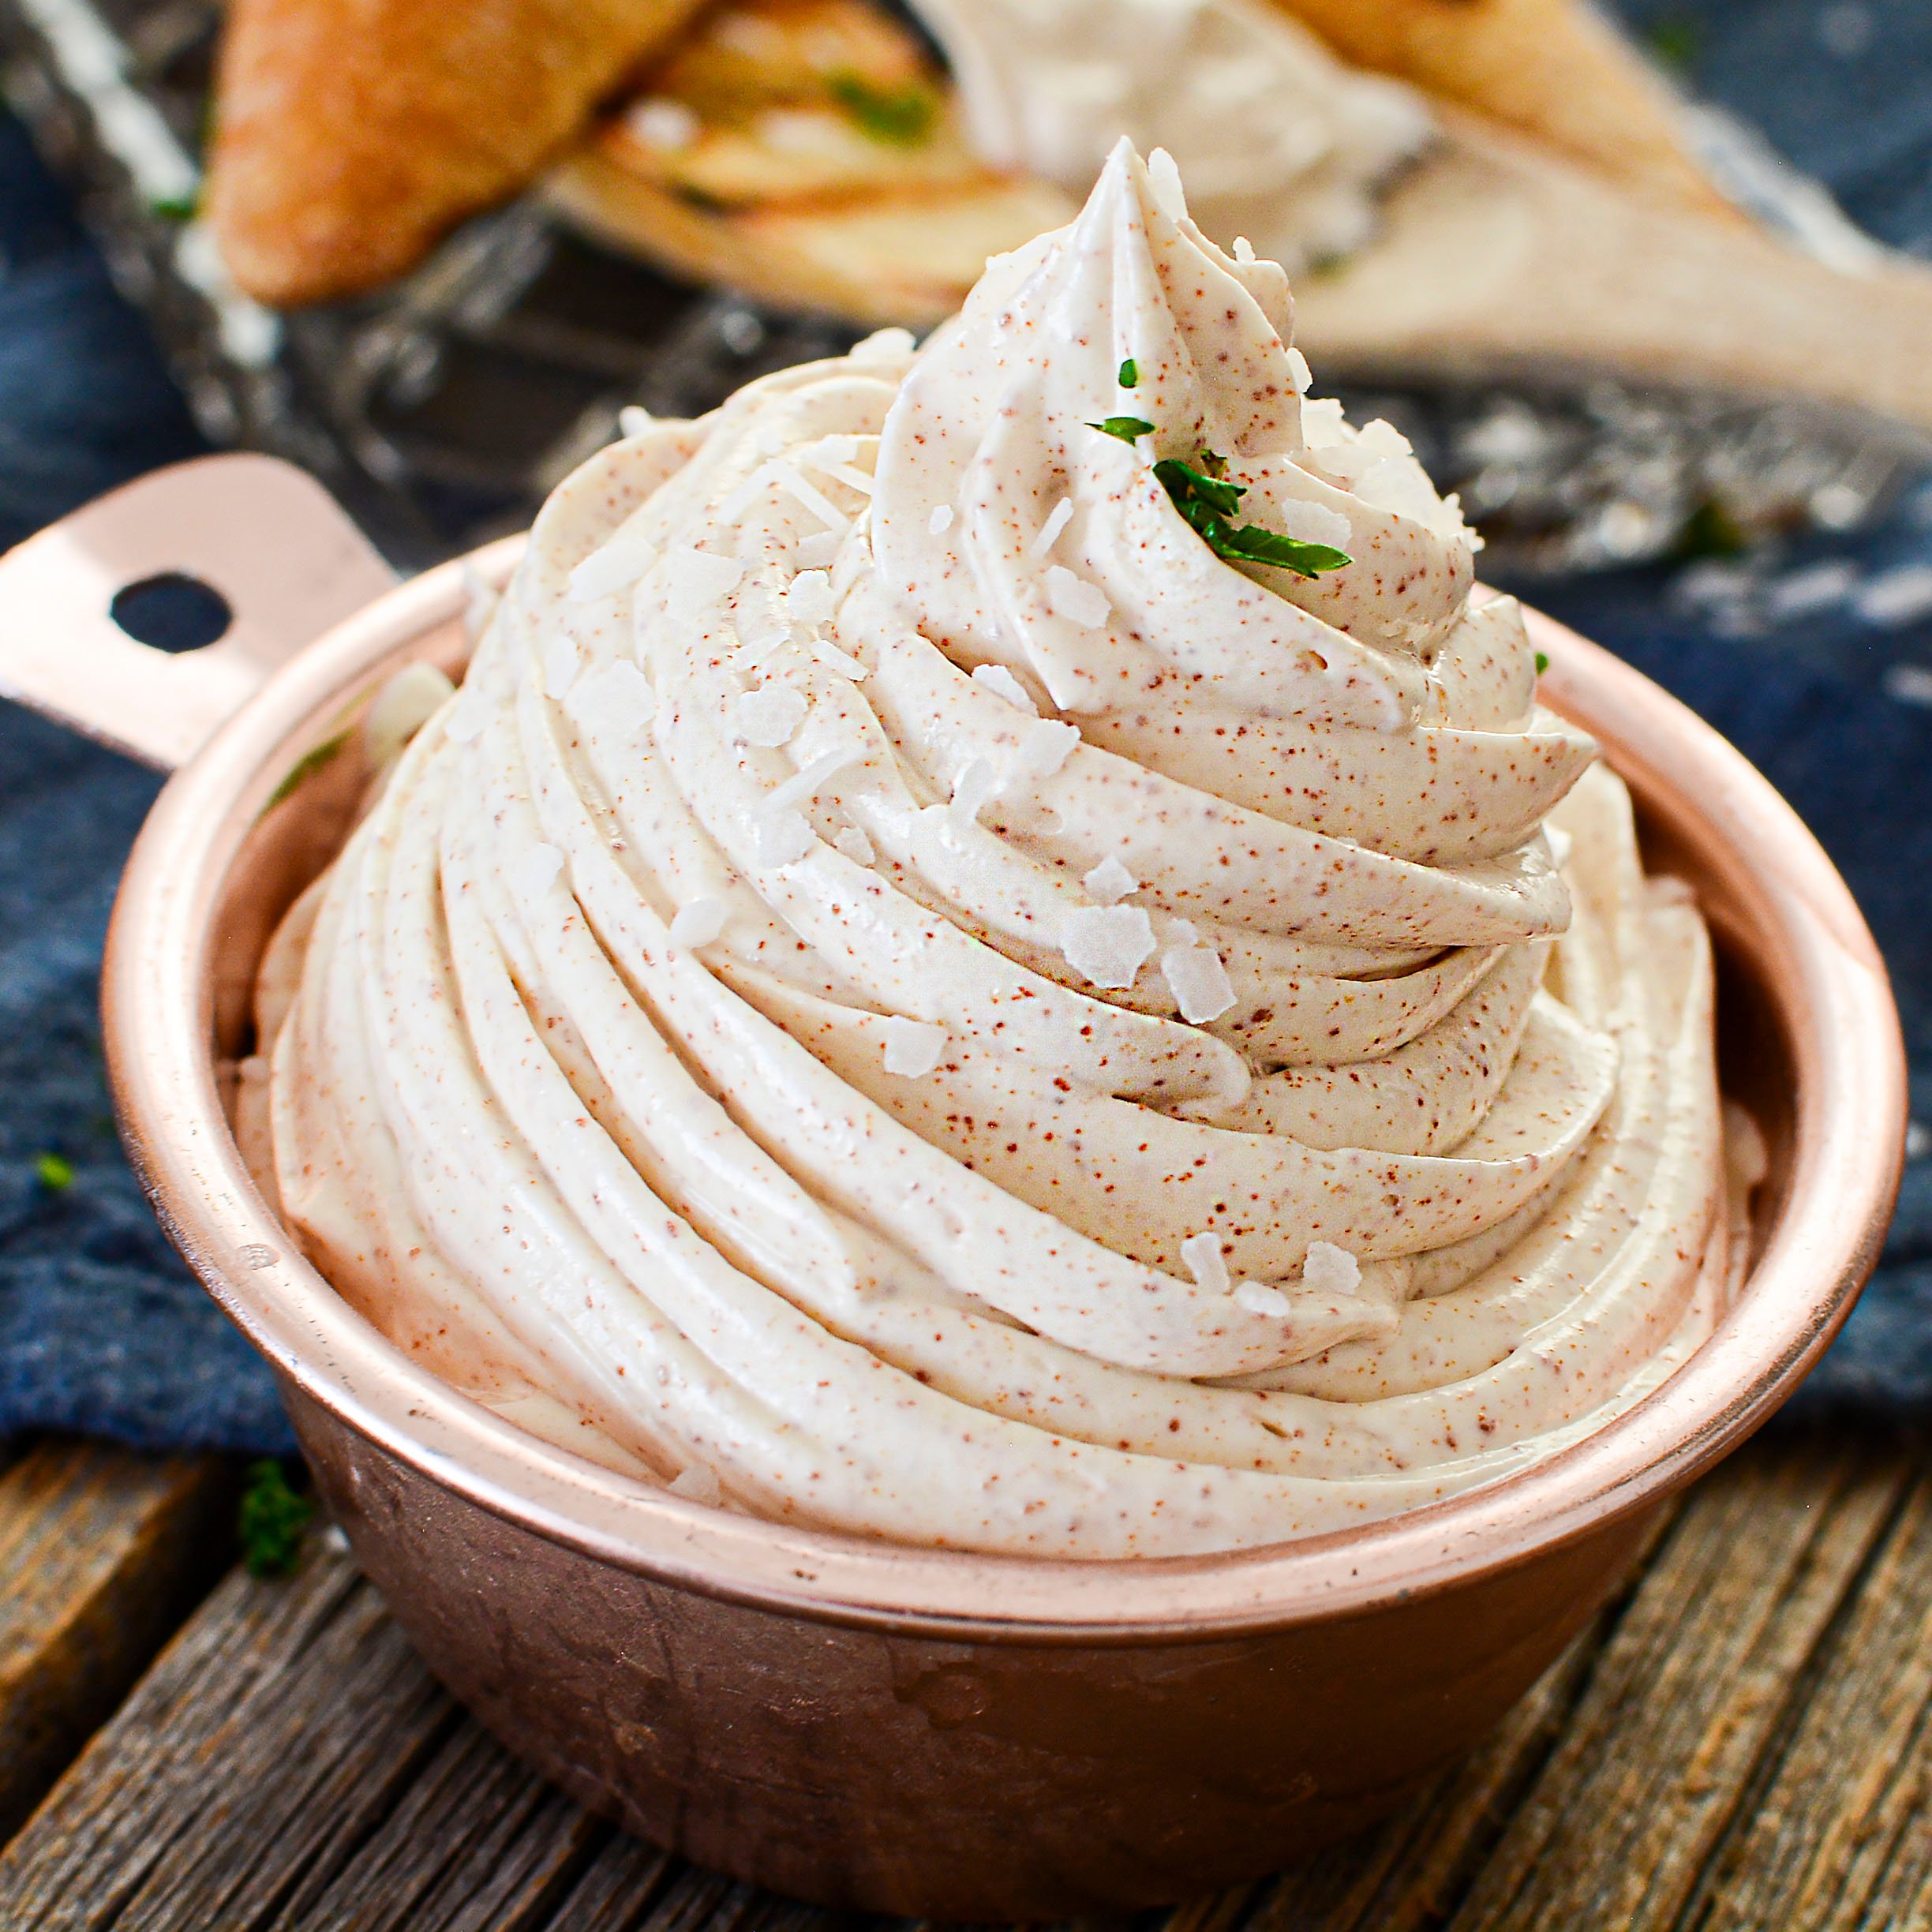
After reaching the consistency of whipped cream, pipe or spoon it into a container and sprinkle the flaky salt on top. This step is optional but highly recommended!
Saltypot Note: If you decide to it by using a whisk, I would recommend putting the bowl over ice to keep it cool and help facilitate the whipping process much quicker.

Serving Ideas For This Browned Butter Spread
Oh, my friend, the possibilities are deliciously endless!
- Toast up your favorite bread, like this Cheddar and Dill Bread, or a toasted fresh baguette and spread it liberally over top. Remember, the butter is whipped, so the volume is expanded. A teaspoon of whipped butter will easily equal two teaspoons.
- Let the whipped butter melt over cooked rice, or steamed/roasted vegetables for a luxurious touch and flavor enhancement to otherwise normal veggies.
- Freshly boiled Brown Butter Pasta? Yes Please!
- Another scrumptious idea is to try it over freshly popped popcorn! It will melt over hot kernels but if you want, you can melt the butter quickly to pour over top the popcorn.
- Dollop a healthy few teaspoons of whipped butter on top of a fluffy baked potato!
- Top your grilled steak with a pat of butter to enhance the flavors of the steak and the seasonings you sprinkled it with.
- Try a sweet version by removing the salt and adding cinnamon and brown sugar. Serve that on your morning toast or soft rolls!
Storing And Freezing The Butter
Here are some great ways to extend the life of the brown butter you just whipped up.
Fridge: Keep the butter in a tight-lidded container. It will harden and you can slice a pat or two when you need it. It will stay great in the fridge for up to two weeks.
Freezer: Using a freezer-friendly container, store the butter for up to a few months at least.
To Thaw, remove from the freezer and let thaw overnight in the fridge or in a couple of hours on the countertop.
A fun idea for storage is after the butter is whipped, pipe out individual tablespoon amounts onto parchment paper and freeze flat on a baking sheet. Once it’s frozen hard, then gather them in a freezer bag. You can pull them out individually when you need them. They’d make a pretty display on any dinner party table.
Questions You Might Have
That’s totally normal. They are milk solids that are a natural thing in the butter, and when we brown the butter, the solids brown or ‘toast’ in the pan. When we whip the butter, the specks (browned solids) are suspended in the butter. The toasted milk solids are what give the butter its nutty flavor.
Absolutely it does. Whipping butter will pretty much double the amount you started with. So half a cup of regular butter will equal a cup of butter after being whipped.
Did you make this Whipped Brown Butter Recipe? Be sure to leave a rating and a comment below, letting me know what you think of it, or shoot me an email at [email protected]. Thank you for stopping by today!
Whipped Brown Butter
Whipped brown butter is delicious and versatile and is used in both sweet and savory dishes. It has a nutty, toasty flavor from the browning process, and whipping it makes it light and creamy, perfect for spreading on toast or as a base for sauces.
Ingredients
- 1/2 cup Butter, unsalted, room temperature (see notes)
- 1/2 teaspoon flaky finishing salt (optional)
Instructions
- Begin by melting the butter in a skillet over medium-low heat.
- Once the butter is thoroughly melted, raise the heat to medium and bring the butter to a simmer. Keep whisking the butter frequently so it doesn't burn to the bottom of the pan.
- Continue to stir the butter as it goes through the stages of browning. The bubbles will get finer and almost go foamy. (look at the body of the post for images showing the different stages).
- The browned butter is ready when the butter has turned a nice toasty brown color.
- Take it off the heat immediately and pour it into a mixing bowl to stop the cooking/browning.
- Place the bowl in the fridge or the freezer to chill down quickly.
- Start whipping the butter with the whisk attachment that comes with your stand mixer. If you don't have a stand mixer, you can easily whip it using a hand mixer, or for an extra arm workout, feel free to use a whisk.
- Continue to whip/whisk the butter for about 10 minutes or so, or until the butter takes on the form of whipped cream. (see notes).
- After reaching the consistency of whipped cream, pipe or spoon it into a container and sprinkle the flaky salt on top. This step is optional but highly recommended for extra enhanced flavor!
- Chill or serve right away on toasted bread or other delicious vegetables and meats. Enjoy!
Notes
If you want to use the flaky salt to sprinkle over top, I recommend using unsalted butter. if you don't plan on using the salt, then I highly recommend starting out with salted butter.
Be careful not to overwhip it as it could get a bit grainy. If this happens, add a teaspoon or two at a time of milk/cream and it should smooth out again.
Nutrition Information:
Yield: 48 Serving Size: 1 teaspoonAmount Per Serving: Calories: 17Total Fat: 2gSaturated Fat: 1gTrans Fat: 0gUnsaturated Fat: 1gCholesterol: 5mgSodium: 22mgCarbohydrates: 0gFiber: 0gSugar: 0gProtein: 0g
All nutritional information is based on third-party calculations and is only an estimate. Each recipe and nutritional value will vary depending on the brands you use, measuring methods, and portion sizes per household.

