Easy Sour Cherry Hand Pies
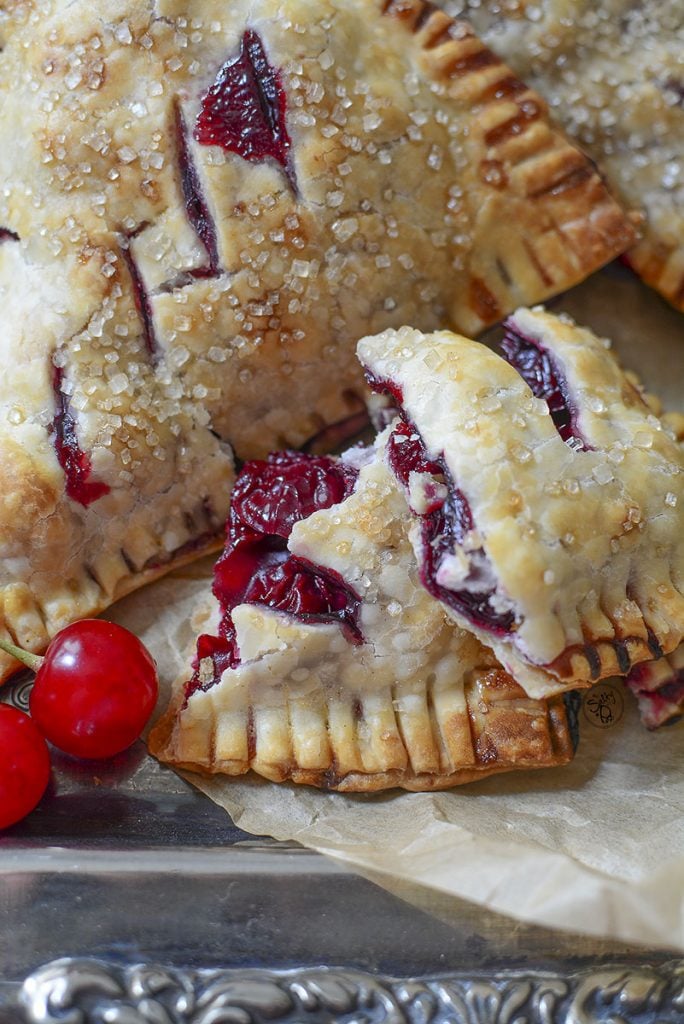
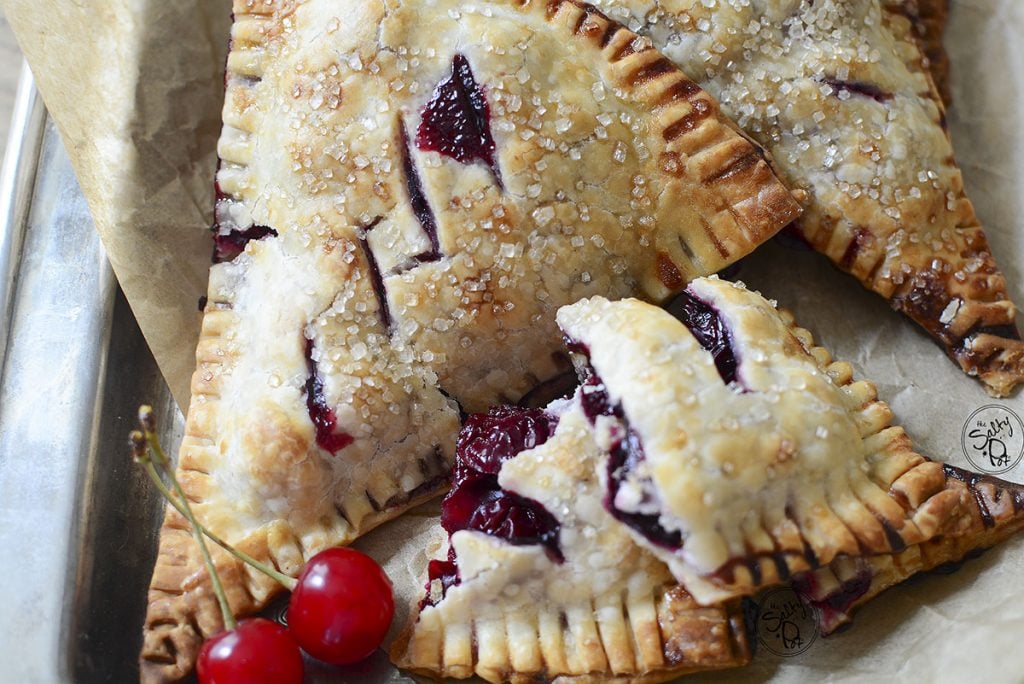
Sour Cherry Hand Pies are made with juicy tart cherries, and a flaky buttery crust and are sweet enough to make your dessert tooth happy!
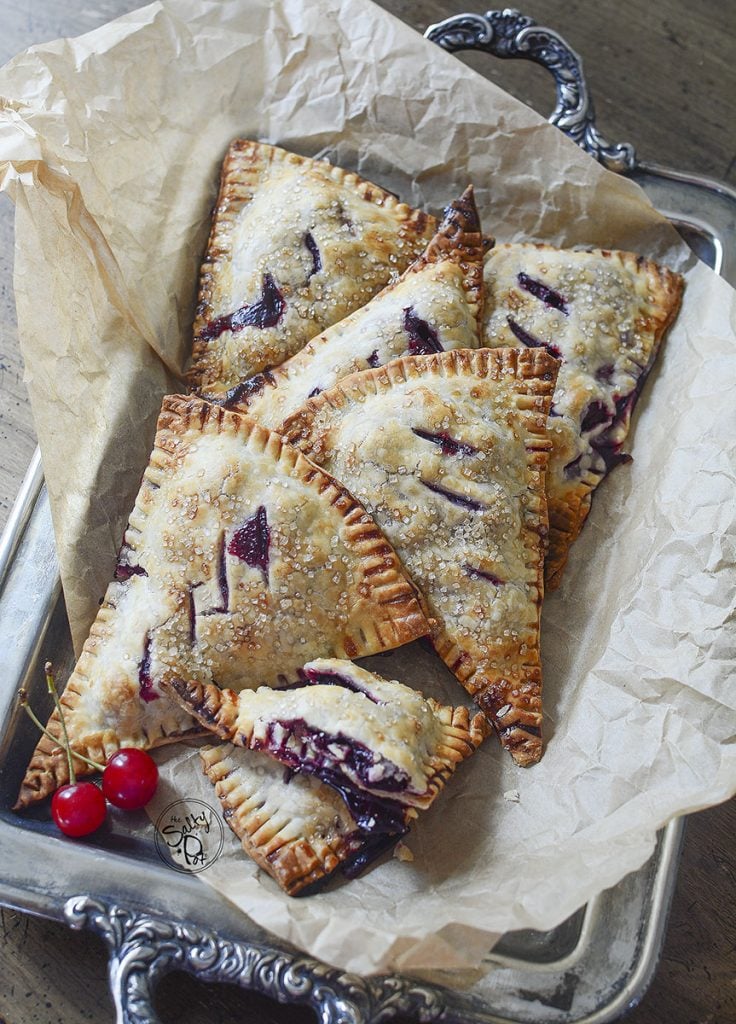
Individual Sour Cherry Pies are a great ‘on the go’ dessert!
Sour Cherry Hand Pies
Any time is the perfect time to experiment with pies in my opinion. This past weekend, I had some frozen sour cherries I saved from last summer. I wanted quick and easy pie flavors and these cherry hand pies fit the bill. They have the perfect balance of fruitiness and sweetness and are a great dessert to dig into when you’re in the mood to indulge a bit.
Ingredients
These hand pies are incredibly easy to make, and you’ll need just a handful of ingredients here.
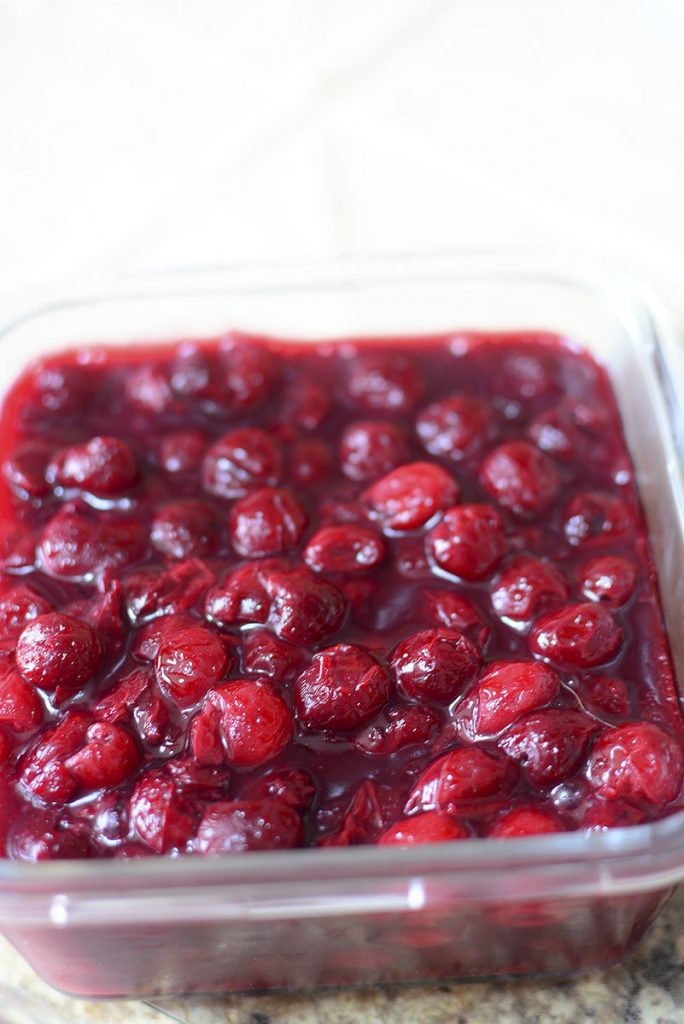
I used my Sour Cherry Pie Filling Recipe that I made earlier in the fall. However, if you don’t have your own sour cherries to make the filling, you can also use a store-bought cherry pie filling.
Some other ingredients that you’ll need are-
- Coarse sugar (Demerara or regular white sugar)
- Egg (Optional – read recipe notes below)
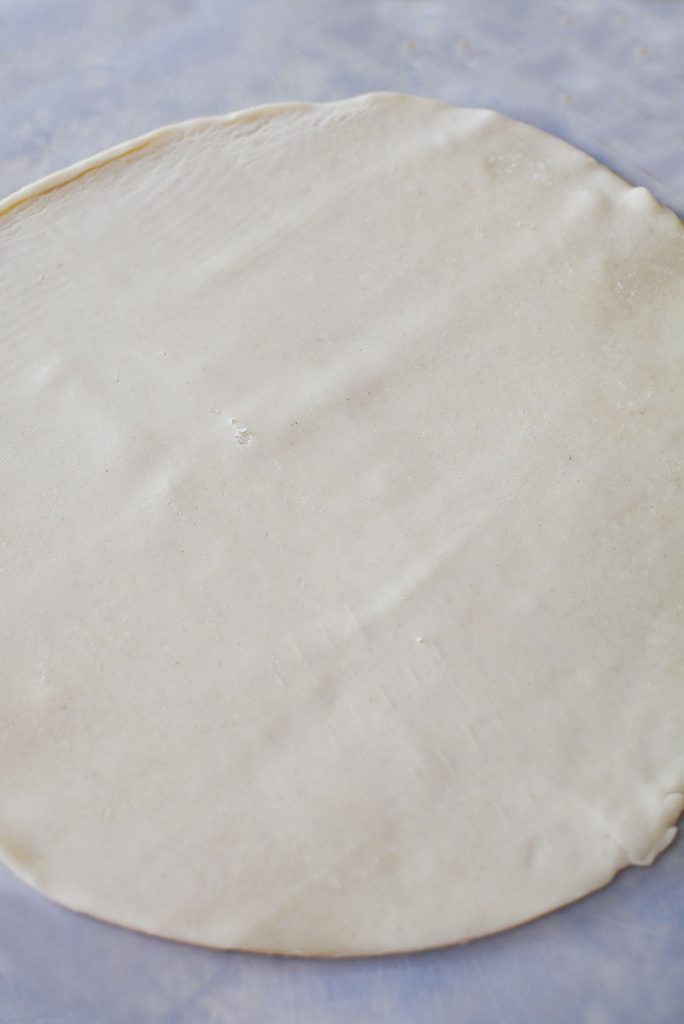
- Premade pie crust (you can also make it from scratch if you’re feeling up to it)
- Water or milk
Making Them the Right Way
Making these hand pies is super easy.
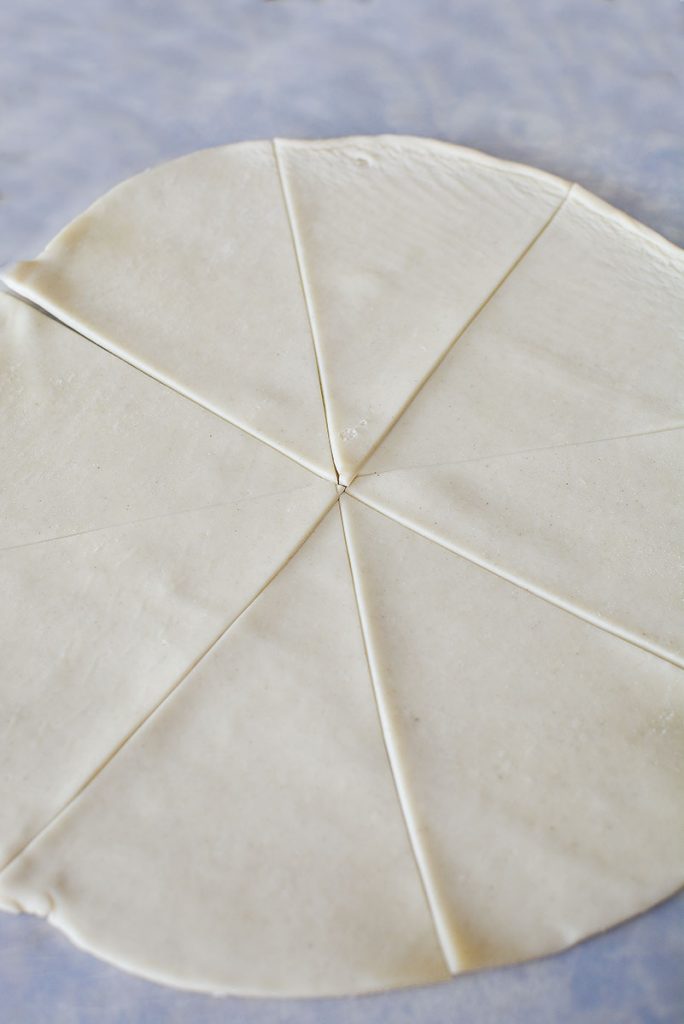
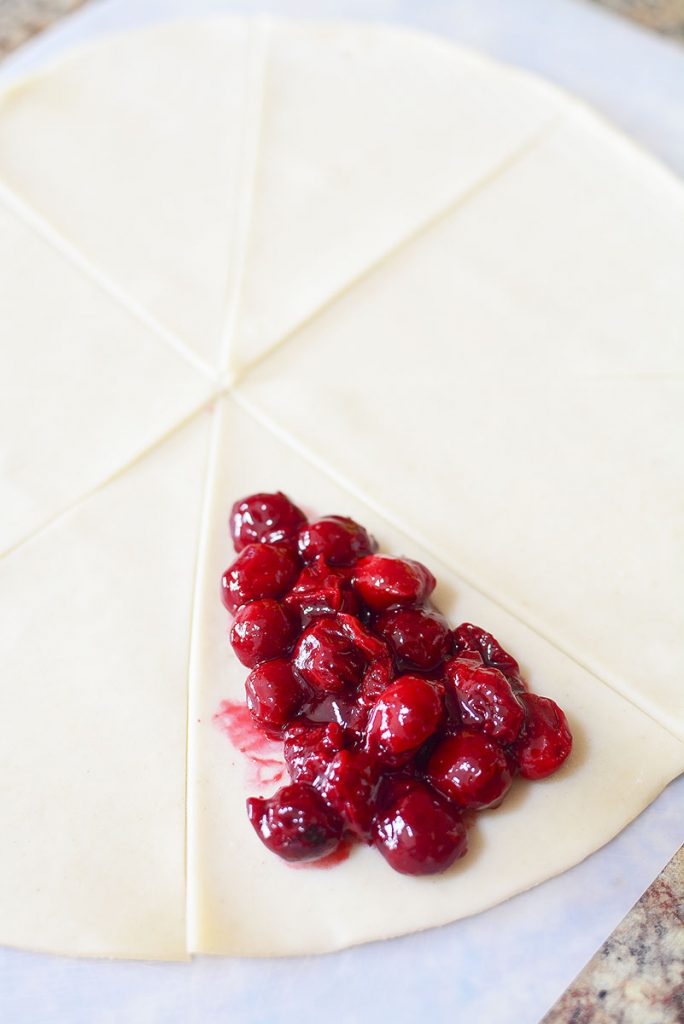
Start off by cutting the pie crust into 8 pieces like you would cut a pizza. Place a bit of the cherry filling in the center and a little towards the top, making sure the edges are free.
Now dip your finger in a bit of water (or milk) and use it to moisten the edges of the pie crust.
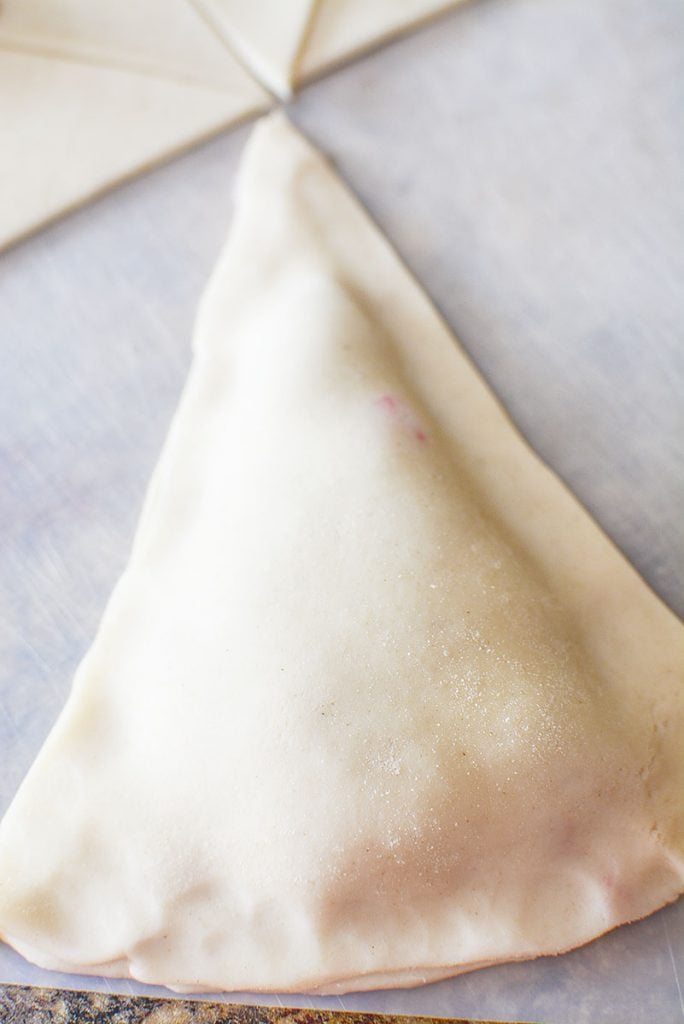
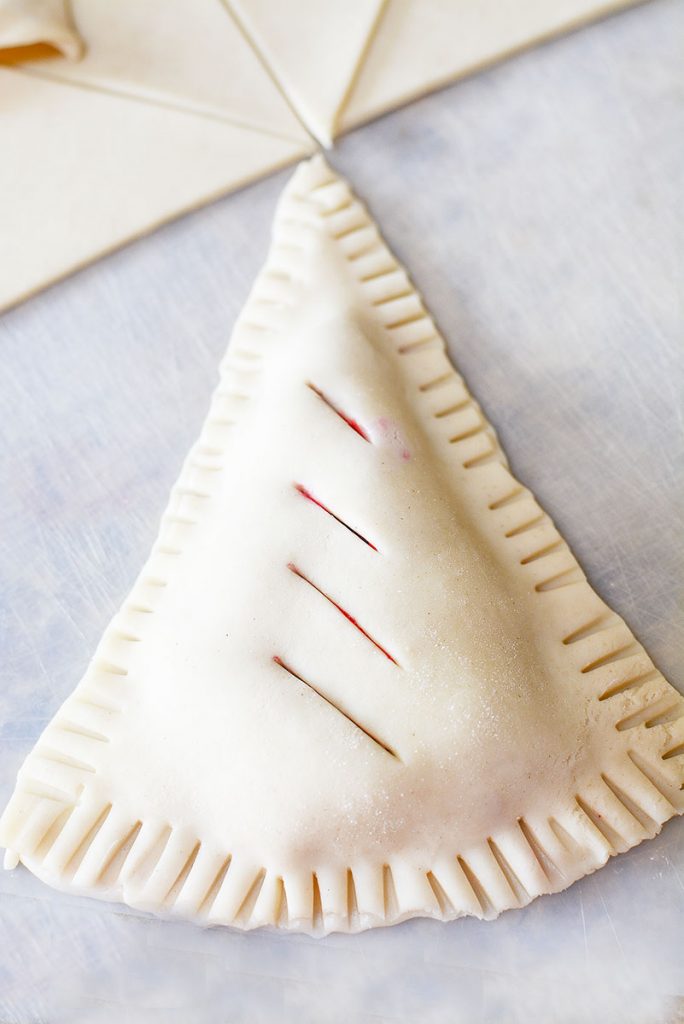
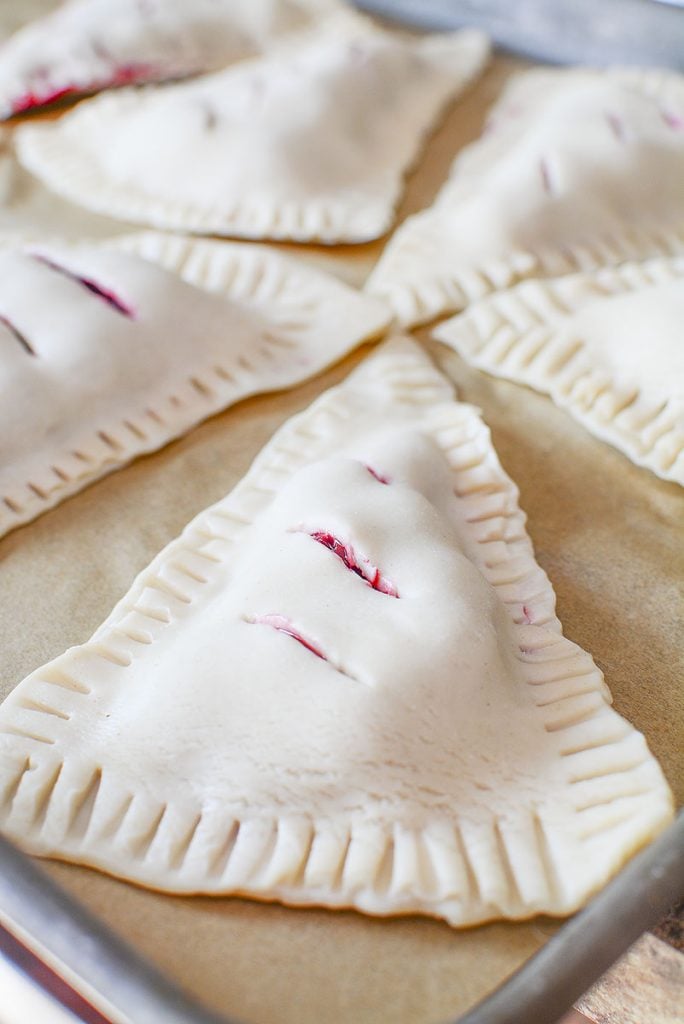
Top the filled piece of pastry with another one and crimp the edges with a fork.
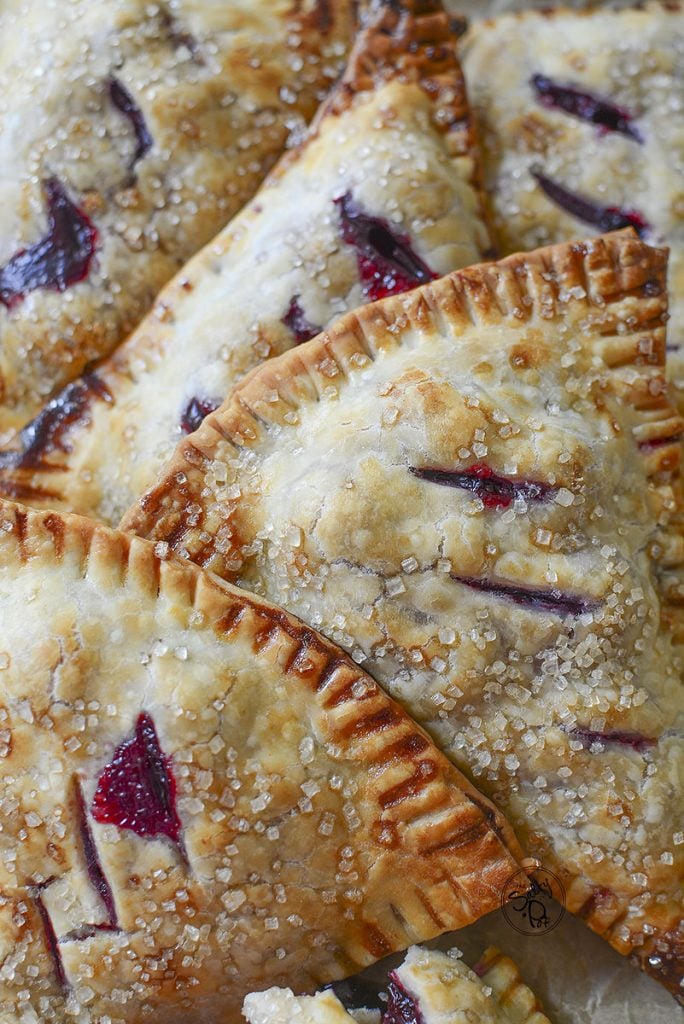
Make a couple of cuts on the top of the pie crust to allow the steam to escape.
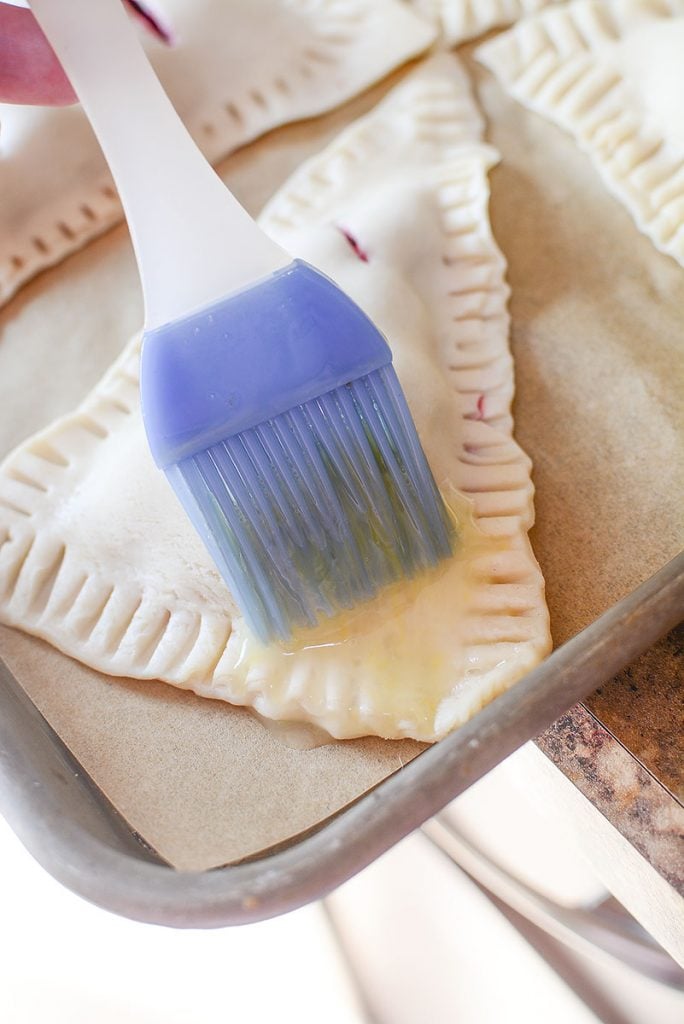
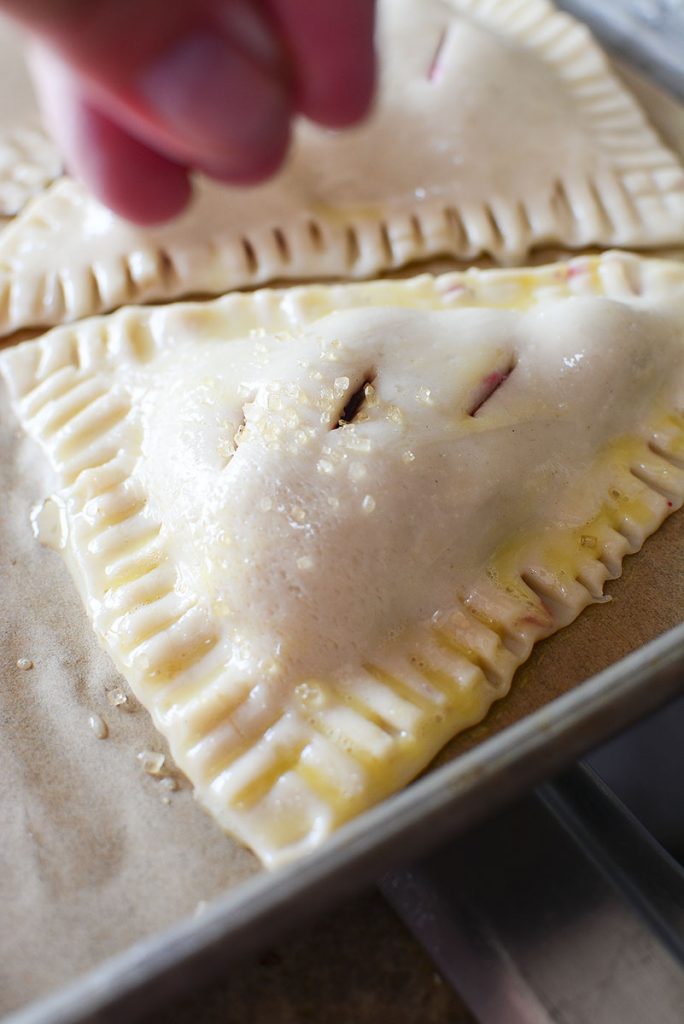
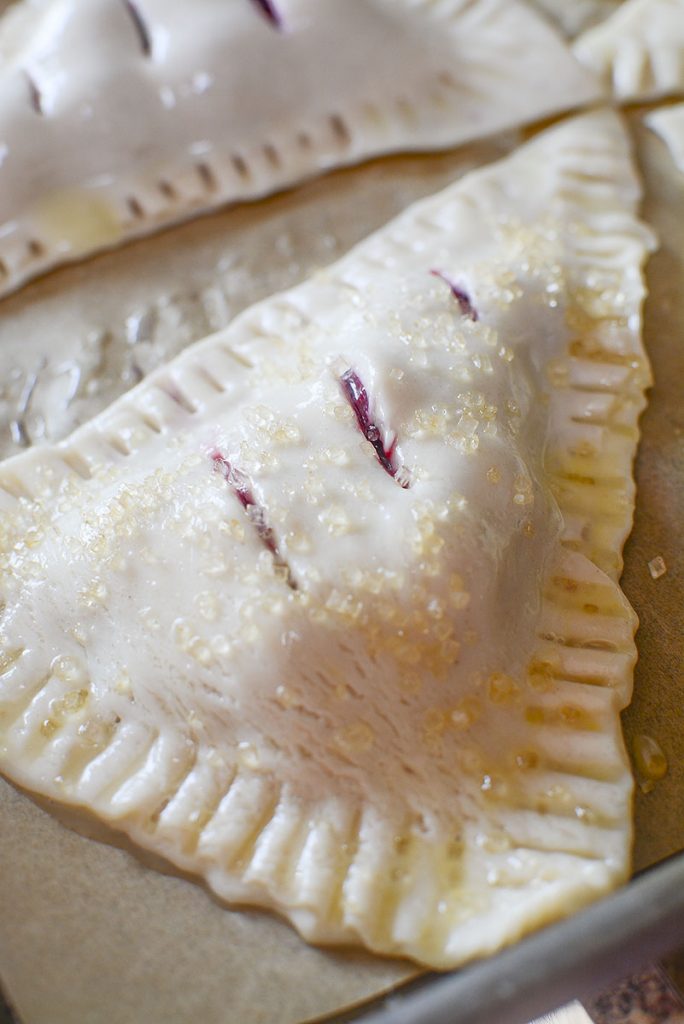
In another bowl, combine the egg and water (or use the milk) and brush this mixture on the top of the pie pieces. Sprinkle a bit of coarse sugar on the top, pop it into the oven and that’s it!
How Can I Store Them For Later?
Yes, of course. You can make these in a batch and store them for later- they stay good in the refrigerator for up to 1 week. If you’re planning on freezing them though, make sure you don’t plan on doing it for a very long period of time- just up to 3 months should be good.
If you’re freezing them, first wrap them in a paper towel, then in foil, and then pop them in a freezer-safe bag or box.
Serving Ideas & Suggestions
The best part about these sour cherry hand pies is their versatility- you can have them as is or serve them hot with a scoop of vanilla ice-cream. If you have some vanilla ice cream that has become runny and soft, you can use it as a dip to go along with these pies as well! Another cool idea is to add it to your kiddo’s lunch box as a dessert.
If you have a sour cherry tree in your yard, you most likely have more cherries to use up. So if you’re on the hunt for some more sour cherry desserts, here are a few ideas to help you out!
Summertime Sour Cherry Crisp – SO delicious and even easier to make!
Sour Cherry Chia Seed Parfait – You’d NEVER know these are healthy for you because they’re so delicious. A perfect, fun breakfast for everyone!
Sour cherry Gummie Candy – Why not make your own gummy candies?? You’ll be surprised at how simple they are to make.
Easy Sour Cherry Hand Pies
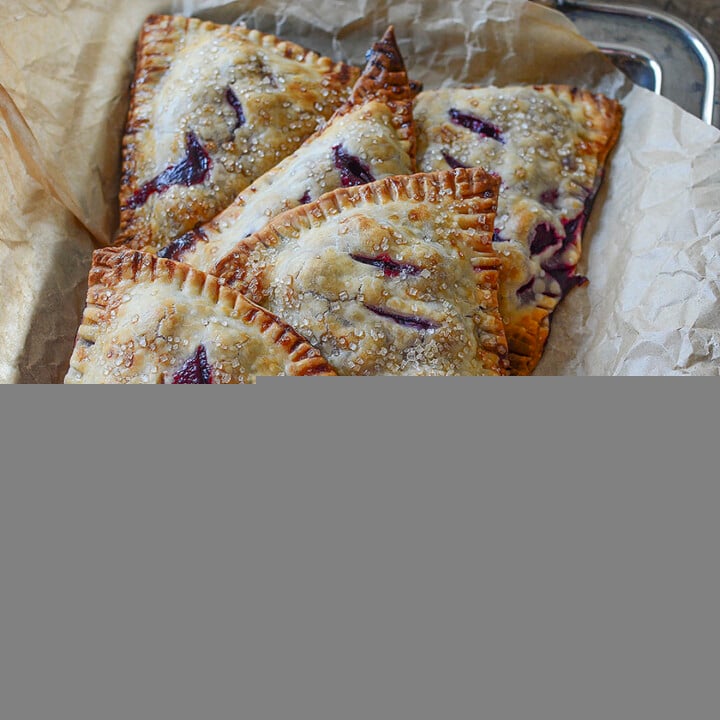
These rustic and delicious sour cherry hand pies are the perfect dessert! The cherries are slightly tart, but still sweet and the pastry is flaky, buttery, and the ideal companion to the sour cherry filling!
Ingredients
- 2 premade pie dough circles
- 2c Sour cherry pie filling
- 1 egg (or milk)
- 1/4 c demerara sugar (see notes)
- a few tablespoons of water
Instructions
- Preheat the oven to 350F
- Thaw and unroll the pie dough circles and cut them into 8 slices.
- Using your prepared cherry pie filling recipe, spoon 2-3 tablespoons of the filling into the center of one of the slices of dough. Be sure that the filling is spread over the slice, going towards the smaller end as well, but keep a 1/2" edge for sealing.
- Dip your finger in the water and trace the edges of the dough slice.
- Place another dough slice on top of the one with cherries. With a fork, crimp the edges of the two slices together.
- Lift the hand pies onto a parchment-lined baking tray.
- With a sharp knife, carefully make three slices into the top piece of dough in order for steam to escape during the baking process.
- Continue on with the rest of the pieces.
- In a small bowl, combine the egg and a few tablespoons of water. *see notes
- Sprinkle the demerara sugar over the top of the hand pies.
- Bake in the oven for 15 -20 minutes or until nicely browned.
- Remove from the oven and let cool.
- Enjoy!
Notes
1. For the pie dough, I used prepared store-bought Pillsbury pie dough (2 sheets)
2. Instead of using the water/egg mixture, you can also use milk or heavy cream. This is used to help the hand pies brown while baking.
3. If you don't have demerara sugar, you can also use white or brown sugar.
Nutrition Information:
Yield: 8 Serving Size: 1Amount Per Serving: Calories: 353Total Fat: 15gSaturated Fat: 6gTrans Fat: 0gUnsaturated Fat: 8gCholesterol: 23mgSodium: 253mgCarbohydrates: 51gFiber: 1gSugar: 6gProtein: 3g
All nutritional information is based on third party calculations and is only an estimate. Each recipe and nutritional value will vary depending on the brands you use, measuring methods and portion sizes per household.





I was looking over the instruction if you cut each circle into 8 slices the yield would be 8 handpies in total not 4 as the recipe states. Did I miss something in the instructions?
Hi Holly! No, that was a typo.. thanks so much!
Can I make this with canned tart pitted cherries?
Hi Bete! Honestly, I don’t see why not. Please let me know how it works out for you if you try it!!