Dehydrating Foods In The Oven 101
The world of dehydrating! While there are many different ways to dehydrate foods, today we’ll be discussing dehydrating foods in the oven!
Whether you landed on the concept while scrolling through a food blog or just found out about it as an amazing way to preserve your harvest or tackle food waste- you’re probably ready to dig a bit deeper, right?
So here’s helping you with just that! Read on to discover your quick and concise guide to dehydrating foods, and get all your questions answered.
What Exactly Is Dehydrating Food?
Preservation comes because dehydrating them doesn’t allow the bacteria that cause food spoilage, to thrive. Plus, you’ll also be increasing the shelf life of your foods- how cool is that?
When you dehydrate foods, you basically reduce their moisture content. The warm air combined with a long period of time equals drying out or removing the water from the cell walls of the veggie or fruit.
Why Dehydrate Food?
There are several reasons you would want to dehydrate your food.
- Food Waste: Let’s face it, food wastage is a huge problem today and a lot of us end up finding semi-mushy fruits and veggies in our refrigerator, just about to go into the trash. That’s our hard-earned money going down the drain. So, dehydrating them is actually an excellent way to preserve them, put them to good use and still save some money!
- Harvest: You’ve worked super hard all summer, tending, gardening, weeding your garden and BOOM! Come fall, it explodes with bountifulness!! Now you have much more than you can handle.
While canning the produce is a great option (I actually have an article about Canning 101 on the blog), dehydrating your bounty is equally a great thing to do to preserve those nutritious veggies!
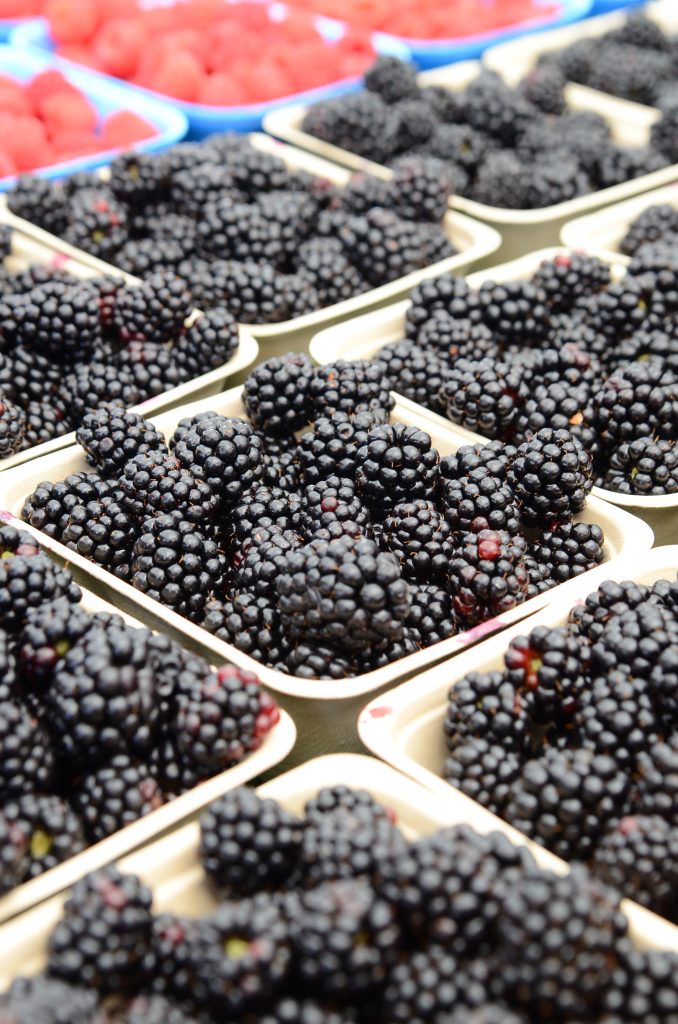
This cost-saving activity can be an excellent way to eat your garden bounty! So many delicious things can be made from dehydrated foods such as:
- Granolas and Granola Bars
- Trail Mix (great for camping and backpacking!)
- Rehydrated, veggies add extra flavor and nutrition to soups, stews, casseroles, etc.
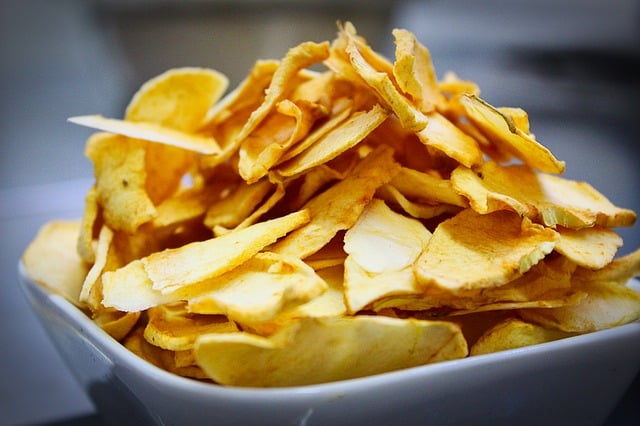
- Chips and other snacks
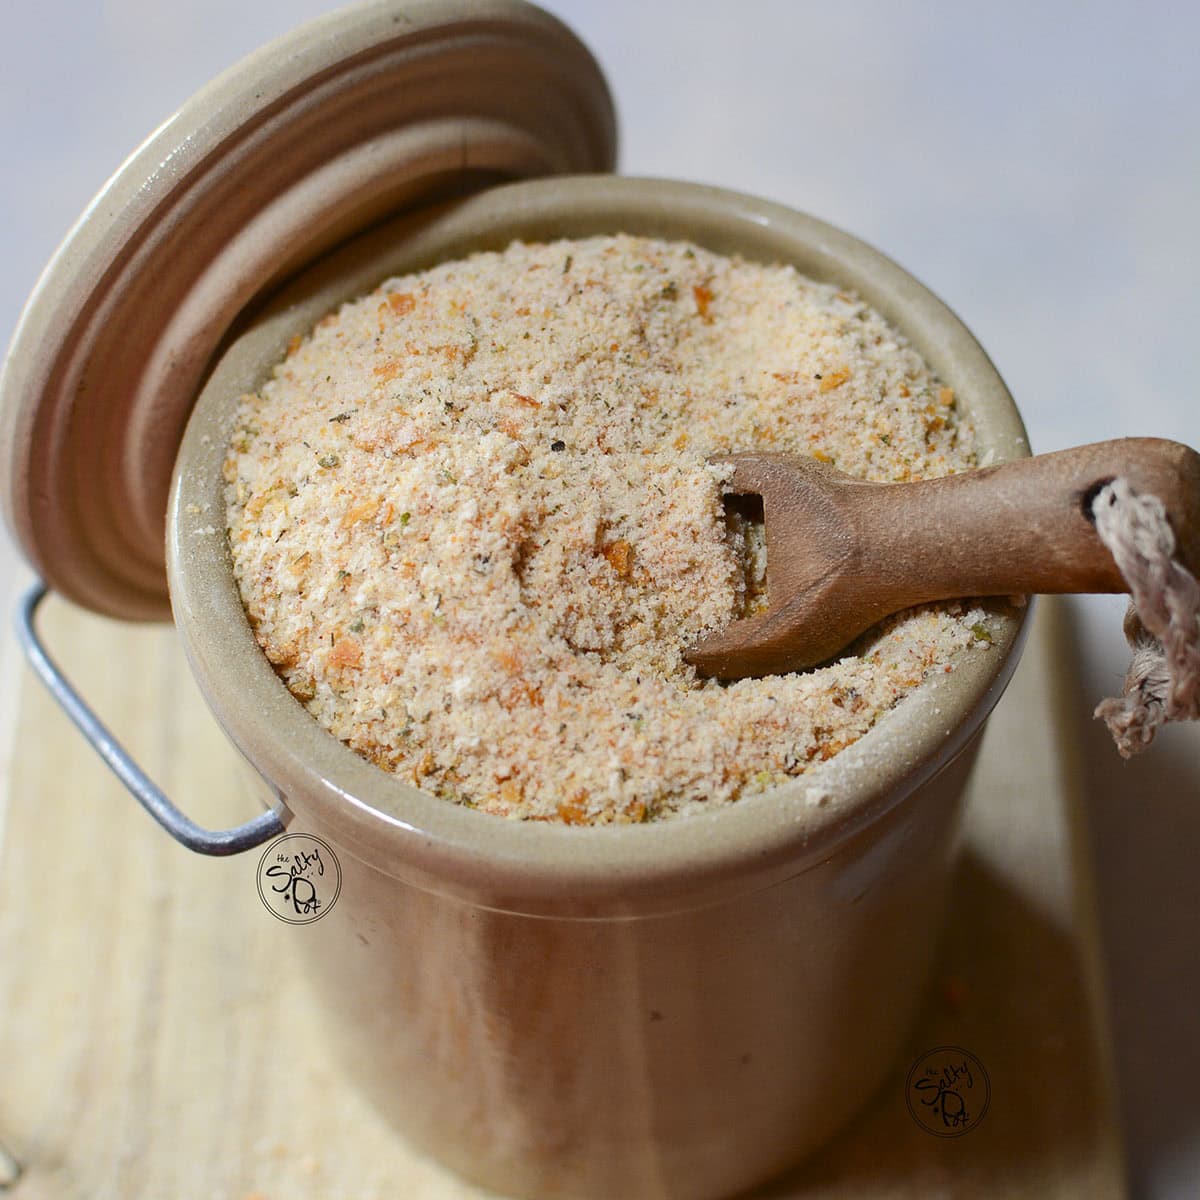
- Crush them to a powder (such as spinach powder) and add them to soups, smoothies, etc for extra flavor and nutrition!
- Make whole muscle meat dog treats like these nutritious Bubba’s Liver Treats or these Grain-Free Dog Treats!
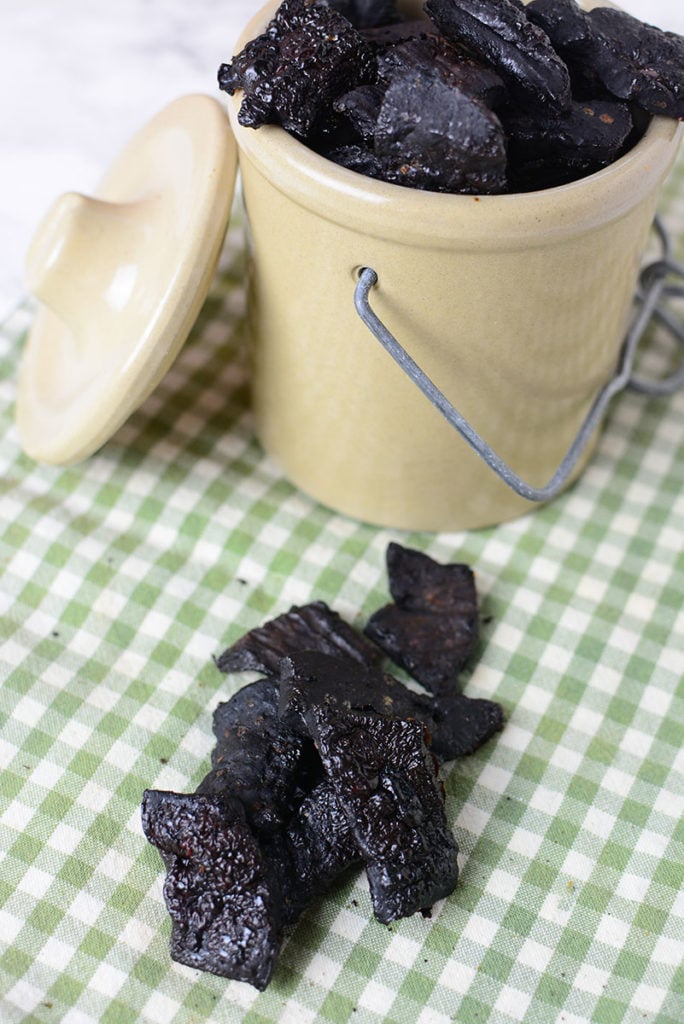
And if you’re wondering how dehydration affects the nutritive value of foods, well, it has a small effect. It does lower down the nutritive value of foods somewhat, but no more than other methods of preservation (like canning) do.
Dehydrating Foods the Right Way
There are a number of ways you can go about dehydrating your food.
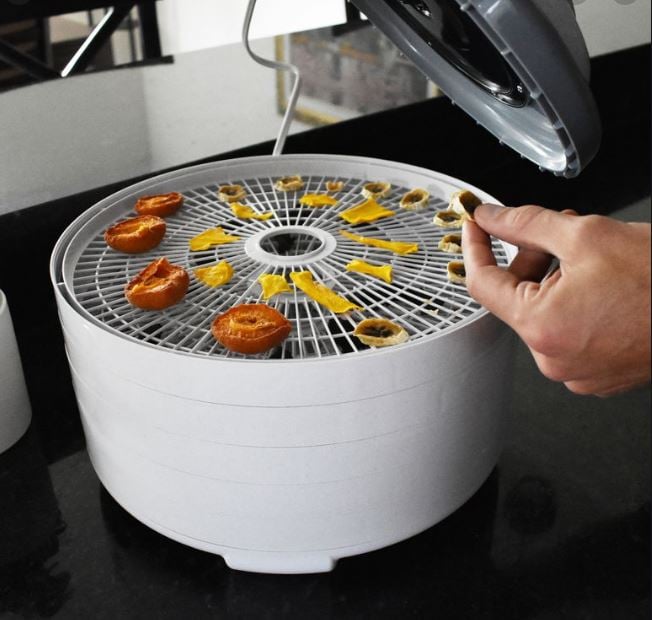
Conventional Dehydrator: There are many brands and builds commercial type dehydrators. They all work fine and the style of dehydrator will depend on preference.
They basically dry by forcing warm (temperature-controlled dials) air over the food over a period of time to help remove the moisture from the food.
Screen Drying: You can use the power of beautiful mother nature if you have the weather for it. You would spread the food item on multiple stacked frames of screen and basically dry them with wind power.
It works great as long as it doesn’t rain, but the energy is free!
Oven drying: While an oven isn’t a conventional way to do it, dehydrating in the oven can certainly (and easily) be done. If you’re not someone who’s looking to invest in an all-new appliance for your kitchen, or you don’t plan on doing a lot of dehydrating at first, dehydrating in the oven will do the job.
Some newer ovens will have dehydrating options so the temperatures are pre-programmed. However, if you don’t have this option, simply turn your oven on the lowest setting possible.
If your oven doesn’t go below 200 degrees Celcius, it helps to prop the door open while drying so that the moisture can escape, it lowers the temperature and quickens the drying time.

What Items Do I Need To Dehydrate Foods In The Oven?
- Well, of course, you’ll need an oven. Haha!
- Baking sheets with cooling racks/metal racks that fit on the inside
- Parchment paper
- A mandoline is handy or a very sharp knife
- Sometimes lemon juice or citric acid can help certain fruits from turning brown as they dry
How Do I Dehydrate Foods In The Oven?
This is a general guideline to drying foods in the oven.
- Wash and dry the item you’re drying.
- With a mandoline, slice the item in 1/4 – 1/2″ slices.
- Lay the parchment paper under the racks on the baking sheet. (If not using racks, then simply place the slices onto the parchment paper. )
- Place the racks onto the baking sheet and spray them with nonstick cooking spray
- Lay the food slices on the tray leaving some space between them for airflow.
- Place in the oven and dehydrate the food item. The amount of time will depend on the thickness of the food item, and how much moisture must be removed.
- (If only using parchment paper, the food slices will have to be flipped halfway through to assist drying on the other side.)
Oven Temperature Guides:
These are handy references for temperatures in the oven when drying various food items:
Fruits and fruit leathers: 120°F – 140°F
Sliced vegetables: 120°F – 140°F
Thinly Sliced Meats: 140°F – 160°F
** A tip for drying meats: Use cuts that are very lean as fat does not dehydrate and could cause rancidity in the meat.
Best Foods to Dehydrate
Ready to get started? Here’s a quick list of some of the best foods that you can dehydrate.
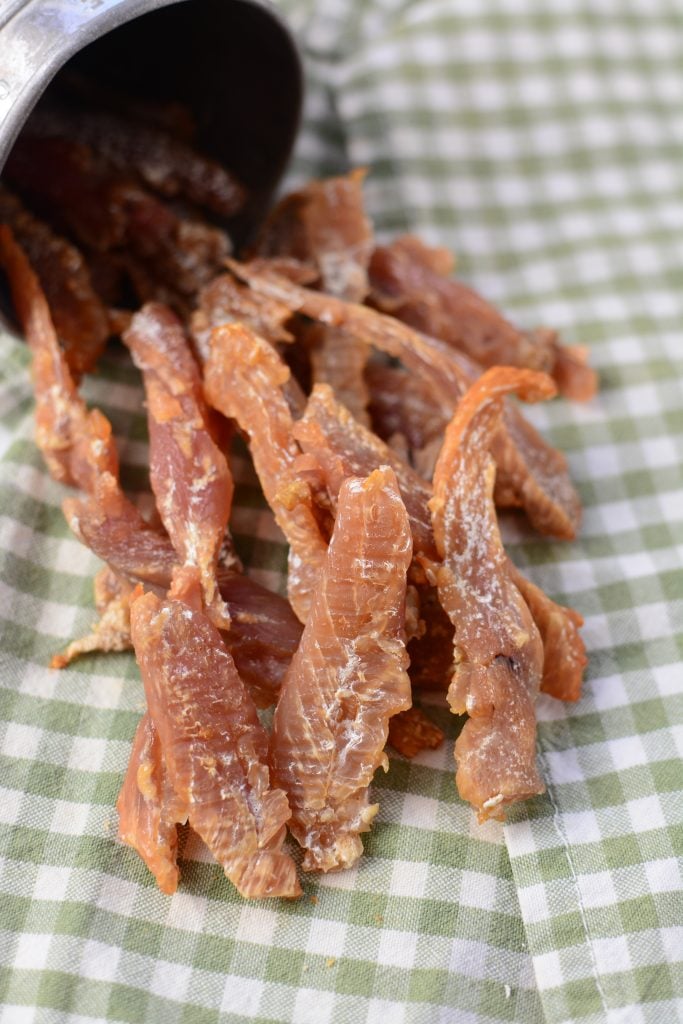
- Meats: Chicken, turkey, beef, ground beef, and even fish can be dehydrated. You can turn them into jerky or use their dehydrated bits to add flavor to your soups and stews, and even make them a part of your backpacking meal packets.
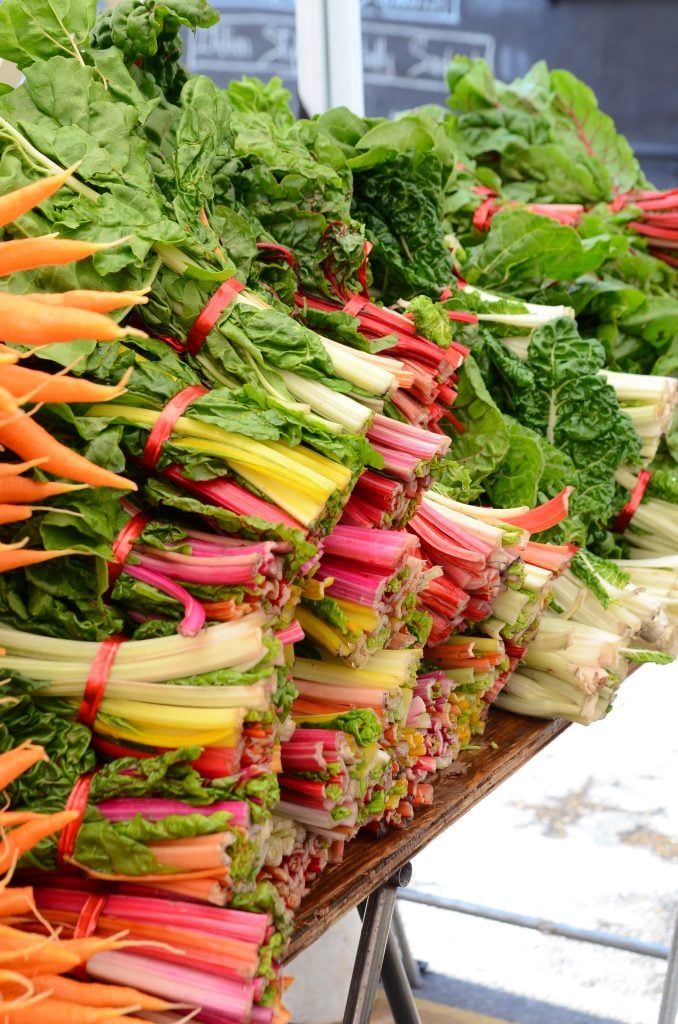
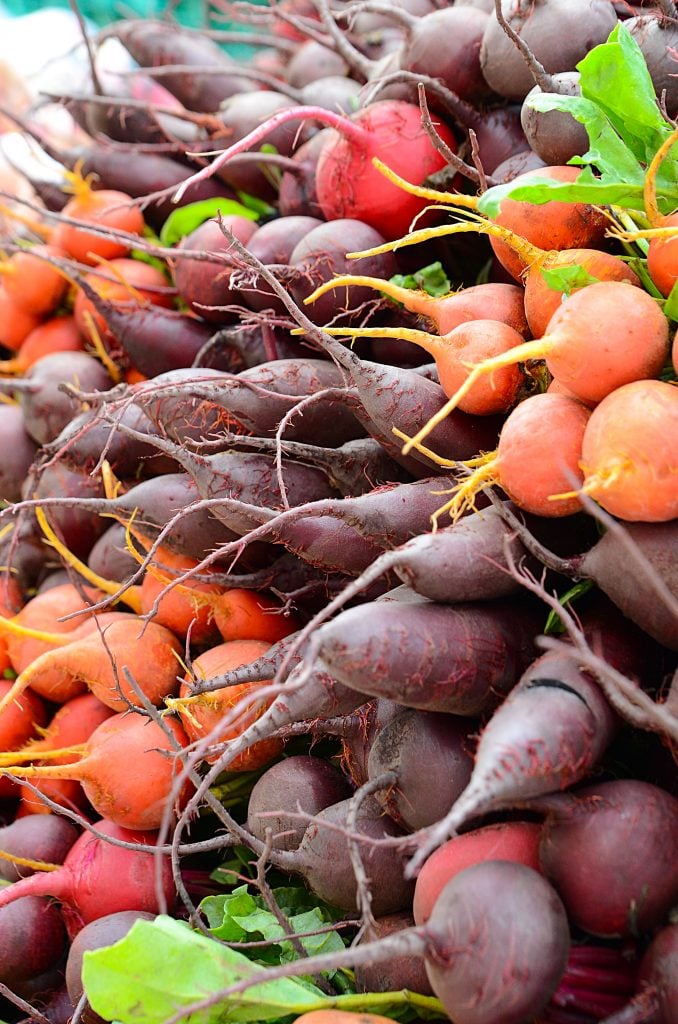
- Vegetables: Carrots, beet, mushrooms, onions, peas, and tomatoes are some of the most commonly dehydrated veggies.
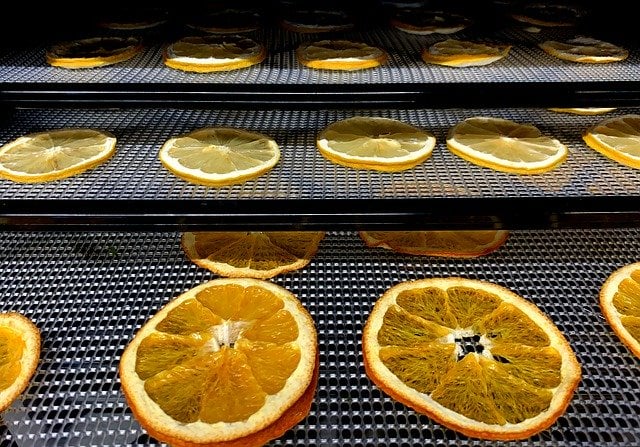
- Fruits: Apples, apricots, bananas, cherries, blueberries, peaches are all excellent fruits you can dehydrate and store for later.
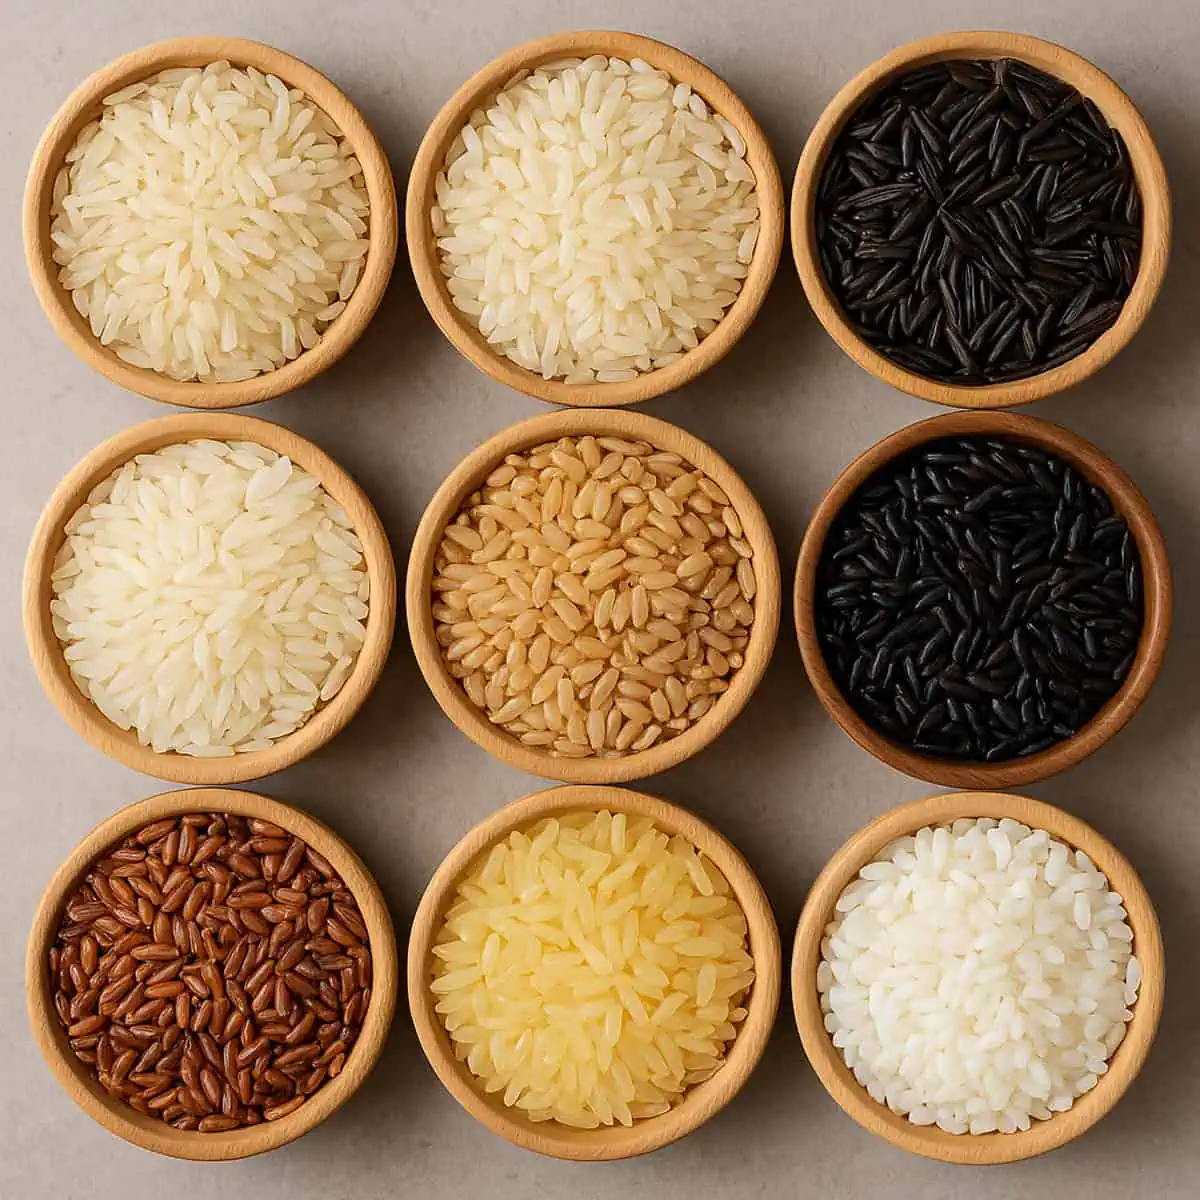
- Grains: Sprouted grains like barley, quinoa, amaranth, etc can be dehydrated and used for baking and to make healthy flours.
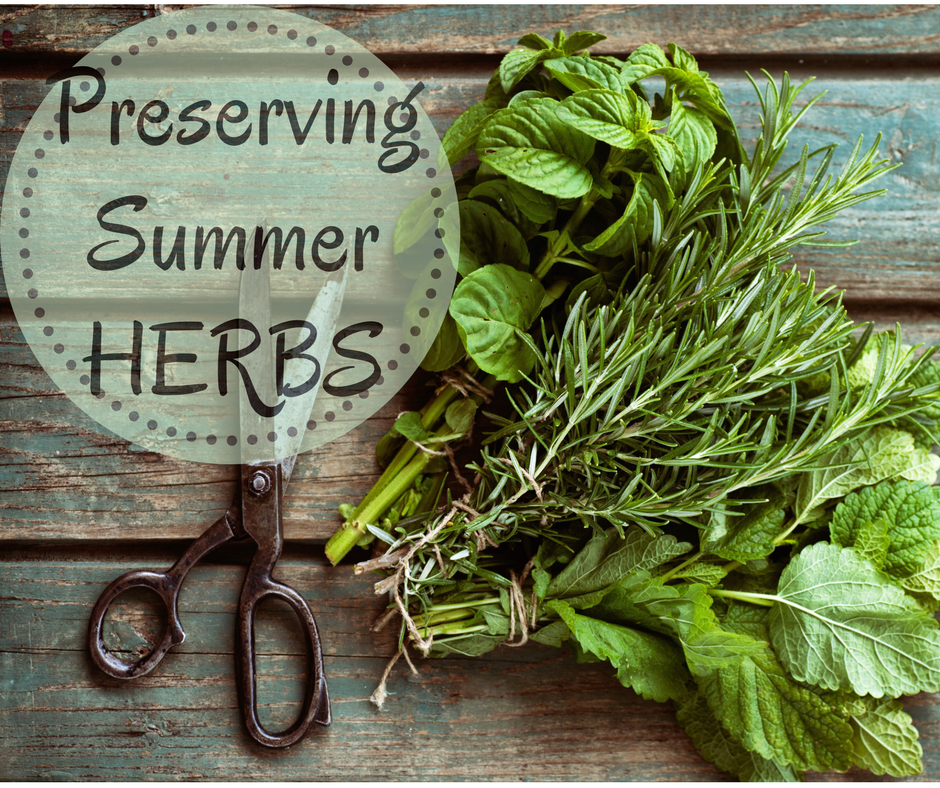
- Herbs: Fresh herbs like basil, dill, fennel, parsley, oregano, lemon balm, mint, etc can be great for dehydration. To read more on preserving your herbs, take a peek at this Preserving Summer Herbs post!
Tips & Tricks to Use Dehydrated Foods
Here are a few quick tips and tricks to help you make the most of it.
- You’ll want to reserve enough oven time to dry the food item that you want. Remember, you’re drying out the food slowly, so you’ll want to be sure that you won’t be needing to use your oven anytime to make something else.
- Some veggies lose out on the color after they are dehydrated, but if you still want that pop of color to be preserved, you can blanch them before you dehydrate them.
- Make sure you don’t group different food families together while dehydrating them and don’t dry items with strong odors with other items. The odors can be transferred into the other foods. Eg: Don’t dehydrate diced garlic with apple slices. You could be in for a rude flavor experience.. haha!
- Make sure the foods that you are dehydrating have almost the same size and thickness- this is especially for chopped veggies and fruits. This will ensure that all the foods are dehydrated evenly.
Storing Dehydrated Foods
So you’ve dehydrated your bounty and you’re done. But how exactly do you store these foods now?
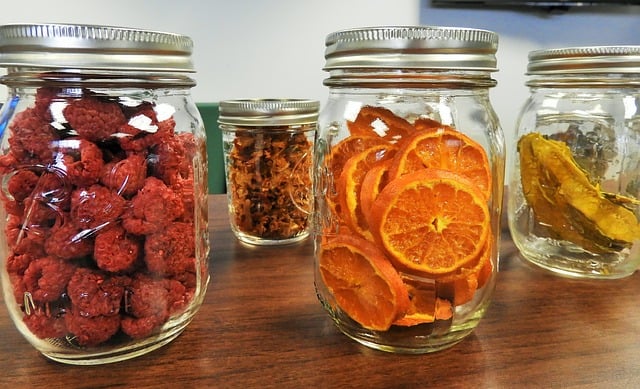
Well, ideally, the best way to do this is to pack individual sections in small freezer-safe bags, or in glass jars with air-tight lids. You can then pop them in the freezer, and then use them whenever you want to.
It’s also advisable to purchase some oxygen absorbers to toss into the container that is storing your dried goodies as extra insurance to keep your dried foods DRY!
Well, I hope I’ve convinced you to try drying some of your summer harvest to use later on! I love the idea of saving money, saving resources, and adding extra nutrition to a lot of different dishes!
When you try dehydrating foods in the oven, please let me know what you made! And as always, if you have any questions or comments please leave them below, or feel free to email me at joanne@thesaltypot!
~Joanne
