Water Bath Canning 101
If you have never ventured into the world of canning or preserving food, you might find it intimidating. Have no fear my lovely, because homemade jams are some of the easiest things to start your foray into the canning world.
An Introduction To Waterbath Canning – make sure your jam/jelly is safe to eat!
There’s sometimes nothing better than the taste of a jam or a jelly that you’ve made yourself on a piece of buttered toast! Homemade jam is satisfying in SO many ways:
- You control the type or combinations of flavors
- You control what ingredients, or more importantly, what ingredients DO NOT go into your jam or jelly
- You gain confidence in the fact of successfully making something homemade
- You get to preserve food that might have otherwise gone to waste
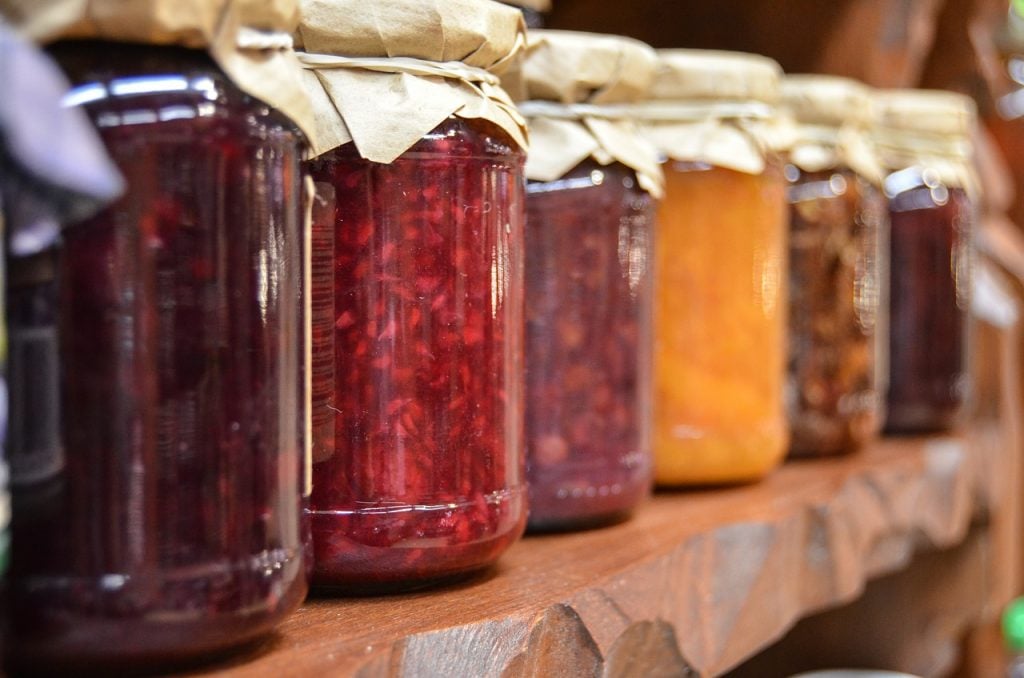
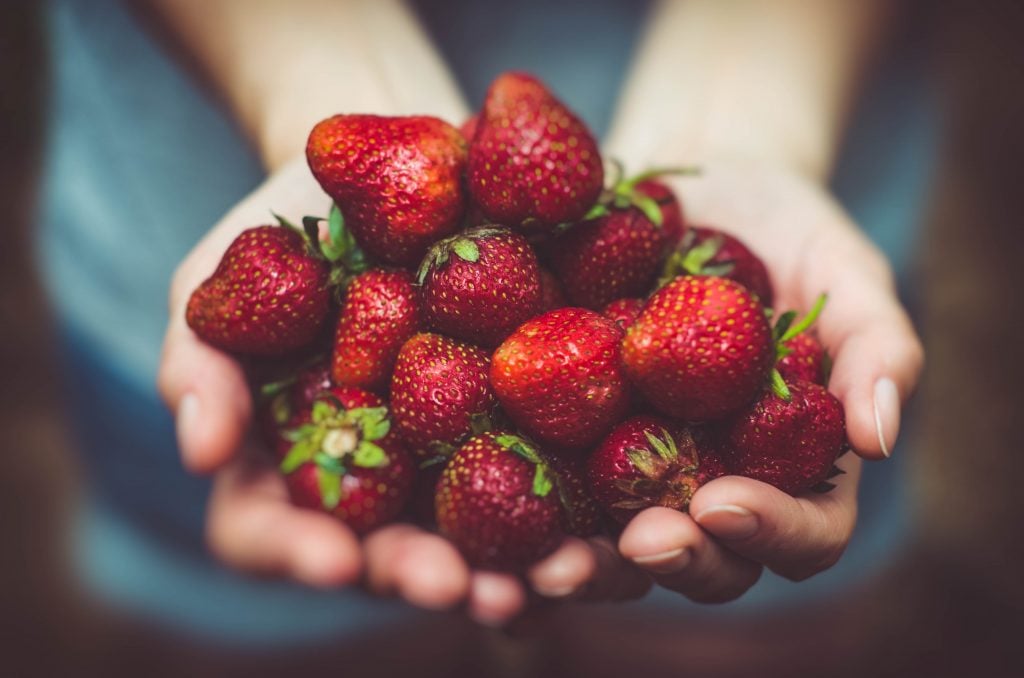
There are many great recipes out there for simple jams and jellies with everything from strawberries to raspberries and in between. (Incidentally, let’s not forget other fruits such as peach, pear, orange, apricots, etc etc! There’s so many fruits that can be preserved and magically turned into a jam or a jelly!)
What is the difference between jams and jellies?
- Jam’s contain the fruit and pulp, where jellies contain the juice of the fruit with no pulp.
- Jams often are less firmer than Jellies
- There is usually no difference between the sweetness of each.
How can I be sure that the jam/jelly that I make is safe to eat??
By learning the proper way to process your jams and jellies! There are two ways to preserve your jams to be shelf stable. That is Water bath canning, and Pressure canner canning.
What’s the difference between water bath canning and pressure canning?
- Water bath canning is done in a deep, large pot with a lid. You literally boil the filled jars to heat the jar and the contents so that it will destroy any bacteria that may be lingering around in or around the lid and on the surface of the product. (this must be done for longer than 10 minutes. If the waterbathing of the filled jars is less than 10 minutes, then you should pre sterilize the jars before filling.)
- Pressure canning is done in a very large, very heavy canister that uses steam at very high temperatures to kill any bacteria. It basically does the same thing that a water canner will do, except that it heats it much hotter than the water bath canning process does, and it also heats it under pressure.

Can I just use my water bath canner instead of getting a pressure canner?
No. You must buy a specific pressure canning appliance to can foods that are low in acids and require pressure canning. You cannot pressure can in a regular pot, nor can you pressure can items in a PRESSURE COOKER. They are two different appliances and cannot be used interchangeably in a safe manner. There is a whole different system to pressure canning your own food in jars, but that’s for another post! haha!
What’s all this talk about ACIDS in food??
Ok, so what that means is that all food has a PH level. Some foods are more alkaline (less acidic) than others. The foods that are less acidic NEED an acid (vinegar, lemon juice, etc) added to them in order to preserve safely in jars. Botulism can be killed with water bath canning, however, THE SPORES from the botulism bacteria can outlive water bath canning temperatures, and once you cool down your product, the spores will love their new home and begin to multiply. So it’s ultra important to use the appropriate canning method to keep your food items safe for consumption.
How do I know which foods to use for water bath canning, or for pressure canning?
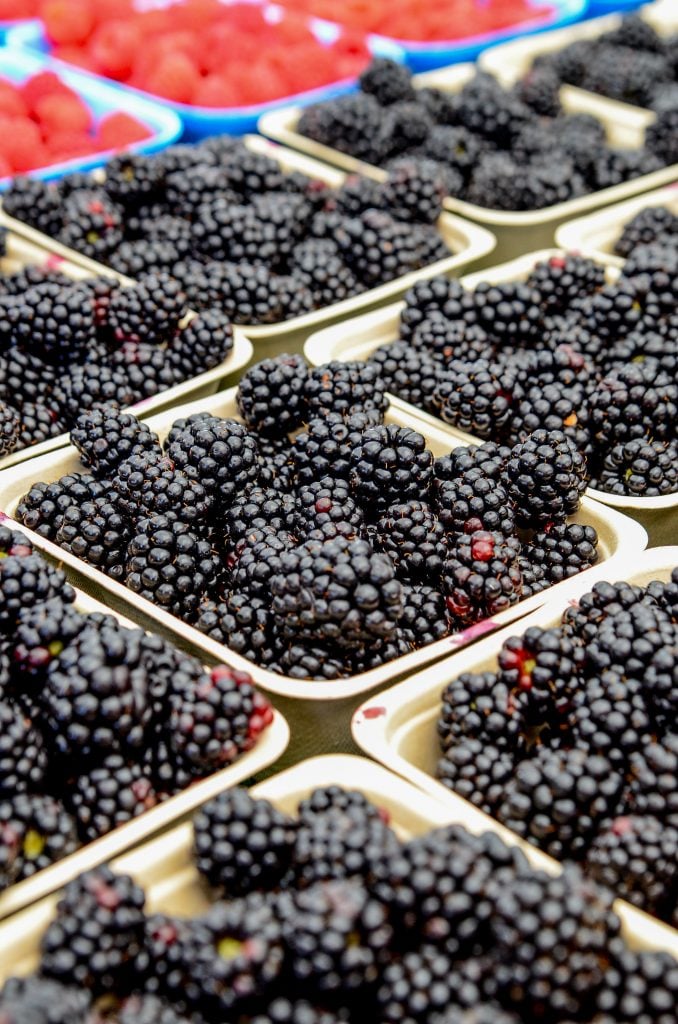
The basic rules of thumb are that most fruits (except for melons and figs) are acidic enough to be safe for water bath canning. Same with pickles, and as well as tomatoes (when you add some lemon juice or vinegar to them).
The foods that are not safe to water bath, or ones that are low in acidity, and to be pressure canned, are ones such as vegetables and meat products. Here is a handy dandy fact sheet/ graph to help you decide which method you need. https://hgic.clemson.edu/factsheet/canning-foods-the-ph-factor/
What items do I need to water bath my jams and jellies?
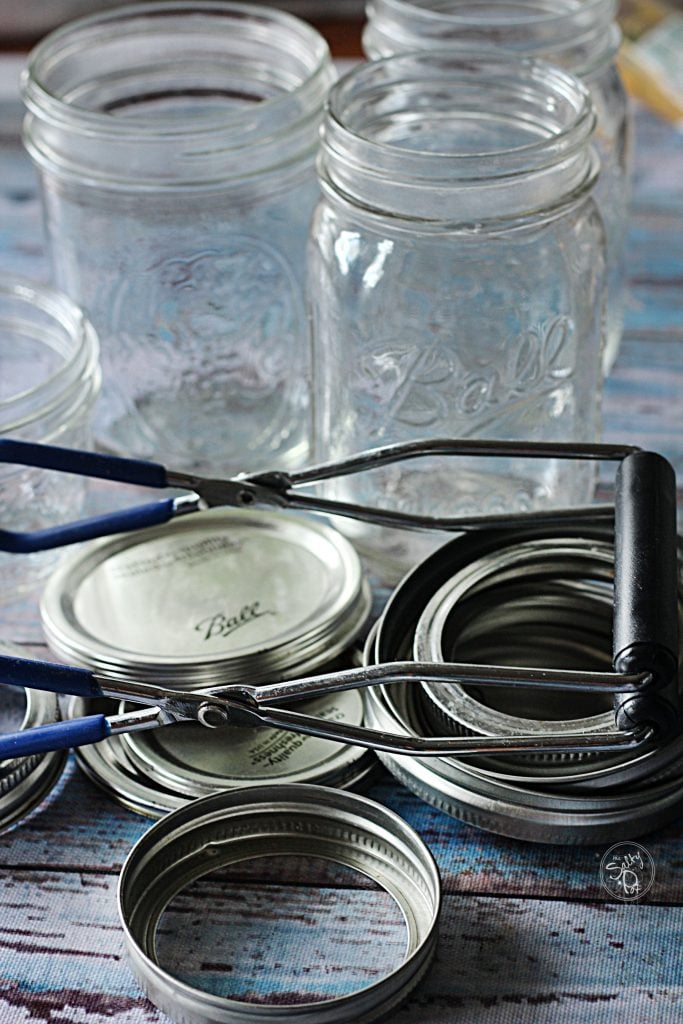
- Easy peasy! You will need:
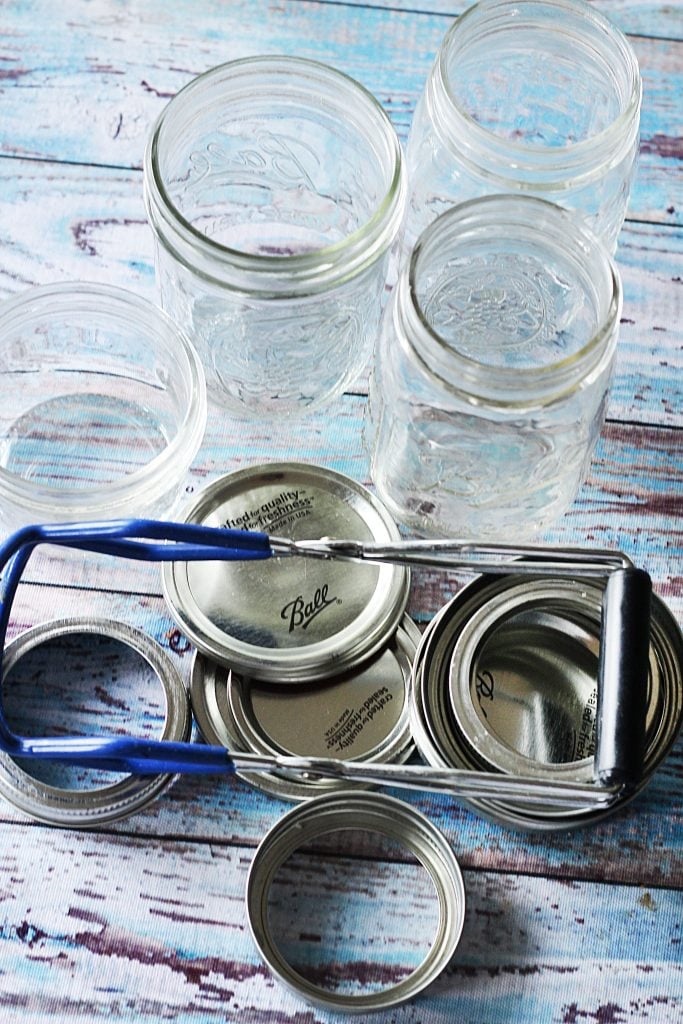
- Canning jars, free of chips and cracks. Washed well with warm soapy water, and rinsed.
- 2 Piece lids. This will include the metal ring that goes around the top of the jar, and the metal lid portion that has the red gummy type seal that fits on the edge of the jar. DO NOT RE-USE these lids for canning another product when you’re finished with the jam you’re making. They need to be brand new when you use them for every canning project. You can, however, re-use the metal rings.
- A funnel – used to transfer the filling into the jars in a clean manner with less mess.
- A rack or trivet that can withstand high temperatures that fits the bottom of the pot. You will rest your filled jars on this trivet so it does not have direct contact with the bottom of the pot. You don’t want your hard work leaking out the bottom of a cracked jar! (this has happened to me, trust me!)
- A nice large stockpot or commercially bought water canner. I would recommend buying the commercially made water canner if you plan on putting up a large amount of jams and such. If you are only doing a small batch, then a large stockpot is fine.
- Oven mitts to help handle the hot jars should you need to.
- A canning Jar lifter – this helps lift the extremely hot jars out of the boiling water! This is a must, don’t think you can get around it. To be absolutely safe, use this lifter! (You can buy canning kits that have the jar lifter, a funnel, and a magnetic lid lifter. I would highly suggest you invest in this inexpensive kit. It’s worth every single penny.)
Find a great recipe for the type of jam or jelly you want to make and whether you want a low or no sugar version. There are hundreds of great recipes out there for all sorts of jams and jellies. In fact, I will have two canning recipes coming up on the blog. One for a jam, and one for a jelly.. so stay tuned for that!
Now the fun begins!
Directions for water bath canning:
First, you must wash the jars and lids:
Wash your jars, lids, and rings well before use in hot soapy water. While you’re at it, wash the canning kit equipment as well, just to remove any dust or particulars that might be on the equipment. Rinse very well and dry everything.
Fill the jars:
Prepare your recipe then fill your jars according to recipe directions, always leaving a little headspace- about ½” for jams/jellies will suffice. Stir ingredients one final time to help remove air bubbles from the ingredients. Take a clean, wet cloth and wipe the tops of the jars to remove any jam that may have spilled onto the top and might prevent a good seal. Place the lid on top of the jar and then the ring as well. Tighten to finger tight only.
Prepare the pot:
Place your rack in the bottom of the pot. Place jars in pot. Fill your large pot with water to hold and cover your jars with 1”-2” of water over the lids of the jars.
Remove jars: Once you have processed the jars for the length of time your recipe states, turn off heat and remove the jars with your nifty jar lifting tool. It grips jars of all sizes well. Place jars on a towel. Let your jars cool off without touching them for at least 12 hours.
You might hear pops or pings, and that is a good sound!!! It means that your jar has been processed correctly and the contents inside are safely sealed and preserved.
Test the seal: Press on the top of the lid, in the center after the 12 hours of cooling time. If it doesn’t “give” then it is properly sealed. Next remove the ring and gently press up on the flat portion, if it doesn’t move you can replace the ring and safely store your filled jar in the pantry for up to a year.
If the top gives and the flat portion is not tight to the jar your lid did not seal properly and must be placed in the refrigerator and eaten within 2 weeks. Or you can place a new flat lid on it and reprocess if it is within the first 24 hours.
Here are some handy links to purchase the equipment we have talked about. Please know that if you purchase anything through the links that I’ve provided, I will receive a small commision AT NO COST TO YOU!
Canning funnel-
Pot Rack-
If you have any other questions you’d like to know about how to use water bath canning as a safe way to make your jams and jellies, just give me a shout! Thank you so much for stopping by the blog today!
