
Old Fashioned Scalloped Corn (Easy Cheesy Corn Casserole)
Standard buttered corn as a side dish is fine, but… well it’s fine. Nothing wrong with it – but it’s not making anyone sprint to the dinner table, right? But this Old Fashioned Scalloped Corn?
Wooow!!
This is hard to beat. It’s rich, cozy, and has that old-school vibe – like recipes that have shown up on Grandma’s table, church potlucks, and family reunion holiday tables. Old fashioned recipes stick around for a reason.
In all honesty, this corn casserole can be a total holiday staple for Thanksgiving or Christmas, but you don’t need a special reason to make it. I love how this side dish is way more substantial than regular corn, and can be best friends with roast chicken, pork chops, or BBQ!
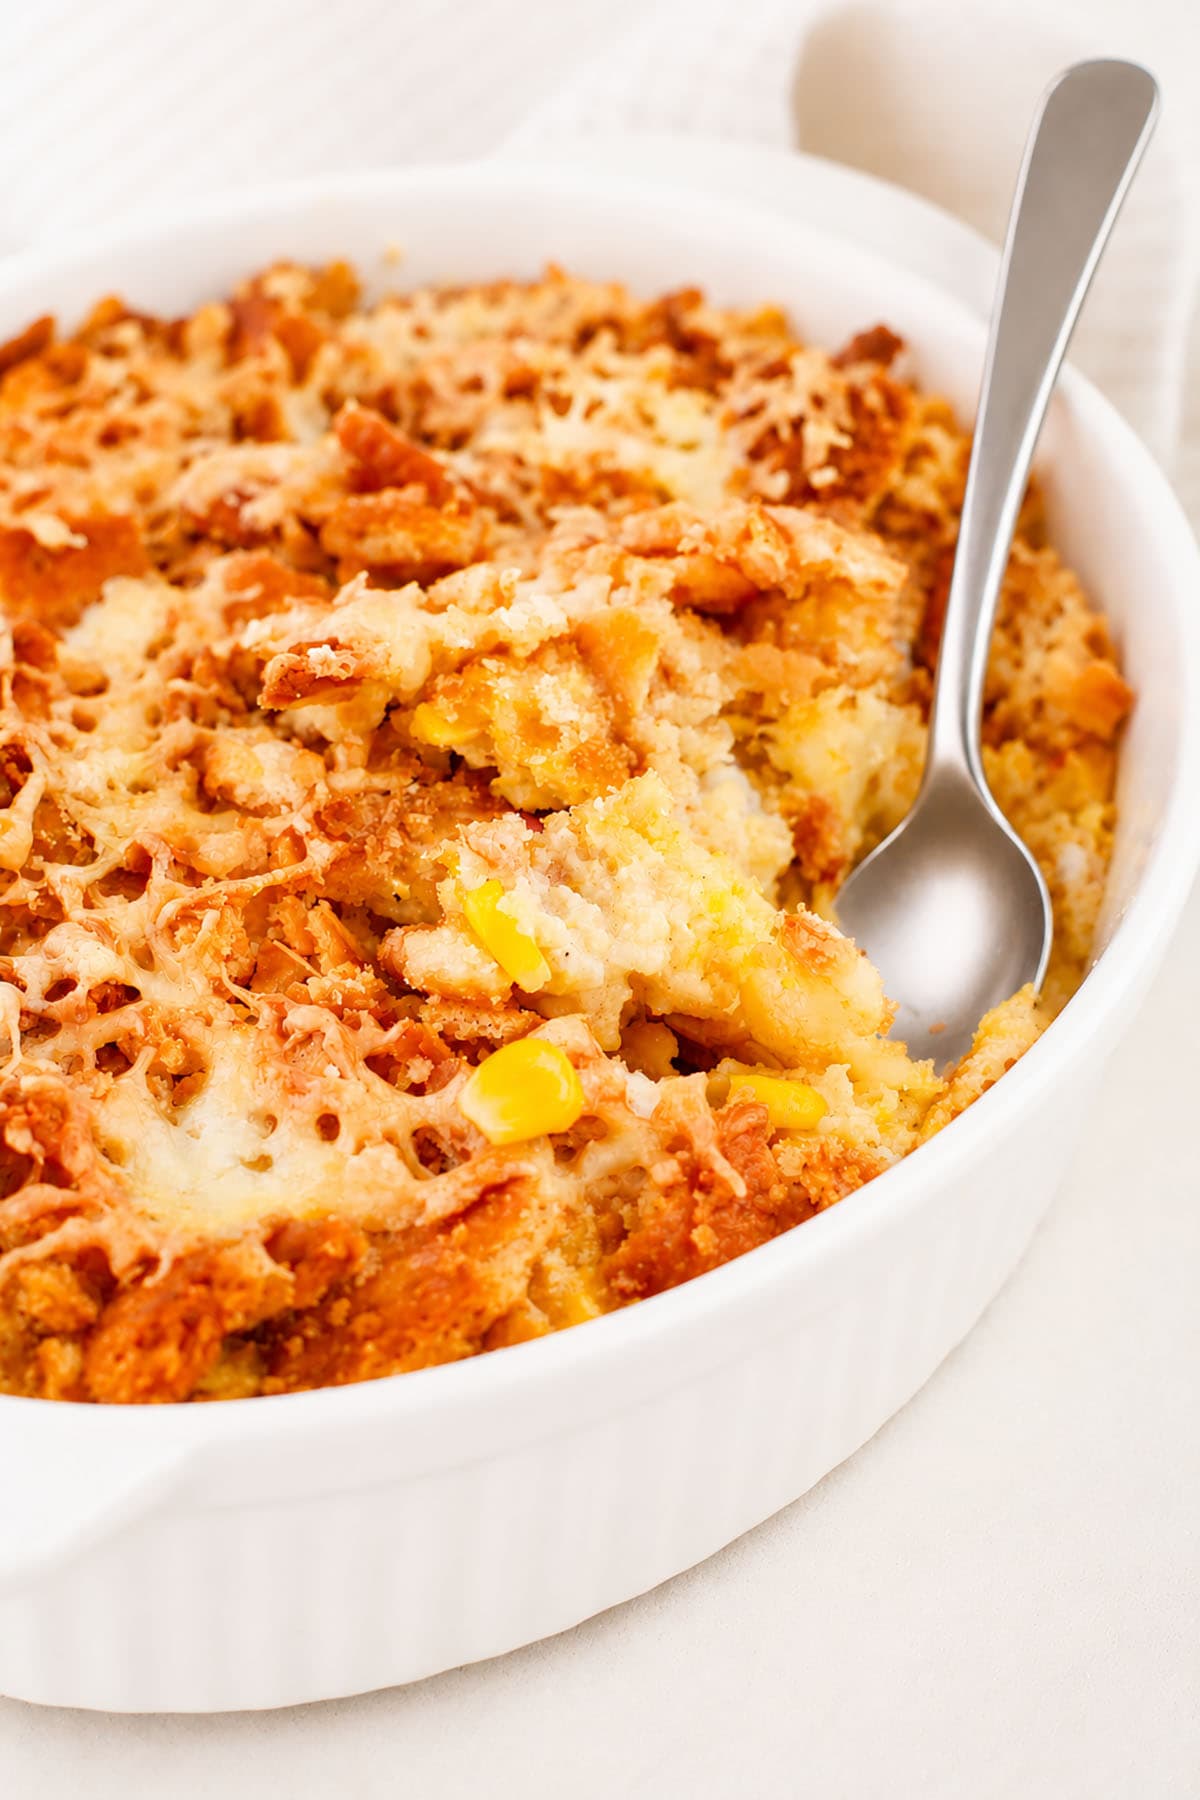
Why this recipe is easy for tired humans
- No fresh corn is needed: Now, sure, you can use corn on the cob and remove the kernels if you have the energy. But canned corn works beautifully here (as does frozen). Just remember to drain the corn first if using canned.
- Easy on the budget: A few cans of corn, a sleeve or so of crackers, and a few everyday ingredients makes it a generous side dish without spending a fortune.
- Mix, pour and bake: 10 minutes of easy prep. There’s no extra cooking prep on the stovetop or complicated steps to get this corn casserole in the oven, which makes it PERFECT for any holiday dinner lineup as well because it’s simple to put together.
- More bang for your buck: You’re turning a couple of cans of corn into a hearty, cheesy side dish that feels much more substantial than simply heating up buttered corn.
The cheap pantry lineup you need for this canned corn recipe
You don’t need anything odd or expensive for this, which is the best part!
For the main bake, you’re basically raiding your pantry for two cans of corn: one standard canned whole kernel corn and one canned creamed corn. Grab a sleeve of Saltine crackers, a block of cheddar cheese, and a little half and half. Then you just need your basic kitchen staples like two eggs, melted unsalted butter, salt, black pepper, and a splash of milk if things feel a bit dry.
Then for that amazing crispy top layer, save a handful of those extra crushed Saltines, a little more melted butter, and another handful of shredded cheddar to sprinkle all over the top right before it goes in the oven.
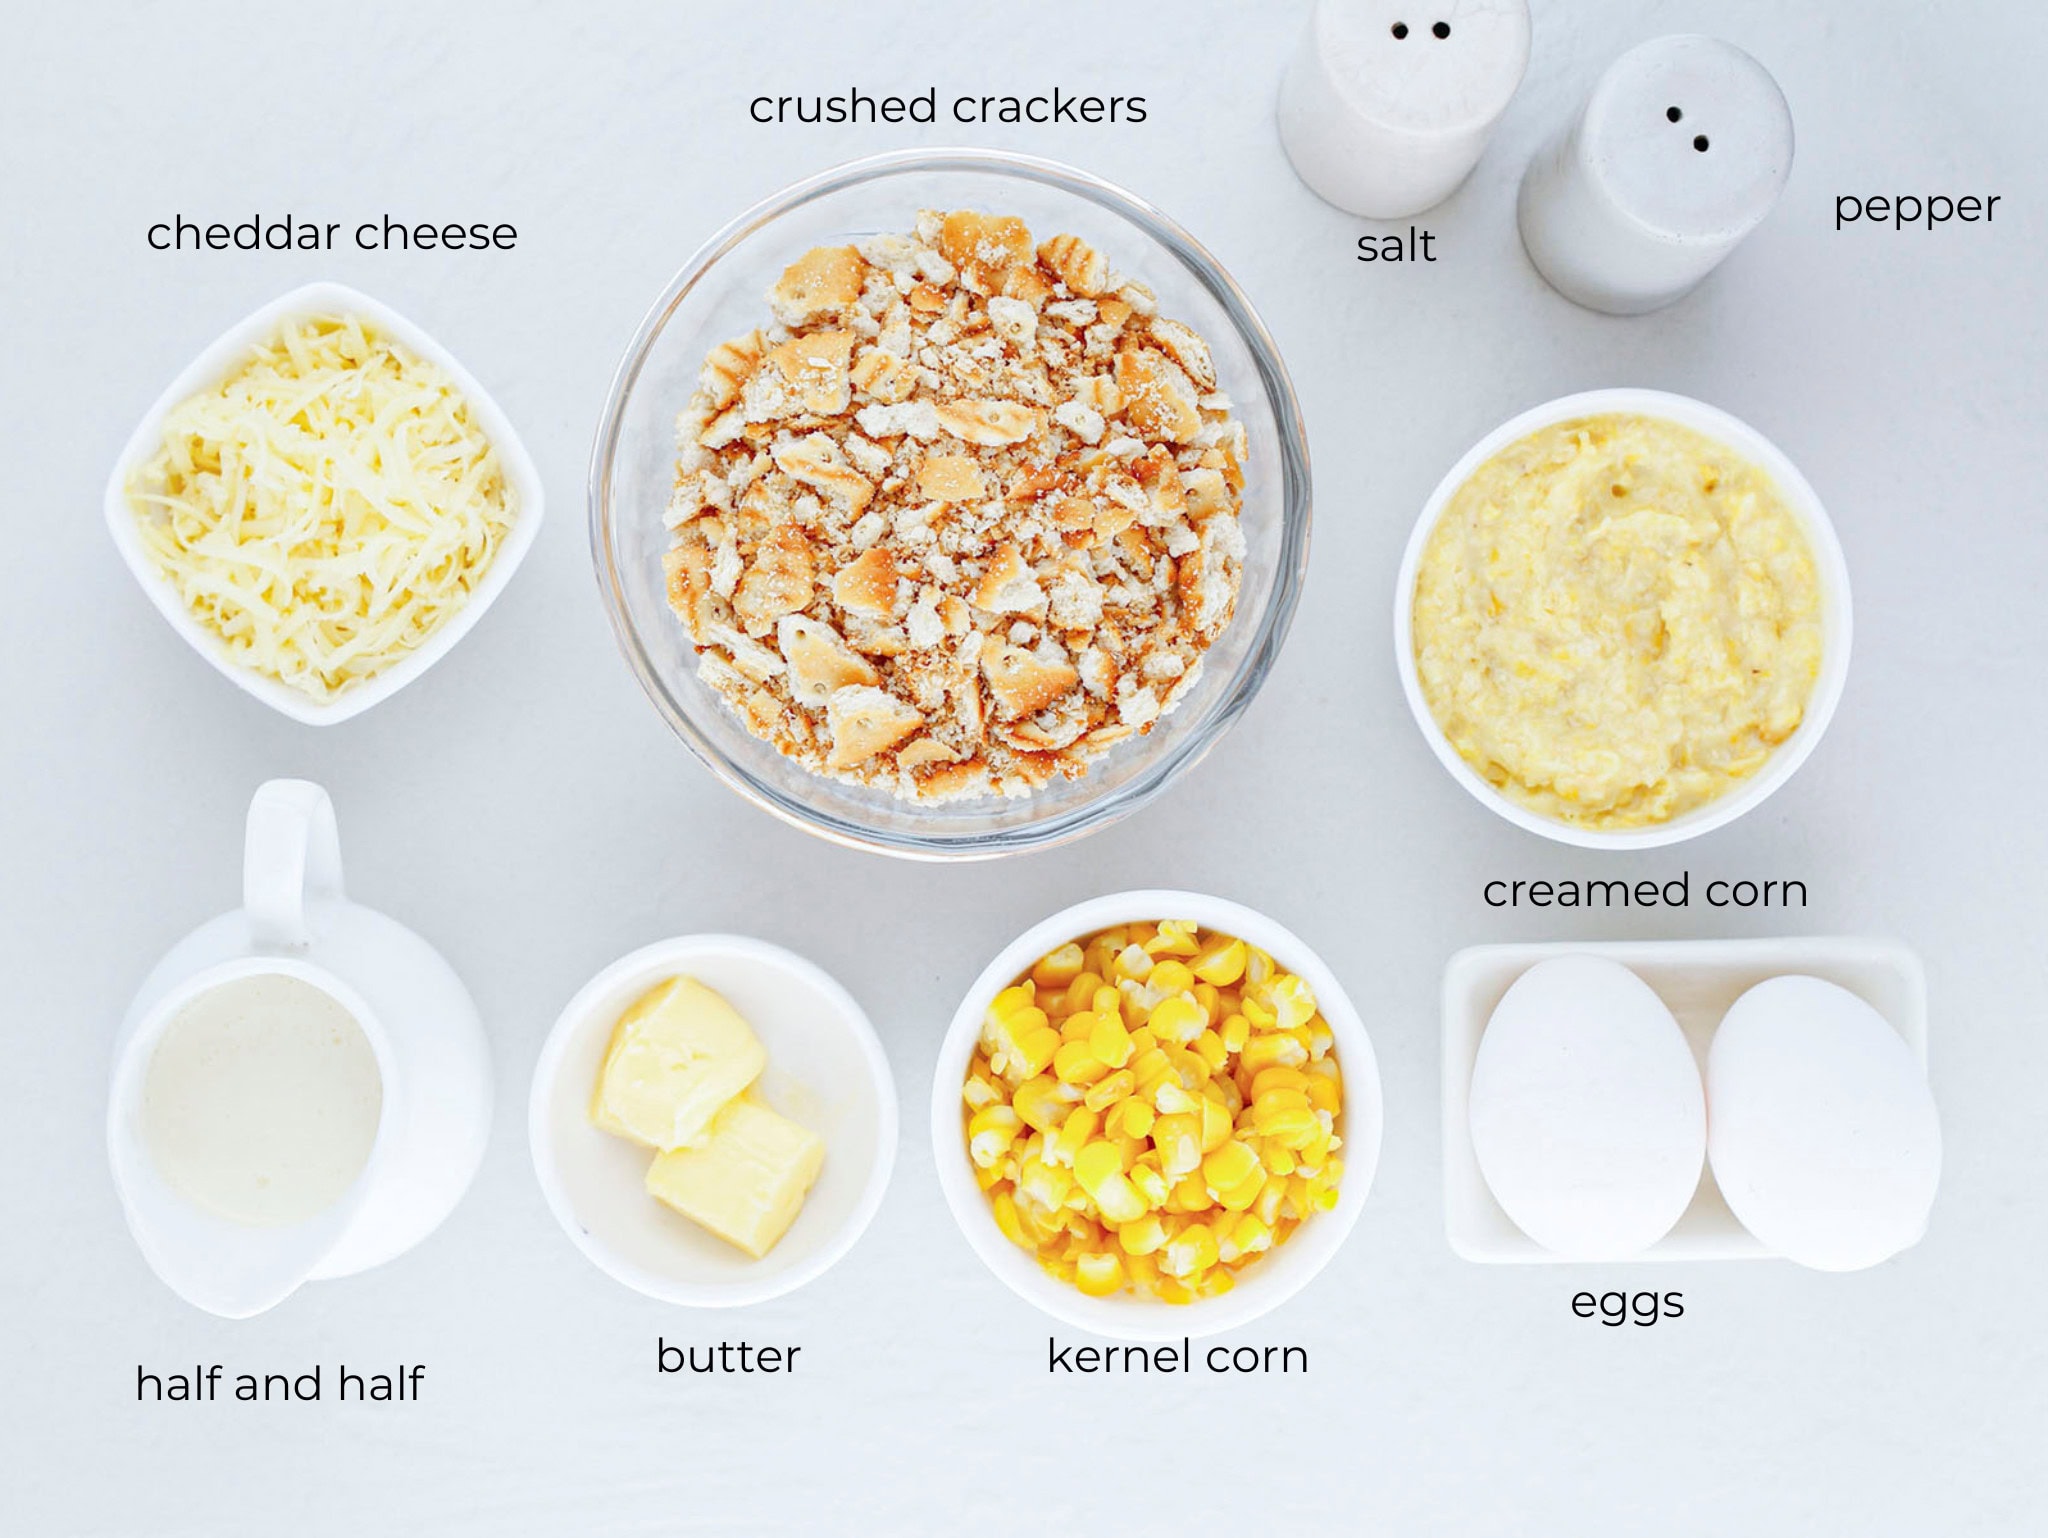
Choosing the best corn for a scalloped corn recipe
There’s a few choices we can make. I’ll list them below.
Canned Whole Kernel Corn: Also known as ‘niblet’ corn, it would be my preferred choice to use for this casserole. Mainly because it’s convenient, economical, and already tender, so there’s no extra preparation involved. Just drain it really well before adding it to the mixture.
Canned Cream Corn: Please don’t skip this ingredient. Creamed corn brings the moisture and creamy consistency that make scalloped corn different from an ordinary baked corn casserole. It’s doing a different job than the whole kernel corn, so you really need both.
Frozen Whole Kernel Corn: Substituting frozen corn for the canned corn is not a problem. Just remember to set some time aside for thawing, and be sure to drain it before adding it to the recipe.
Fresh Corn on the Cob: If you’re working with fresh corn, that’s great! Remove the kernels off the cob, and if the corn is relatively young, it can go straight into the casserole. If it’s near the end of the season and they might be less sweet and a bit more starchy, give them a quick blanch first to soften the outside a tad.
My Recommendation: For this recipe, my favorite type is canned. If you choose a reputable brand you like, it’s just the easiest and most predictable choice.
Let’s talk about those buttery crackers
Believe it or not, I happen to think the type of crackers you use is more important than you think. They’re not just for crunch!
The crackers mixed into the casserole absorb some of the moisture from the corn, eggs, and dairy. This helps the casserole hold together while keeping that soft, creamy texture.
The crackers on top have a different job. Mixed with melted butter, they create a golden, lightly crispy topping.
Here are a few options:
- Saltines: My first recommendation, and a traditional choice for old-fashioned scalloped corn. They’re inexpensive, mildly salty, and absorb moisture well without adding a strong flavour.
- Plain savoury crackers or water crackers: These are similar to what’s pictured in the recipe. Look for something fairly neutral in flavour, without herbs or strong seasonings. Keep in mind that very dense crackers may absorb moisture differently.
- Ritz crackers: A great alternative if you prefer a richer, buttery flavour. They’re already quite buttery, so the finished casserole may taste a little richer.
- Christie’s Toppables: Another option if you like a buttery cracker flavour. I’d expect these to work well, although I haven’t tested them in this particular recipe.
- Cheddar Goldfish crackers: These would be a fun alternative for the topping! I’ve suggested Goldfish as a crunchy topping option for my Million Dollar Chicken Casserole, and that same cheesy-cracker idea could work here. I’d use them on top rather than throughout the casserole.
SALTYPOT TIP: Don’t pulverize the crackers into a dust. Small bits and pieces is what you’re after. The ones on top help give the casserole more texture, and the ones inside can still absorb the excess moisture.
Let’s throw this casserole together
First, get your oven preheating and grease up a 2-quart casserole dish so nothing sticks later.
In a large bowl, lightly beat the eggs. Stir in the drained whole kernel corn, creamed corn, crushed crackers, cheddar cheese, half-and-half, melted butter, and seasonings.
The mixture should be thick but still easy to stir and spread. If it feels a little too thick after mixing in the crackers, just splash in a little tablespoon of milk to loosen it up.
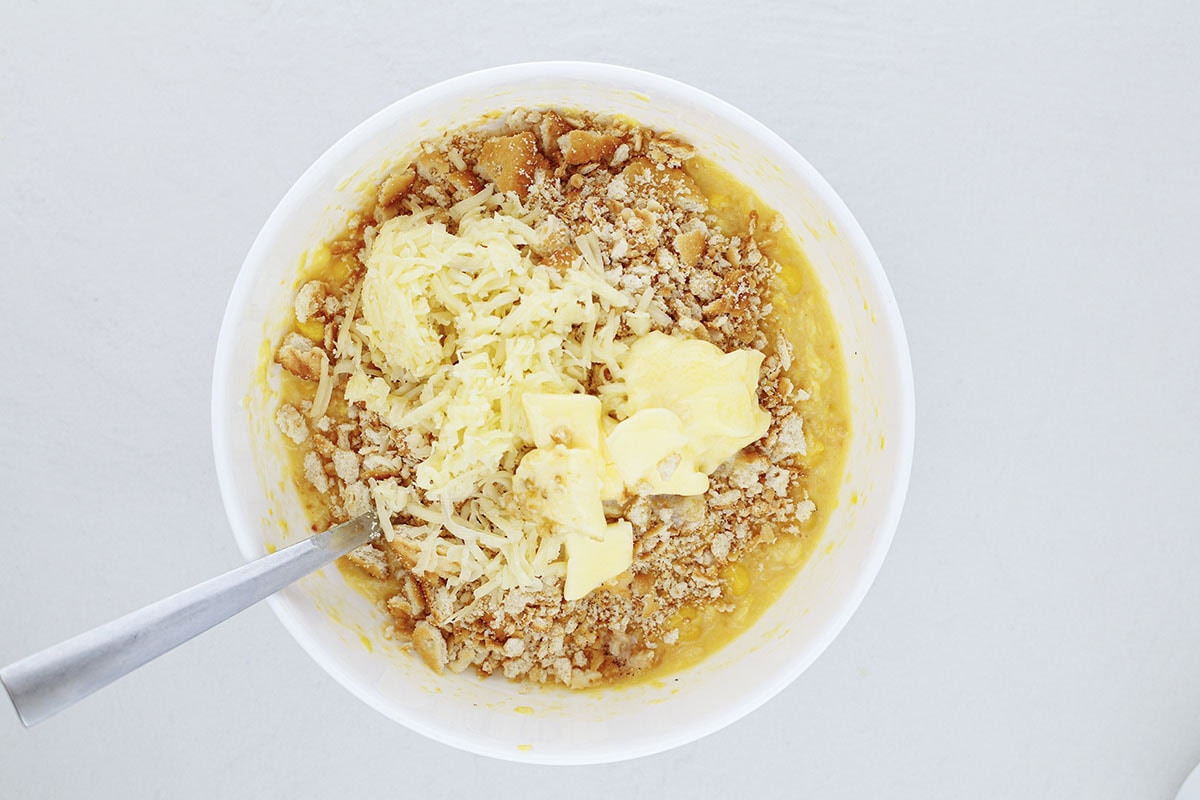
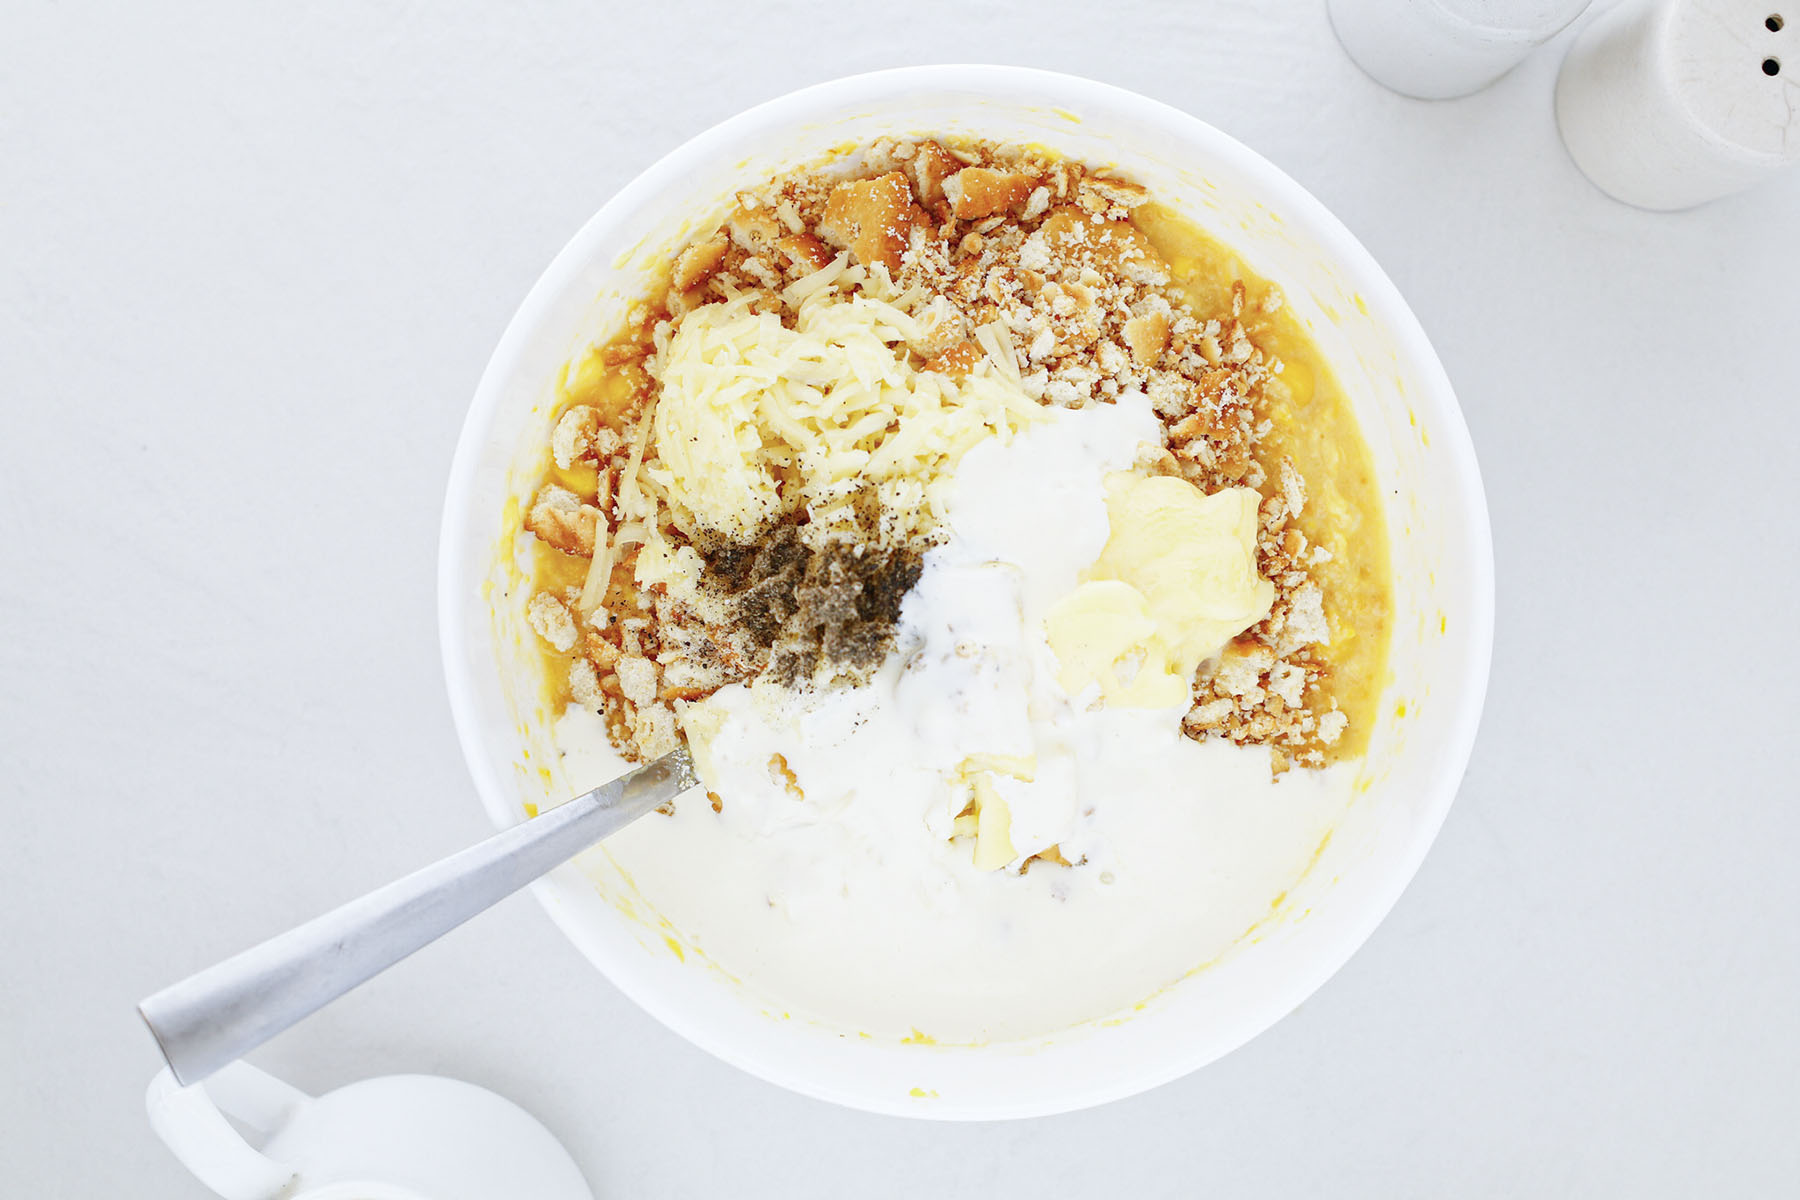
Transfer everything to your prepared baking dish and spread it evenly.
In a separate bowl, mix the remaining crushed crackers with melted butter. Sprinkle the buttery crumbs over the corn mixture, then finish with the remaining cheddar cheese.
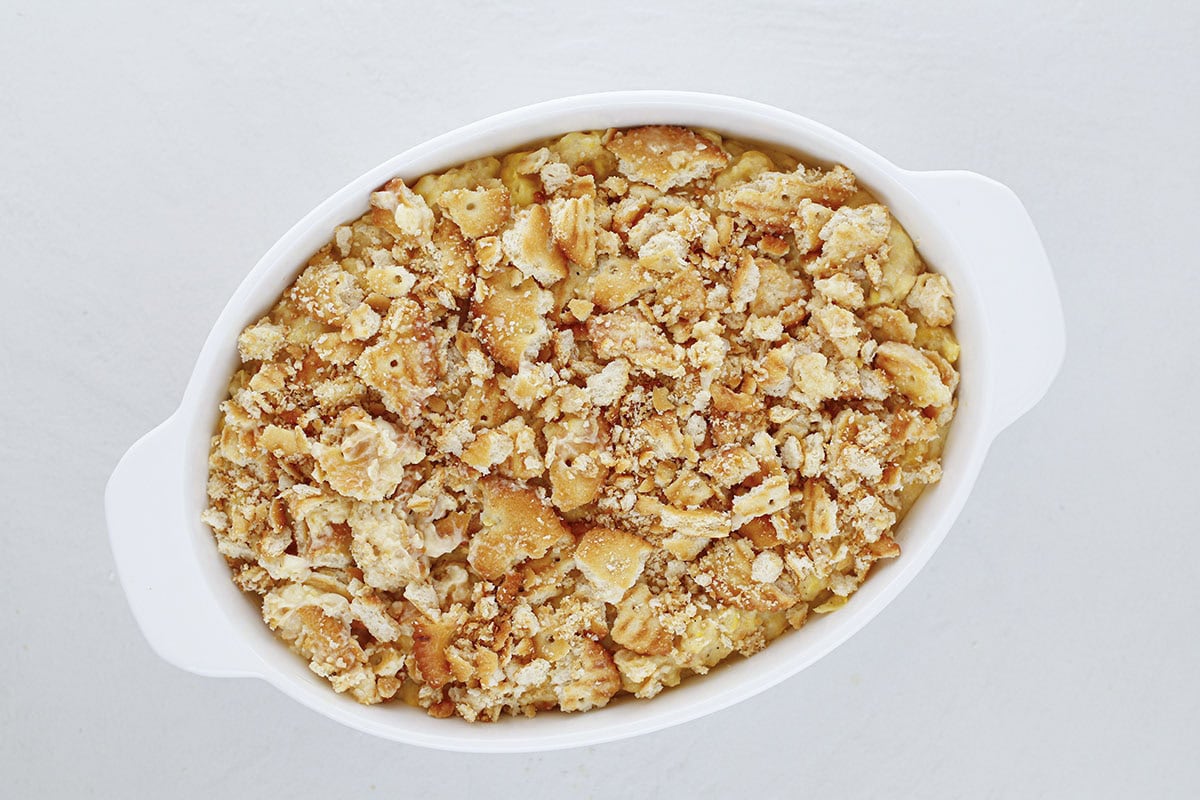
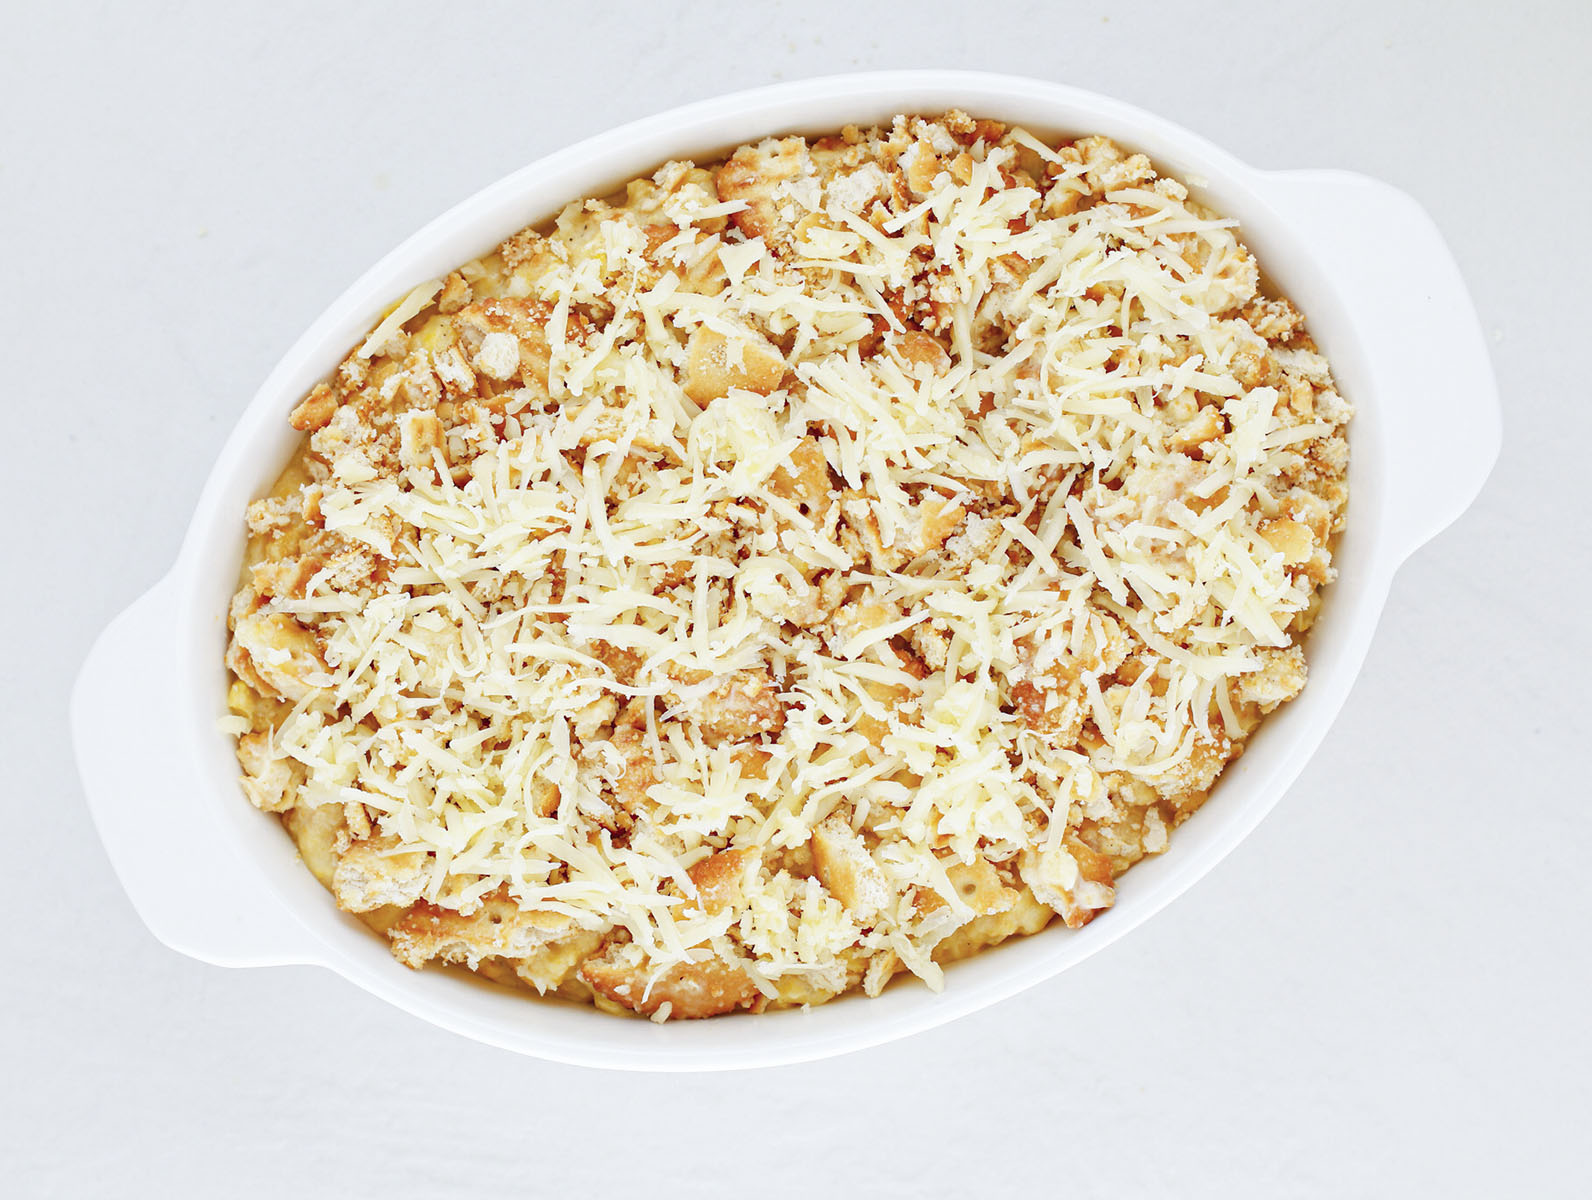
Bake for approximately 40–45 minutes, until the edges are set and the top is golden brown. The middle should be moist and softly set, rather than watery or liquid.
Let the casserole rest for about 10 minutes before serving. This gives the filling a chance to settle and makes it easier to spoon onto plates.
SaltyPot Tip: if you’re refrigerating the casserole in a glass or ceramic baking dish, avoid putting a very cold dish straight into a hot oven unless the manufacturer’s instructions allow it.
Preventing a watery or mushy casserole
Scalloped corn should be creamy and soft, but it shouldn’t be swimming in liquid. A few small details make a difference.
Drain the whole kernel corn thoroughly. This is probably the easiest way to prevent excess moisture. The creamed corn already provides plenty of liquid.
Measure the crackers before adding them. Too few crackers can leave the casserole loose, while too many can make it dense or pasty. Follow the recipe amounts for the best balance.
Don’t add extra milk unless you need it. The mixture will naturally look thick once the crackers are stirred in. Give them a moment to absorb some moisture before deciding whether to add more liquid.
Watch the center, not just the topping. The cheese and crackers can brown before the filling has fully set. If the top is getting too dark, loosely cover it with foil while the center finishes baking.
Give it time to rest. Ten minutes on the counter helps the casserole settle. It will still be creamy and spoonable, which is exactly what you want.
Easy ways to change it up
This a great basic recipe but with a few additions, you can make the recipe your very own.
- Sweet and Spicy: Right before serving, drizzle a little Hot Honey over the warm casserole. That sweet and spicy kick with the salty cheddar is SO good! I mean, corn and hot honey are already a pretty perfect match, so why stop at just one recipe?
- Add Bacon: Toss in half a cup of cooked, crumbled bacon because it creates a delicious little contrast between the sweet corn and the salty, smoky bacon.
- Add a tiny kick: Throw in a small can of diced green chiles or fresh jalapeños if you like a little heat.
- Try a different topping: Swap the Saltines on top for buttery Ritz crumbs or crushed cheddar Goldfish crackers. Keep the original crackers in the filling for the first attempt so you’re only changing one part of the recipe.
Can you make scalloped corn casserole ahead of time?
Yes, but as usual with everything in life, nothing is as straight forward as I’d like, and there’s a few things to do.
The day before: Measure the ingredients, shred the cheese, and crush the crackers. Keep everything refrigerated or stored appropriately until you’re ready to assemble. This is majority of where all the work is, right? The last part is just assembly which is easy.
A few hours ahead: You can prepare the casserole and refrigerate it, covered, before baking. Keep the cracker topping separate until it’s ready to go into the oven. As it sits, the filling will thicken a bit and that’s ok, but remember because it’s sitting in the fridge, the oven time will be a bit longer to heat because you didn’t start from a room temperature (just put together) casserole.
Leftovers: Refrigerate in a covered container for up to 3–4 days. Reheat individual servings in the microwave or warm larger portions in a 350°F oven until heated through.
The topping will soften during storage, but reheating uncovered in the oven can help bring back some of its crispness. A fire-y blowtorch will also bring back the crispness to the topping……………. j/k! Don’t blowtorch it.
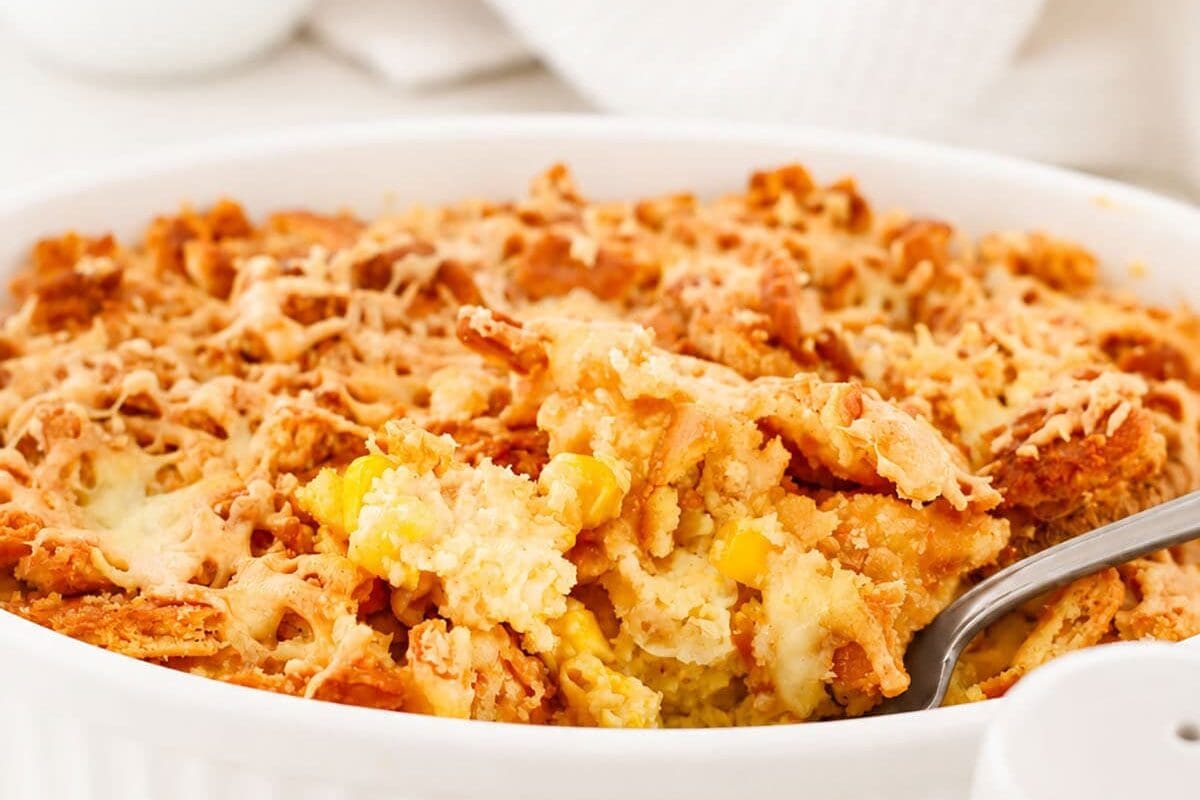
Ok, so that’s it! Canned corn, a little cheese, and some buttery crackers turned into something so good! Now that’s what I call giving plain old corn a glow-up! Just don’t be surprised when everyone goes back for another scoop.
Don’t forget to pin the image below to your Pinterest to save the recipe for later and thanks for stopping by The Salty Pot today!
~ Joanne
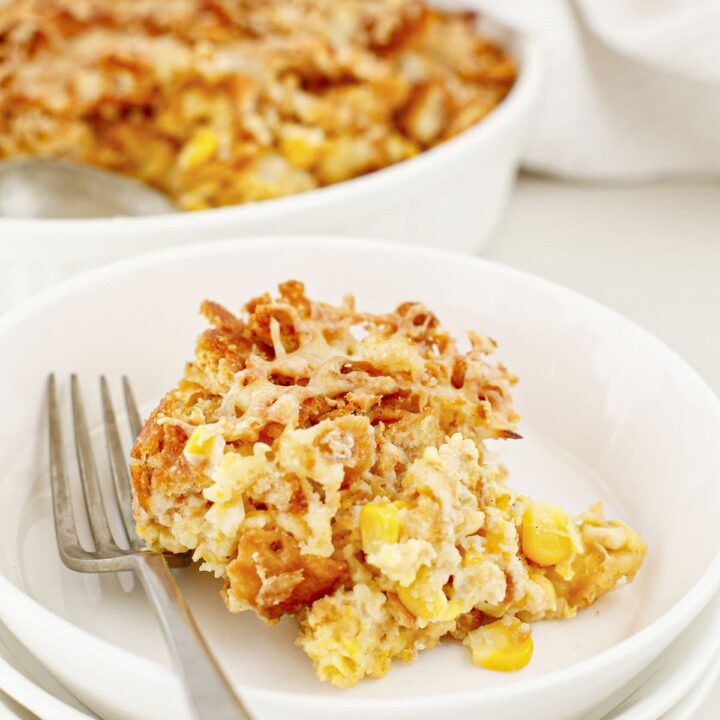
Old Fashioned Scalloped Corn
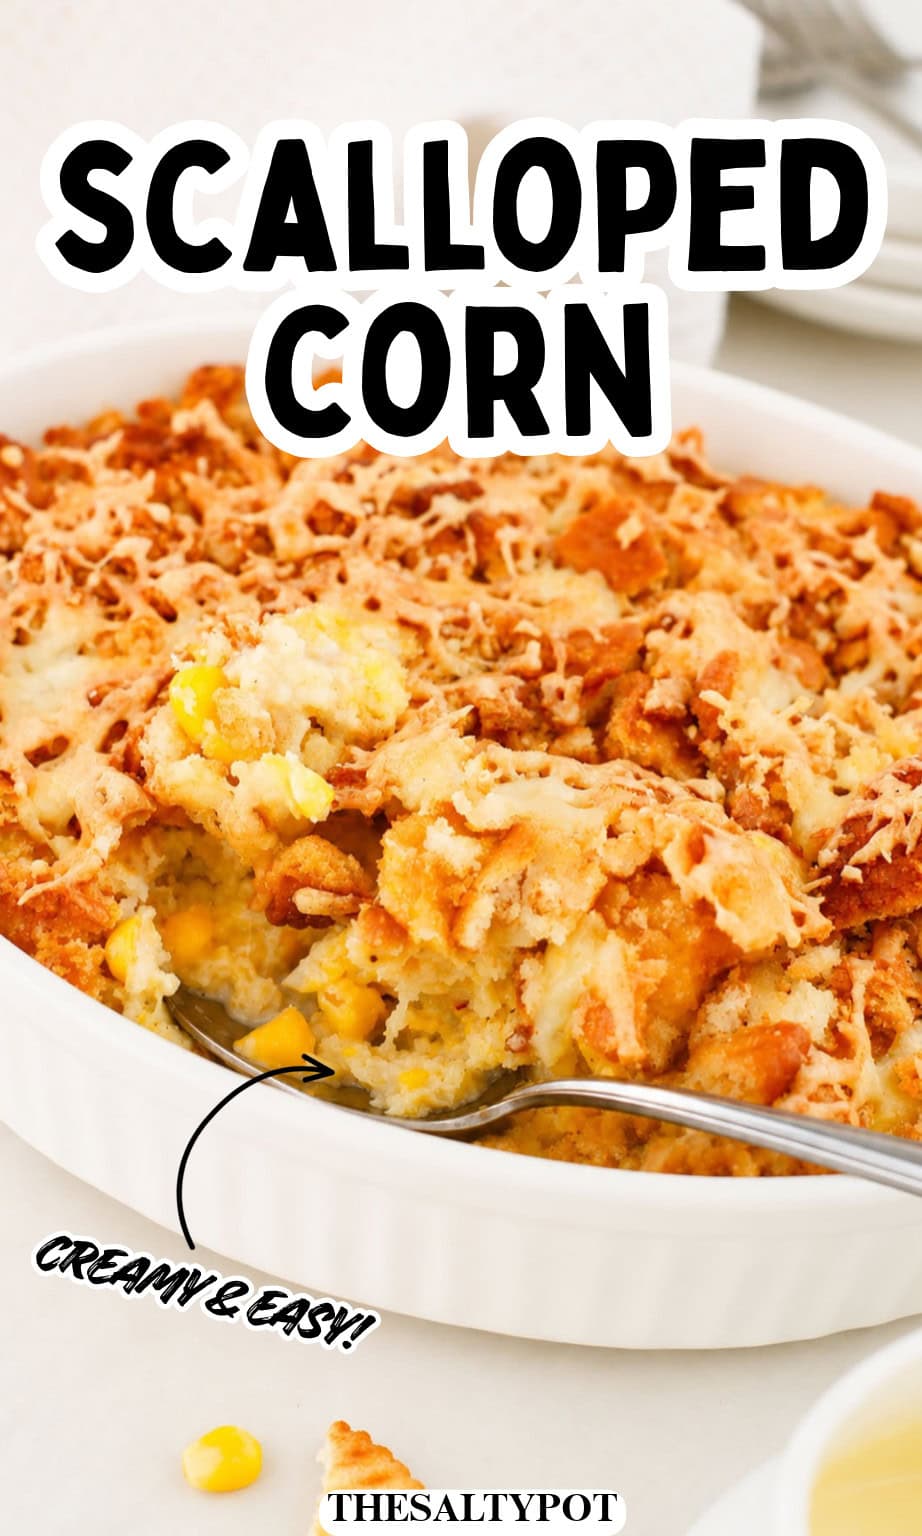
This old fashioned scalloped corn is a creamy, cheesy corn casserole with a buttery cracker topping. Made with canned corn, creamed corn, cheddar cheese, and simple pantry ingredients, it's an easy side dish that's a little more special than your usual corn. Perfect for Sunday dinners, family gatherings, and holiday meals!
Ingredients
- For the Corn Casserole:
- 2 eggs
- 1 (15-ounce) can whole kernel corn, drained
- 1 (15-ounce) can creamed corn
- 1 1/4 cups crushed saltine crackers
- 1 cup shredded cheddar cheese
- 1/2 cup half-and-half
- 1/4 cup unsalted butter, melted
- Salt and pepper, to taste
- 1 tablespoon milk (optional, if needed)
- For the Topping:
- 1/2 cup crushed saltine crackers
- 2–3 tablespoons unsalted butter, melted
- 1/2 cup shredded cheddar cheese
Instructions
- Preheat the oven to 375°F. Grease a casserole dish and set aside.
- In a large bowl, beat the eggs. Add the drained whole kernel corn and creamed corn. Stir in the crushed crackers, shredded cheddar cheese, half-and-half, melted butter, salt, and pepper.
- Mix until everything is well combined. If the mixture seems too dry, add 1 tablespoon of milk.
- Transfer the corn mixture to the prepared casserole dish and spread it evenly.
- In a separate bowl, combine the crushed crackers with the melted butter. Sprinkle the mixture evenly over the corn casserole, then add the remaining shredded cheddar cheese.
- Bake for 40–45 minutes, or until the edges are set and the cracker topping is golden brown.
- Let it rest briefly before serving. Enjoy!
Notes
- Drain the corn: Make sure to drain the whole kernel corn before mixing. The creamed corn does not need to be drained.
- Cracker topping: Crush the saltines into small crumbs for an even, buttery topping.
- Cheese: Freshly shredded cheddar works nicely, but pre-shredded cheese is fine, too.
- Make ahead: Prepare the corn mixture and refrigerate it covered before baking. Add the cracker and cheese topping just before putting it in the oven.
- Serving suggestion: Serve warm alongside roasted meats, chicken, or your favorite main dishes. For a sweet and spicy twist, drizzle a little hot honey over the top!
- Storage: Refrigerate leftovers in an airtight container for 3–4 days.
- Reheating: Warm individual portions in the microwave or reheat the casserole in the oven until heated through.
- Be sure to read the body of the post for cooking tips and substitutions!
Nutrition Information:
Yield: 8 Serving Size: 1Amount Per Serving: Calories: 235Total Fat: 15gSaturated Fat: 8gUnsaturated Fat: 7gCholesterol: 83mgSodium: 334mgCarbohydrates: 17gFiber: 1gSugar: 2gProtein: 8g
All nutritional information is based on third-party calculations and is only an estimate. Each recipe and nutritional value will vary depending on the brands you use, measuring methods, and portion sizes per household.