Easy Old Fashioned Apple Cider
Take yourself back to the colder months of the year when you want to sip on a soothing and comforting drink, and apple cider almost immediately comes to mind.
Why not try making this pure old fashioned apple cider – the way my grandma used to!
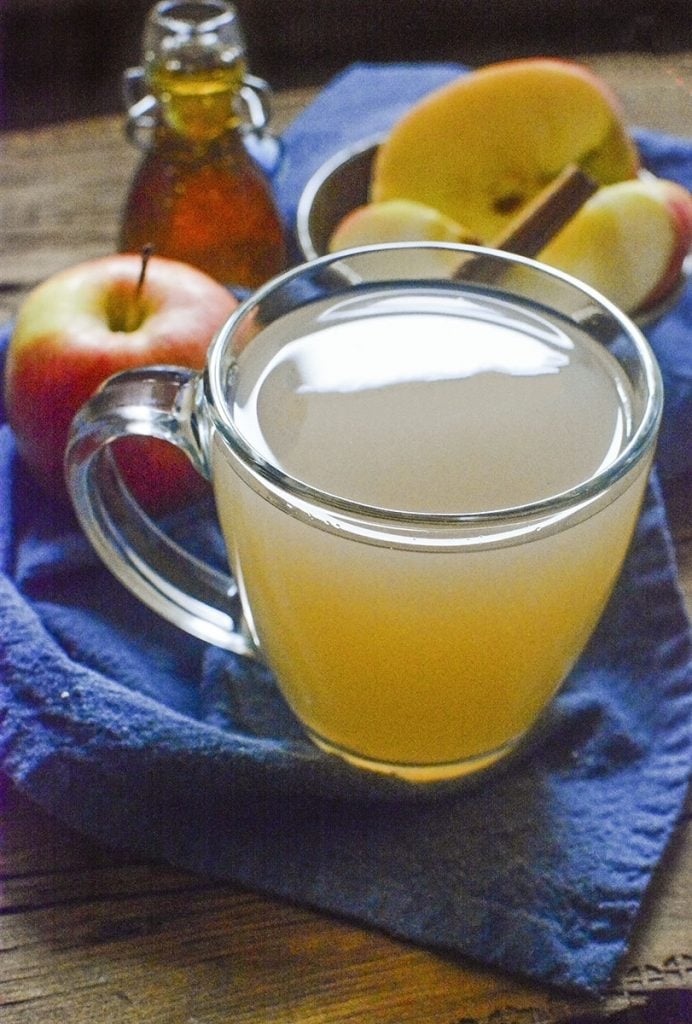
Homemade Old Fashioned Apple Cider with Honey
Just recently, I’ve started using a lot of apples in my cooking and baking- salads and desserts in particular. There’s just something about the fresh in-season apples.
It also helps that my lovely neighbor has a beautiful apple tree in her yard, and brought over a whole laundry basket full of them! Am I lucky or what??
In the past, I’ve made apple-type things like my Maple Apple Crisp Cups and my Spiced Caramel Apple Crisp which, when served warm is DIVINE!
So when I was thinking of other ways to put them to use, I thought- why not whip up a nice apple cider, the old fashioned way? (the way my Grandmother taught me!)
My grandmother taught me that you boil down the apples to a mash, and then extract the juice through some cheesecloth.
What’s the difference between apple juice and apple cider?
First, let me explain something.
A lot of people are under the impression that apple is
A. – the juice of the apple has been mixed with spices and other flavorings,
B. – that apple cider means the juice has been mixed with alcohol.
Both of these definitions are incorrect.
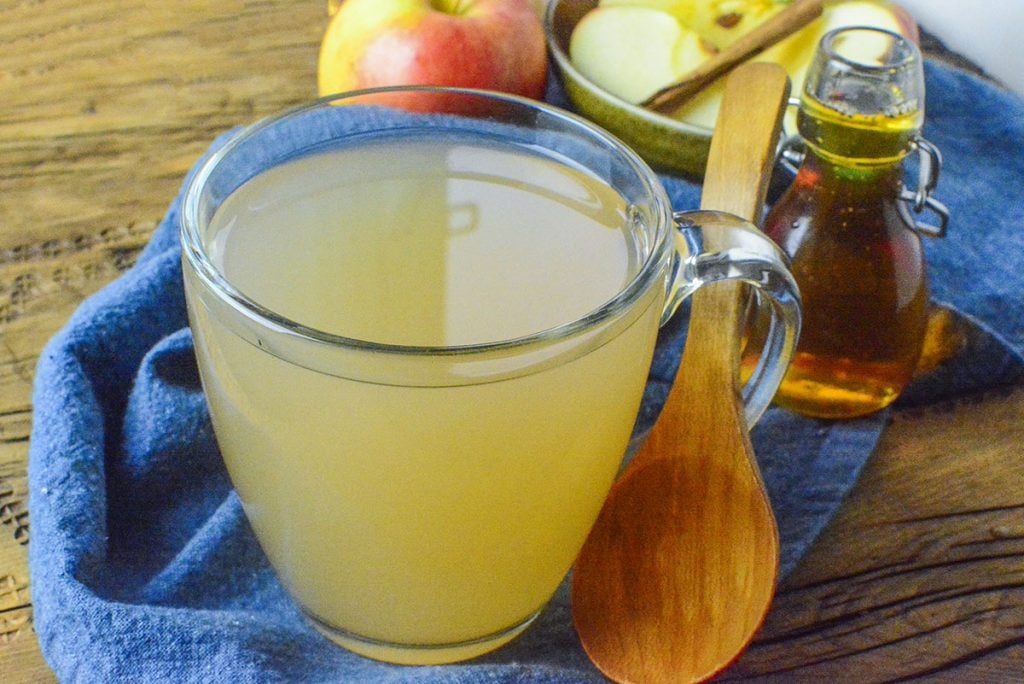
Apple cider is the first press of a mash of apples. The apples are made into a mash from a combination of apples and water. Then the pure juice is extracted, and some of the pulp and fine particles of apple sediment come along with it. Also, it’s unpasteurized.
Apple juice, however, is refined and highly filtered, clearer in appearance, sometimes sweetened, and it’s pasteurized so that it lasts longer than apple cider on the shelf.
So depending on what kind of apples you have, know that different varieties of apples produce different types of cider, ranging in color from almost clear (like the kind I made today) to caramel or light brown. The clarity and sweetness of the apple are also factors in what kind of cider is produced.
Ingredients Apple Cider made the Old Fashioned Way
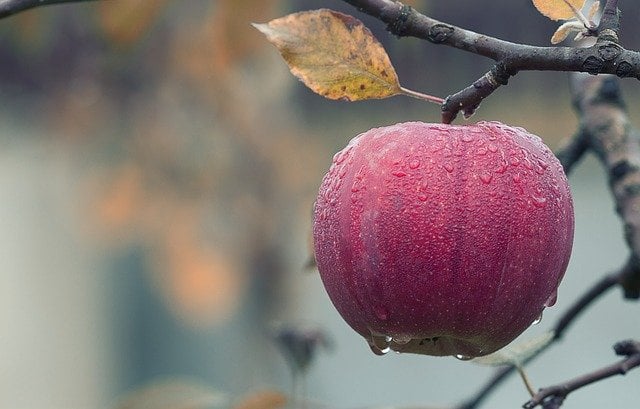
Apples: This one’s pretty obvious. You’ll need about a dozen apples.
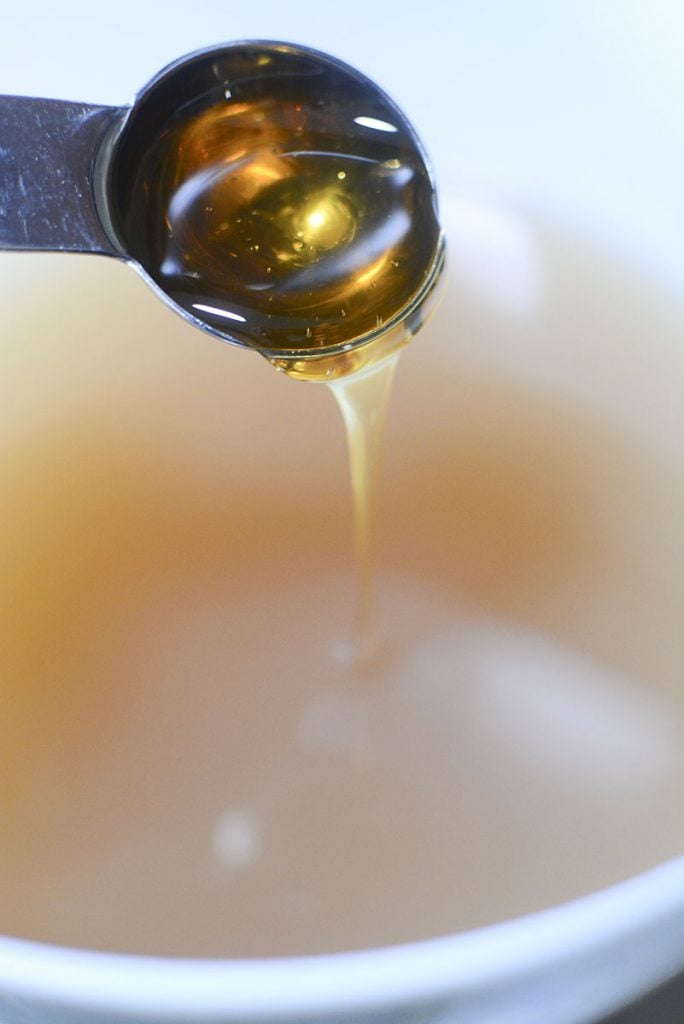
Honey: Honey is undoubtedly the best sweetener you can use for the recipe and an excellent replacement for white sugar. Remember that it is best to add in the sweetener towards the end because you won’t know how sweet the apples are going to be.
Water: I’d like to say I was all fancy and used filtered water. I didn’t. If you have it, please by all means, use it because I think it will produce an even nicer cider. If you don’t have it on hand, that’s not a problem at all.
How to Make Homemade Apple Cider
Choosing the Apples
So what kind of apples make good apple cider? Simply put, choose an apple that you enjoy the flavor of. But, if you want to be more specific, try choosing an apple with lots of tart flavor and some sweetness.
A hint of sourness lends a balance to the flavor that makes it extra addictive. While some people might enjoy tasting ciders that are mostly bitter or overly acidic, most people agree that sweetness combined with sourness is best for making an amazing cider.
Here’s a quick list of some of the best ones you can pick.
Granny Smith: This is my favorite kind of apple for making cider when mixed with a really sweet apple. The sourness of the granny smith is balanced out with the sweetness of let’s say a Fuji. Together, it’s the perfect combination.
Gala: Gala apples are wonderful for cider. They’re not too sweet, but not too sour. They’re usually the type of apple you don’t need to balance out with another kind. Gala apples are one of my favorite and they’re perfect for serving for breakfast like I do when I make my Slow Cooker Apple Cinnamon Oatmeal. I literally eat this stuff throughout the winter season.
Red Delicious: These are a good choice but they’re quite sweet. So if you use these, you might want to add some Granny Smith to balance out the sweetness. However, if you enjoy really sweet apple juice, then maybe make your homemade cider with just Red Delicious.
Fuji: This one’s great for cider making since it’s sweet. Try mixing in a Granny Smith or a Rome Beauty to balance it out.
But again, what matters most is that you enjoy the flavor, or the combination of flavors, of whatever apples you use to make your cider.
Here’s a fantastic infographic in the Huffington Post that explains what types of apples are good for what application (cider, pie, sauce, etc).
The Method for Extracting the Juice
Easy peasy. You’ll want to wash the apples first and foremost.
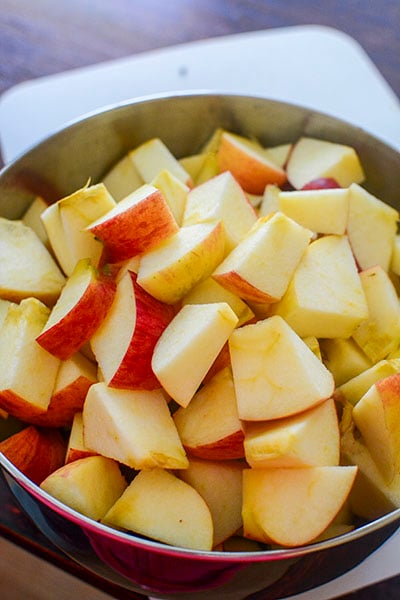
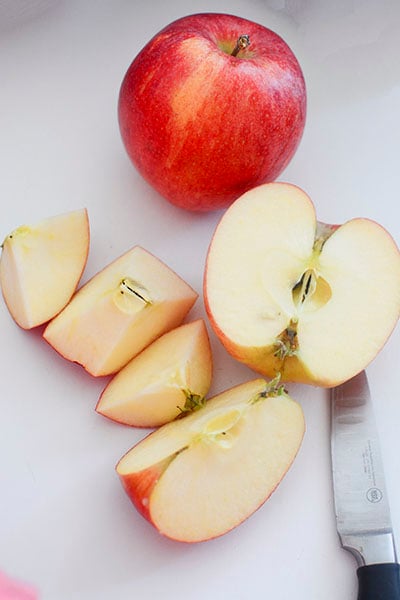
With a sharp knife, carefully cut them in half and core them – removing the stems and the center fiber and seeds. Slice them into chunks, no need to be exact. They just need to be chunked up.
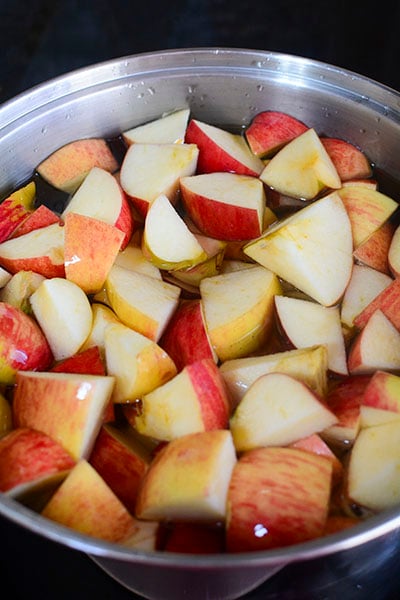
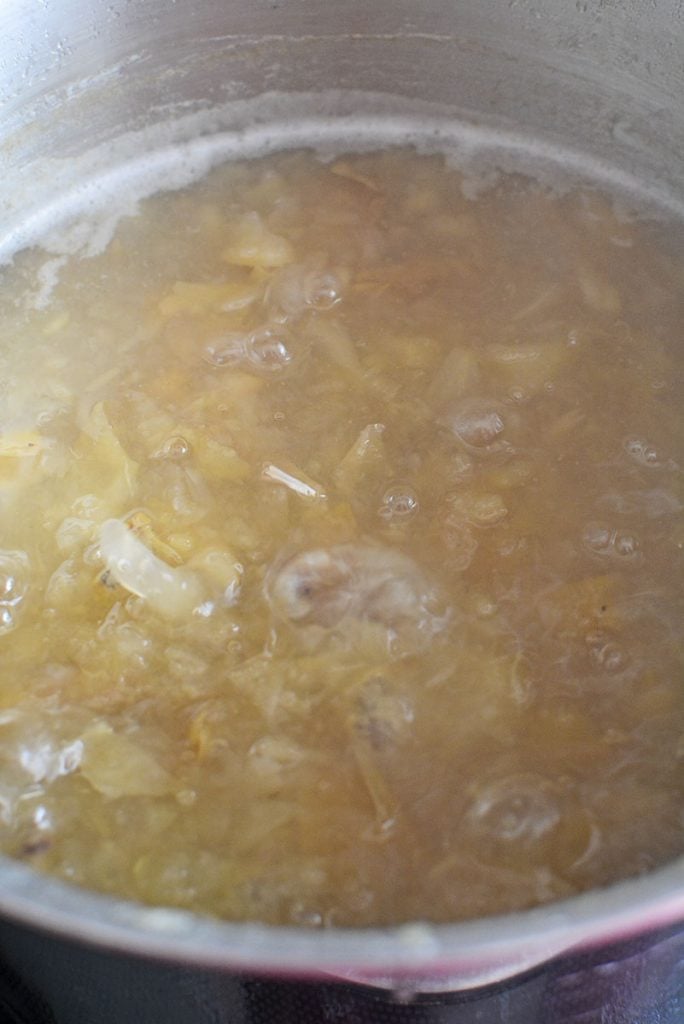
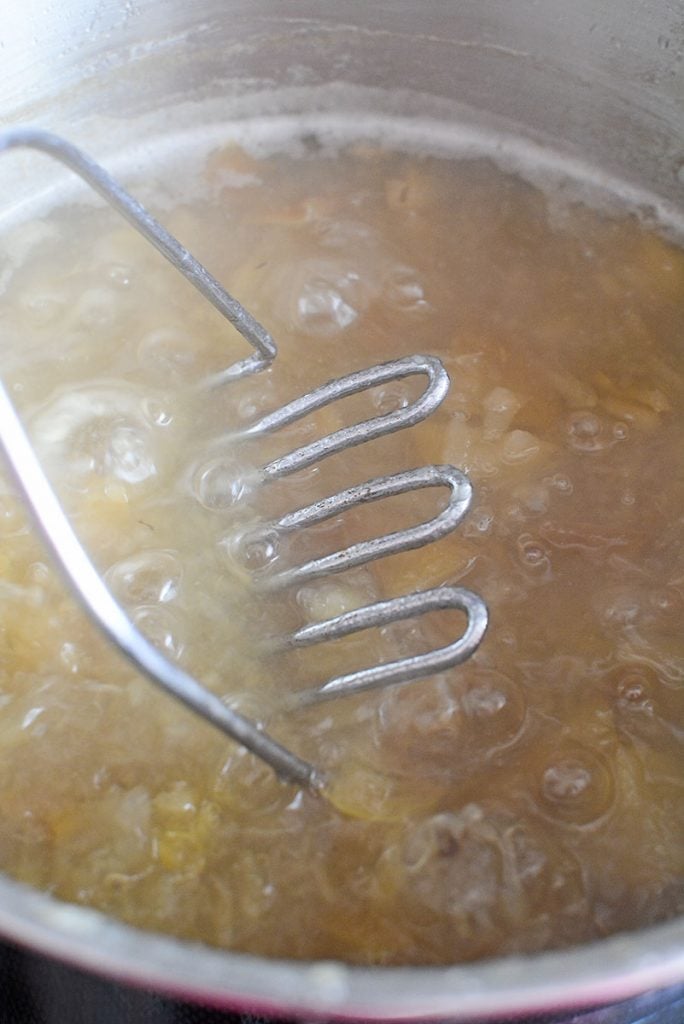
Grab your heaviest bottomed soup pot and throw in the apples. Add enough water to cover them by about 2-3 inches. Bring them to a boil, then turn them down and let them simmer, covered, until they are broken down and mushy.
Let the mash cool and then strain out the pulp pieces.
It’s that easy!
*Look below for a more detailed and printable recipe card.
Can I Peel the Apples for Apple Cider?
You can, sure. I prefer to keep the peels on because I feel that a lot of the ‘apple’ flavor is included in the peel. But if it’s not your thing, by all means, peel them first before you start to chop them up. It will make life easier.
Incidentally, if you have extra apples that you didn’t use for your cider making, another great way to use up a large amount of apples is by making my Instant Pot Spiced Apple Butter! Ohhh this stuff is SOO delicious!
Can I Freeze it For Later?
You sure can! Normally, I usually store my old-fashioned apple cider in the refrigerator- it stays good in there for 5-6 days.
If I’m making it in a big batch, I freeze part of it. You can freeze your batch of apple cider for up to 6 months- just remember to use a freezer-safe container.
Serving Ideas & Suggestions
There are actually tons of ways you can serve your batch of apple cider.
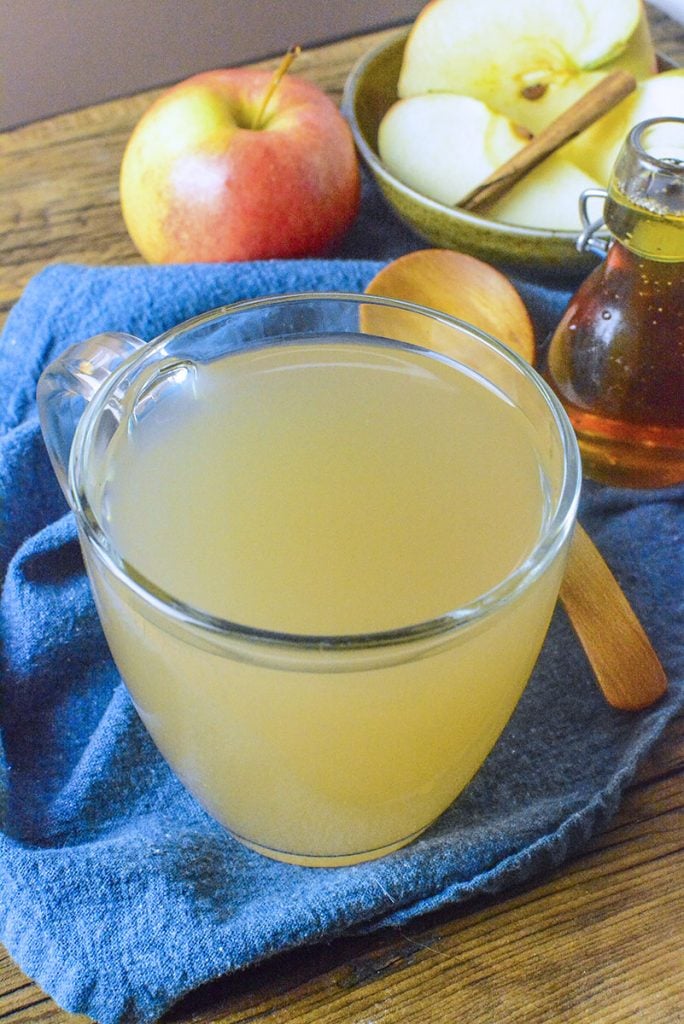
If you’re craving something warm and comforting, heat it slowly on the stovetop or in the microwave, then pour it into a large, heavy mug, throw in a cinnamon stick or just a sprinkle of some apple pie spice, and give it a quick mix. Top it with whipped cream for some extra deliciousness.
Want to enjoy your apple cider cold? Pour it into a glass, add in some ice, squeeze a bit of lemon juice and top with a sprig of mint leaves.
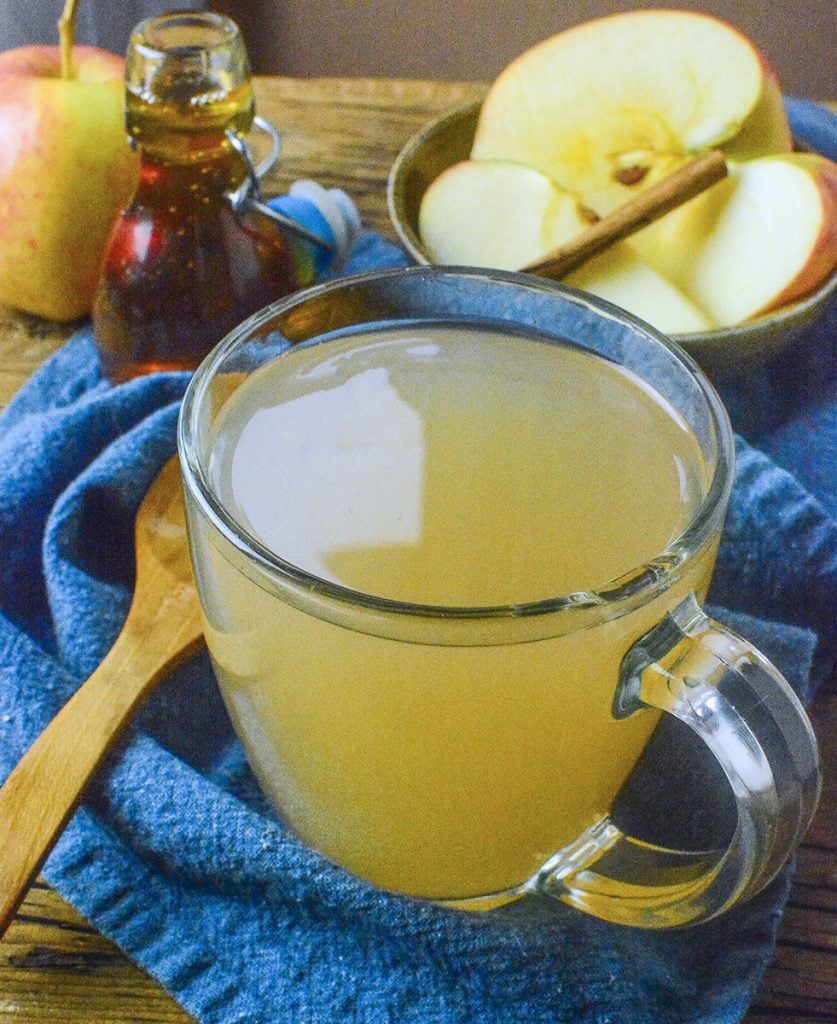
Old Fashioned Apple Cider
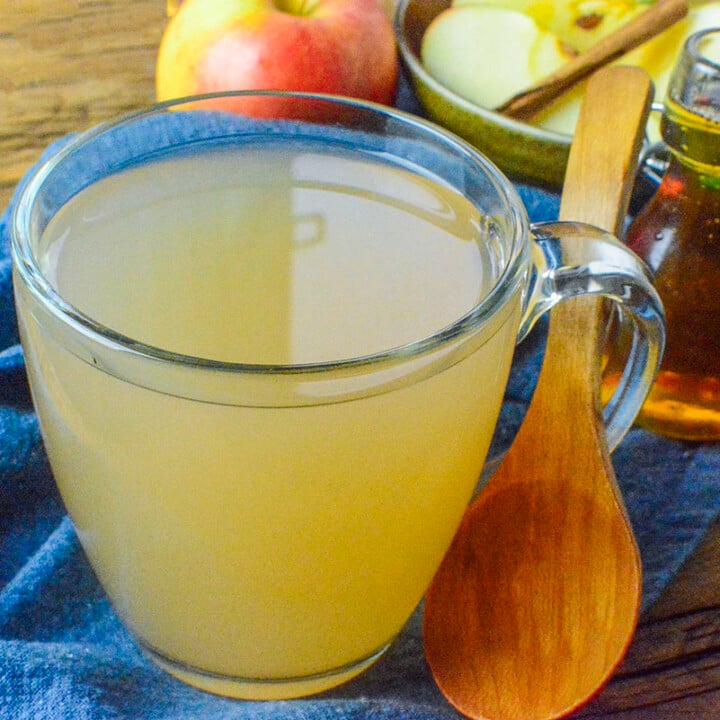
Deliciously natural and sweet, this old fashioned apple cider is made just the way my grandmother used to make it. It's a fantastic way to use a bundle of apples quickly and in a tasty way!
Ingredients
- 8 - 10 large apples
- 10 - 12 cups of water
- Honey (see notes)
Instructions
- Wash, de-stem, and core the apples.
- Cut apples into large chunks.
- In a large pot, place the apples in and cover with the water. If the amount added doesn't cover them, add more water so that the apples are covered in 1 -2 inches of water.
- Bring the apples to a boil and then turn down the heat to medium-low for a constant simmer. Simmer for 1-3 hours, or until the apples are mushy and easily mashed.
- Remove the apples from the heat and let cool.
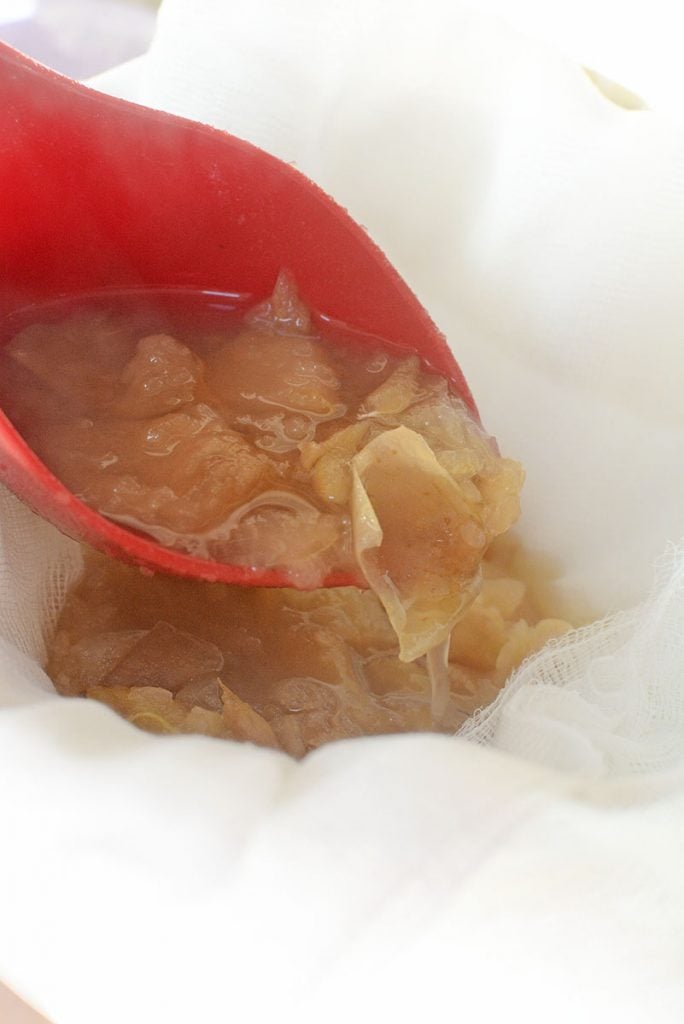
- When cooled, mash the apples as much as possible. Cover a colander with cheesecloth or use a fine-mesh sieve to separate the solids from the liquids. (see notes!)
- Discard the solids and taste for sweetness. Amend the juice with some honey if needed.
- Enjoy!
Notes
1. Use the kind of apple you enjoy the flavor of to make cider. If you'd rather go by a guide, then in the body of the post there are some suggestions of apple combinations you can try to find a blend you prefer.
2. Sometimes the same type of apple differs in sweetness, so if you find your cider is a bit too tart for your liking, add a bit of natural honey to sweeten it. You can also use sugar, but honey has a nicer depth of flavor and its sweetness is often softer and not as harsh as granulated sugar. But again, use what you have on hand, that's the most important thing!
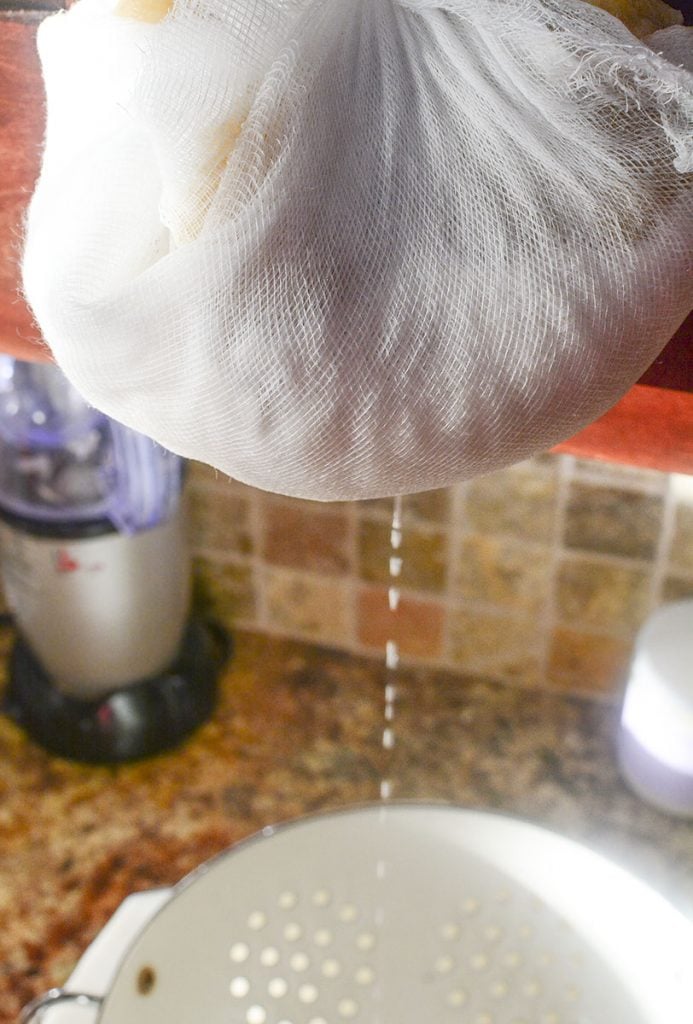
3. When sieving the juice from the apples after they've been mashed, I prefer to wrap the solids in cheesecloth and let them hang over a bowl and drip into it, rather than just draining the apple mash all at once.
When you let the liquids drain from the apple mash over time, you increase the volume of the cider, and as crazy as it sounds, I think the flavor is intensified because you're extracting as much as you can from the mash. At the end of the draining time, it also helps to give the cheesecloth a good squeeze too!
Nutrition Information:
Yield: 12 Serving Size: 1 cupAmount Per Serving: Calories: 102Total Fat: 0gSaturated Fat: 0gTrans Fat: 0gUnsaturated Fat: 0gCholesterol: 0mgSodium: 97mgCarbohydrates: 27gFiber: 4gSugar: 21gProtein: 0g
All nutritional information is based on third-party calculations and is only an estimate. Each recipe and nutritional value will vary depending on the brands you use, measuring methods, and portion sizes per household.
