Super Pretty Dried Orange Garland DIY
Making this DIY Dried Orange Garland is perfect for the person who loves natural Christmas decor! Easy to make and it’s so pretty when strung on a mantle or in the tree!
The wonderful thing about this dried fruit garland is that as long as it’s dried enough, this decor can last you easily year to year!

DIY Natural Christmas Garland
With the holidays right around the corner, everyone’s in the mood to celebrate! For some, it can mean spending some ‘me’ time indoors, relaxing and enjoying good food, and for others, it can mean working on some DIY projects and creating cute little gifts to spread the cheer.
Whatever it is for you, here’s a project you definitely need to try out! You can either gift it to someone or put it up in your home and add a little fragrance to the room while getting that Christmas-y feel.
Is it REALLY that easy to make? Keep reading to find out.

What Will I Need?
Creating an orange garland in your kitchen is actually pretty easy. You’ll just need a few basic supplies to get started on it.
- Oranges – pretty much any type of orange will do. However, please don’t use mandarins (christmas oranges) as they are too tiny and the peels are not sturdy enough. Also, use seedless oranges if you can.
- A sharp knife
- A cutting board
- A baking tray with parchment paper –
- Twine – I liked THIS twine because it’s versatile and it’s also candy cane colors!
- Yarn needle – A recommended one like this, or, you can also use a wooden kabob skewer as well.
- Orange essential oil – This is optional but it helps add even more citrus scent to the room!
Can I Use Other Citrus For The Garland?
Absolutely! You could use clementine, grapefruit and even lemons!
Making the Citrus Garland
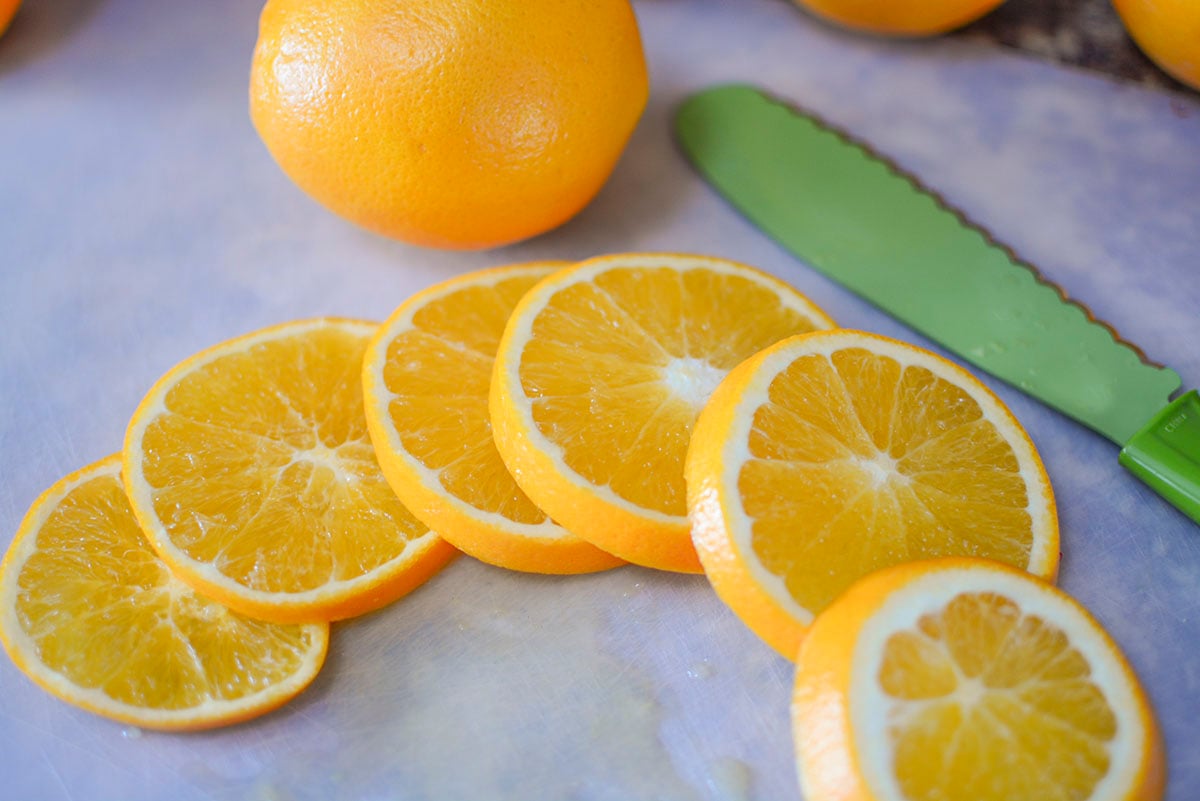
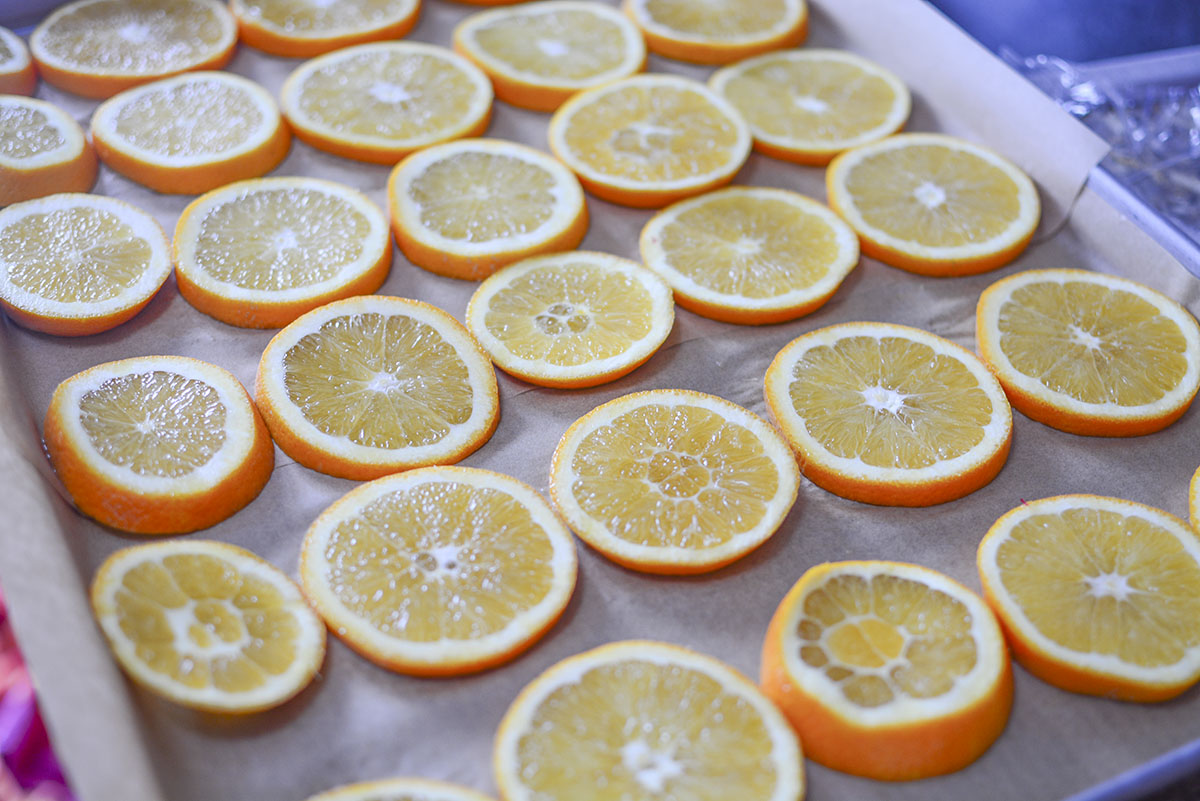
Making your orange garland is super easy. Start by getting your oven ready by preheating it to 200 degrees Fahrenheit. Meanwhile, start slicing your oranges- they should ideally be 1/4 inch thick. Discard the sides that have only the rind and set the rest of the slices aside.
Blot the oranges with kitchen paper to get as much orange juice off them as possible.
Arrange the slices on your lined baking sheet, pop them in the oven and let them bake for around 2-3 hours.
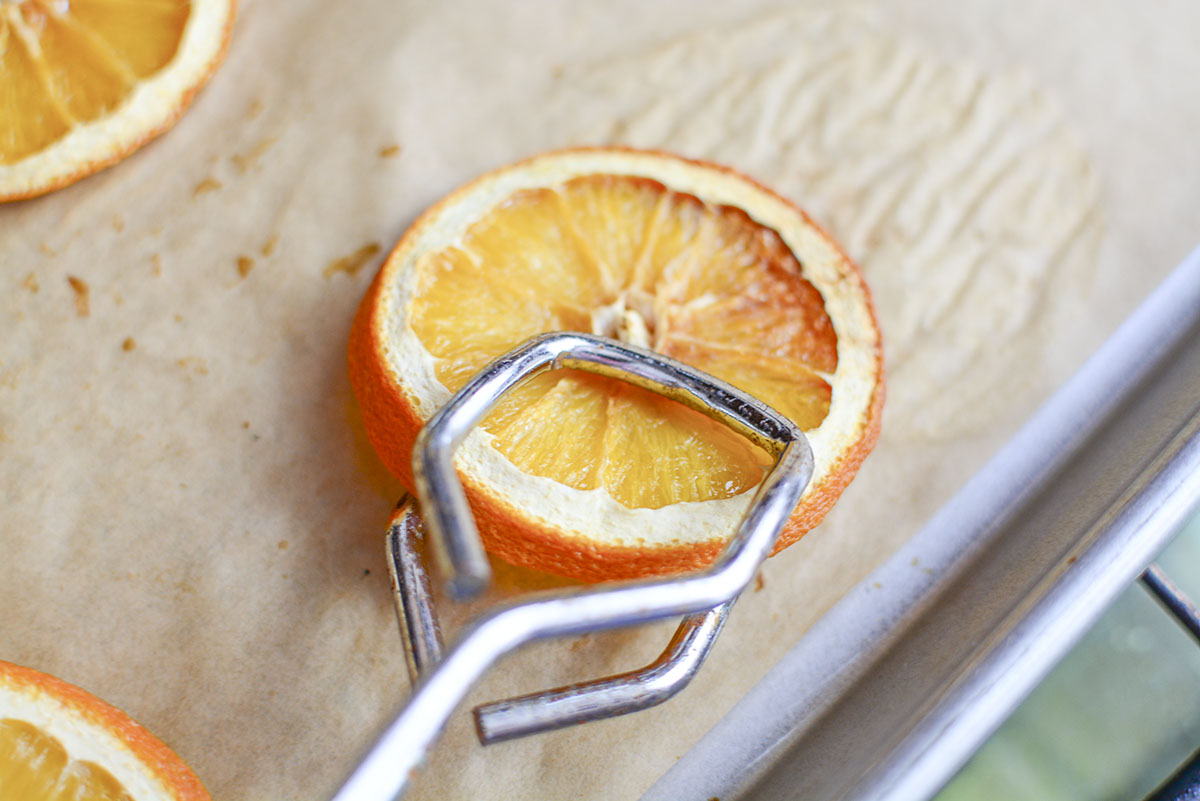
An important point to note is that you’ll need to keep flipping the oranges every hour or so, to make sure that they are drying nicely on both sides.
You’ll also need to keep an eye on the oranges and pick out the thinner and smaller ones off the tray as they will start to deepen in color and dehydrate sooner than the rest of the slices.
Once all the oranges are done, get them out of the oven and allow them to come to room temperature. Then, transfer them onto a cookie rack (cooling rack) and let them rest for until COMPLETELY dry.
This might take 30 minutes to a few hours. I actually left mine for 24 hours because I had other things to do, plus, I wanted them really dry.
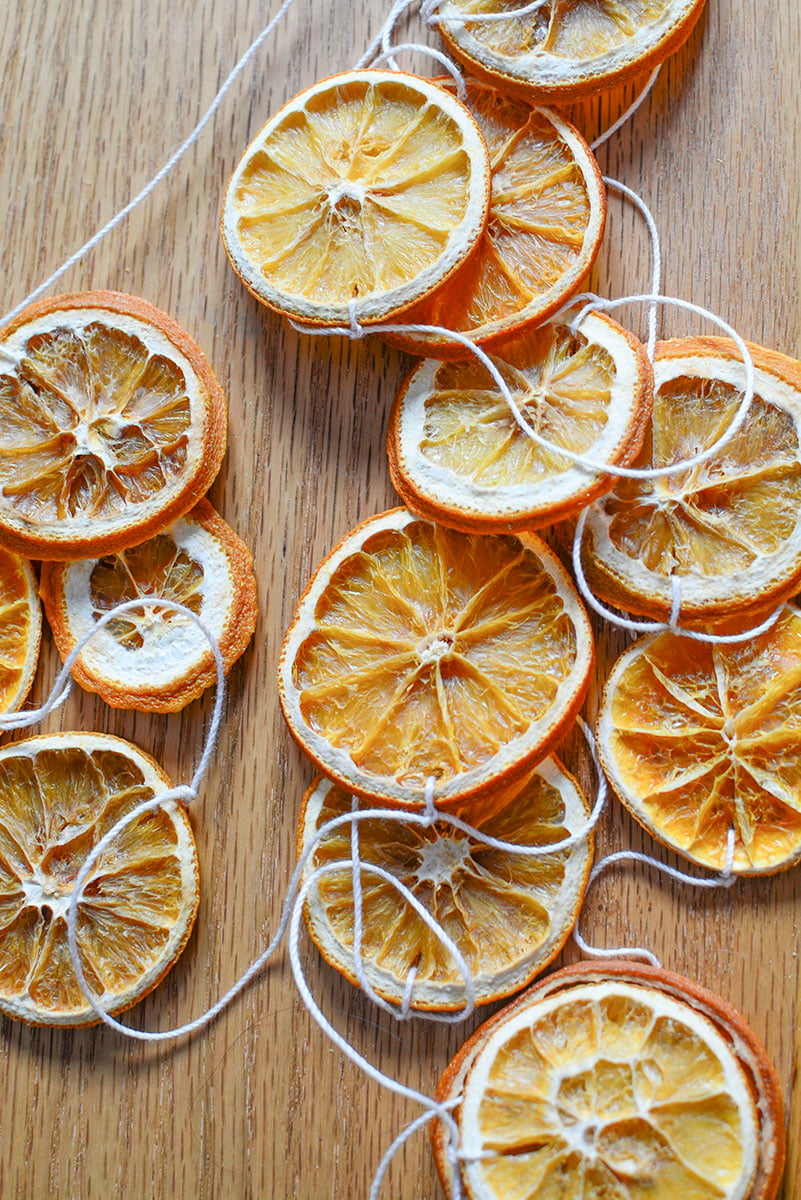
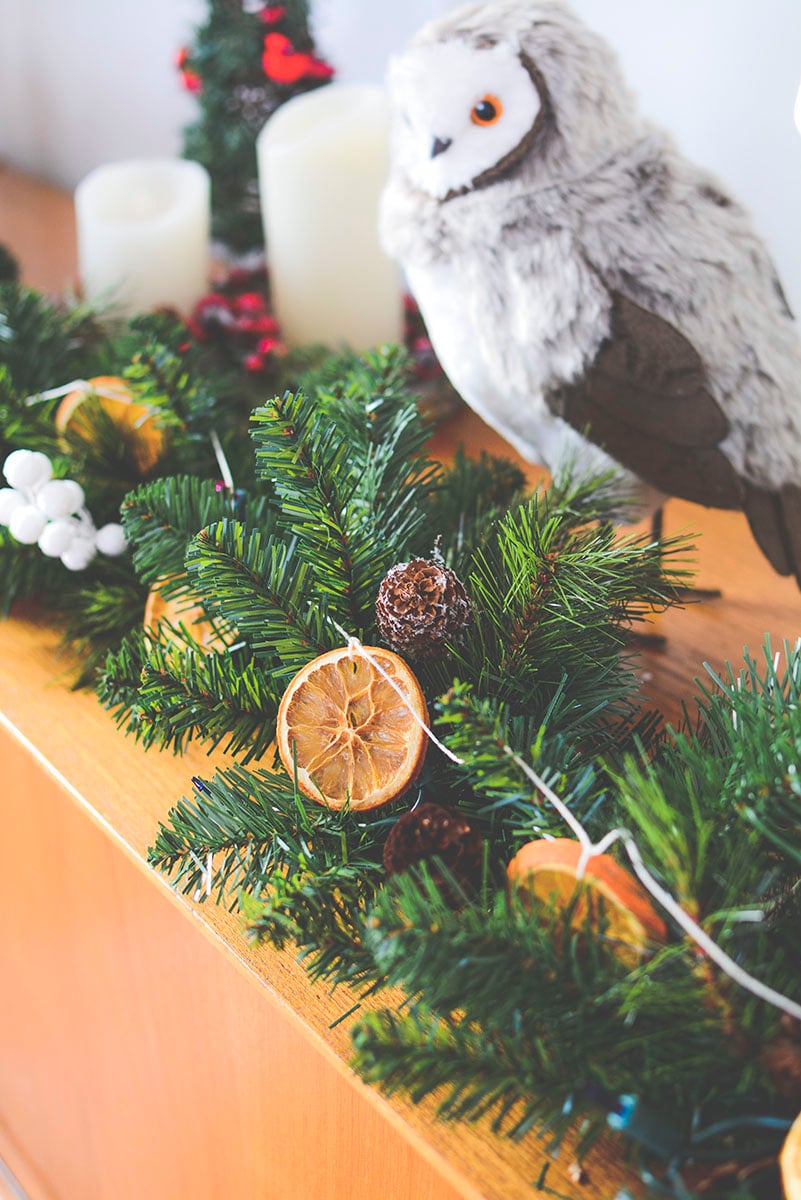
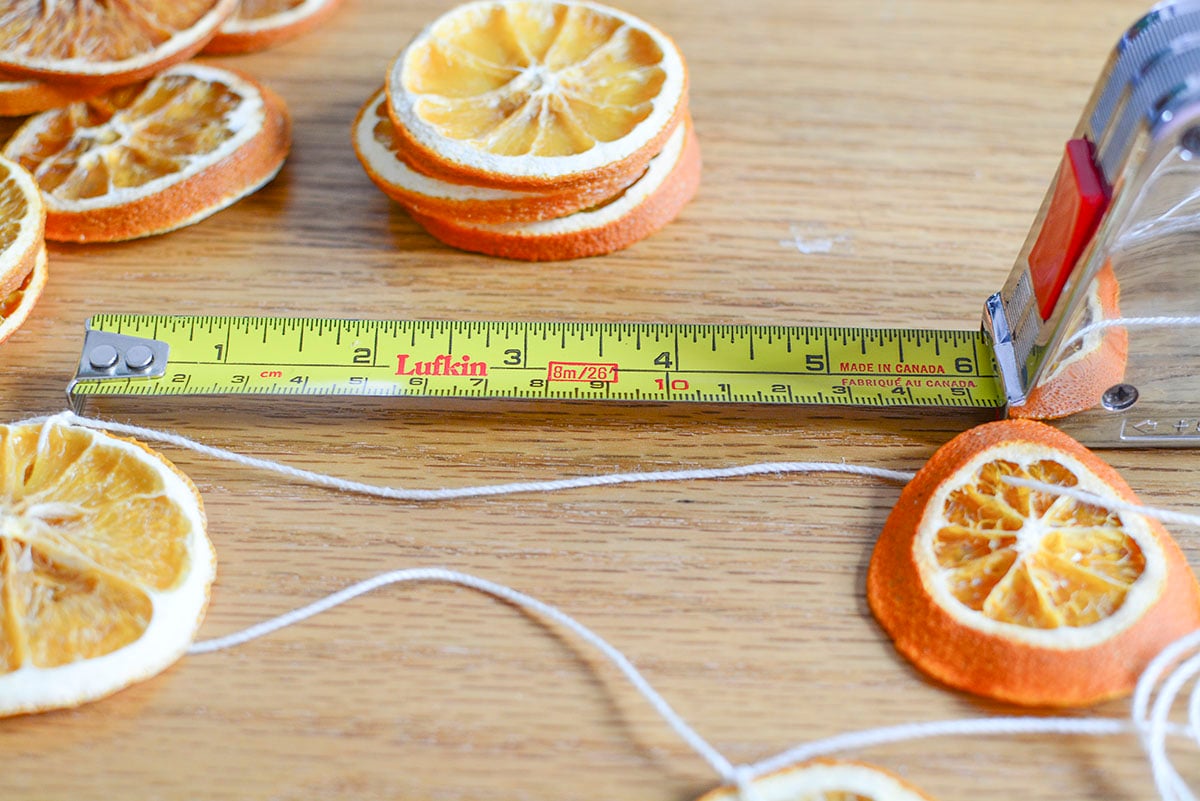
After this, it is pretty much straightforward. All you’ll need to do is make a simple garland by weaving the needle and twine in and out of the oranges near the top part of the slice while leaving some space in between each one so that the garland is nice and loose- not too stiff.
There is more detailed instruction in the card below.
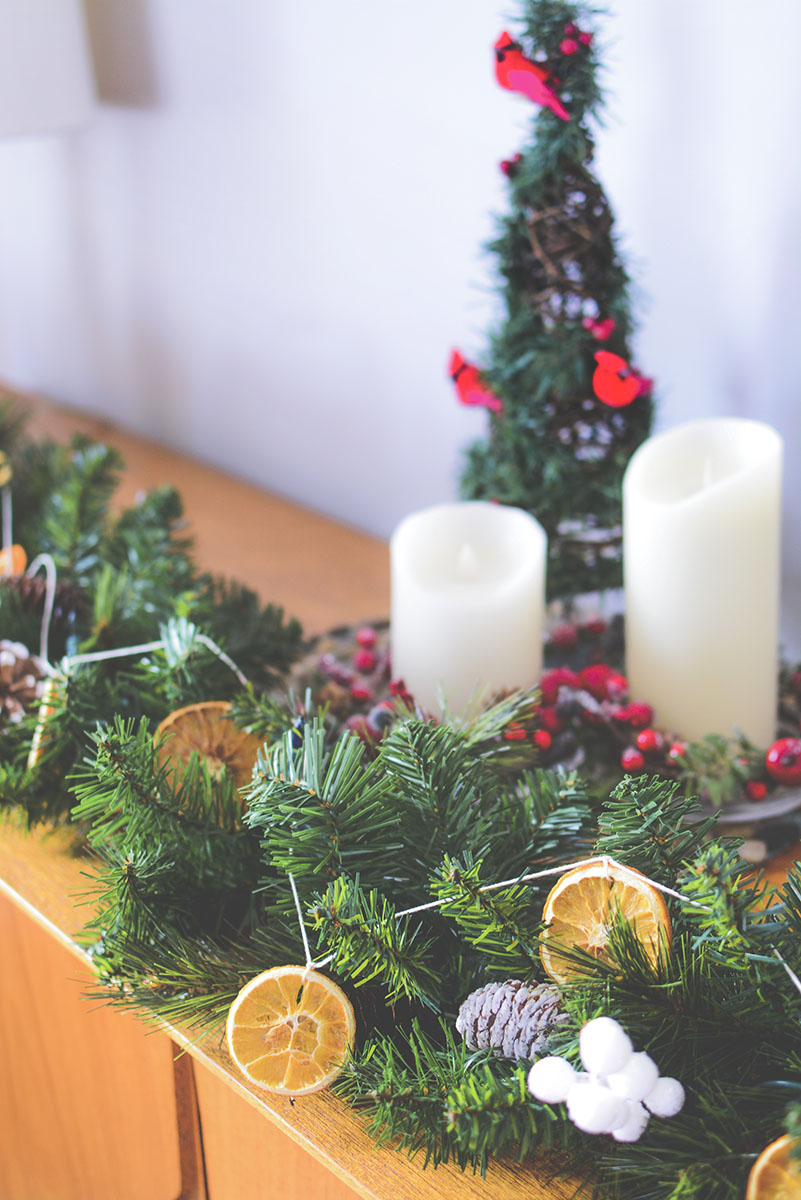
To make them look even more beautiful, you can string in some rustic beads as well in between the slices, or hot glue some cinnamon sticks to a few of the slices.
How Long Will The Dried Orange Garland Last?
If the orange slices are completely dried right out, your homemade Christmas garland should last for many years to come! I would wrap the garland in tissue and place it in an airtight container for storage until the following year.
Also, putting a few of these oxygen absorbers is a fantastic idea to include in the storage container, just to ensure a nice, dry storage environment for your DIY orange garland.
This easy orange garland can be the perfect way to add some budget-friendly rustic-inspired decor into your home, and right in time for Christmas! And if you don’t have the space to put up a garland or are just not in the mood to string them together, you can always use the baked orange slices as ornaments for the tree!
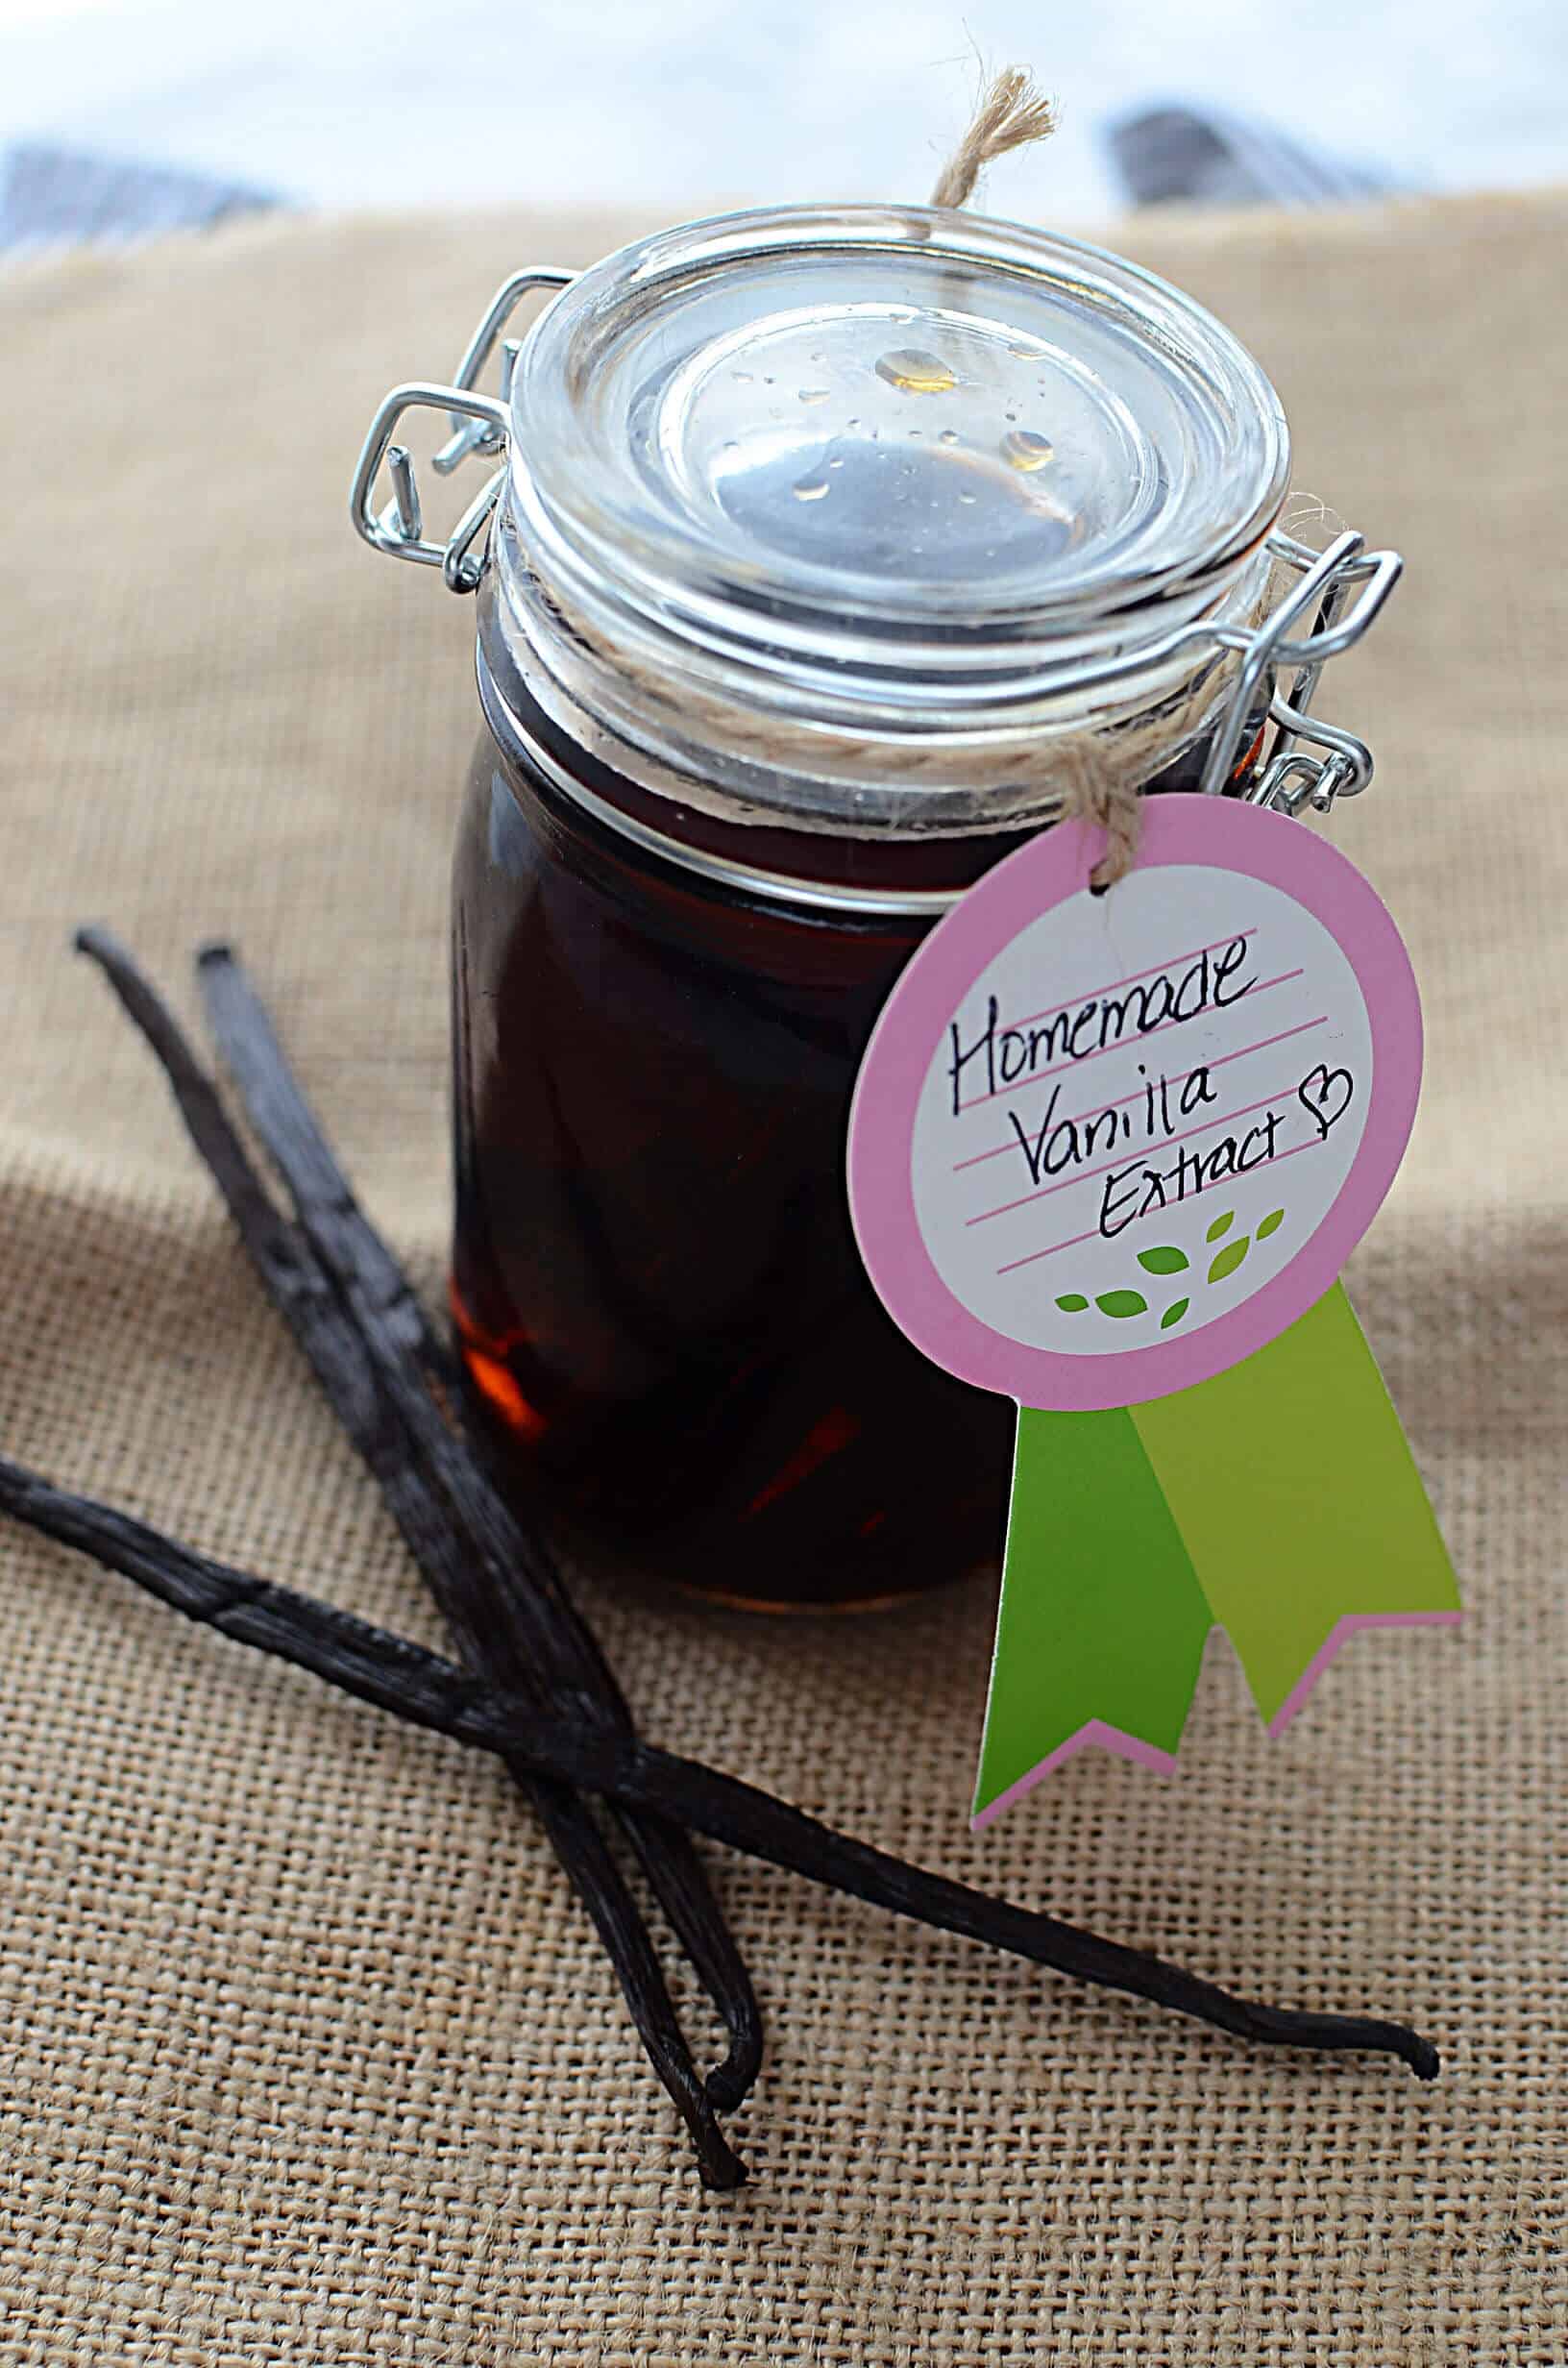
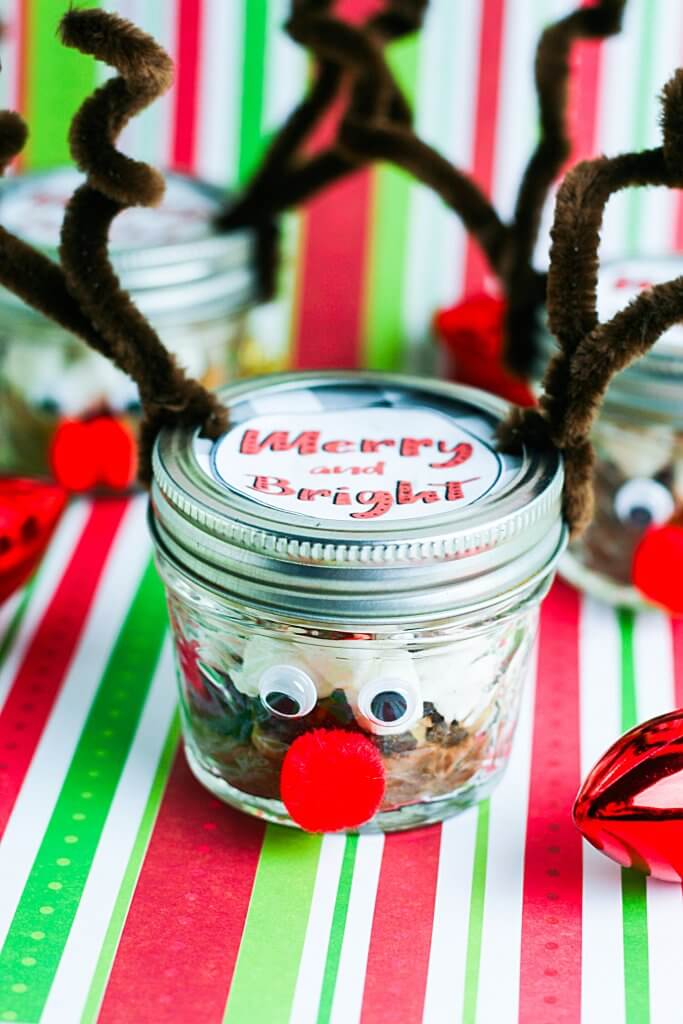
Also, making Homemade Vanilla Extract is always a delightful gift to give that baker in the family, or for the little ones who want to gift someone, these DIY Reindeer Hot Chocolate In a Jar is SO adorable!


DIY Dried Orange Garland
If you like natural Christmas holiday decor, this project is for you! Pretty dried oranges strung on string that gives that natural essence of the season. Easy and natural, it's perfect for making your tree or mantle festive!
Materials
- 5-6 oranges
- String/twine - Mine was just over 10 feet long. Please use your judgement as to how long you need your garland to be and cut accordingly.
- bamboo skewer
- cinnamon sticks (optional)
- red bows (optional)
- essential orange oil (optional)
Tools
- measuring tape
- sicssors
- Glue gun and glue (optional)
Instructions
- With a sharp knife, carefully cut the oranges into 1/4" slices. Discard the end pieces of the oranges.
- Blot the oranges dry with paper towel and place the oranges onto a parchment lined baking tray. Place into a 200 degree oven for approximately 3 hours.
- Every hour, check the orange slices and flip them. Remove any slices that are starting to deepen in color and feel dry.
- Remove oranges and place on a cookie sheet to completely cool and dry.
- PREPARING THE GARLAND:
- Poke a hole with the bamboo skewer just under the rind of each orange slice.
- Starting at one end, thread the yarn through the hole in the orange slice and make a knot it at the top of the slice.
- Thread another orange slice on the thread and secure it like you did the first one - approximately 6" from the last orange slice. I used my measuring tape to measure.
- After threading all 20 orange slices on the thread, you should be at or near the end of the garland.
- At this point, if you'd like to glue come cinnamon sticks on the faces of the oranges, you would do this now.
Notes
If you have extra orange slices, or would prefer to make ornaments from the orange slices, simply cut enough strands of 12" threads for each orange slice.
Use the bamboo skewer and poke the holes at the top of the slice, just below the rind. Feed the string through the hole and knot it around the rind.
Bring the remaining thread together and knot it approximately 2-4 inches from the orange slice. This will be space where you hang the ornament from the branch.
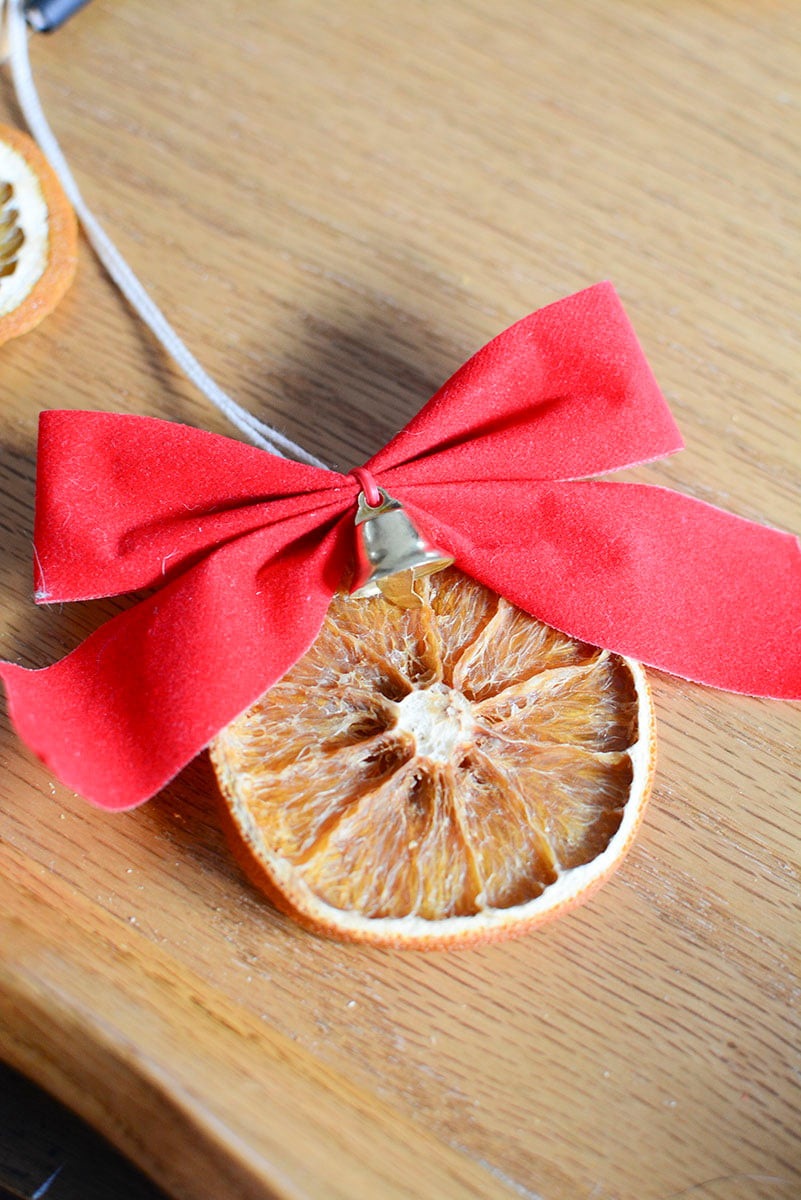
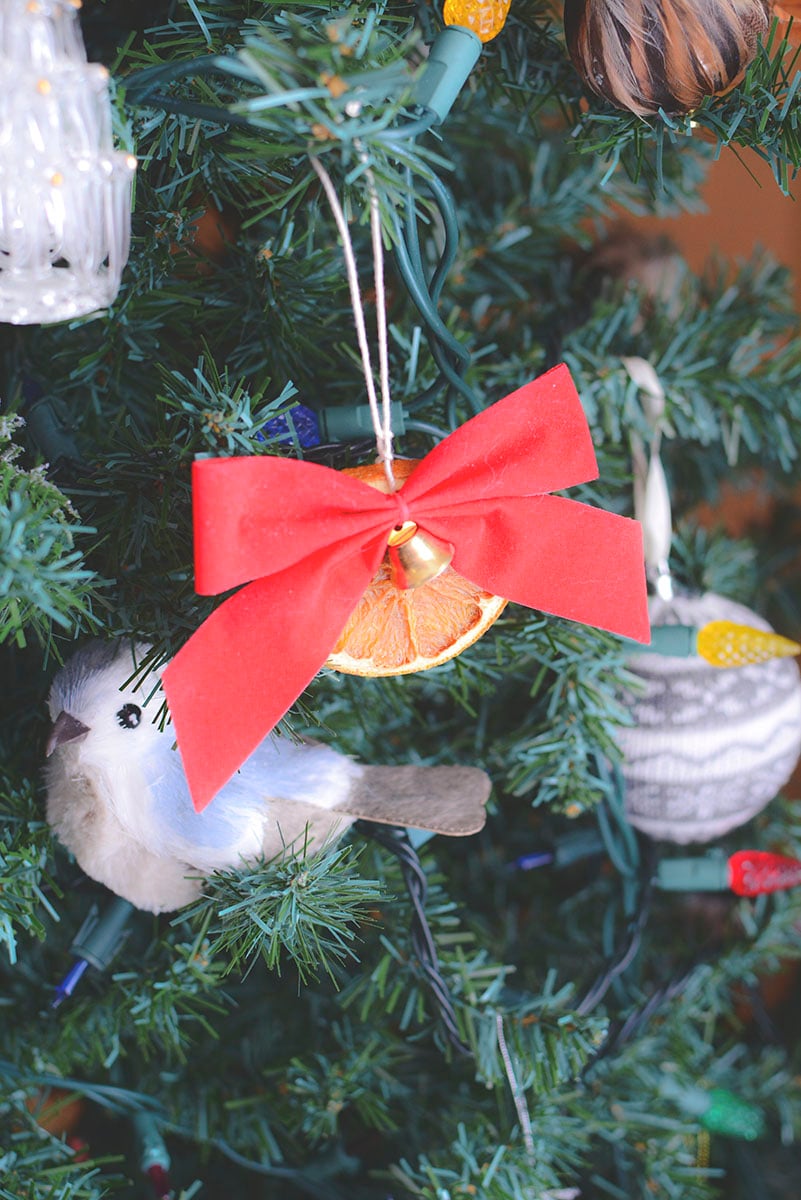
If you have the red bows, affix them using hot glue or twist ties (mine came with the ties) at the top of the slice. Wait for them to dry completely and then hang from the tree.
If you want to add extra scent to the oranges, drop a few (Use a light hand here, orange oil is VERY strong) drops onto one or two orange slices to create a beautiful overall orange scent on the tree or wherever you hang the garland.
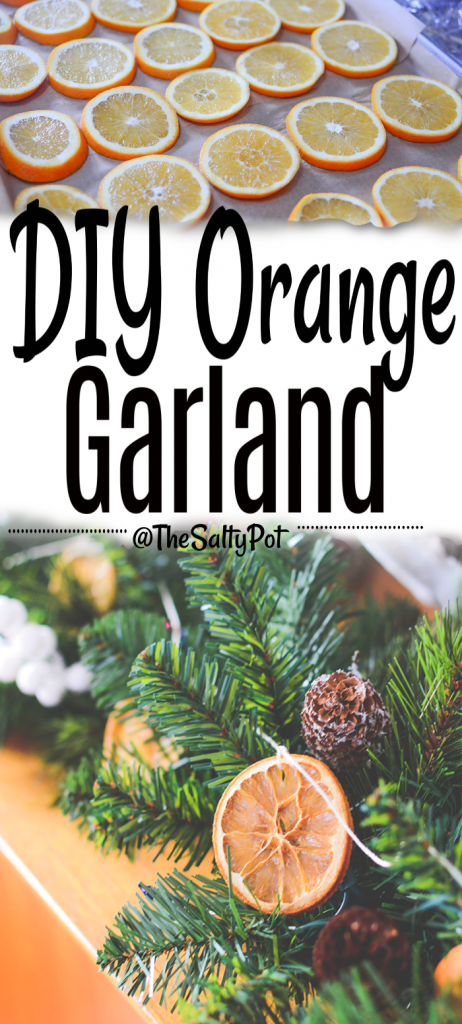




Your garland is so pretty, Joanne, and looks amazing on that gorgeous MCM cabinet!
Thank you so much Marie!!