Dehydrating Strawberries The Easy Way
Dehydrating strawberries is so easy to do. If you love those little bits of dried berries in your granola bar or your breakfast cereal, then guess what? That’s what we’re talking about today! We’ll talk about dehydrating strawberries and how it’s actually possible to dehydrate your favorite berries at home.
No need to buy them anymore! All you need is a little bit of time, and an oven or a dehydrator, and you’re all sorted!
This post may contain affiliate links. If you make a purchase after clicking a link, I may earn a small commission AT NO COST TO YOU. As an Amazon Affiliate, I earn from qualifying purchases.
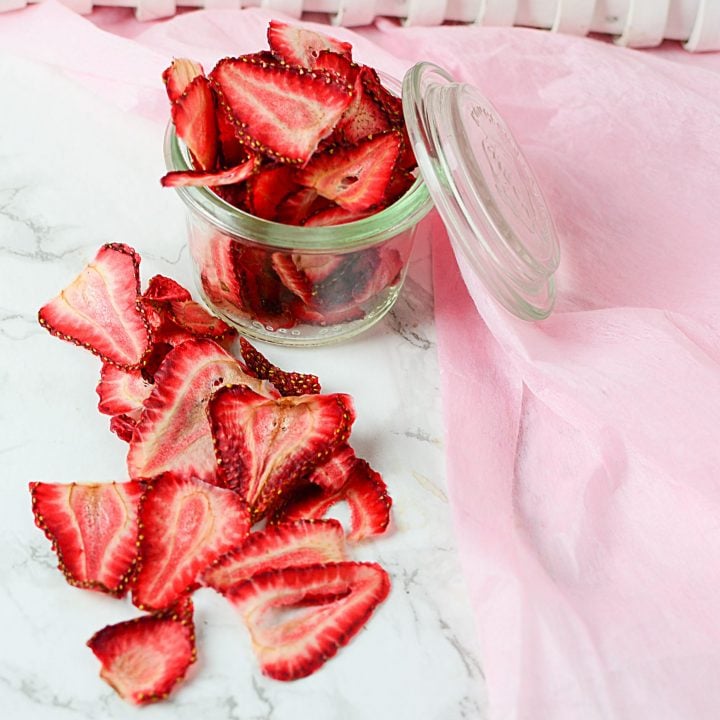
Dehydrated Strawberries = Nature’s Candy
Learning about Dehydrating Strawberries the Right Way
If you’ve got a fresh batch of strawberries from your last trip to the supermarket or farmers market, and are thinking of giving it a shot to try and dehydrate them, here’s a little help. Read on to discover everything you need to know about how to dehydrate strawberries, store them and put them to use!
Why Strawberries?
These sweet and tart berries are among the healthiest foods on the planet. Not only are strawberries packed with tons of antioxidants, but they are also an incredible source of nutrients that do everything from regulating blood pressure levels and improving heart health to keeping diabetes in check and even reducing the risk of stroke.
The Process Of Drying Strawberries
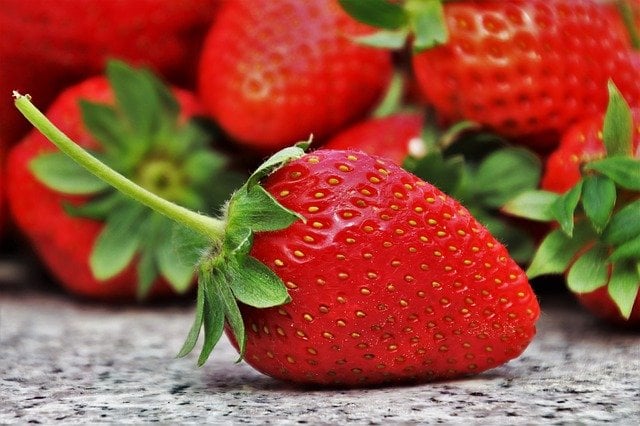
So how do you actually begin the process of dehydrating strawberries? Well, you start by sourcing it first. I always like to pick strawberries that are locally grown and sourced- as opposed to them being shipped from another place! The flavor profile in locally grown strawberries is often the best, and you can rely on those for the freshness too.
If you’re absolutely brand new to the idea of dehydrating food, take a peek at my post called Dehydrating Foods 101. It should help you get an idea of exactly what all you can dehydrate, (things like an Orange Garland at Christmas time, or even make your own Doggy Treats), and all the options to do it!
Also, if you only have an oven to dehydrate with, that’s perfect! I have a post that’s all about using your oven at home to dehydrate all kinds of things.
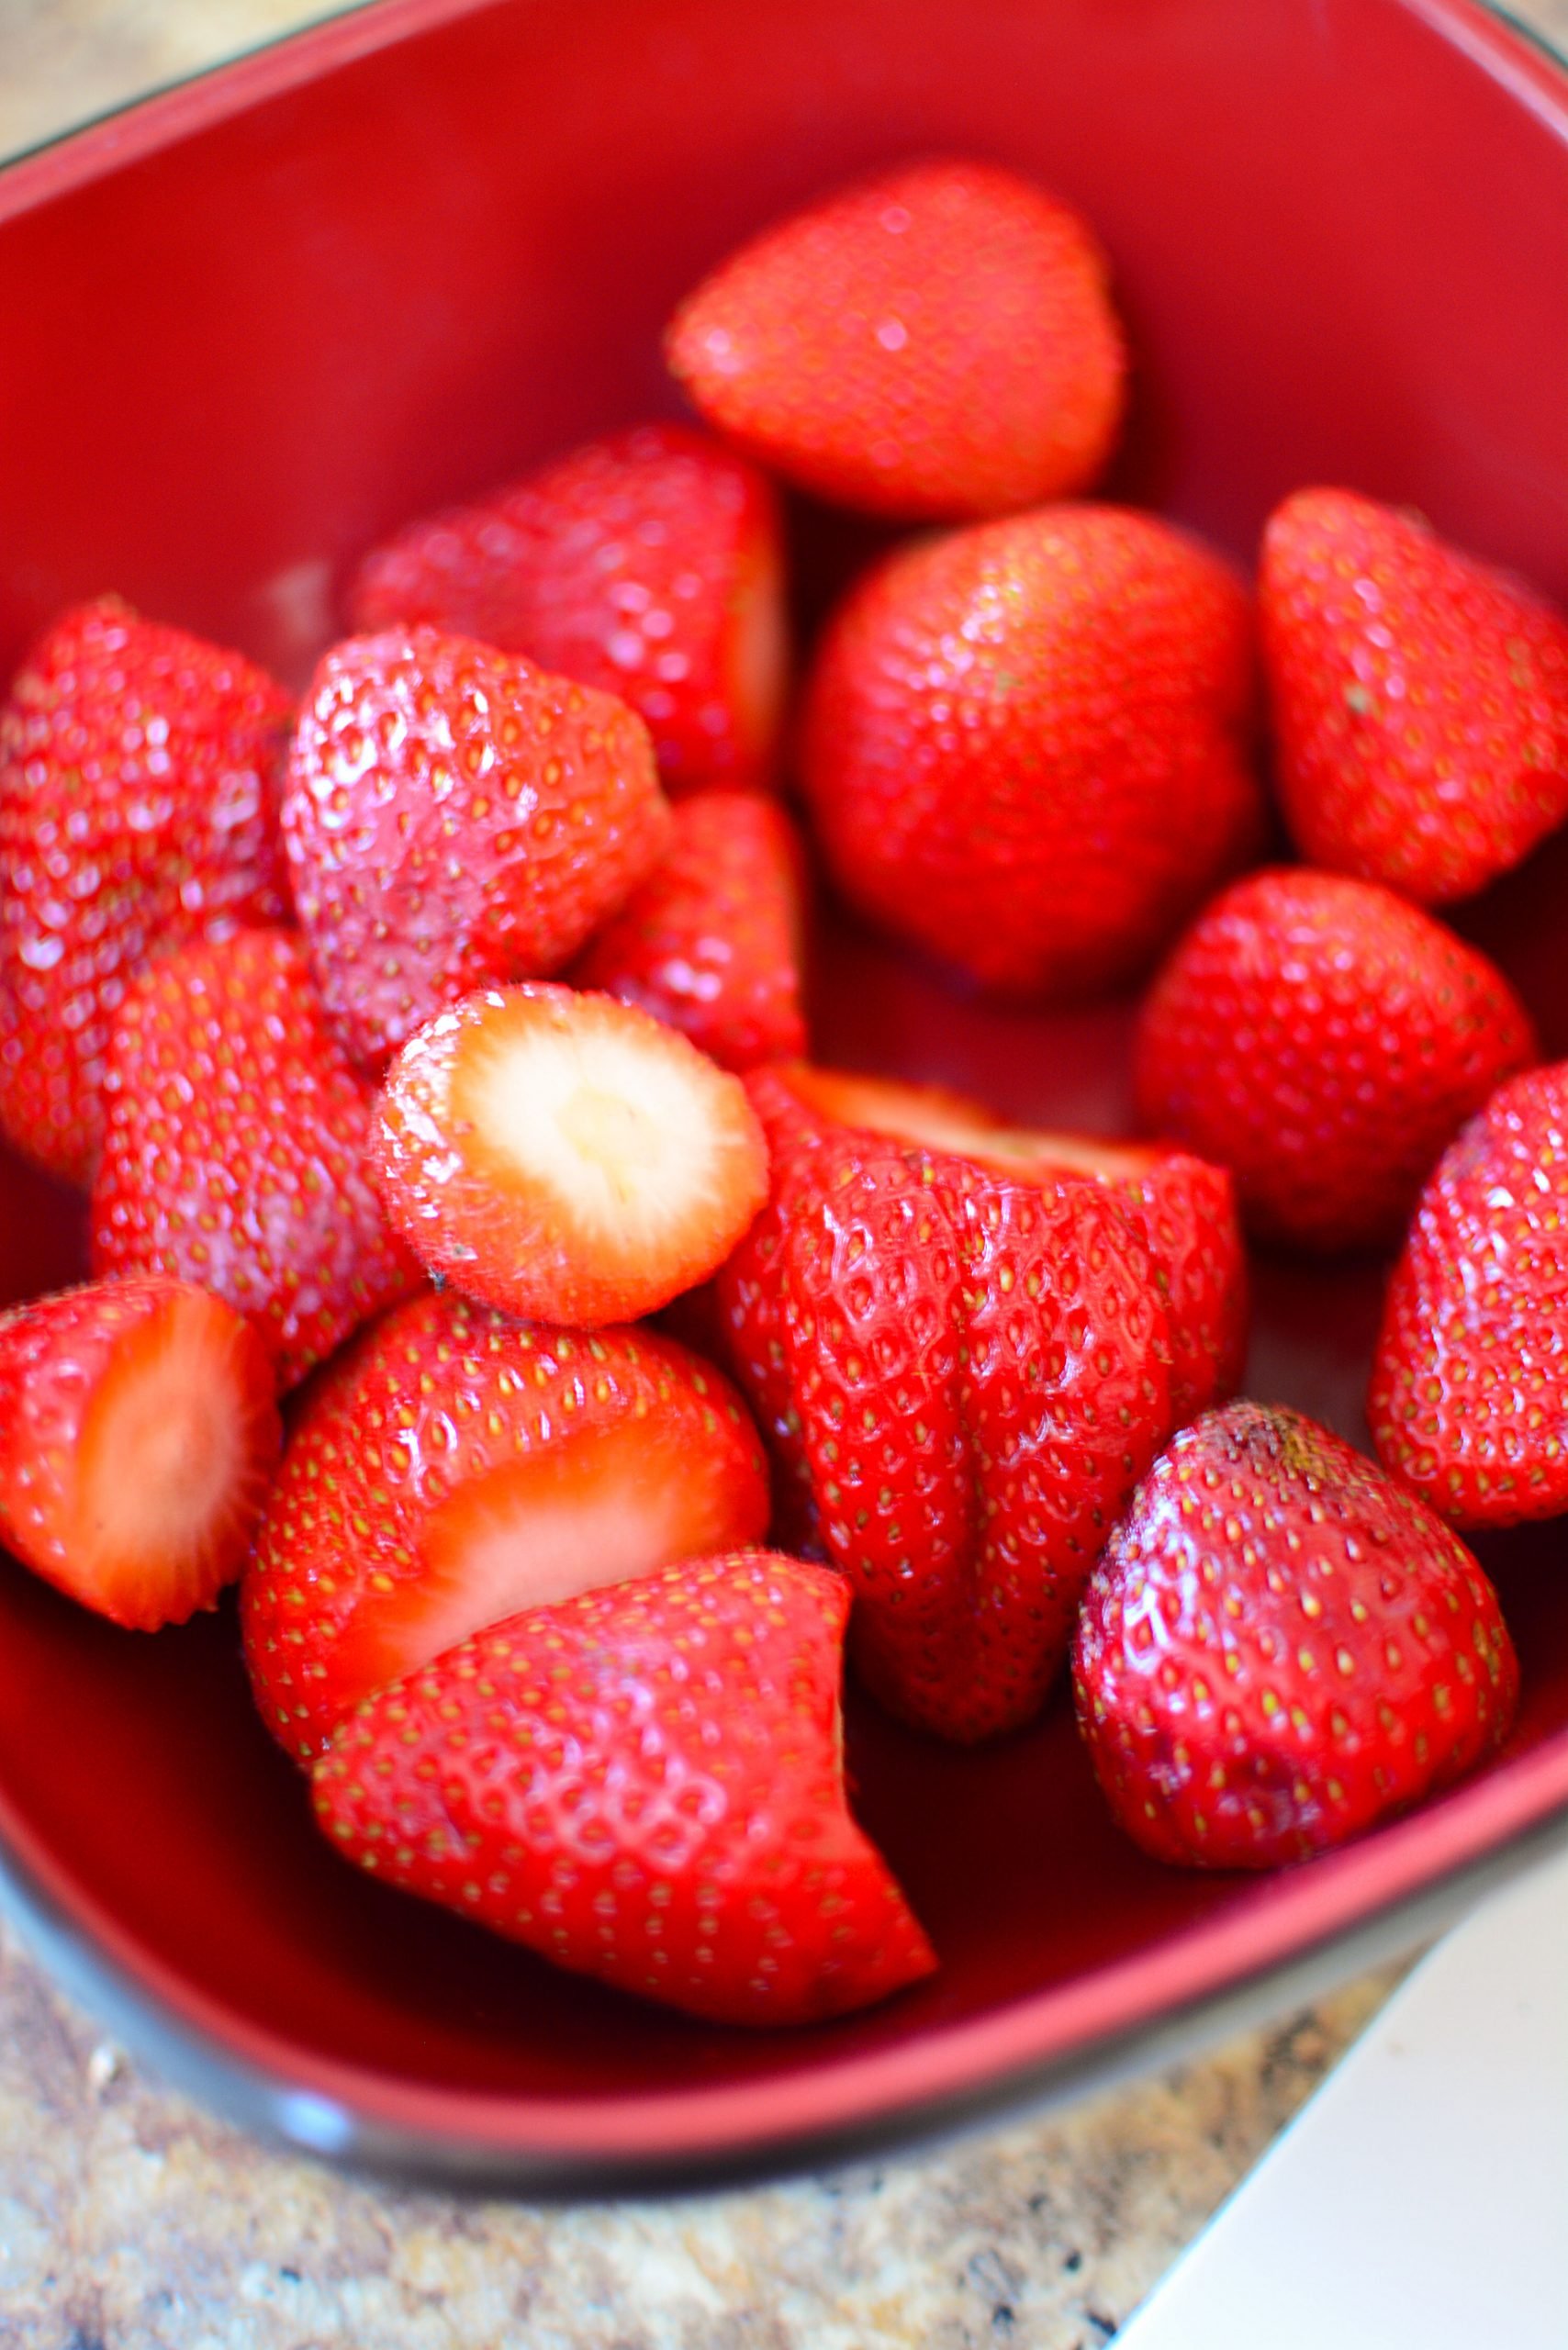
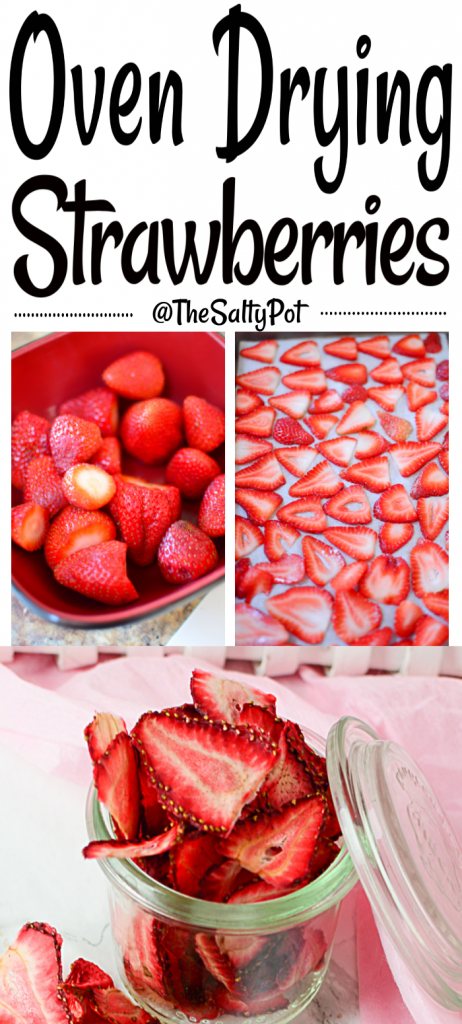
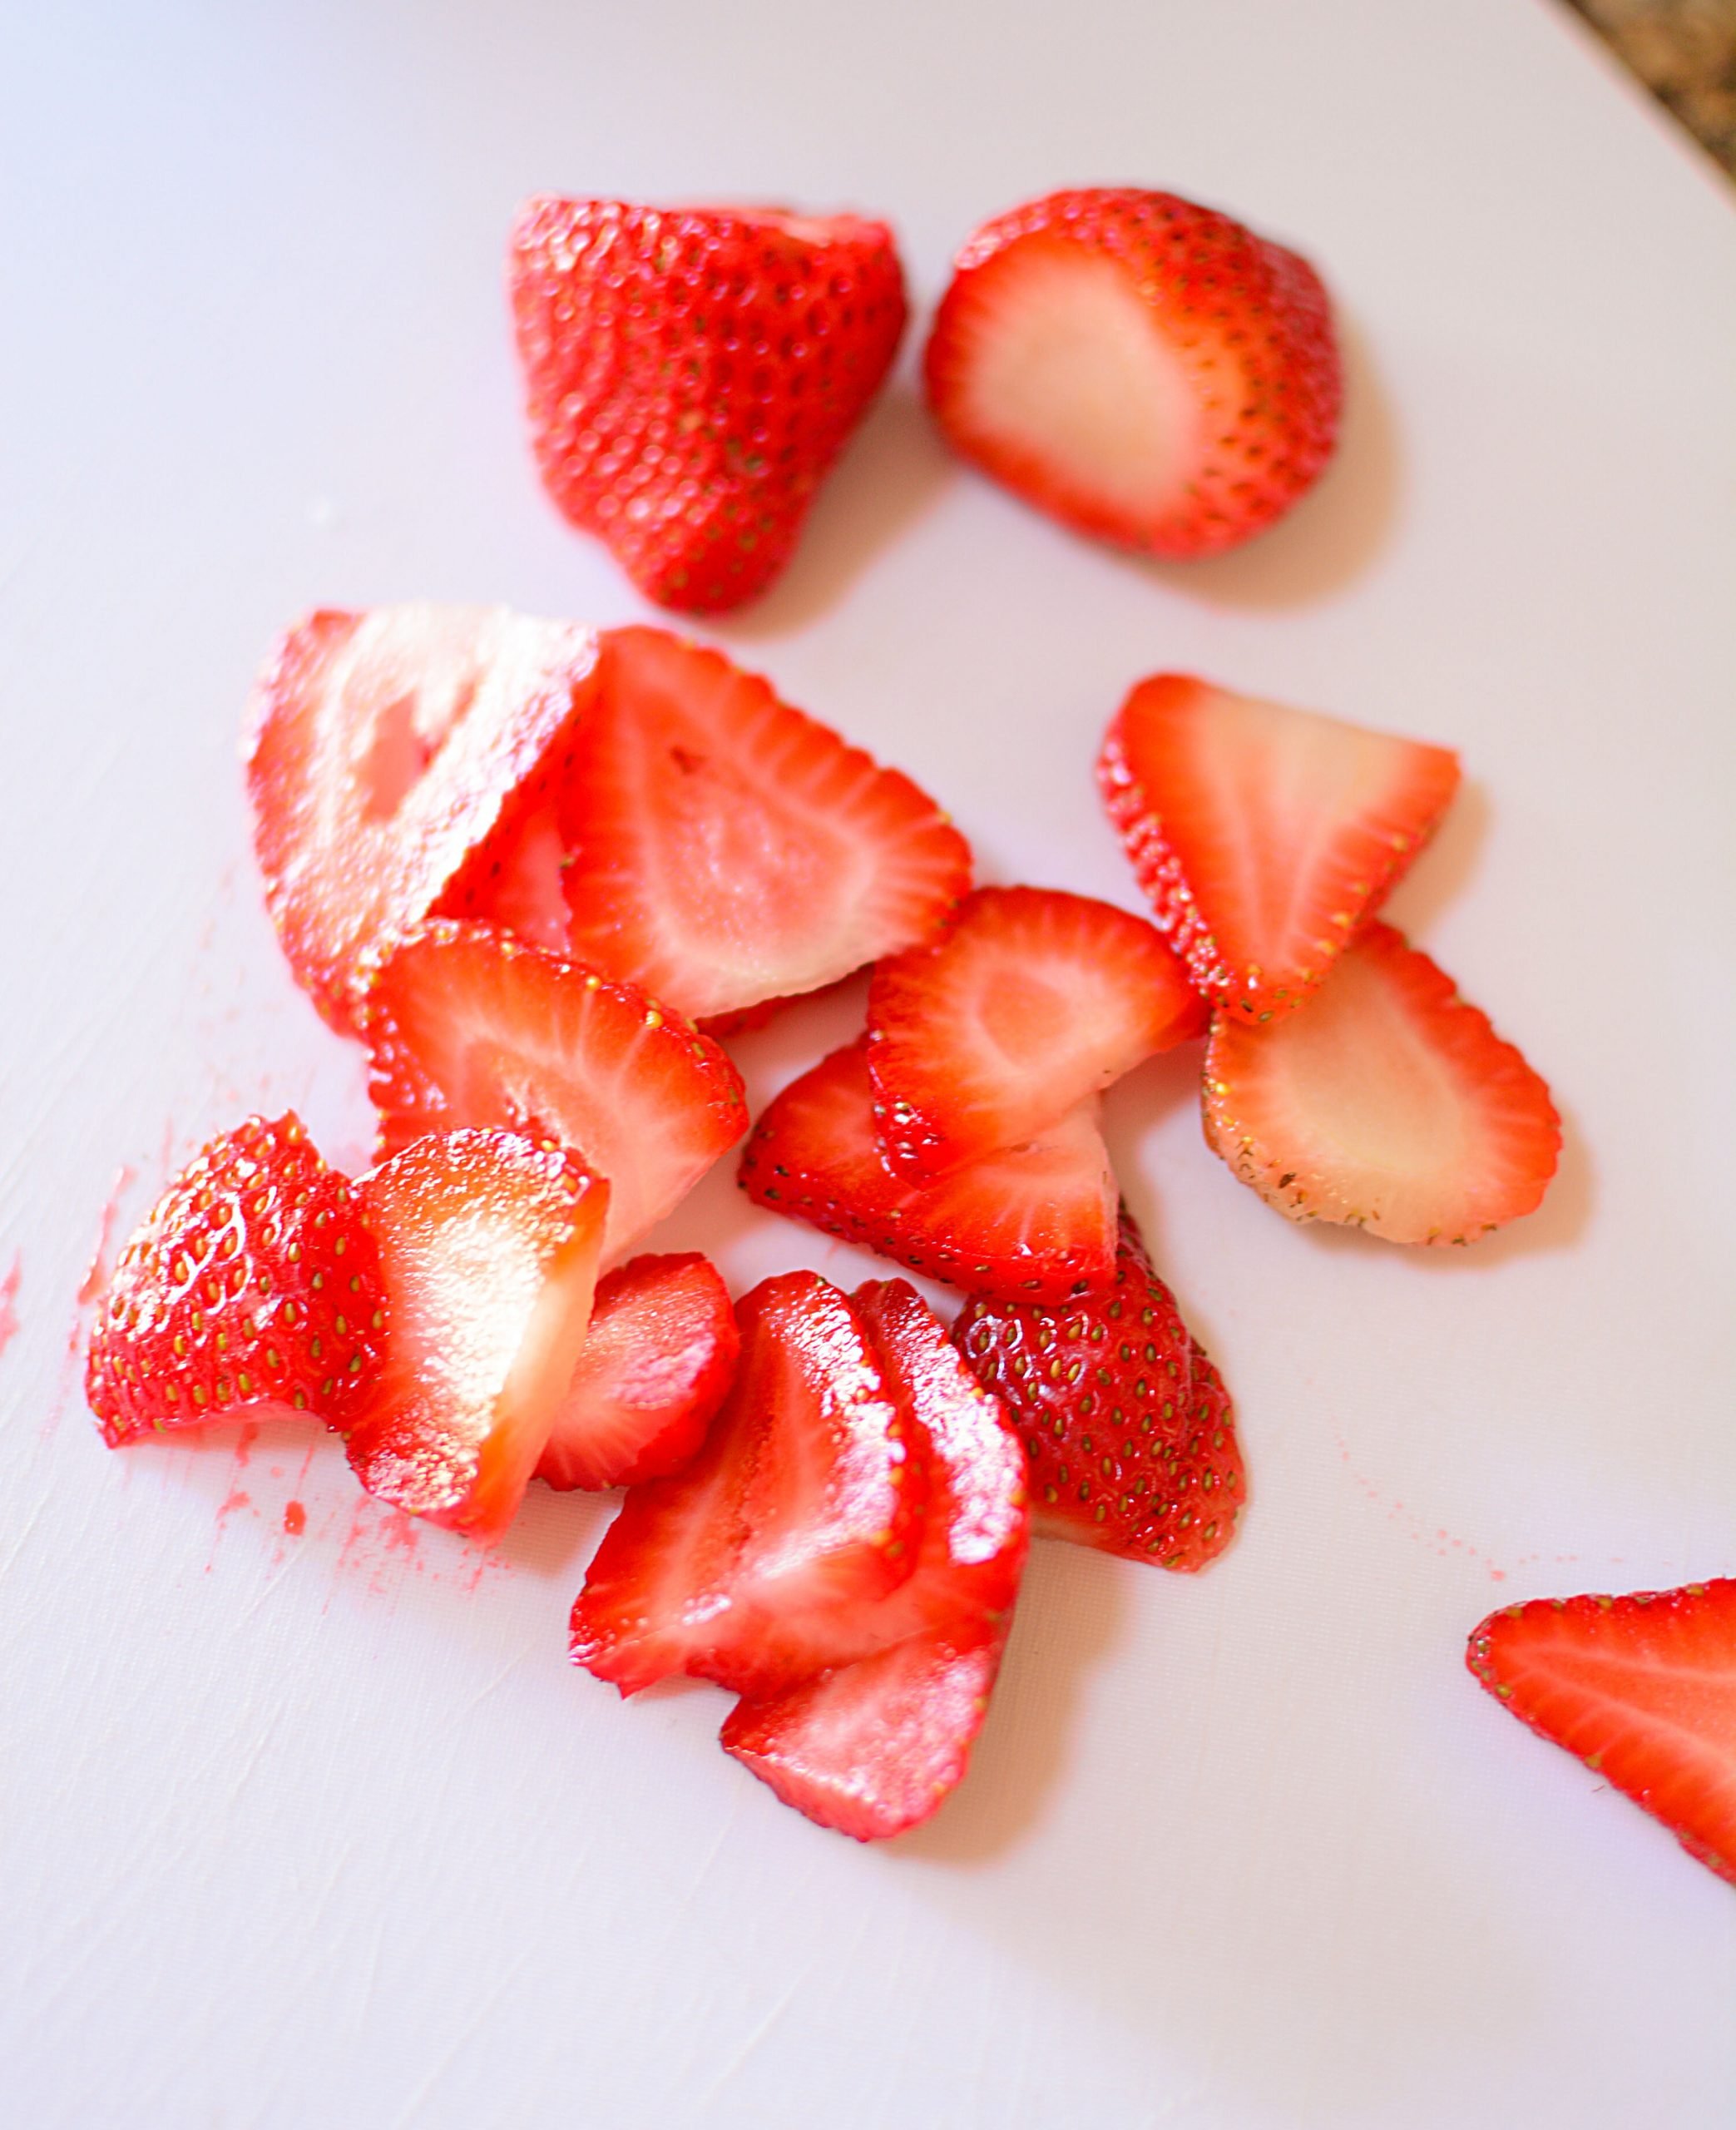
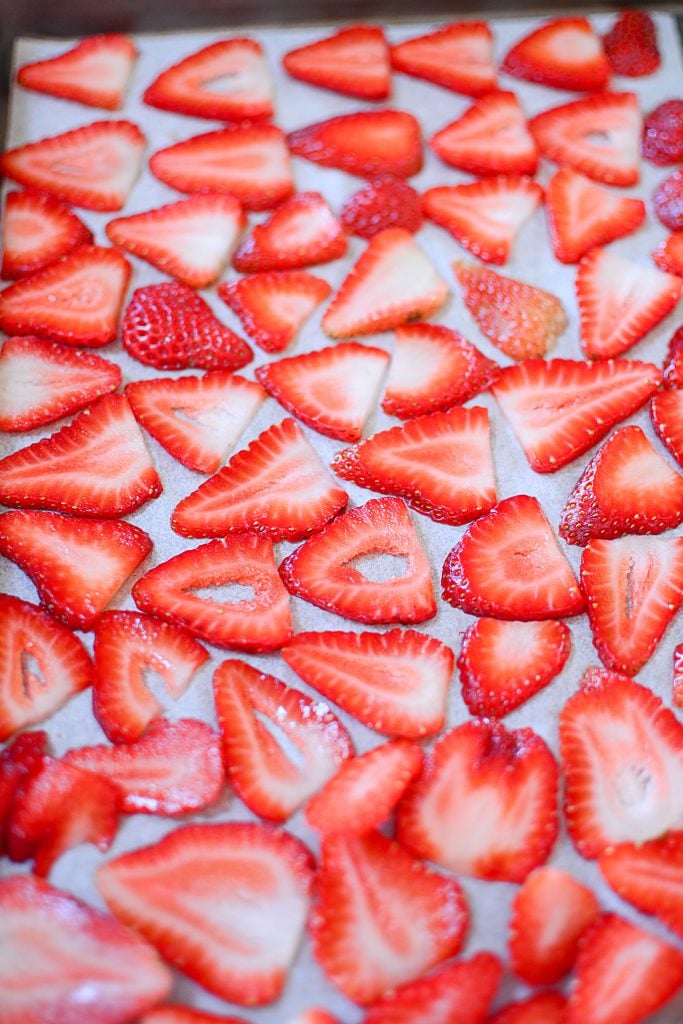
Ok, so first, wash the berries thoroughly and remove their leaves and stems. Allow them to air dry, or you can lightly pat them (no bruising wanted!), and then slice them as thinly as possible. Place these slices on a parchment-lined baking tray and oven-dry them at 110 degrees or as low as the setting on your oven goes.
I used an oven to dehydrate my batch, but if you already have a dehydrator, that’s great too! Just remember that when you’re using an oven to dehydrate strawberries (or anything else for that matter), you’ll need to pop the door open for a minute or two a few times to allow the moisture inside to escape if the oven doesn’t go below 200F. A lot of the ovens made now have a dehydrating option.
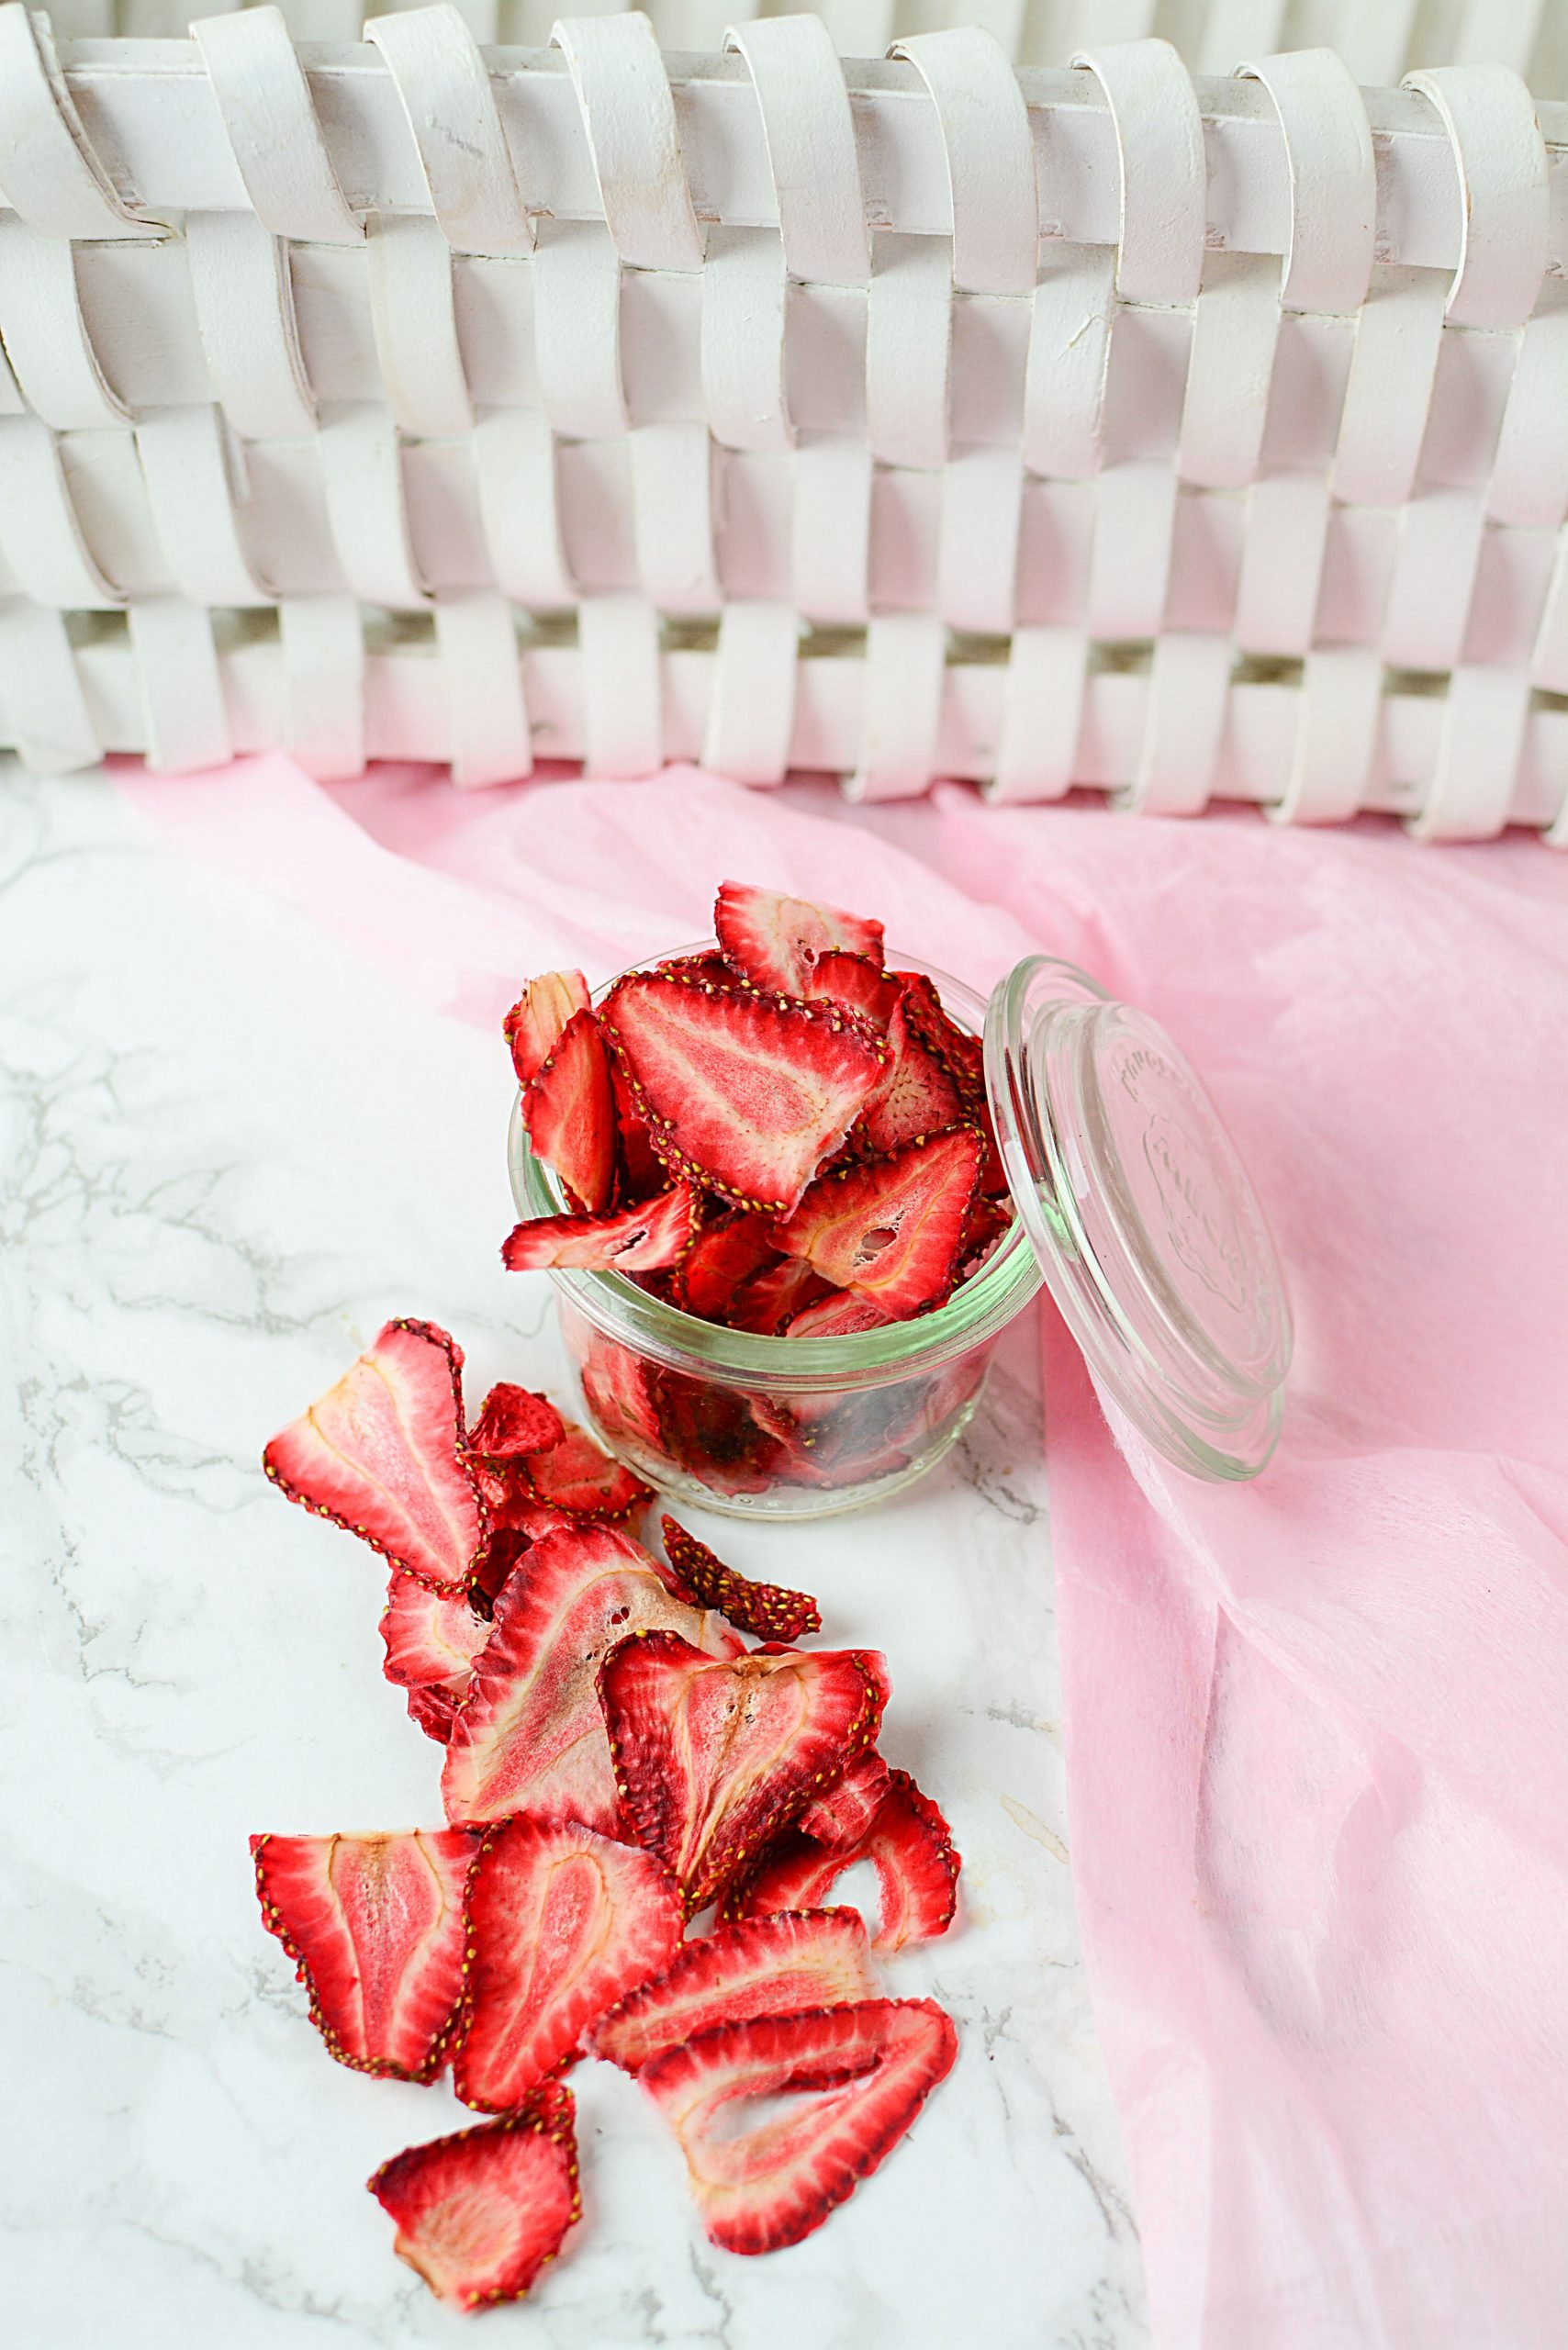
How Do I Store Dried Strawberries?
One of the best ways to store your dehydrated strawberries is to pop them in a freezer-safe bag (to prevent freezer burn) and then store them in there. Try your best to remove as much air from the bag as possible. The easiest and most effective way to do this is using a straw! Check out Christine Is Cooking’s super simple way to get this job done!
Even if you’ve made a whole big batch, an added insurance is to consider getting some oxygen absorbers (these are basically small packets of iron powder) and then storing the berries in a nice, air-tight container with a packet of it!
This ensures that the dehydrated strawberries stay their perfectly crunchy self with no freezer burn. And if you’ve got a Food Saver Vacuum, you could also vacuum pack the berries with an oxygen absorber for added protection.
Putting Them to Use
Okay, so you’ve got your decent-sized batch of dehydrated strawberries. Now what? Well, my favorite way to use them is to eat them as is, as a healthy candy for when you’re craving something sweet.
Depending on their size, you can also chop them up and add them to your homemade granola, top it on your bowl of oatmeal or breakfast cereal, or even add a handful to your salads! And of course, you can sprinkle a few on top of your ice cream or as a healthy decoration on your homemade cakes.
Another cool idea is to grind up the dehydrated strawberries, turn them into powder, and add them to your smoothie. You can make salad dressings with the powder as well. Any method you use to sneak it into your meals- your kids will love it!
Incidentally, if you have a lot of extra, leftover strawberries, you could make fruit leather, or, as I like to call them, Strawberry Fruit Strips. Kids LOVE them and they’re reassuring to moms because they know exactly what’s gone into them.
I hope that you give this tutorial a try and when you do, please let me know what you think by leaving a ***STAR RATING*** and comment below, or shoot me an email at [email protected].
Have a fantastic day and thanks for stopping by The Salty Pot!
~Joanne
Dehydrating Strawberries
These dried strawberries are a fantastic way to preserve your strawberry bounty! After they're dried, the strawberry flavors are even more concentrated, making them taste like candy!
Ingredients
- 1 pint strawberries
- 1 tsp lemon juice, optional
Instructions
- Wash the strawberries, lightly pat dry.
- Remove the green stems and any blemishes from the fruit.
- Carefully cut the berries into thin slices. Sprinkle the lemon juice over the slices in a bowl, and lightly toss, helping to get the lemon juice over all the slices. (Optional).
- Place on a parchment-lined baking sheet in a single layer.
- Turn your oven to the lowest temperature it will go. (See notes)
- Dry the strawberries until they are crispy and very lightweight. If they crumble easily, they are ready. Depending on your oven and the humidity in the air, this could take anywhere from 5 - 8 hours.
Notes
If your oven doesn't go below 200F, then use something to prop the door open 2-3 inches to encourage airflow.
You might find that shaking the baking sheet or flipping the strawberry slices over will dry them faster.
Nutrition Information:
Yield: 6 Serving Size: 6 slicesAmount Per Serving: Calories: 19Total Fat: 0gSaturated Fat: 0gTrans Fat: 0gUnsaturated Fat: 0gCholesterol: 0mgSodium: 1mgCarbohydrates: 5gFiber: 1gSugar: 3gProtein: 0g
All nutritional information is based on third-party calculations and is only an estimate. Each recipe and nutritional value will vary depending on the brands you use, measuring methods, and portion sizes per household.