Cosori Premium Food Dehydrator: My Honest Thoughts
This is a review of the Cosori Premium Food Dehydrator. Everything in this post is strictly my honest opinion. It’s important to me that my readers get the truth about different products I review so they know if they should invest their money or not.
As the prices rise I look for ways to help stretch my food budget and help save money. Growing a garden means tons of fruit and veggies, or sometimes you come across a fantastic deal at the store, and you snap it up and bring it home.
But you need to preserve the bounty, or what’s the point right?
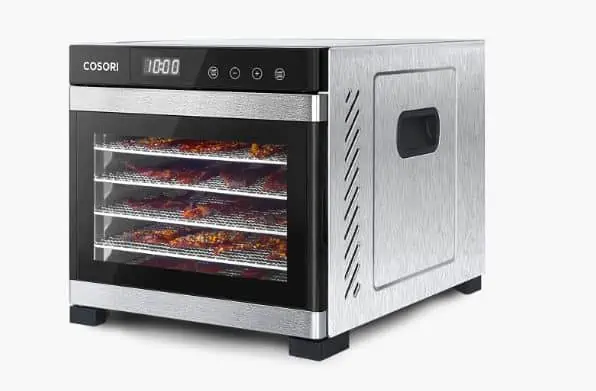
The Cosori Premium Food Dehydrator
If you’ve been around my space on the internet for any length of time, you know I like to dehydrate different foods. I’ve mainly been drying things in my oven, like How to Dehydrate Strawberries, as well as making some Strawberry Fruit Leather.
Well, let me tell you how my dehydrating game has recently changed.
In the past, I’ve teamed up with the awesome people over at Cosori. I’ve reviewed both the Cosori Premium 5.8 Quart Air Fryer, and the smaller, Cosori 3.7 quart Air fryer. I am a big fan of the Cosori brand because their products are affordable and of great quality.
But what about this product? Will it live up to the hype and be worth investing your money in?
What does the Cosori Food Dehydrator Do?
The Cosori Food Dehydrator dehydrates and helps preserve foods by forcing warm air around food-lined trays to evaporate and remove the water from the inside cells of the food item. This stops the process of the degradation of your food items and helps keep them longer on your pantry shelf.
This can be used for the general preservation of foods you intend to use for your cooking meals later on, allowing you to save money on food for your family. You can use your dehydrator to make fun snacks for your family like the recipes I tried from the included cookbook.
As I mentioned earlier, I’ve dehydrated foods in my oven before, and I’ve also used a plastic circular dehydrator that is EONS old.
This is the first time I’ve used a dehydrator where the fans are located at the back of the machine, rather than at the bottom, and this makes a big difference which I’ll tell you why.
Unboxing Cosori’s Dehydrator
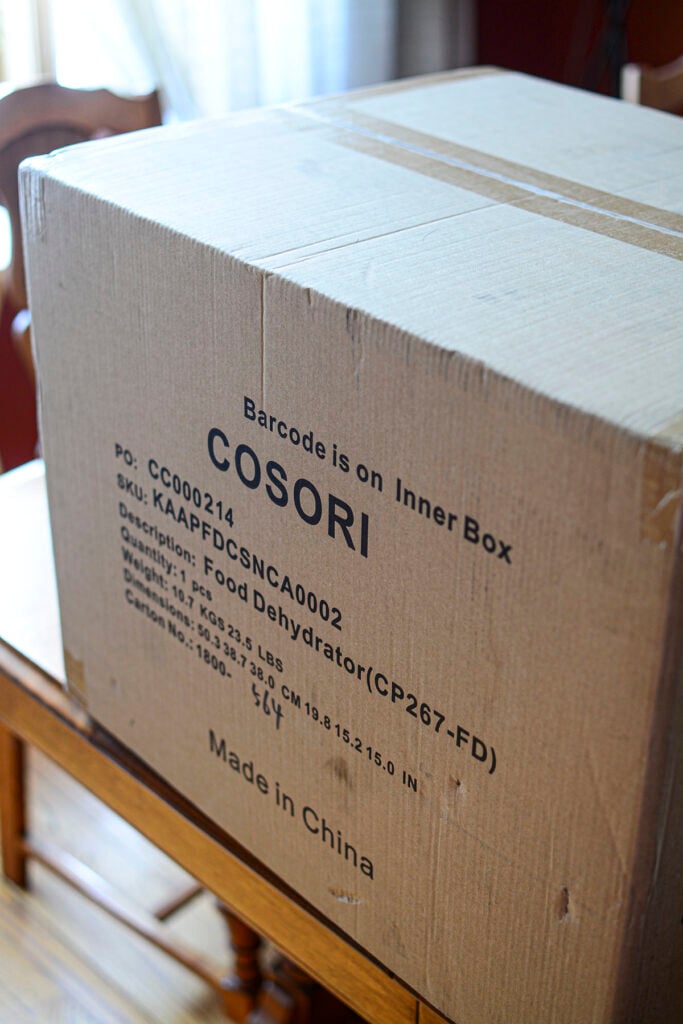
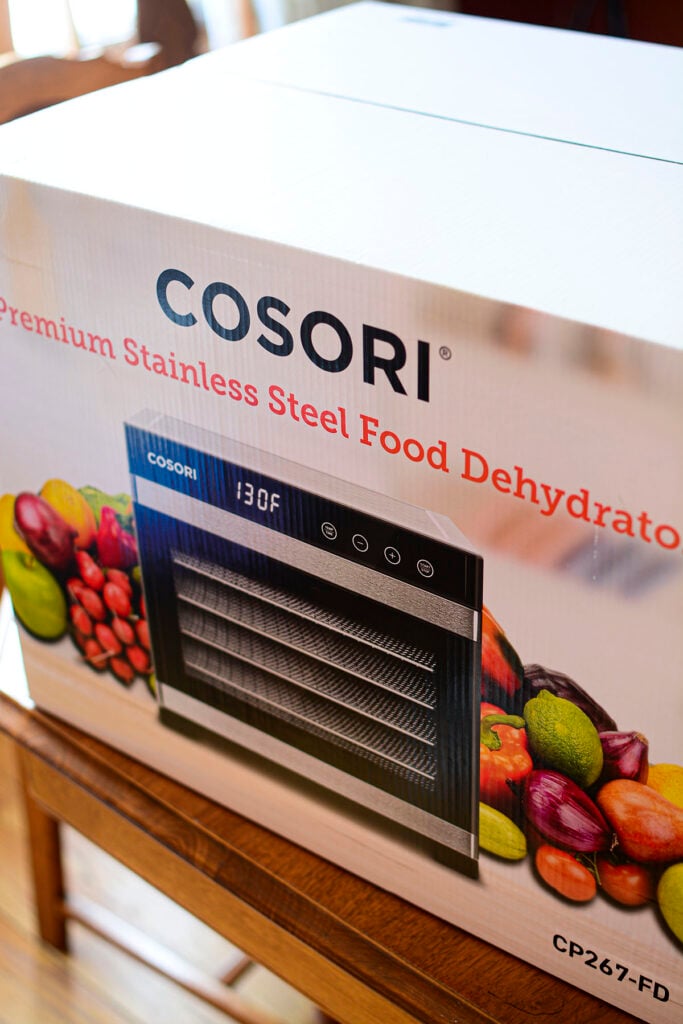
I was FLOORED at how fast the shipping was, to be completely honest. I’m in western Canada, and the appliance was coming from California. Normally that takes forever because it has to cross the border and go through customs and such, but wow, it felt like I blinked and it was here.
It was super well packed and protected. I have no issues with this at all. The Cosori brand seemed to have its packaging on point for the other items I reviewed as well.
The appliance itself was packed with thick styrofoam on either side to keep it secure, and all the manuals, extra trays, and cookbooks were neatly tucked in the top of the box.
What is Included in the Box:
- The stainless steel dehydrator, of course
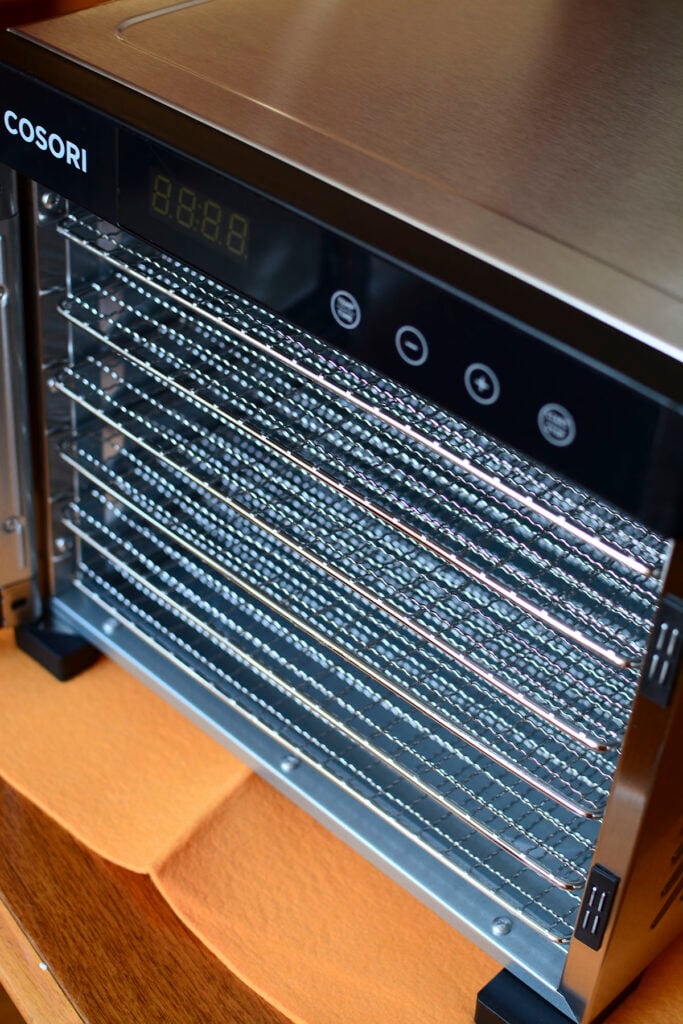
- Metal trays (6 trays)
- Solid fruit leather tray (1 tray)
- Mesh sheet for drying small tiny items like herbs and such (1 sheet)
- The Cookbook
- Manuals and warranty cards.
The Maiden Voyage: Apple Chips
The first thing I tried drying was the apple chips. This was a recipe out of their included cookbook. We peeled and cored the apples, sliced them with a mandoline, and dipped them in acidulated water.
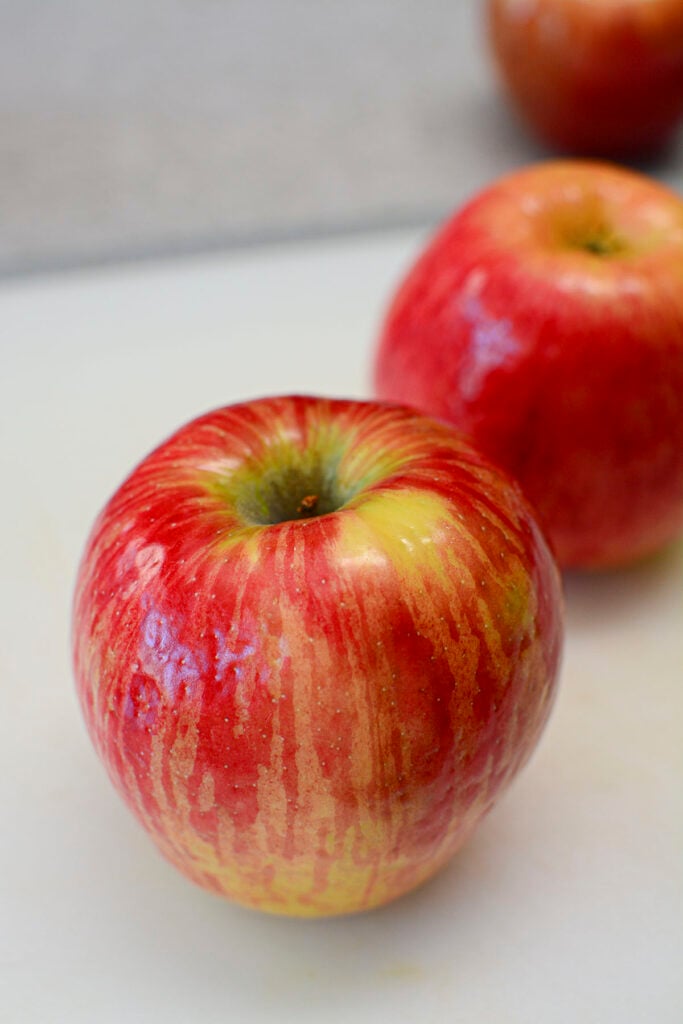
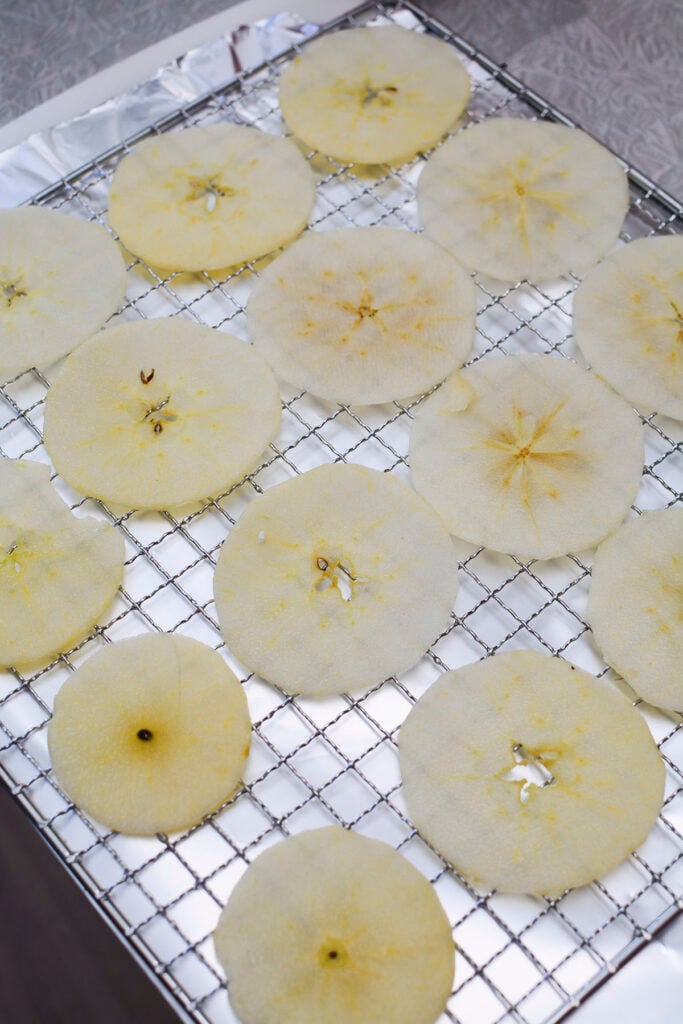
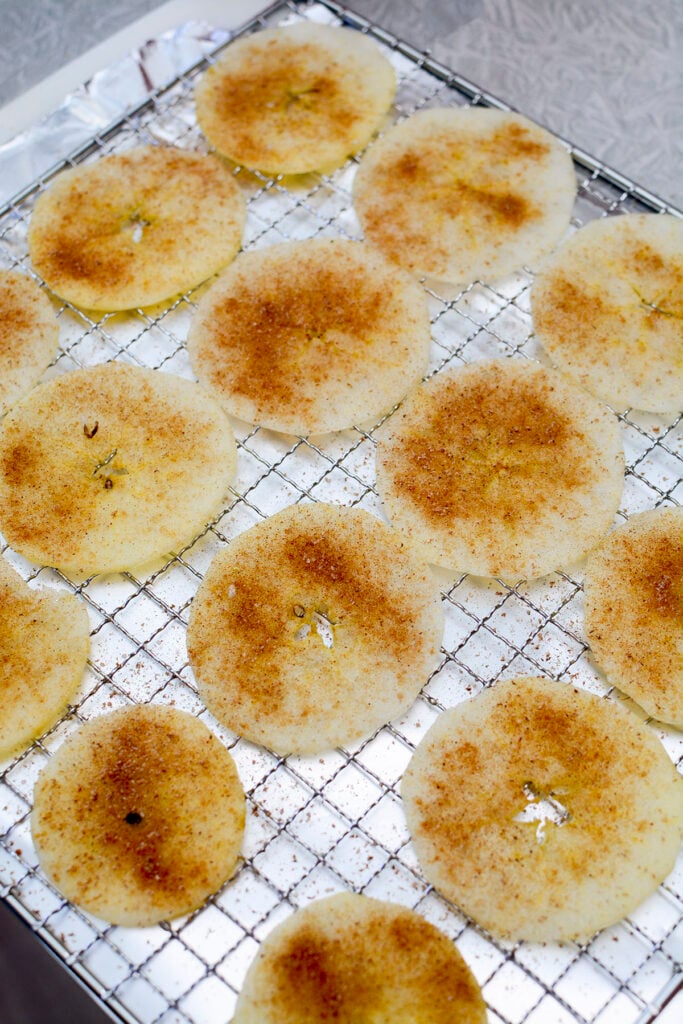
Then we sprinkled the cinnamon, nutmeg, and sugar over the top. Onto the trays they went, and into the dehydrator. The LED panel made things easy to ‘dial-up’ and we were off to the races.
They were done quicker than what the cookbook said, 6 hours, and the book said 8. We also turned the apples over once during drying time. It wasn’t instructed to do that, but we just did it for the heck of it.
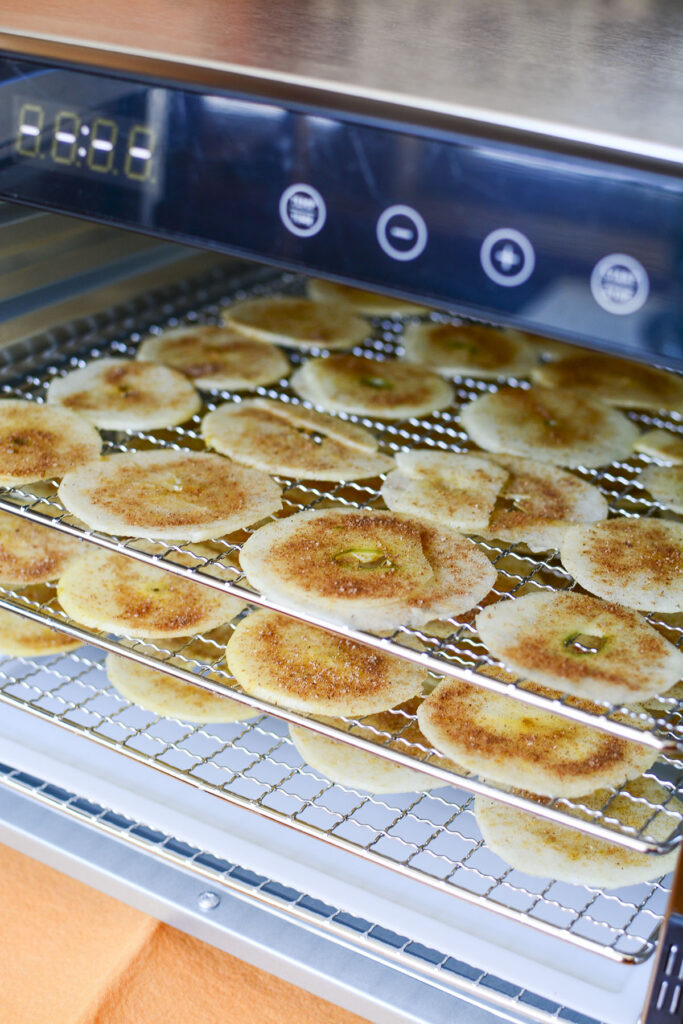
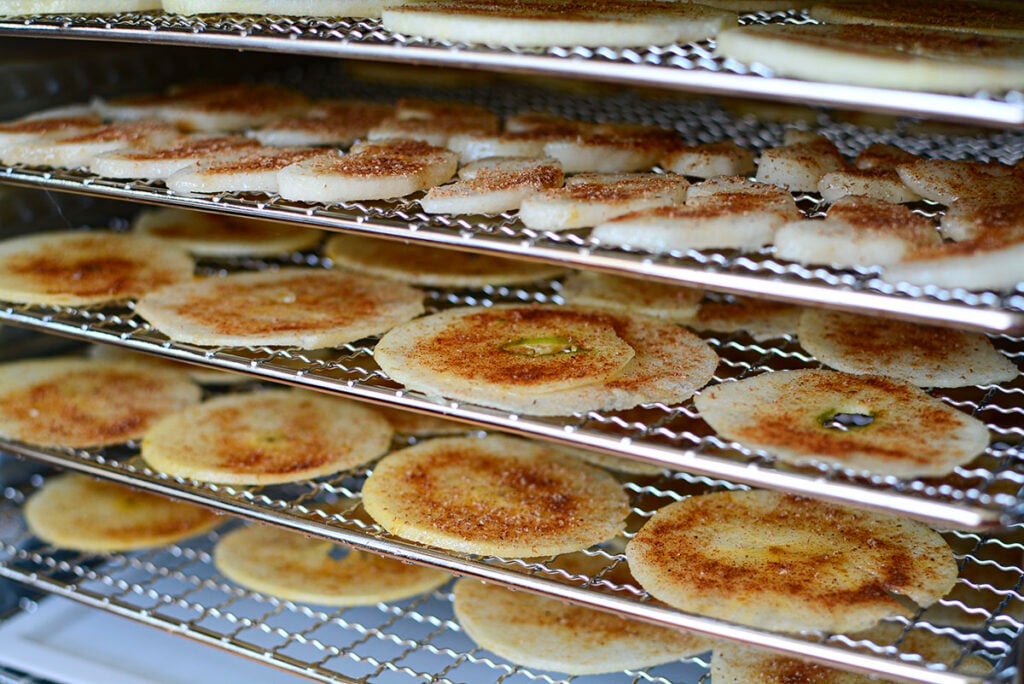
Now, I have to level with you, my fine reader. We ended up having to do TWO batches because my Mom ended up eating the first batch of apples before I could get to her place to take photos of them – because they were THAT good.
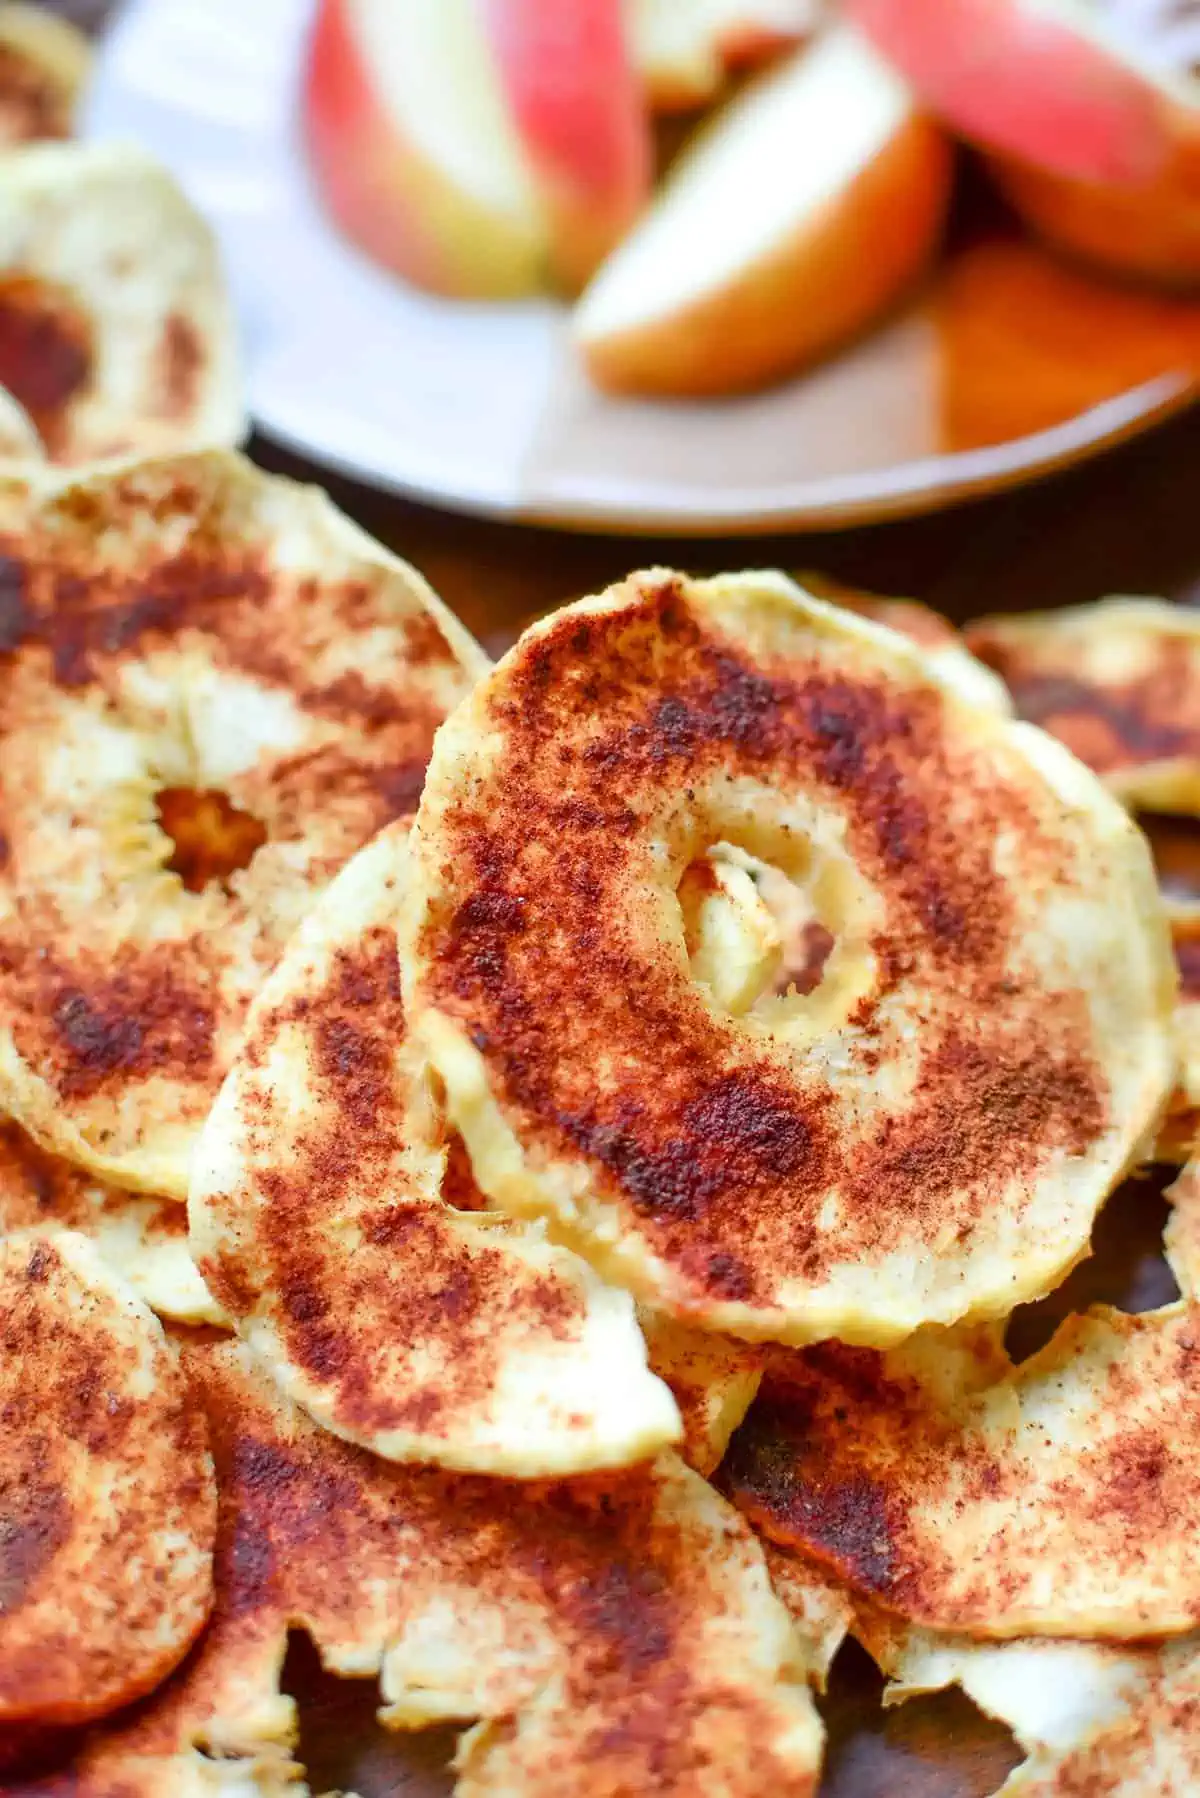
In the second batch, she requested a bit heavier application of the seasonings – thus the final photos have more cinnamon-sugar mixture. She LOVES them as a snack! Highly recommended.
Second Dry: Red Onions
A few days later, we tried drying red onions. She had about 5 peeled red onions that I sliced using the mandoline. You can use a sharp knife to get them as thin as possible, but a mandoline does the job in no time.
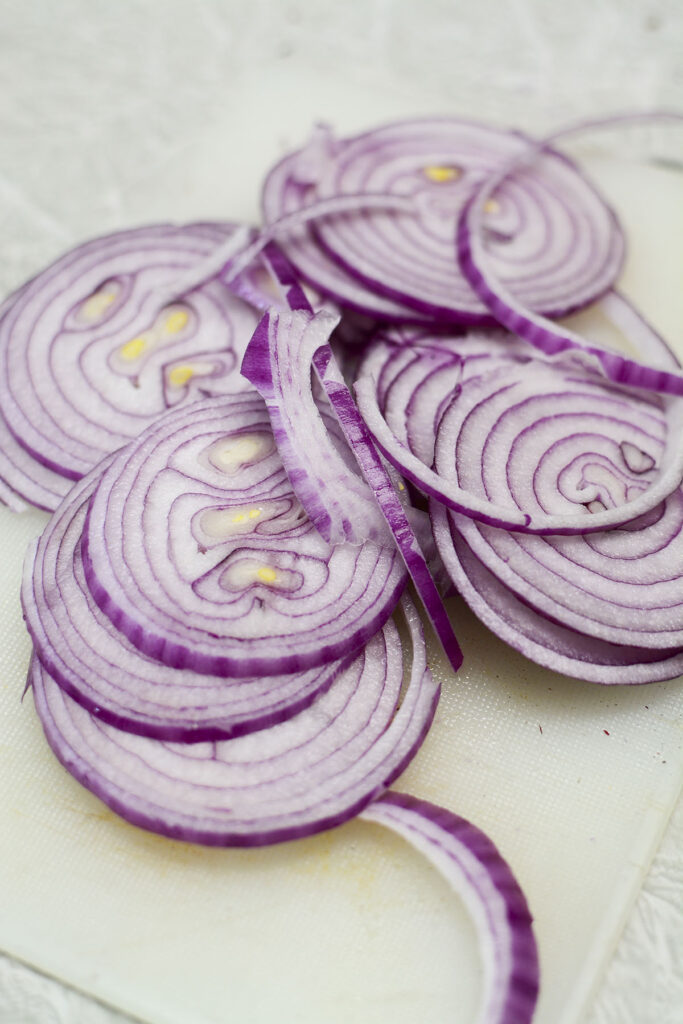
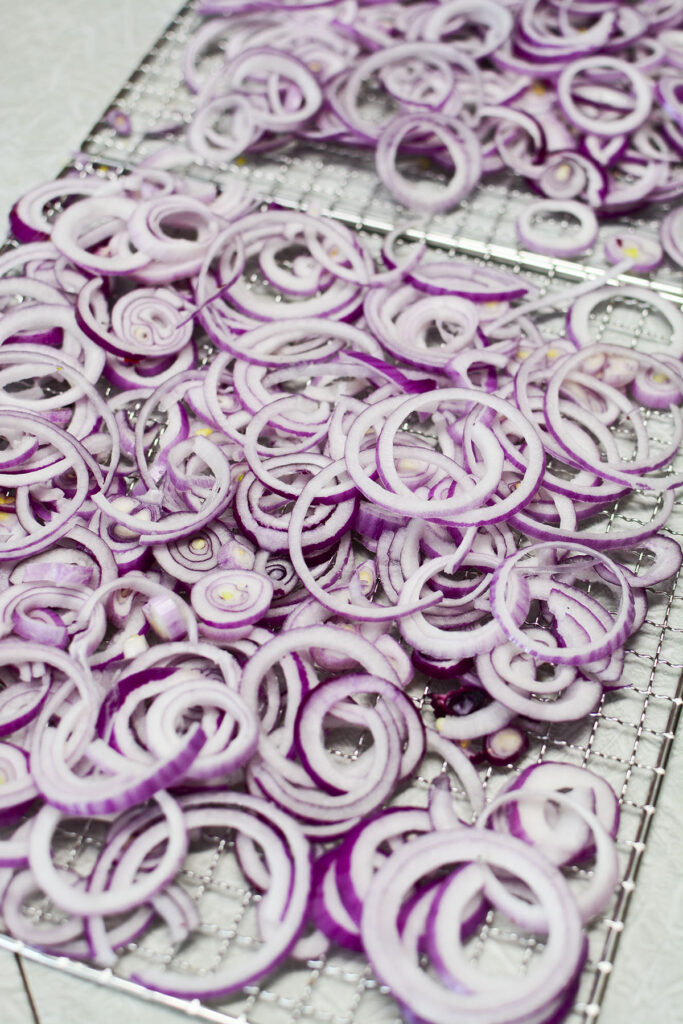
They say not to overlap the items on the tray, but these onions shrink up so much during the drying time, we felt it was ok to overlap them as they dry really fast.
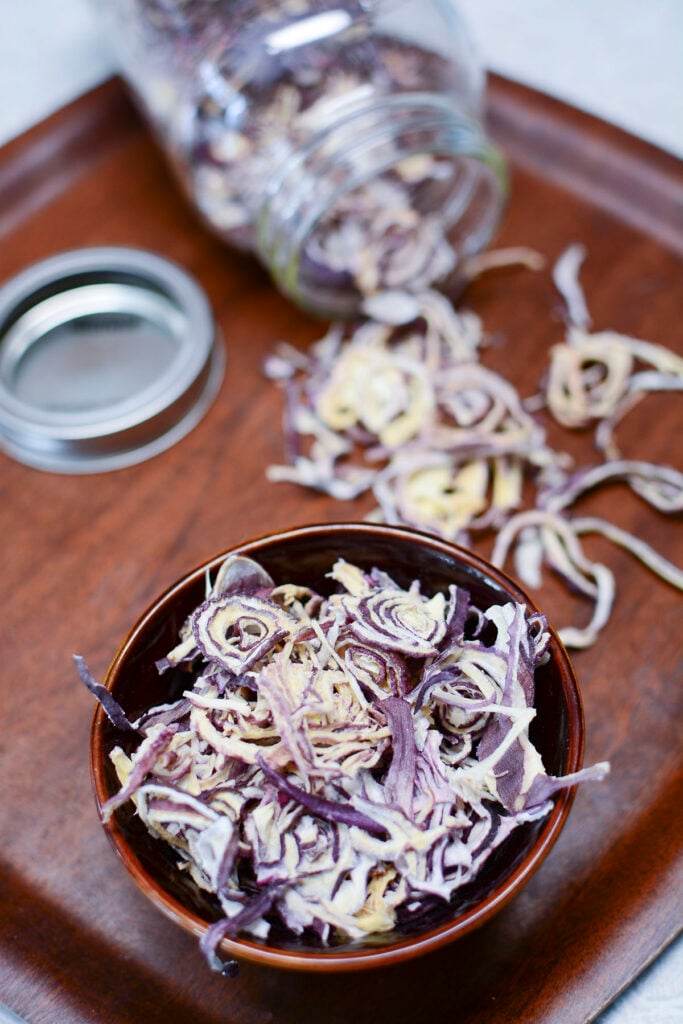
Those onions, when finished drying, were DRY and CRISP! She packed all five onions into one mason jar so it really save on pantry space. She used some of the onions as a crumbled topping on some focaccia she made, as well as rehydrated in some meatloaf.
And, unlike the OLD round plastic dehydrator I’ve used in the past, it didn’t permeate every single thing in the house with an onion odor. There was a slight waft of onions when you walked by the appliance, but it didn’t last.
Third Recipe: Candied Sweet and Spicy Bacon
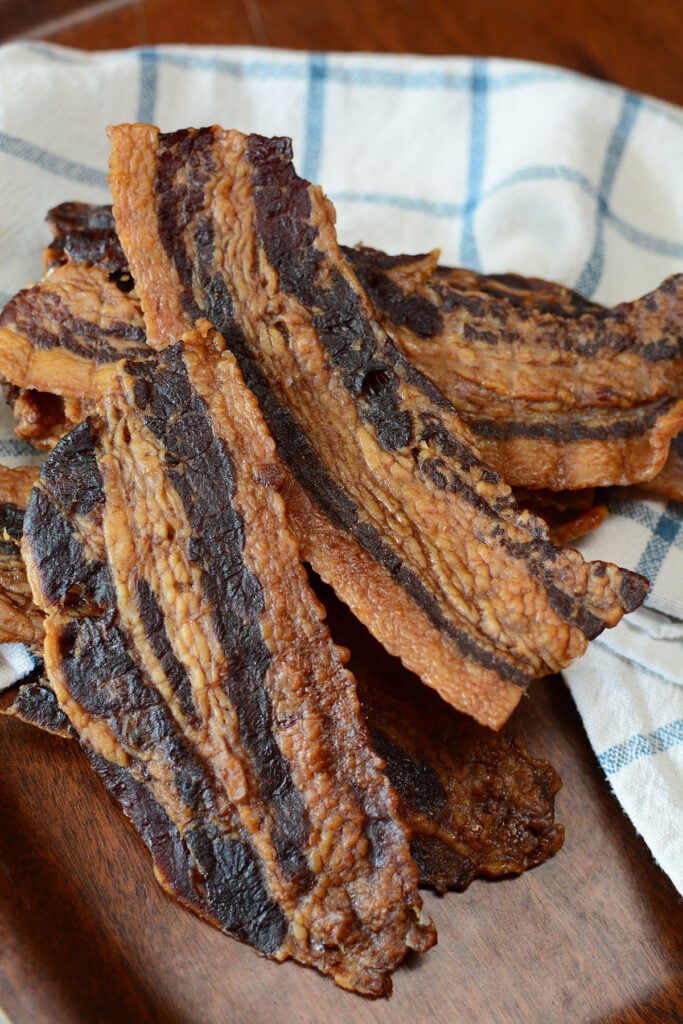
I was surprised. I’ve never dehydrated bacon and it was the most interesting recipe we’ve tried so far. The cookbook (which has about 50 recipes to try) had a recipe for this bacon.
It required a marinade first, then onto the trays it went. I was skeptical because of well, you know, raw bacon. But this electric dehydrator maintained the perfect temperature for the entire time.
The only thing we did differently than the cookbook doesn’t state is to put the fruit leather tray on the bottom shelf to catch any dripping so it makes for easy cleanup.
This bacon was DELICIOUS! Fully cooked and incredibly crispy! Not break your teeth on a bite, crispy, but crumbly crispy. The marinade was sweet and tangy, the bacon was salty and smoky, and it had a very slight kick of heat.
I highly recommend that recipe as well! I was so impressed at the crispiness of the bacon and that it was fully cooked!
More Dehydrating Recipes
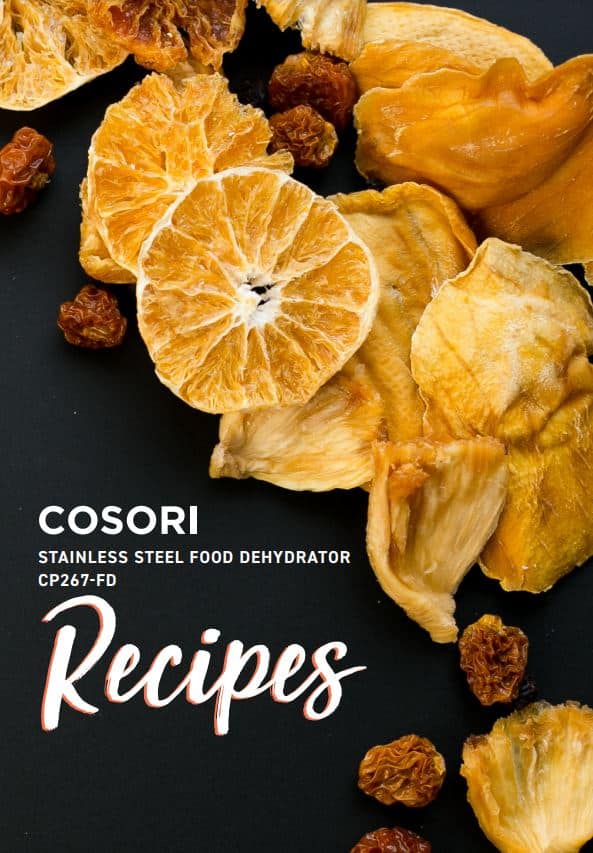
The cookbook is a chock block of different jerky recipes (Jamaican jerk jerky, beef teriyaki jerky, etc), a variety of fruit recipes (bourbon peaches, apricot, peach fruit leather, etc), and even some COOKIE RECIPES! (You gotta know I’ll be trying those out. I’m so curious!
After I try them, I’ll come back to add to this post!).
Ok.. so onto the main point of this review……
What’s There to Love?
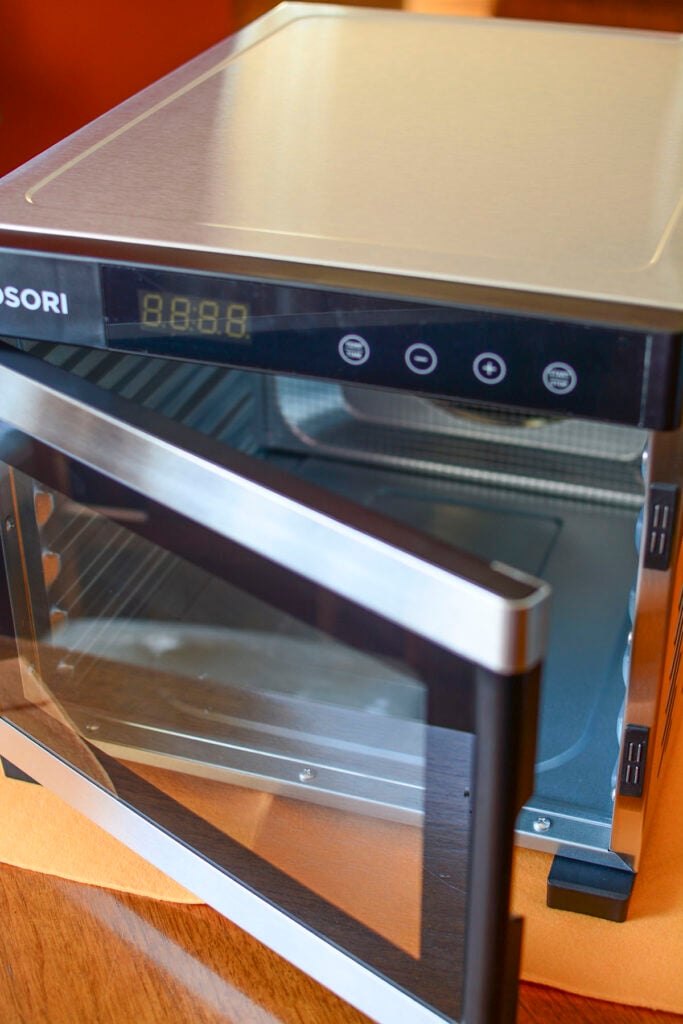
First, let me just say how pretty this machine is! Black and stainless steel, it’s gorgeous just to look at and a far cry from the older white circular dehydrator that I used to have.
THE LED SCREEN:
The LED screen is easy to read and the door opens and closes really smoothly.
This might not be a big deal for you, but for my mother, who has Parkinson’s Disease, this little factor is HUGE. It makes it so she can use the dehydrator whenever she wants to (from a strength perspective) and doesn’t have to rely on someone to come over and help her set things up.
THE GLASS DOOR:
The glass door on this dehydrator is a nice touch and is perfect for allowing you to see the inside to check on your food and see how it is progressing without having to open it up and slow down the dehydration process.
THE METAL TRAYS:
I like that the trays are also metal and not entirely plastic. This is great because if you’re drying something like beet chips, it won’t stain the trays like it could on the plastic trays from plastic models.
THE FRUIT ROLL TRAY:
The fruit roll tray is great for making your own fruit tools, dehydrating eggs, and even making bullion from your own homemade bone broth to help make it easier to store long term.
THE FAN:
I love that the fan is in the back of the trays, not the top or the bottom. I found that it helps get a quick and even drying for all the items in the dryer. Plus, I didn’t have to rotate the trays because, in the dryer that I had before, you’d have to rotate the trays because items closer to the bottom would dry quicker than the top.
The drying time was significantly quicker than the circular dryer, as well as in the oven. The advantage of using this dehydrator over the oven is that you can dry foods independently and you don’t have to occupy your oven for hours, plus it’s a smaller environmental impact as well.
TIMER SETTING:
The timer setting is fantastic. If you know me, you know I like the “set it and forget it” option when it comes to these sorts of things. You can run the dehydrator overnight when electricity costs can be cheaper, and with a timer, it won’t go on to dry the foods too much.
SOUND LEVELS:
This dryer is considerably quieter than I thought it would be, considering it has 600 Watt of power. It just quietly hums along doing its thing and the noise level from the fans does not interfere with regular things going on in the house.
TEMPERATURE RANGES:
I LOVE the fact that this food dehydrator has such a large temperature range. This means you can dry delicate things like flowers and herbs, all the way to dehydrating meats and poultry without compromising the flavor or structural integrity of the food item.
What’s not to Love?
Well, we all know NOTHING can be perfect, right? So what did I not love about the Cosori Dehydrator?
SIZE:
Coming in at 13.4 x 17.8 x 12.4 (L x W x H), it can seem a bit on the larger side. If you have a larger kitchen with ample counter space, this won’t be a problem, but if space is valuable real estate in your kitchen, this might be an issue.
Personally, the appliance is set up in my Mother’s dining room which isn’t ideal, but setting it up in a different room is a great alternative for her, as the ‘formal’ dining room isn’t really used much.
DIGITAL BUTTONS:
This is a con or a pro, depending on your perspective. The digital buttons are VERY sensitive. My mother with her tremors from Parkinson’s finds the buttons very sensitive and easily flies by the desired temperatures and times when setting them. I also found the buttons sensitive.
However, it’s just a simple learning curve on how to touch the LED screen with the right amount of pressure to get it set to where you want. The more you use it, the better it becomes.

ELECTRICAL CORD:
I found that the cord is a lot shorter than what I would like. Unless you have an outlet quite close to the dryer, we had to use a small extension cord to reach the wall. It’s unplugged between uses, but it would be nice to have a longer cord.
EXTRA ACCESSORIES:
I wish it came with one or two extra metal drying trays. Also, having only one fruit leather tray is really a bummer as when you make fruit leathers, one try will usually not accommodate the volume of pureed fruit you make initially.
You can always purchase extra trays and other accessories, but, especially for the fruit roll trays, at least ONE extra tray would be great.
Other than that, there’s not a lot I can complain about in this unit. As I mentioned before, I plan on trying out more recipes from the cookbook, and this year we are planning a MASSIVE garden with tons of vegetables, herbs, and flowers, so the Cosori Dehydrator will definitely get a workout!
Final Word:
It’s sleek, quiet, and does the job it’s intended to do without disrupting the daily activities that go on in the house. The cookbook is a huge bonus as it’s a perfect way to help you get started making your own treats and snacks using the dryer. After a while, you can dive into trying to make your own recipes and simply dehydrating fresh fruits and vegetables.
One last thing that I wanted to add which I think is a huge bonus for buying your dehydrator through Cosori, is that they have In House Chefs on staff who you can contact by telephone or email for any questions or help with the recipes!
I would definitely recommend the Cosori Premium Food Dehydrator to anyone interested in saving money by preserving their garden harvest or simply filling their pantries with great deals they were able to buy and process by dehydrating.
Here are the links if you’re interested in looking for more information from their website (and other appliances they offer), as well as a handy Amazon link:
Amazon page link for the product: https://amz.run/5Jh9
Official website link for brand name: https://cosori.com/

