Adorable Santas Whiskers Cookies
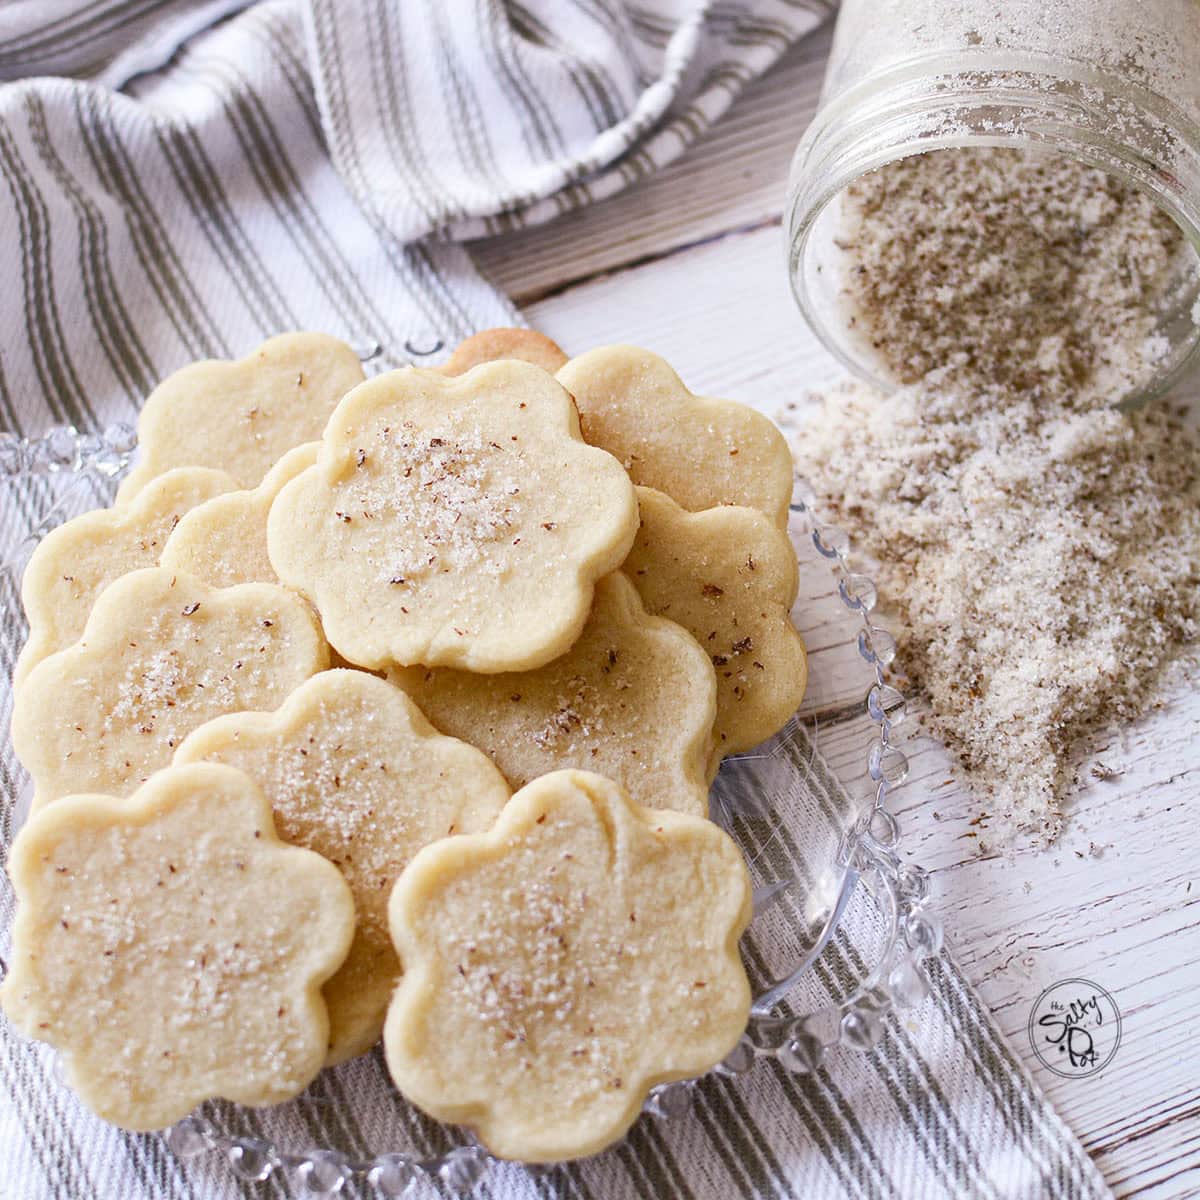
Besides my whipped shortbread cookies, these Santas Whiskers cookies are the other variety of Christmas cookies that I look forward to making every holiday.
They’re buttery and sweet, (but not overly), and they’re gorgeously festive with the maraschino cherries and green pistachios. Rolled in shredded coconut to add the playful ‘whiskers’, they’re so scrumptious, I’ll be surprised if they don’t become a yearly favorite for you as well.

Easy Santas Whiskers Cookies Recipe
Highlights of this Santa’s Whiskers Cookie Recipe
- Simple and Festive: These holiday cookies aren’t only easy to make, but they only use a handful of ingredients that are easy to get from the grocery store this season.
- Gifting: If you manage to keep some aside and not eat them all, they make adorable (and tasty) gifts for friends and family. I like to package them in red or green tissue in a pretty holiday box. Everyone I’ve gifted them to loves them.
- Pretty Colors: The pops of red and green with the coconut edging just fit perfectly into that festive holiday theme. I love how the red from the cherries seems like little red jewels!
Ingredients and Substitutions
- Butter: Butter-flavored margarine will work if that’s all you have on hand. I use salted butter for this recipe but if you use unsalted, add a 1/4 teaspoon to the dough.
- Sugar: Granulated white sugar. You can substitute brown sugar, but the dough will come out darker and may take away from the contrast of the red and green colors. However, the flavor will be just fine.
- Vanilla: I love to use a vanilla paste (with the seeds) but if I don’t have it on hand, I use regular vanilla extract.
- Egg
- Flour: All-purpose flour. I don’t feel there’s a substitute for this one.
- Red Candied Glace Cherries: Using these cherries whole in the recipe is too large so I like to chop them finely so the red color is dispersed all throughout the cookie. (substitute maraschino cherries or red/green candied fruit peel.)
- Pistachios: Unshelled whole pistachios are what I use, and I’ll chop them myself so I can control the size of the nut in the dough. (substitute green candied glace cherries if you can’t find or don’t want to use pistachios.)
- Shredded coconut: I’ve used both toasted and non-toasted, and I like to use non-sweetened coconut so the cookies don’t get overly sweet. You can substitute any of the coconut listed as long as it’s shredded to give that “whisker” effect.

SaltyPot Tip: Please refer to the printable recipe card below for exact amounts, full directions, and notes for making this recipe perfectly every time.
How To Make This Slice and Bake Cookie Recipe
It may seem like there are a lot of steps to this cookie recipe, but they’re small ones and really straightforward and easy.
- PREP STEP: Remove the butter and egg from the refrigerator about 20 minutes ahead of time to come to room temperature.
- STEP 1: Mix the butter and sugar: In a large mixing bowl, cream the softened butter and sugar together until light and fluffy. This should take about 2-3 minutes.
- STEP 2: Add the egg and vanilla: Beat in the egg and vanilla extract until combined.
- STEP 3: Prepare the dry ingredients: In a separate bowl, whisk the flour and salt together. Gradually add this mixture to the wet ingredients, mixing just until combined.
- STEP 4: Fold in the cherries and pistachios: Gently mix in the chopped maraschino cherries and pistachios until evenly distributed in the dough
- STEP 5: Form the dough into logs: Divide the dough in half and shape each portion into a log, about 2 inches in diameter.
- STEP 6: Roll in coconut: Roll each log in the sweetened shredded coconut, pressing gently to adhere the coconut to the dough.
- STEP 7: Chill the dough: Wrap the logs in plastic wrap and refrigerate for at least 2 hours (or up to 24 hours) to firm up.
- STEP 8: Slice and bake: Preheat the oven to 350°F (177°C). Slice the logs into 1/4-inch thick rounds and place them on a lined baking sheet. Bake for 12-14 minutes, or until the edges are lightly golden.


Recipe Tips and Variations
- Chill the dough thoroughly: Chilling helps the dough firm up, making it easier to slice, and ensures the cookies maintain shape during baking.
- Use fresh mixins: Fresh, new ingredients will give your cookies the best flavor. I made these cookies once using candied cherries that were a few years old and while the taste was there, the texture of them was a bit chewy when you bit into a cherry.
- Using different nuts: Feel free to use different nuts like walnuts or pecans. The flavor will be lovely, but the festive green color won’t be there. Again, you can use a mixture of red and green candied cherries and still use a different nut that you might have on hand.
- Chocolate Drizzle: For an extra fun (and decadent!) touch, try adding some pretty white chocolate drizzle over the tops of the cookies. Use some white chocolate candy melts, melt them in the microwave at 30-second intervals and then drizzle the chocolate over the cookies, and let set.
- Powdered Sugar: Sprinkling some powdered sugar over the tops would look really pretty as well and help reinforce the “snow” or “winter” aspect of these cut-and-bake cookies.

Storing and Gifting
- Santa’s Whiskers cookies will stay nice in an airtight container for about 2 weeks. For best results, keep them in the fridge to preserve the freshness.
- Freezing them is a wonderful way to store them for even longer. Using a freezer-friendly container, I like to stack them with waxed paper, tin foil, or parchment paper between them so they don’t freeze together.
- You can also freeze the dough, unbaked. For this method, go as far as cutting the unbaked dough step, and freeze the cookies in a single layer with parchment paper separating them. That way you can take out as many as you like and bake off just a few at a time.
- For gifting, a pretty box lined with more parchment paper is perfect. If you want to use tissue in the box, then use the parchment paper inside the tissue so the oils from the cookies don’t absorb into the tissue. Also, a pretty cellophane bag with ribbons is nice to use. Just be careful of the cookies jostling around so they don’t break.
- To make a dessert tray, add other holiday-themed whimsical treats like Rudolph Brownies, Whipped Shortbread, Santa Oreos, Eggnog Walnut Fudge and Christmas Panna Cotta.
Recipe Q&A
Yes, using margarine in place of butter will work. Try to use a butter-flavored margarine to help add to the rich flavors of the cookie.
I like to chill them for at least that amount of time so that the center of the rolls gets a chance to firm up as well. You could put the rolls in the freezer for 30 minutes to quicken this step.
If a firm “patting” in of the coconut doesn’t want to stick to the outside of the dough before baking, alternatively try brushing a small amount of water over the outside of the rolls to help the coconut stick. Alternatively, you can use an egg wash, but if you choose that method, then roll the rolls in the coconut just before slicing and baking rather than before chilling.
Did you make this easy and fun Santa Whiskers Cookie recipe? Please leave a ***** star rating in the recipe card below and leave a comment giving me your thoughts about it! Thank you for stopping by The Salty Pot today and I hope you have a wonderful day!

Santas Whiskers Cookies
These festive Santa's Whiskers cookies combine the sweetness of maraschino cherries and the crunch of pistachios, all rolled in shredded coconut (for Santa's Whiskers) for a fun holiday treat.
Ingredients
- 1 small egg
- ½ cup soft butter
- 1/3 cup sugar
- 1 tsp vanilla extract
- 1 ½ cups flour
- ¼ cup candied cherries, red (and green if not using pistachios)
- ¼ cup pistachios, chopped
- 1/3 cup coconut shavings
Instructions
1. Place the chopped pistachios and chopped candied cherries into a bowl and combine together.
2. Place the soft butter and sugar in a bowl and cream together. Once light and fluffy, add the egg and vanilla. Start beating the mixture at first on low speed. Gradually increase the speed. The mixture should become fluffy and well-mixed.
3. Add the flour and mix on low speed until well incorporated.
4. Fold in the cherries and nuts.
4. Divide the finished dough in half and roll it into two rolls about 2 ½ inches in diameter. Roll the rolls in coconut shavings and wrap them in food wrap. Chill for 3 or more hours.
5. After chilling, slice the rolls into portions about ¼ inch thick and place them on a baking tray lined with baking paper. You should slice about a dozen cookies altogether.
6. Cook in a preheated 350°F oven for about 12 minutes, until the edges are very lightly browned. Cool the cookies on a rack to cool completely.
Notes
It's imperative that the cookie dough be chilled in order to slice them in nice rounds. If not, you can risk the chance they will crumble and fall apart when trying to slice.
When making the rolls, do your best to form the rolls tightly before chilling.
These cookies freeze very well baked, but you can also freeze the cookie dough after chilling and slicing for easy baking in smaller amounts.
Nutrition Information:
Yield: 12 Serving Size: 1Amount Per Serving: Calories: 201Total Fat: 10gSaturated Fat: 6gTrans Fat: 0gUnsaturated Fat: 4gCholesterol: 32mgSodium: 86mgCarbohydrates: 25gFiber: 1gSugar: 10gProtein: 3g
All nutritional information is based on third-party calculations and is only an estimate. Each recipe and nutritional value will vary depending on the brands you use, measuring methods, and portion sizes per household.

