
Best 3-Ingredient Easy Owl Cupcakes with Oreos (10 Minutes!)
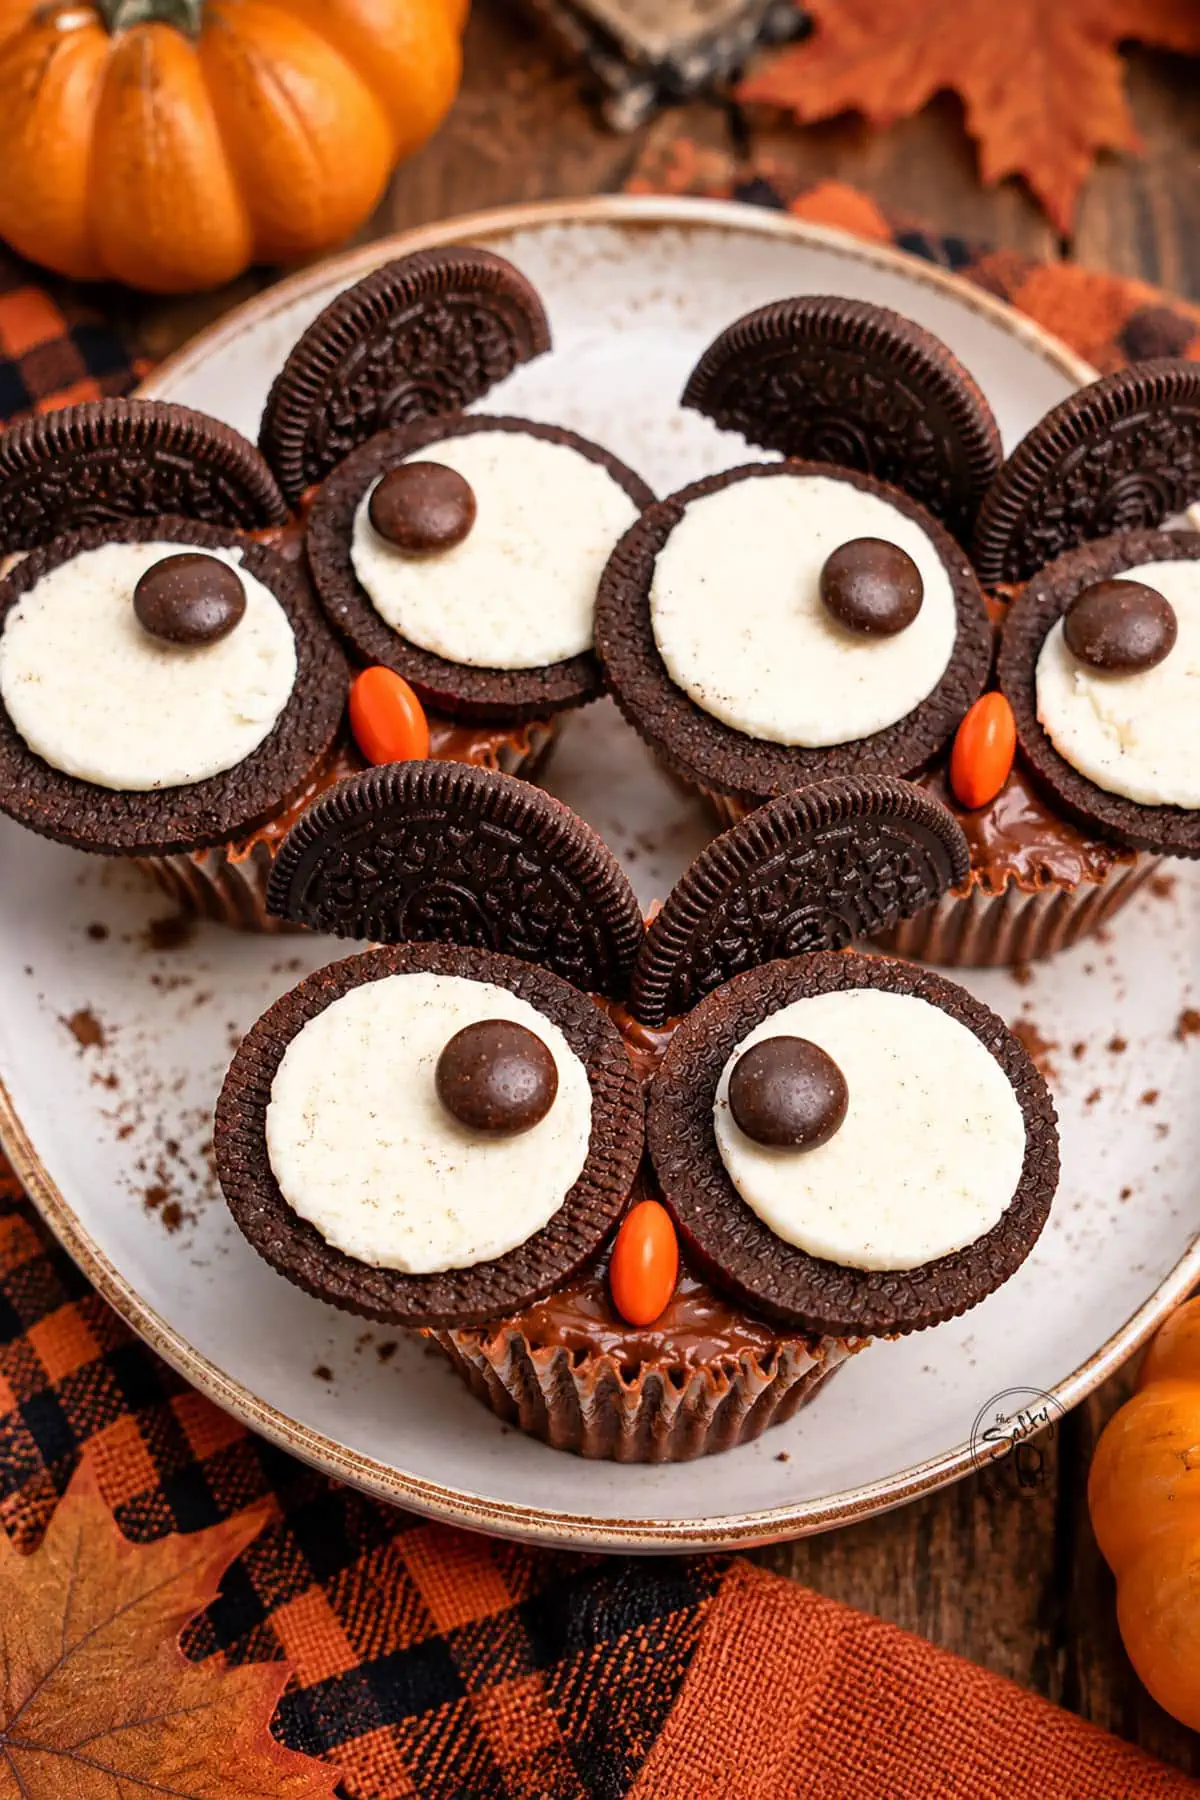
If you need a spooky, cute Halloween dessert in under ten minutes and you refuse to spend hours rolling out fondant or wrestling with a piping bag, pull up a chair. These Easy Owl Cupcakes are about to save your sanity. We are talking ZERO baking skills required, ZERO fuss, and pure adorable impact.
Whether you are hosting a Halloween party, sending snacks to school, or just feel like eating cute chocolate things on a random weekend, these little guys are a total crowd-pleaser. With just three main ingredients (plus a little frosting to glue it all together), you get maximum cuteness with almost zero effort. Let’s assemble some owls!
🌟 Ingredient Notes
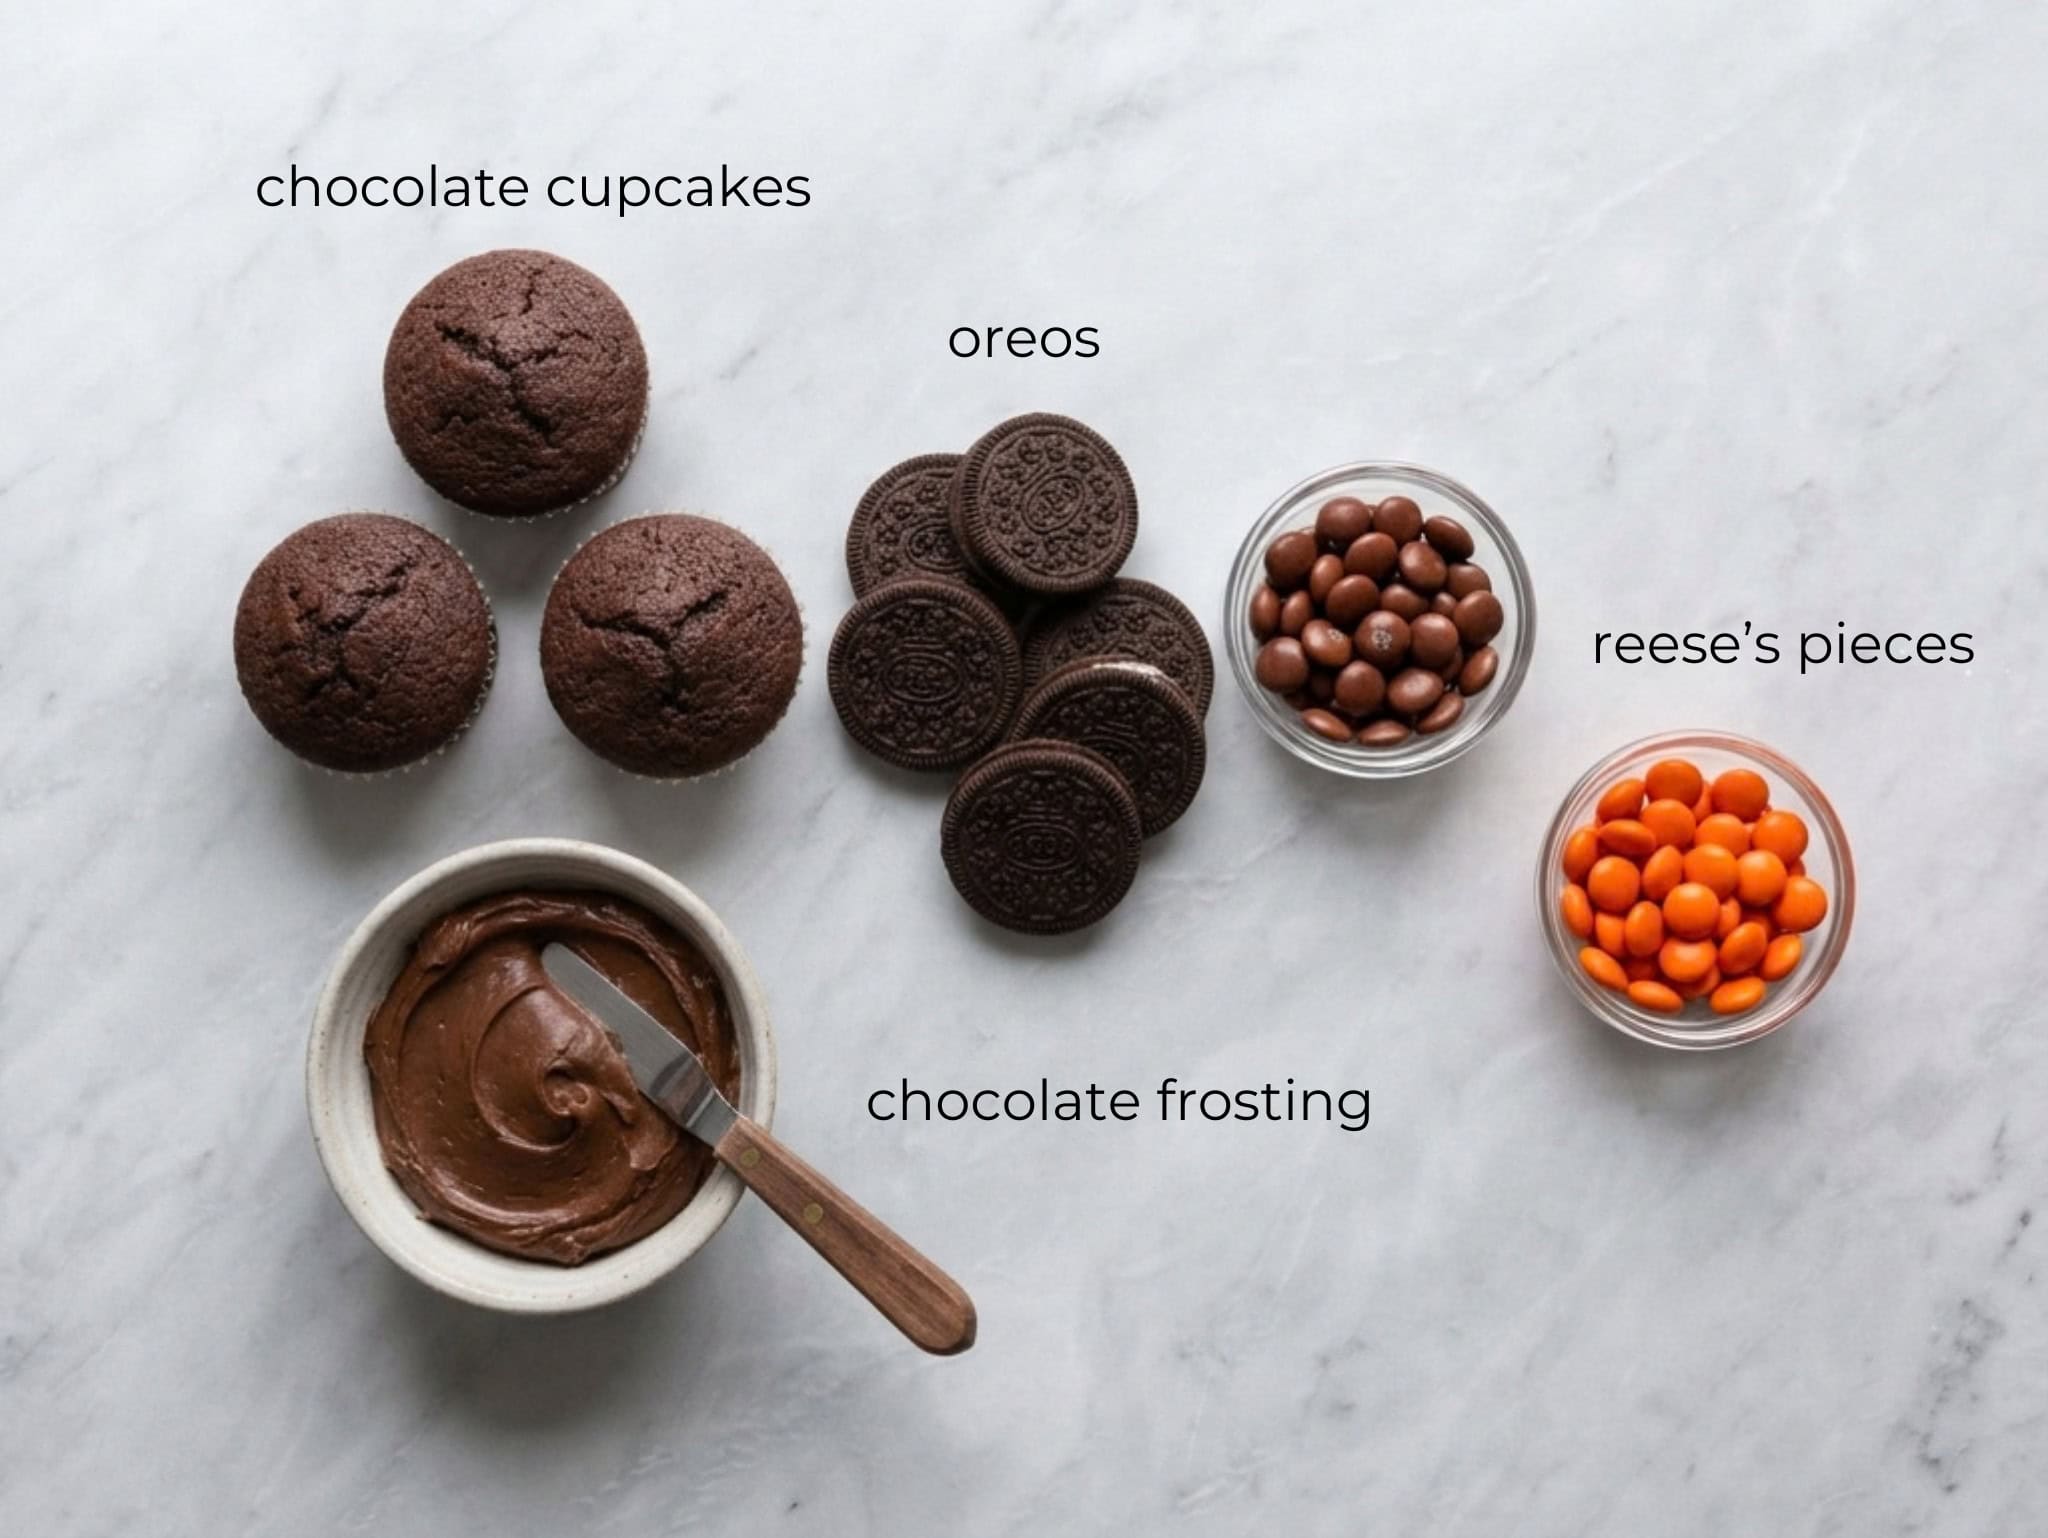
- Chocolate Cupcakes – Grab a pack of store-bought chocolate cupcakes to keep life super simple, make a quick box mix, or make them from scratch! If you want to bake a rich homemade chocolate base, try taking inspiration from these decadent Nutella cupcakes—just focus on the base cupcake batter itself and skip the heavy whipped topping so your owl faces sit nice and flat!
- Oreo Cookies – Classic sandwich cookies form the big round eyes and furry little eyebrows.
- Reese’s Pieces – You’ll need brown ones for the pupils and orange ones for the cute little beak.
- Chocolate Frosting – Store-bought chocolate frosting works like magic here to hold all the cookie eyes in place.
How to Make Easy Owl Cupcakes
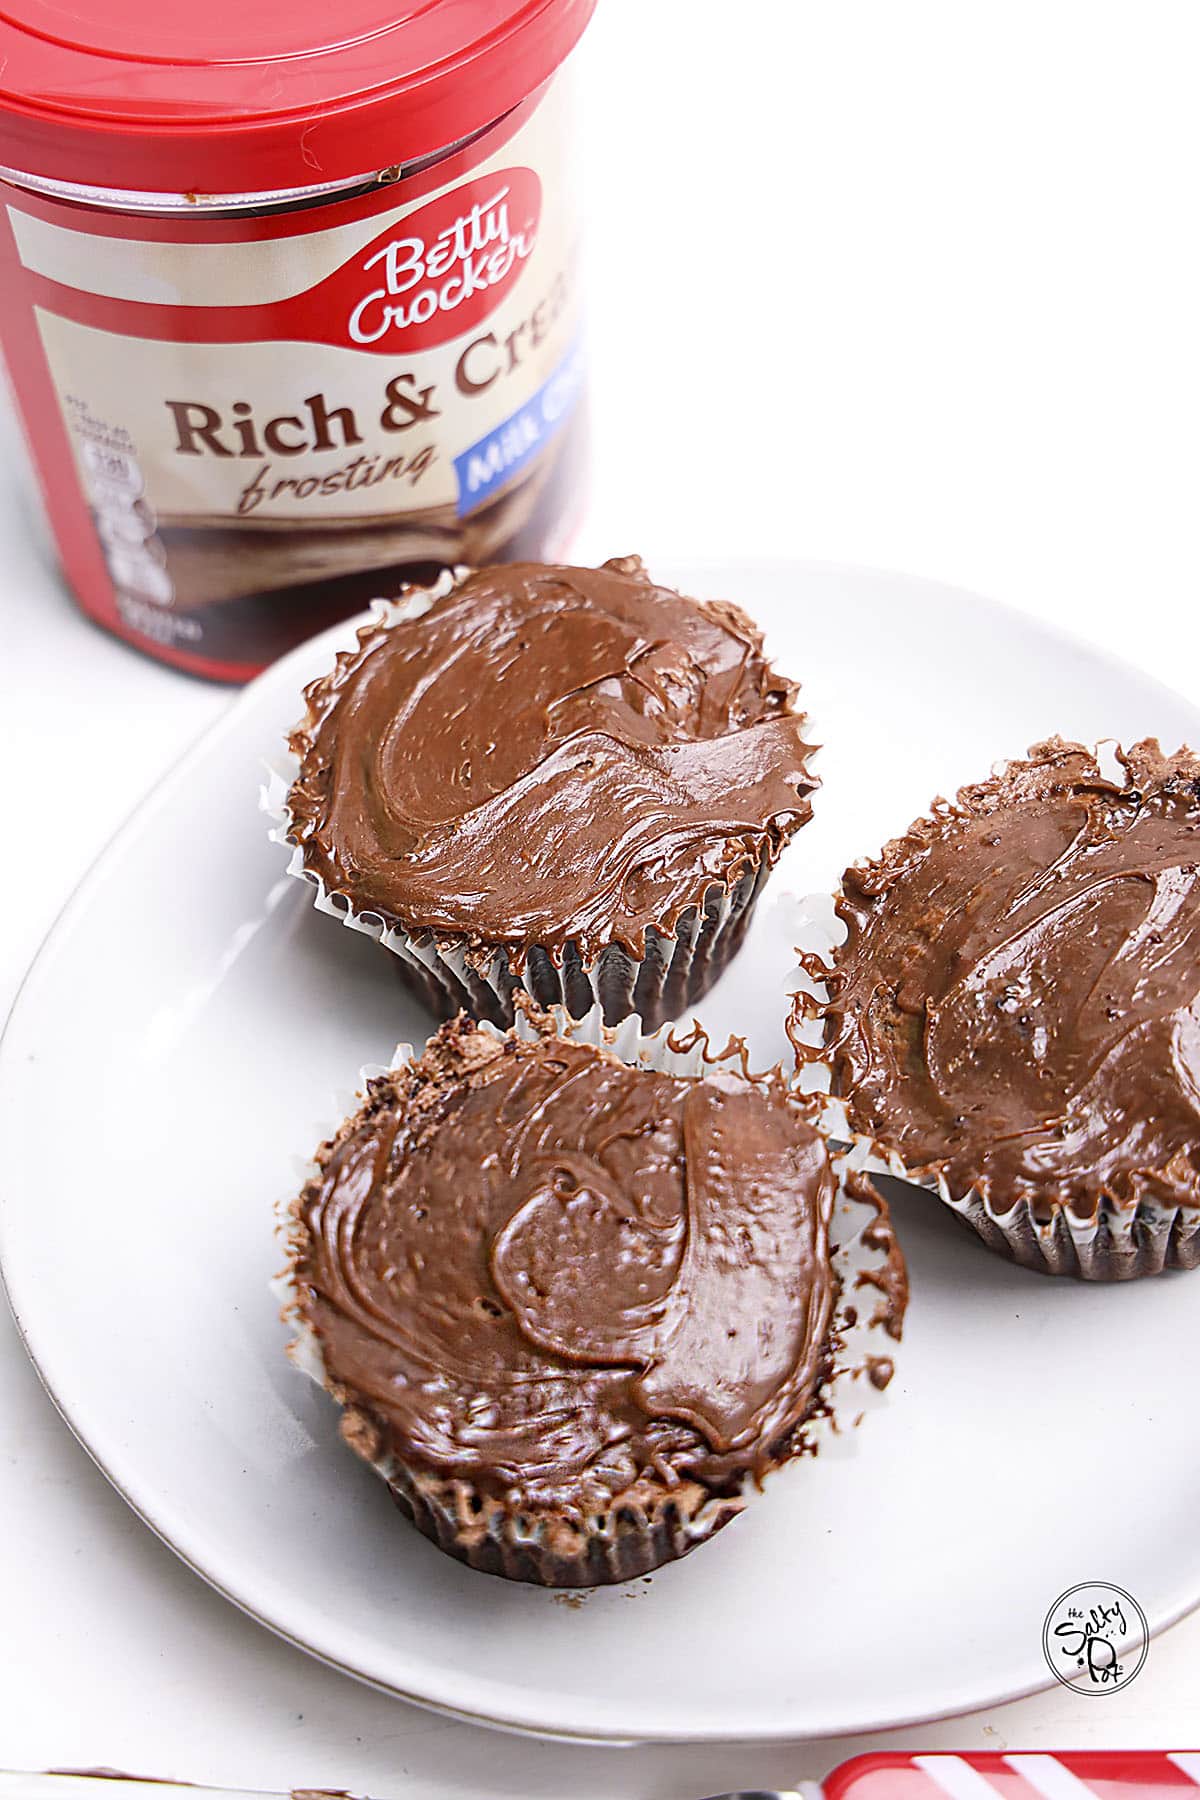
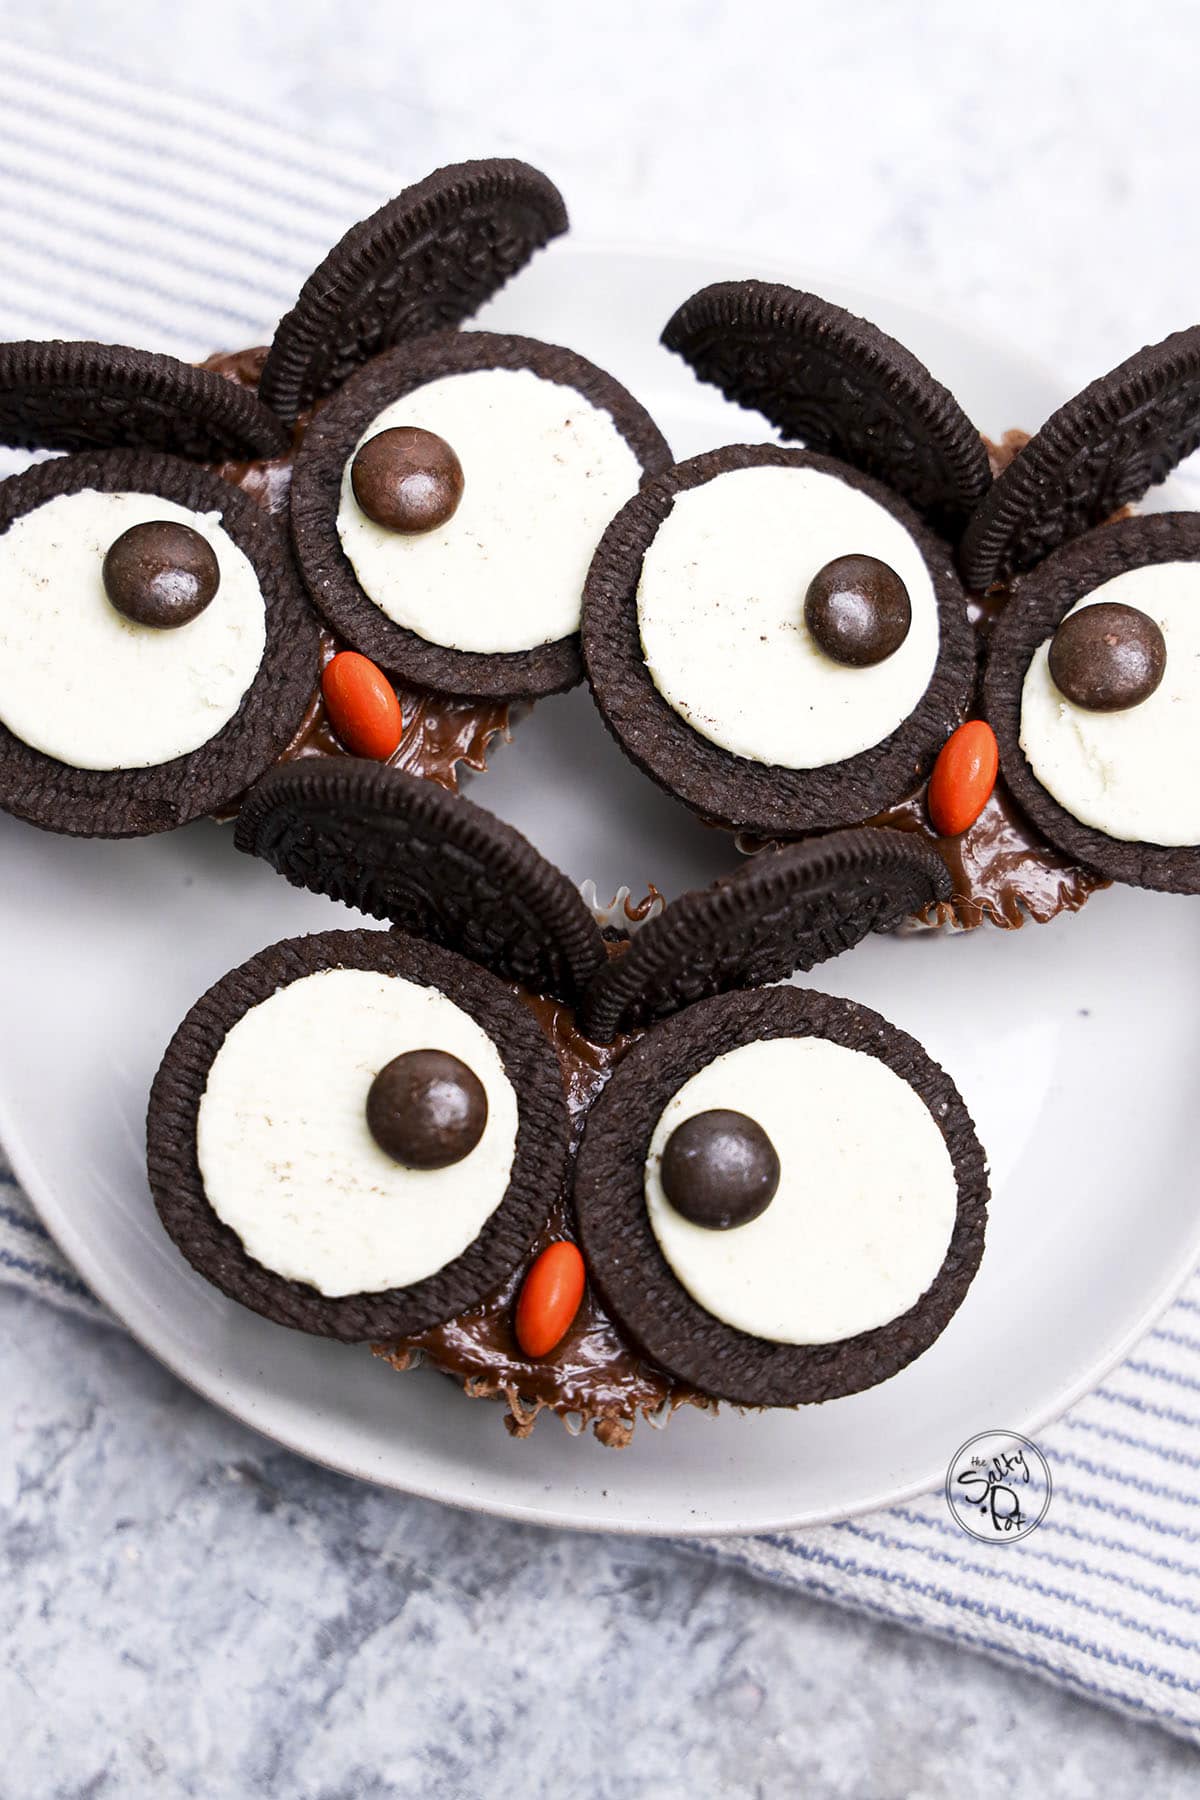
- Give each chocolate cupcake a light, smooth coat of chocolate frosting to create the base for your owl face.
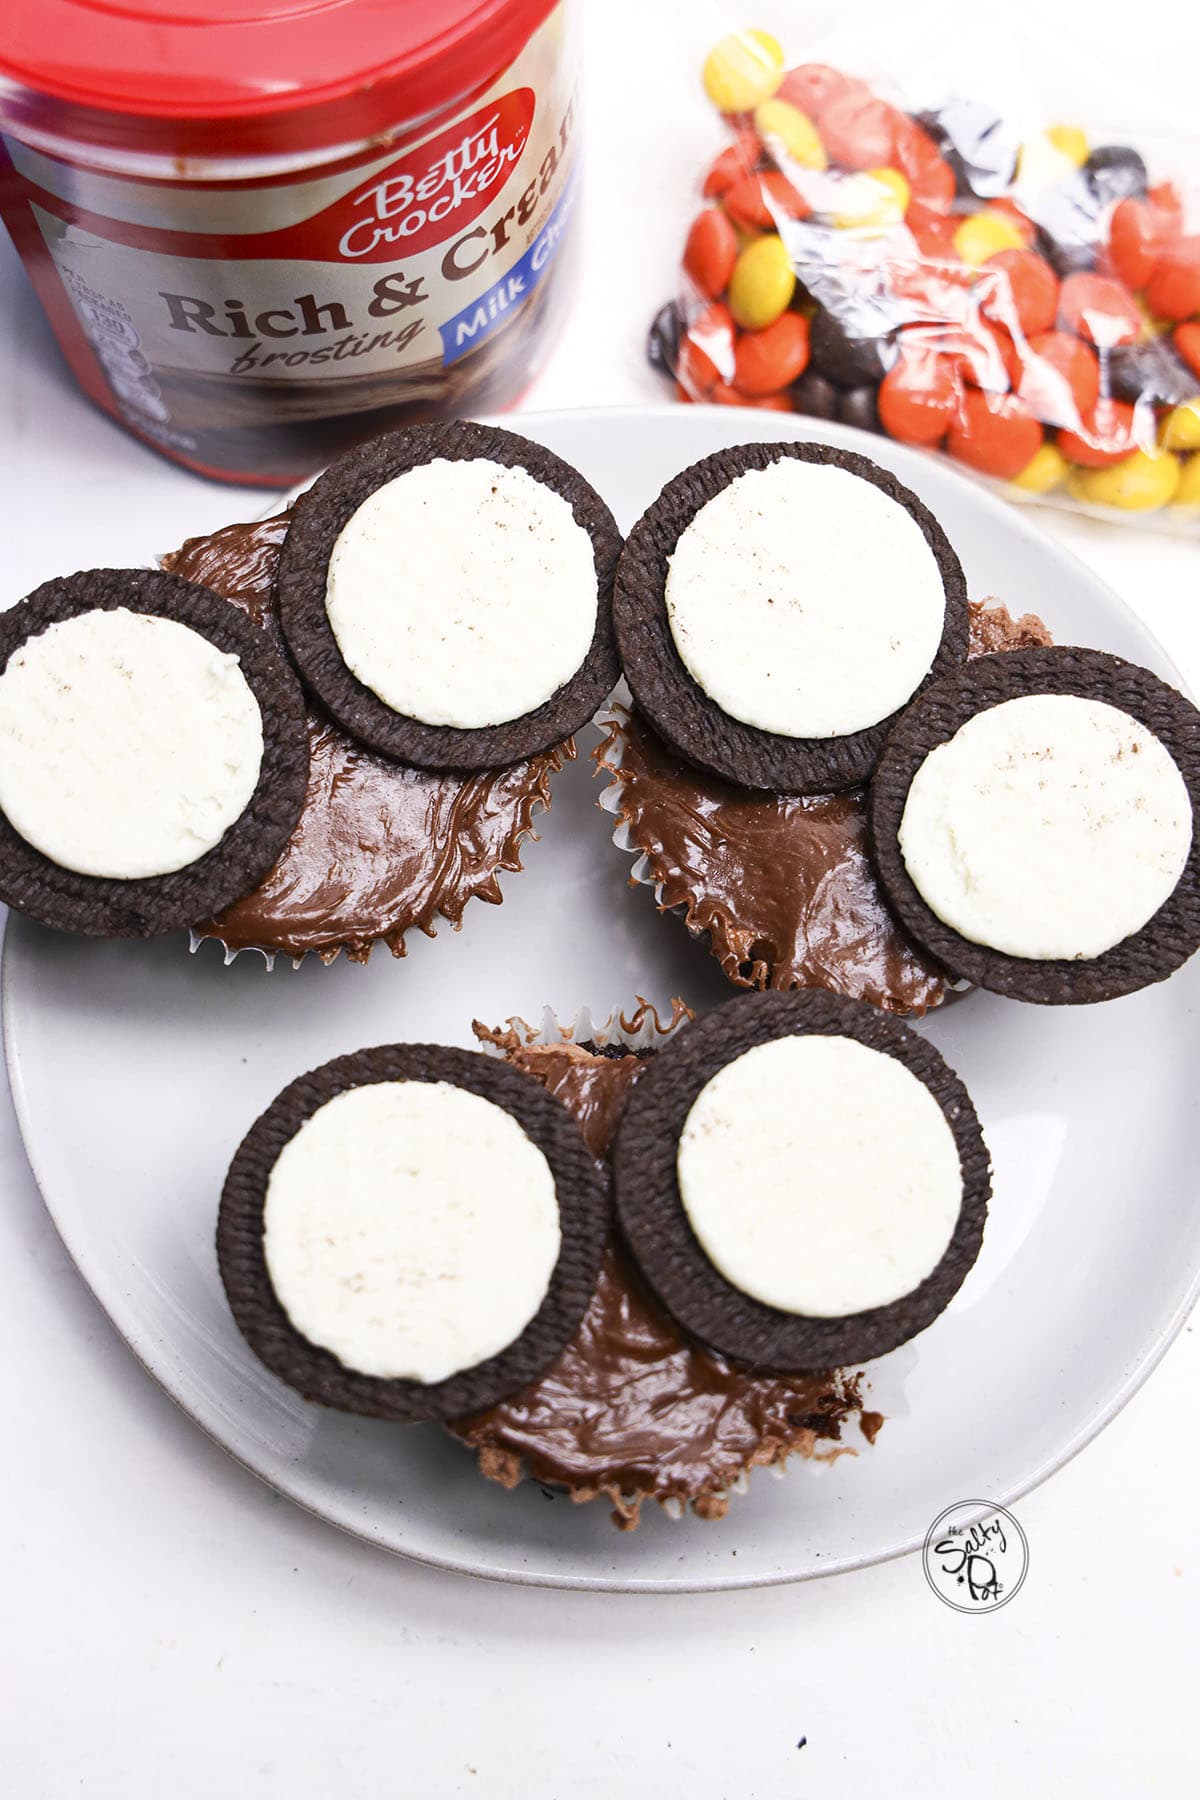
- Carefully twist open your Oreo cookies. Keep the sides with the white cream attached for the big owl eyes, and set the plain, cream-free halves aside for the eyebrows!
- Press two cream-topped Oreo halves onto each cupcake. Pop a brown Reese’s Pieces candy onto the white cream for the pupils, and press an orange Reese’s Pieces candy sideways below the eyes for the beak.
- Snap or cut your reserved plain Oreo halves in half to form curved eyebrows, then press them right above the eyes into the frosting. BOOM. Instant Owl!
Spooky Party Switch-Ups & Fun Variations
- Serve these easy cupcakes along with this equally as easy to make Wacky Two Ingredient Chocolate Fudge for a double down on the chocolate flavors at the dessert table!
- If you can’t find Reese’s Pieces or have a peanut allergy in the house, swap them for brown M&Ms!
- Use a tiny candy corn or an orange gummy triangle if you want a sharper, more dramatic bird beak!
- Use mini cupcakes and Mini Oreos to create an entire flock of bite-sized owl cupcakes for big crowds. SO ADORABLE!!!
Storage & Freshness
At Room Temperature: Keep your assembled owl cupcakes in an airtight container at room temperature for up to 2 days.
I don’t recommend freezing them. The cookies would get soft and weirdly funky when they thawed. Also, if you wanted to make the actual cupcake portions ahead of time, make them one day ahead and keep them covered to prevent them drying out. Then assemble the owl decorations the day you want to serve them.
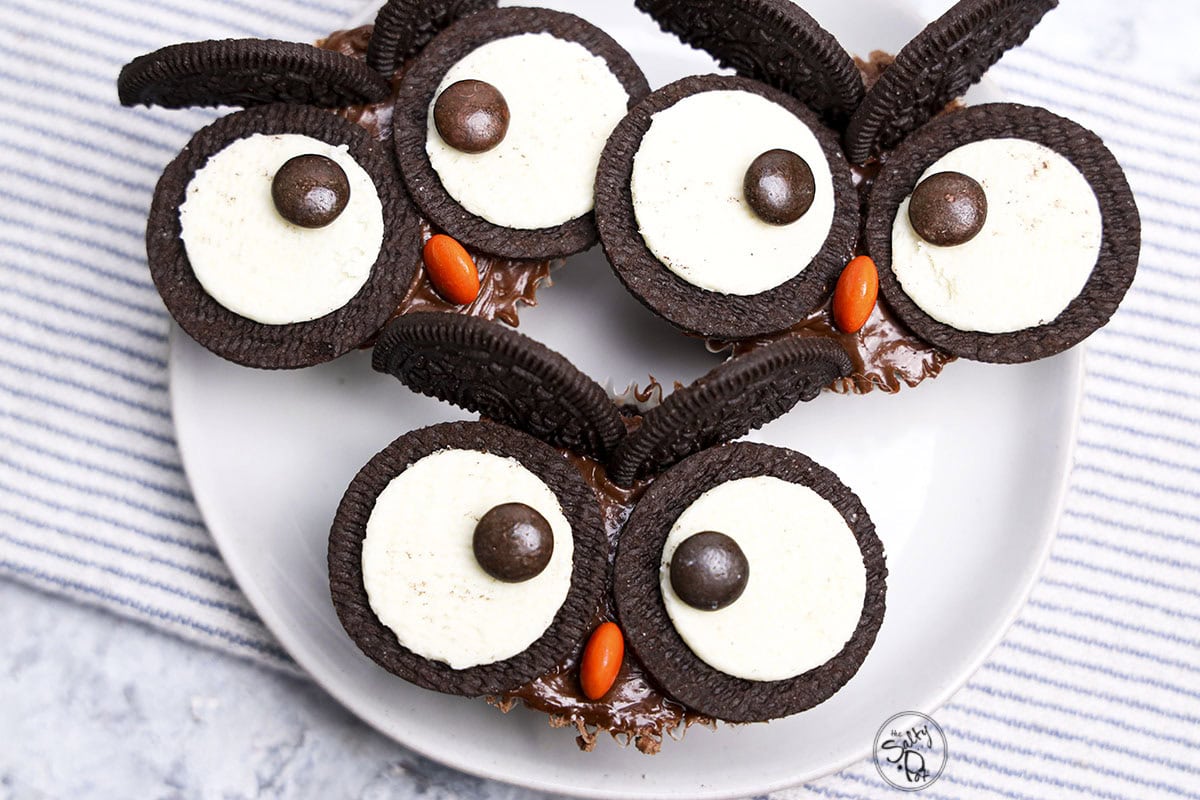
Seriously, who knew three simple ingredients could turn out this cute??? No fancy decorating tools, no stress, just pure fun. Give these Oreo owl cupcakes a spin for your next party, and let me know in the comments if your kids helped build them!
~ Joanne
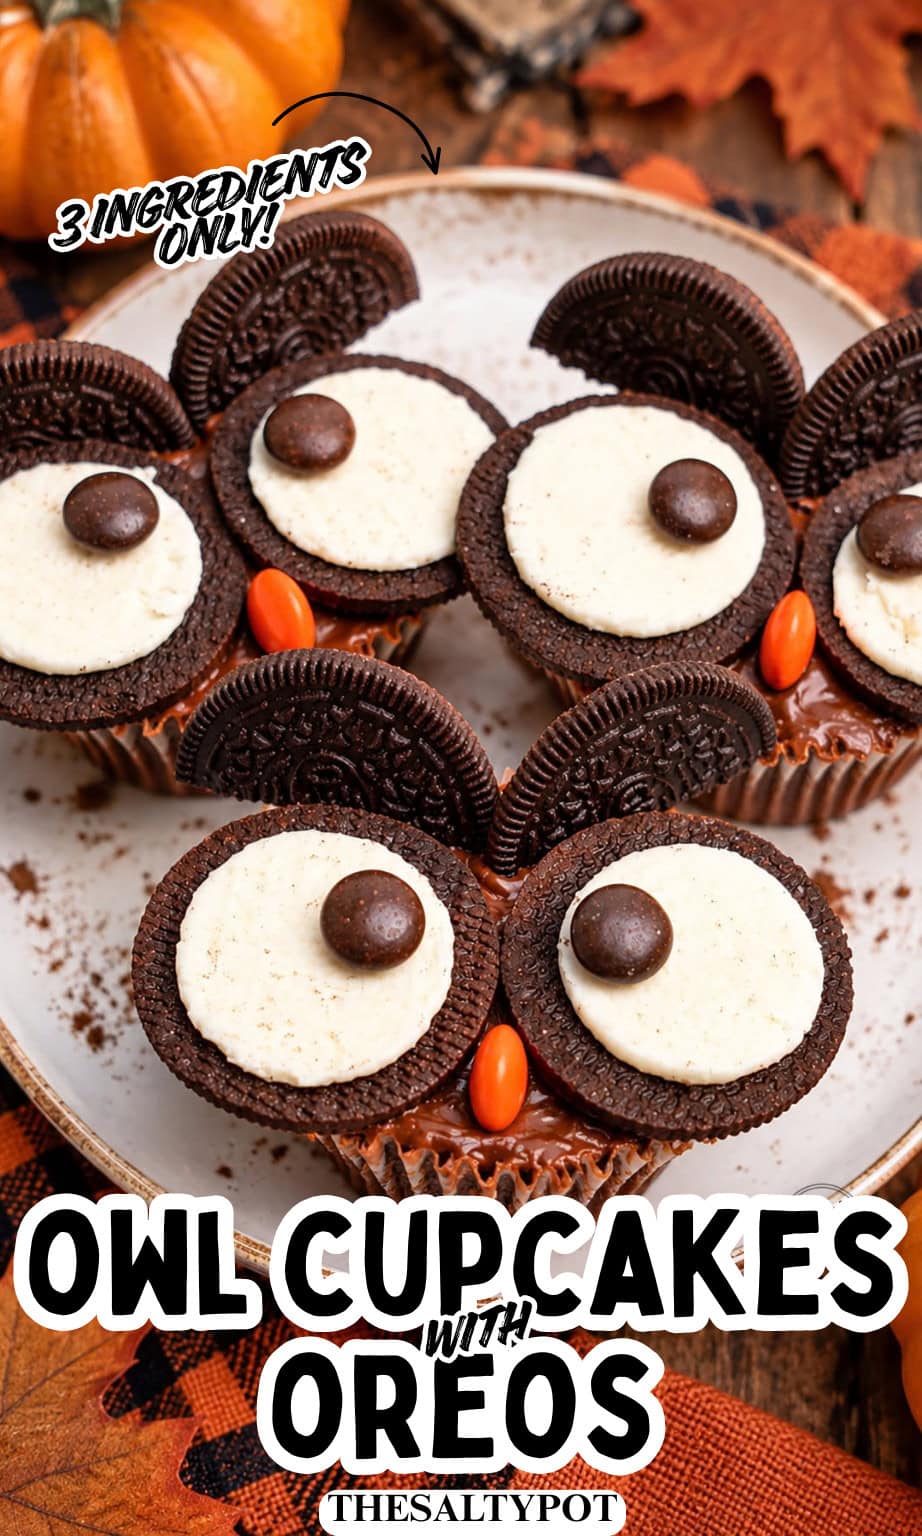
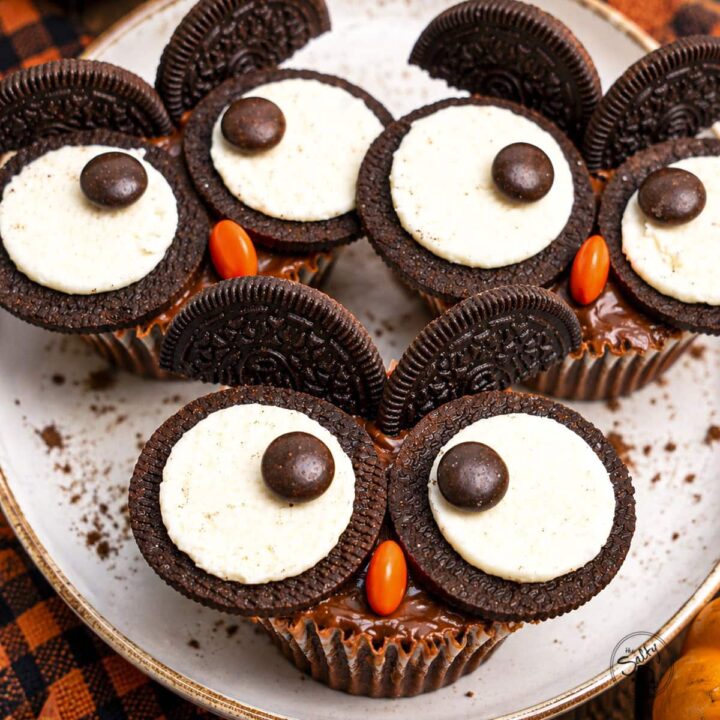
Easy Owl Cupcakes with Oreos
These 3-ingredient easy owl cupcakes use chocolate cupcakes, Oreos, and candies to make the cutest Halloween treat in under 10 minutes!
Ingredients
- 3 Chocolate cupcakes (store-bought, box mix, or scratch-made)
- 6 Oreo cookies
- 6 Brown Reese's Pieces candies
- 3 Orange Reese's Pieces candies
- 1 container Chocolate frosting (about 3–4 tbsp needed)
Instructions
- Lightly frost the top of each chocolate cupcake with a smooth layer of chocolate frosting.
- Gently twist open the Oreo cookies, separating each cookie into two halves.
- Select the cookie sides that hold the white cream center and press two onto each cupcake to form the large owl eyes. Reserve the plain, no-cream cookie sides for the eyebrows.
- Press one brown Reese's Pieces candy onto the white cream of each Oreo eye to make the pupils.
- Press one orange Reese's Pieces candy vertically into the center frosting below the eyes to make the beak.
- Cut or snap the plain reserved Oreo halves into semicircles, then press one piece above each eye into the top frosting to create eyebrows. Serve and enjoy!
Notes
- Use a toothpick dipped in chocolate frosting as edible "glue" under the brown Reese's Pieces pupils. This keeps the candy eyes from sliding off the smooth cream when you carry the platter!
- If your house is cold and the Oreo cream is stubborn, microwave the whole Oreos for literally 3 seconds before twisting. The cream will release perfectly intact onto one side every single time!
This recipe makes 3 owl cupcakes, but it's easy to scale up! Simply multiply the ingredients by the number of batches you want to make. For example, double everything for 6 cupcakes, triple it for 9, and so on. Perfect for making a whole flock of little owls!
Nutrition Information:
Yield: 3 Serving Size: 1Amount Per Serving: Calories: 534Total Fat: 22gSaturated Fat: 7gUnsaturated Fat: 15gCholesterol: 28mgSodium: 387mgCarbohydrates: 83gFiber: 2gSugar: 59gProtein: 4g
All nutritional information is based on third-party calculations and is only an estimate. Each recipe and nutritional value will vary depending on the brands you use, measuring methods, and portion sizes per household.