Crispy Air Fryer BBQ Chicken Wings (Best Easy Recipe)
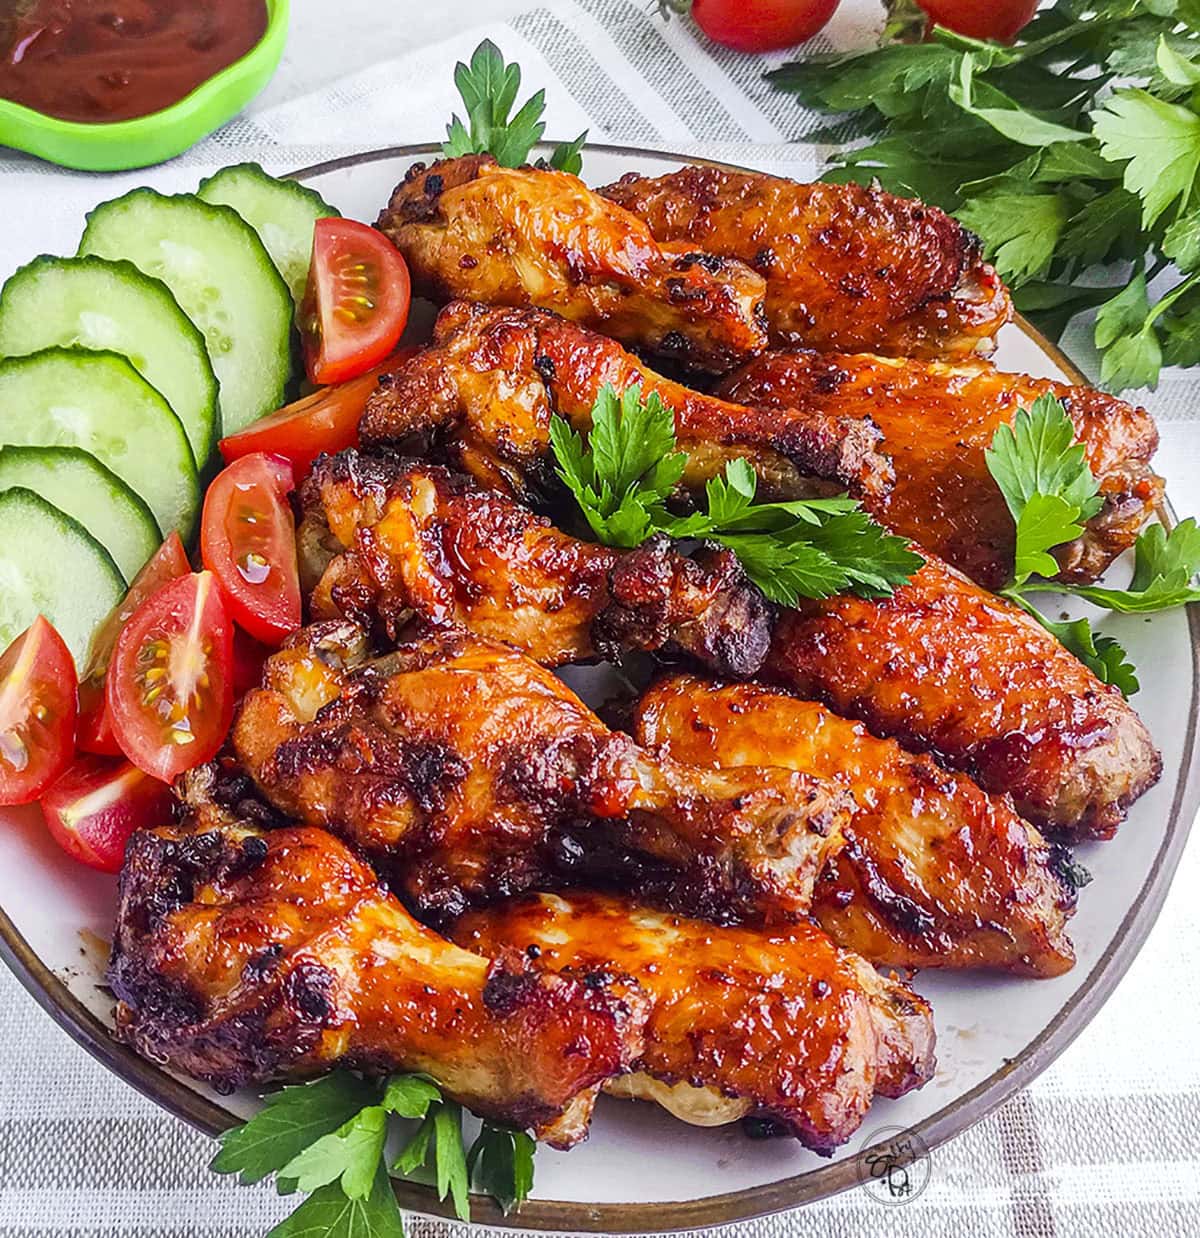
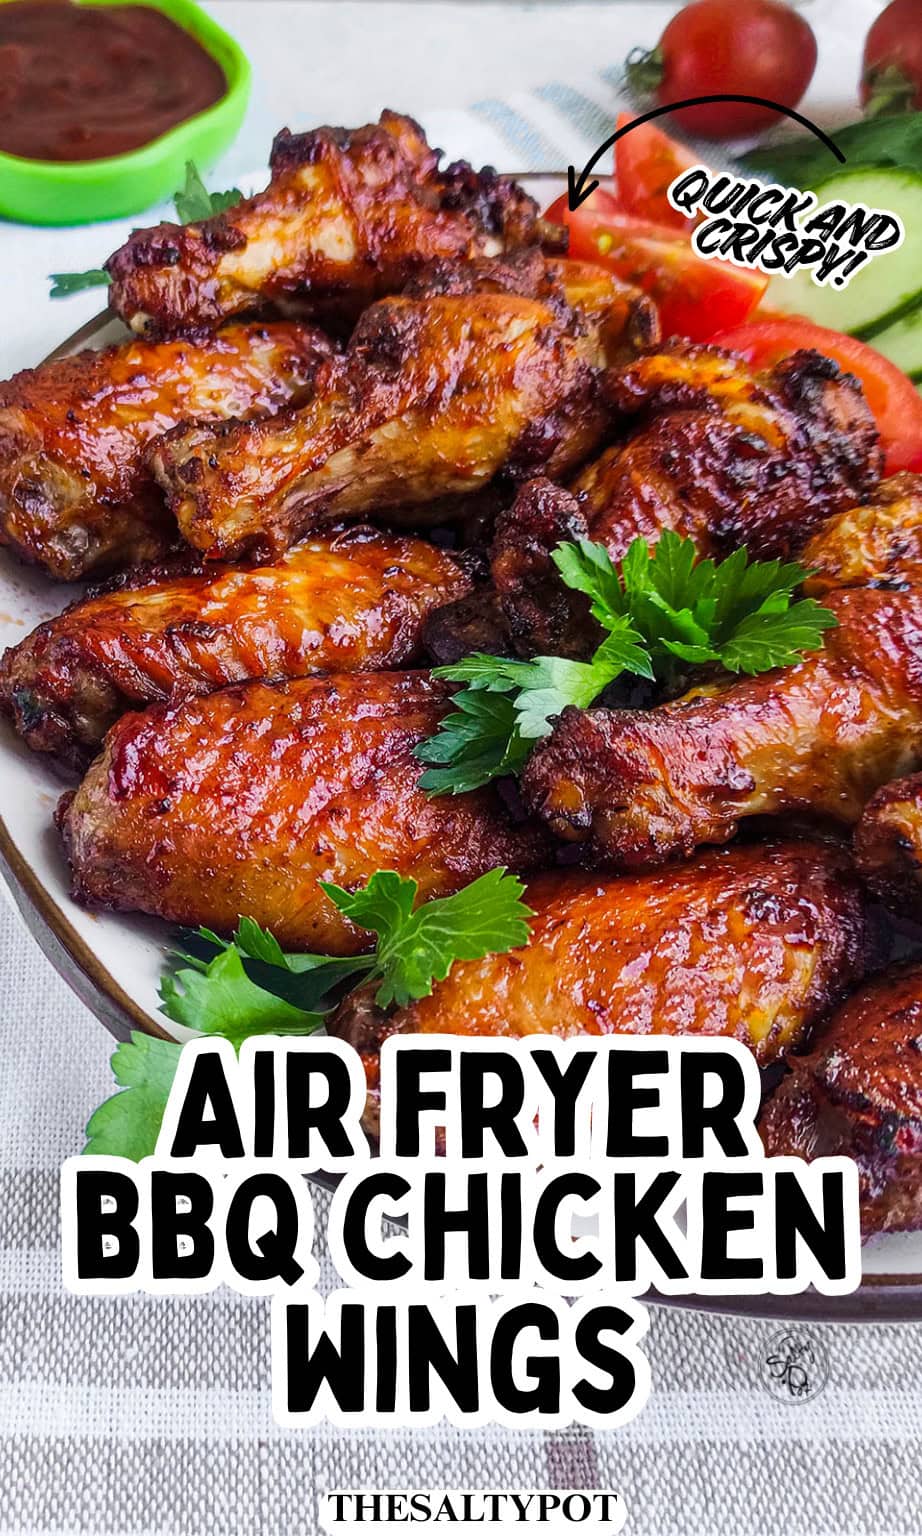
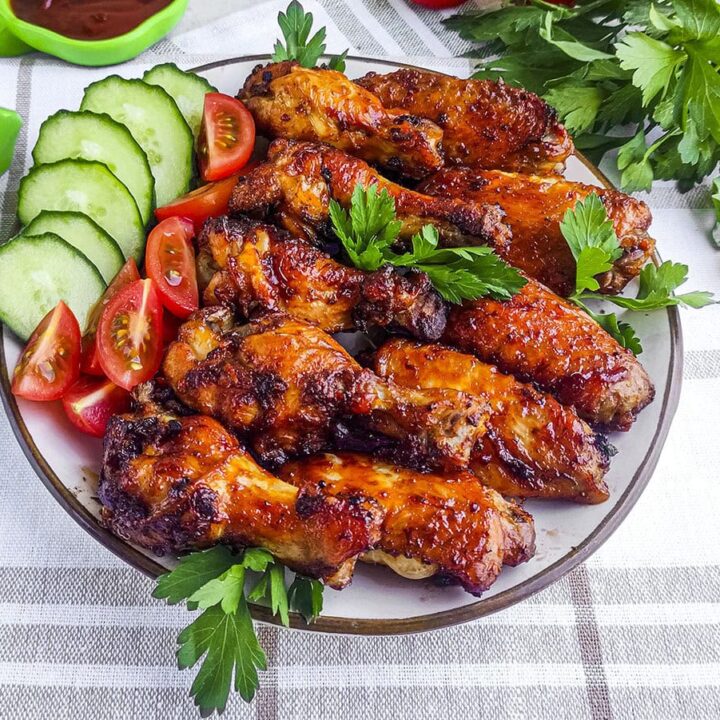
These Air Fryer BBQ Chicken Wings give you all that smoky, sticky, lip-smacking goodness with a fraction of the mess and zero waiting around for charcoal to heat up.
Using circulating hot air, you get ultra-shatteringly crispy skin on the outside and juicy meat on the inside, all wrapped in a caramelized, sticky glaze. If you love expanding your wing night repertoire, this is an absolute must-try!
And hey, if you happen to be cooking with a multicooker setup instead of a standard basket unit, I also have a killer recipe for Ninja Foodi BBQ wings that delivers that same sticky-sweet perfection!
🌟 Ingredient Notes
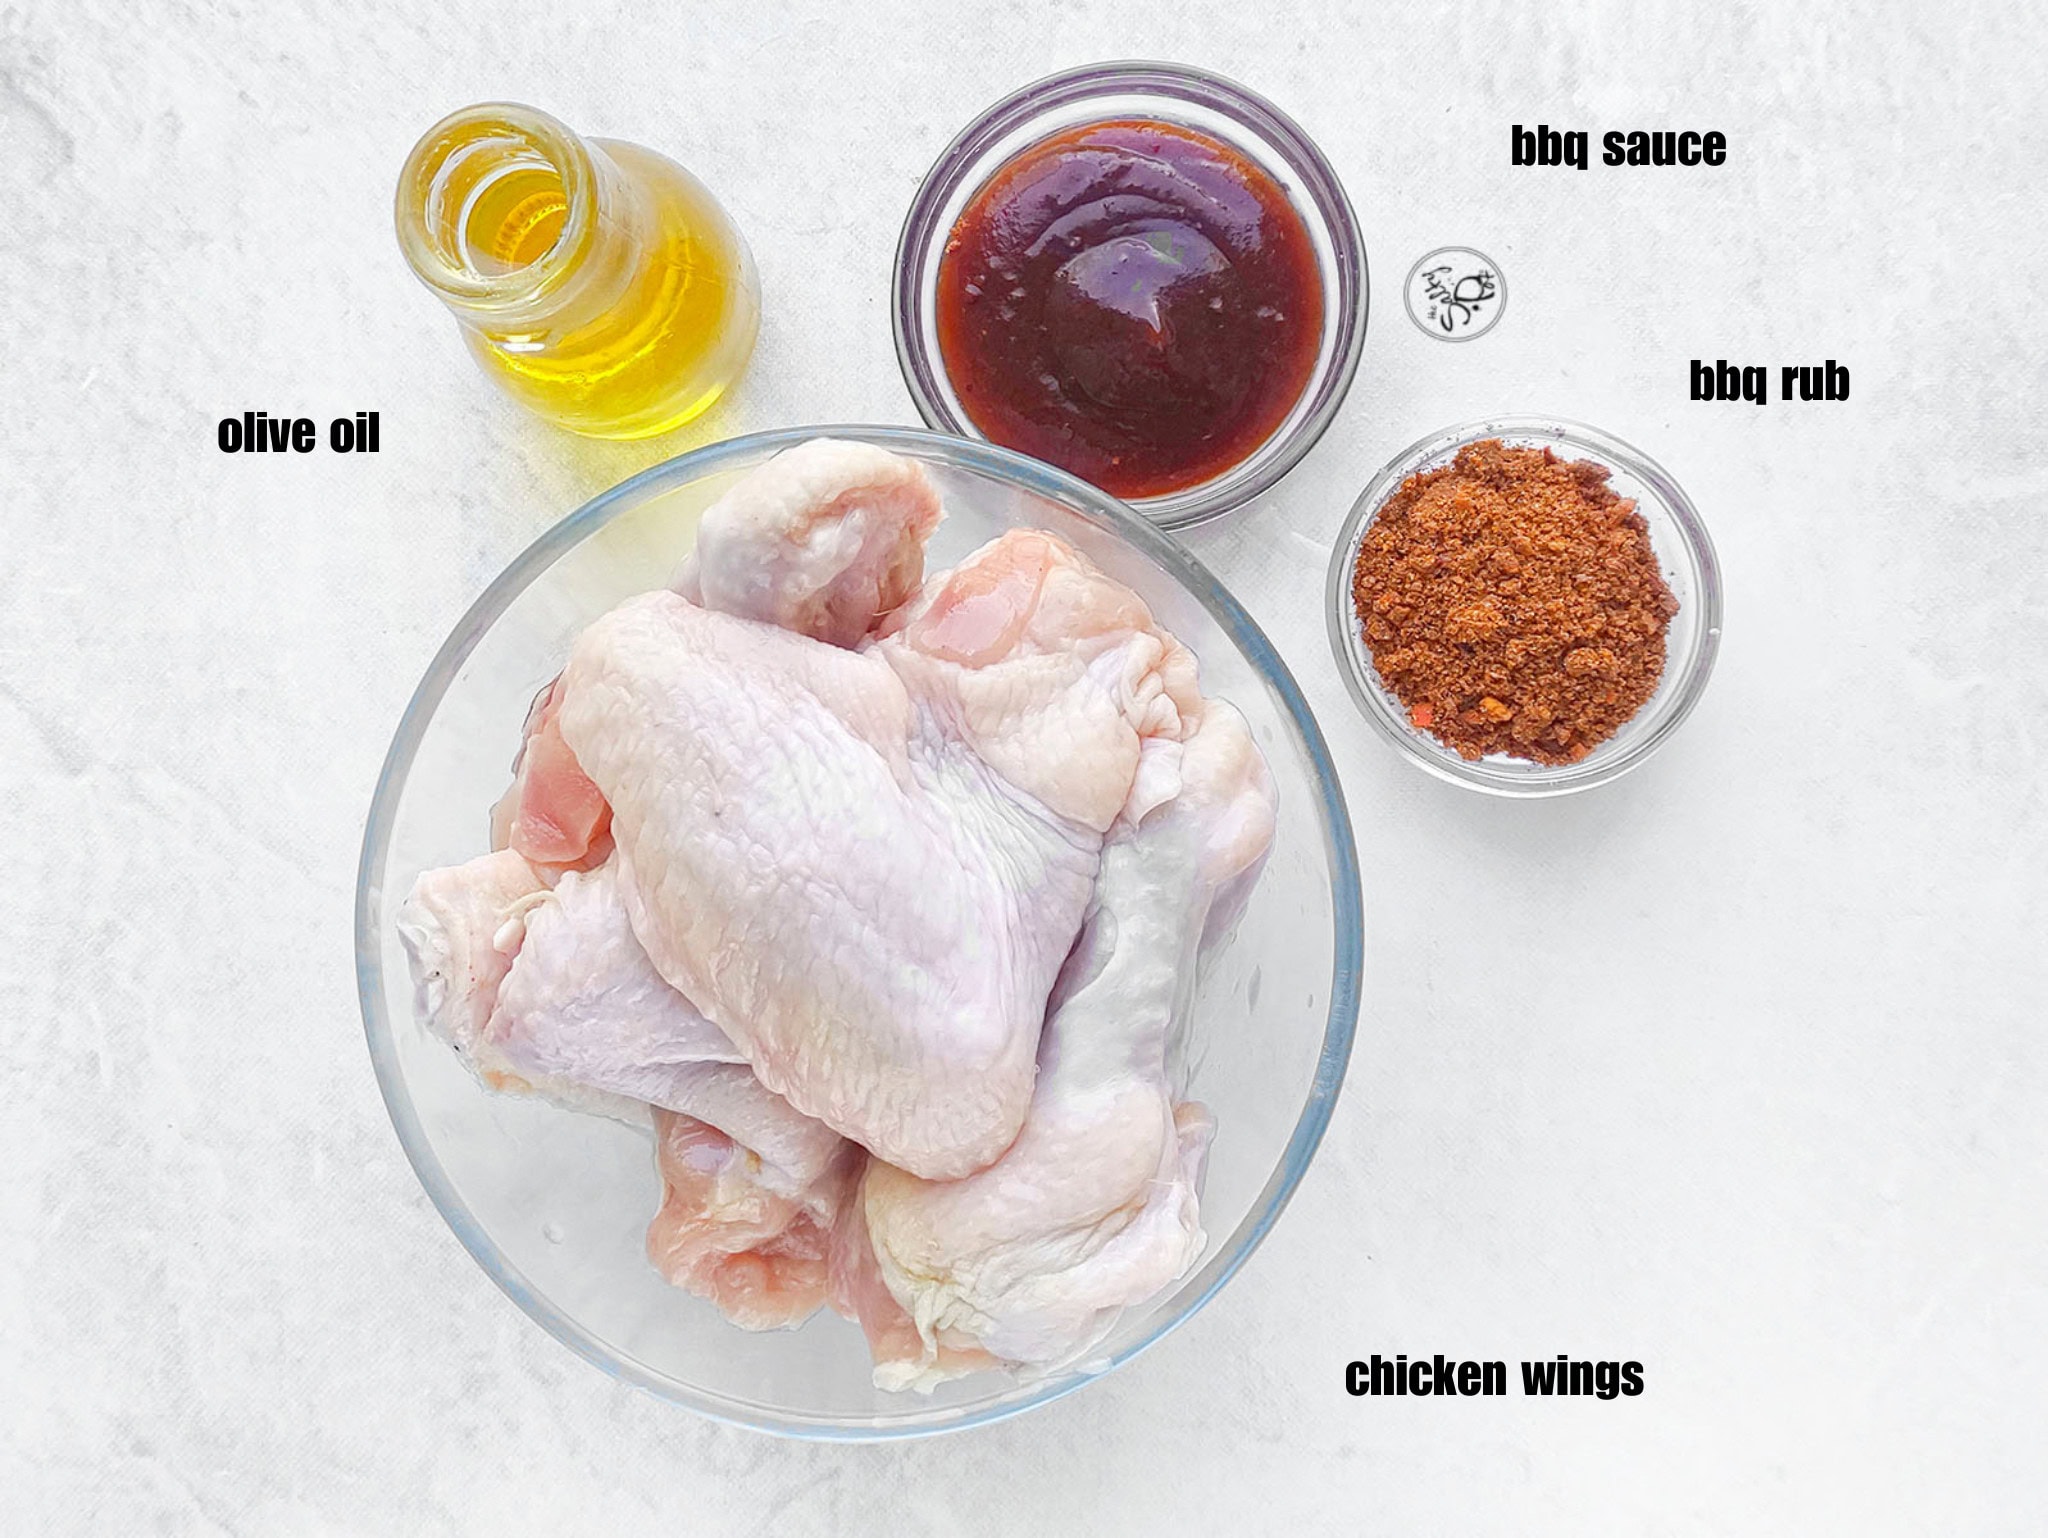
- ✅Chicken Wings – Stick to fresh, chilled medium-sized party wings (flats and drumettes). Giant oversized wings take forever to cook and rarely get crispy, while tiny wings dry out fast.
- ✅ Olive Oil – Just a tiny teaspoon to help the rub stick and kickstart that skin crisping.
- ✅ BBQ Rub – Use a classic blend containing paprika, garlic powder, onion powder, and a touch of brown sugar. Check the label first: if your rub already contains salt, leave out the extra salt!
- ✅ BBQ Sauce – Pick your favorite sweet, smoky, or spicy bottle. Hickory, brown sugar, or honey BBQ all caramelize beautifully under high heat.
How to Make Air Fryer BBQ Chicken Wings
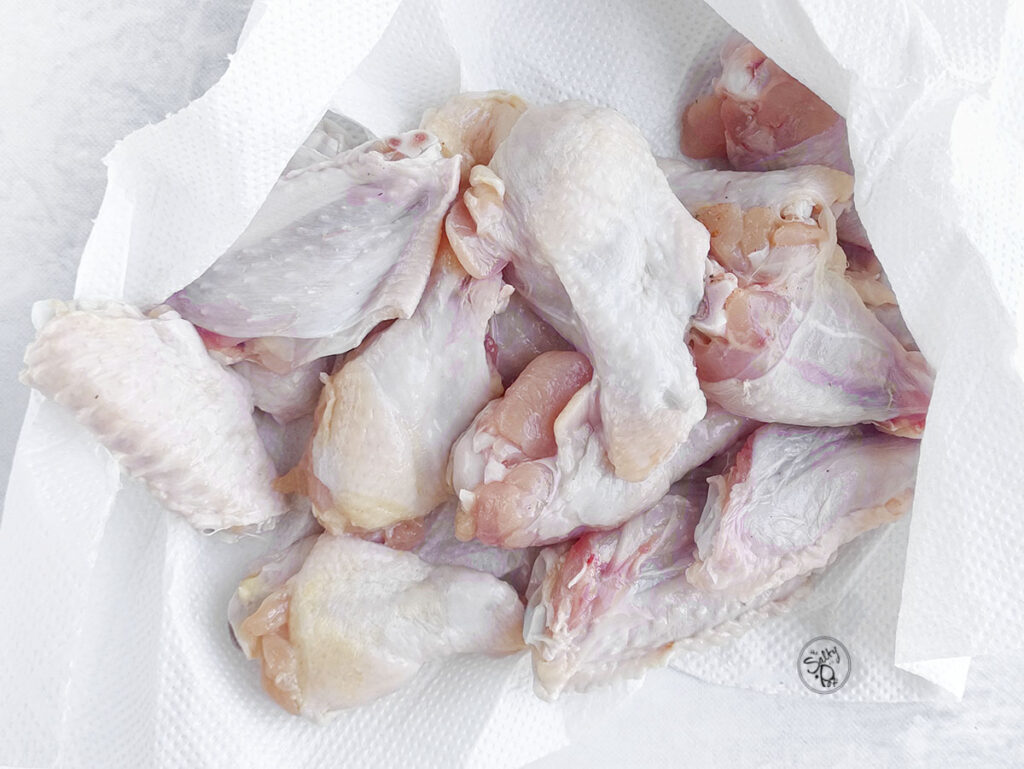
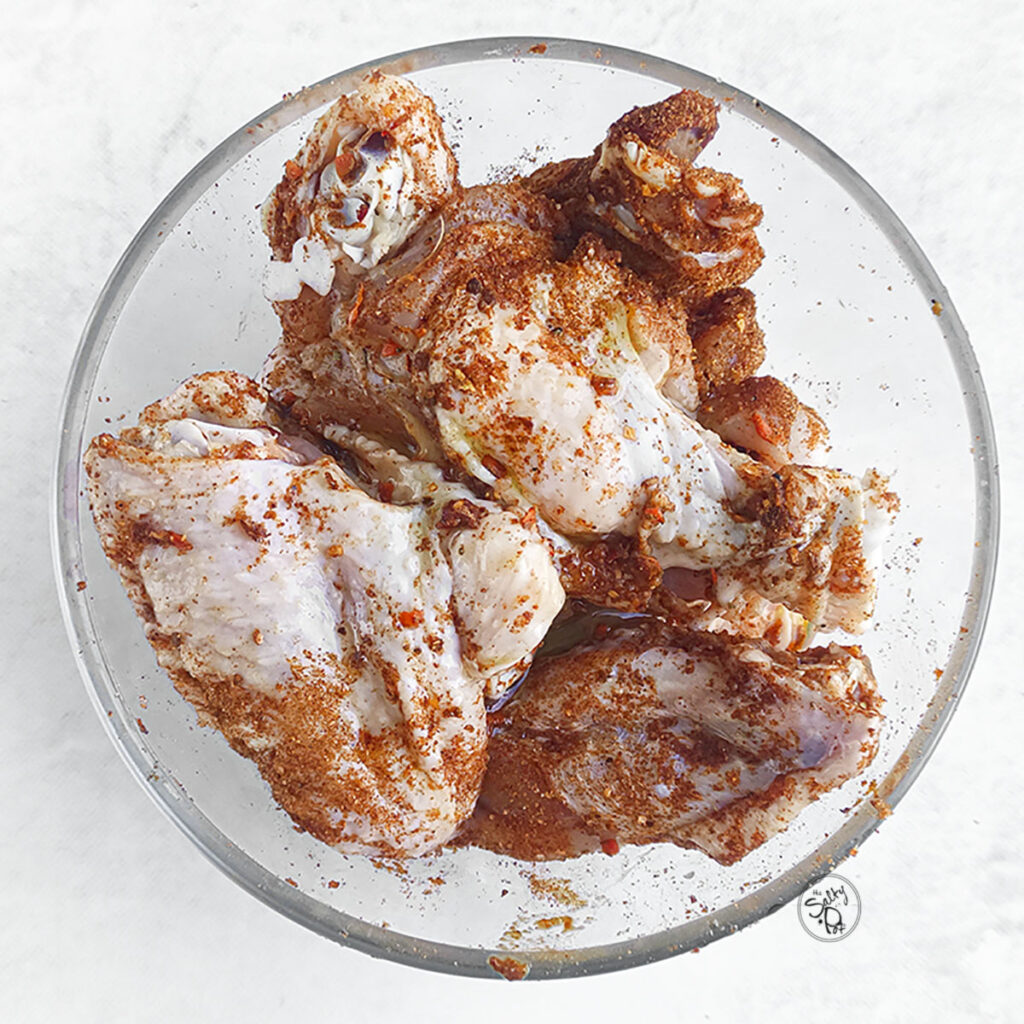
- Pat your trimmed wing sections thoroughly dry with paper towels (this is secret step #1 for crispiness!). Toss in a bowl with oil, salt, and BBQ rub.
- Arrange the wings in your preheated air fryer basket, leaving enough room for the hot air to circulate.
- Air fry the wings, turning them partway through, until the skin is browned and crispy and the chicken is completely cooked.
- Brush the wings with BBQ sauce, then return them to the air fryer for a few minutes to warm the sauce and turn it into a sticky glaze.
Please refer to the printable recipe card below for exact amounts, detailed instructions, and helpful tips to make this recipe perfect every time.
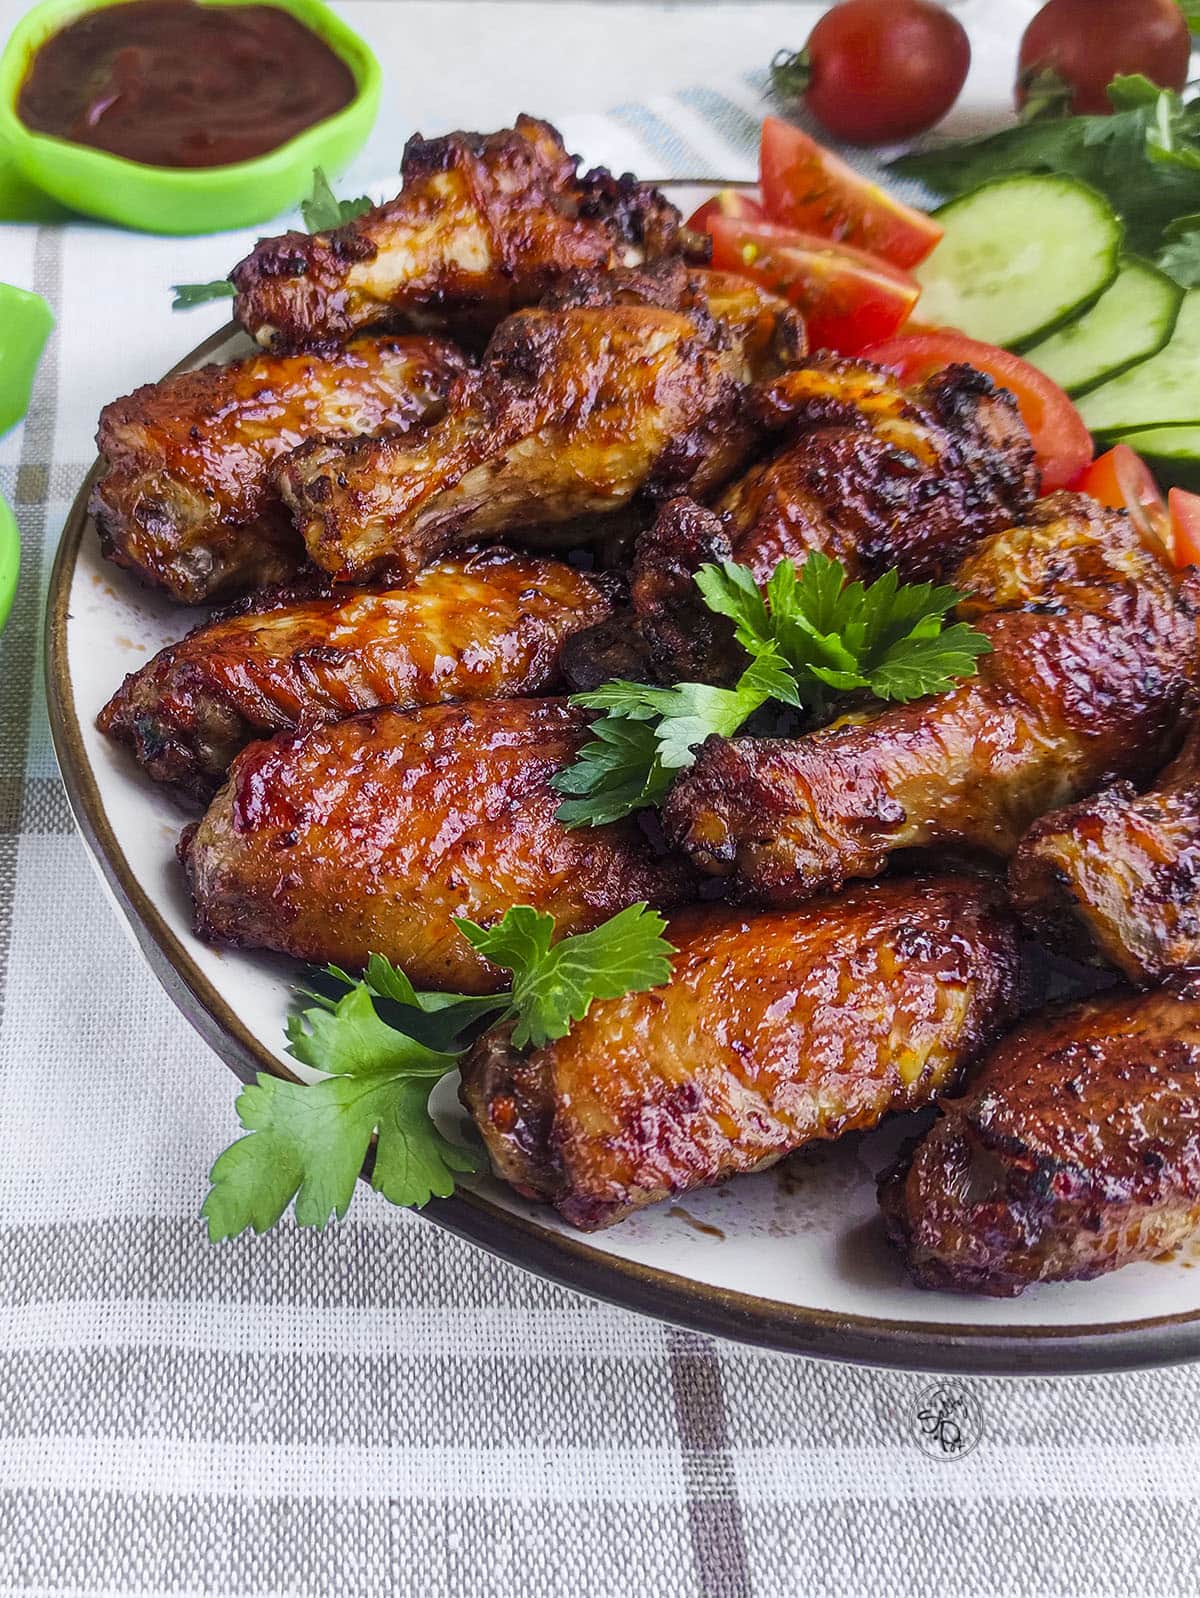
Secret #1 – Waiting to Add the Sauce
BBQ sauce should not go onto the wings at the beginning. I learned this a long time ago the hard way.
Most BBQ sauces contain sugar, and that sugar can burn long before the chicken is finished cooking. When we cook the seasoned wings first, we let the skin become nice and crispy, then brush on the sauce during the final few minutes.
That gives the sauce enough time to heat up and cling to the wings without turning dry, and worse, burnt.
As I mentioned earlier, drying the wings is important too. Any moisture left on the skin creates steam inside the air fryer, and steam is not exactly known for making things crispy, am I right?
The other culprit that a lot of people don’t think about, is an overcrowded basket. Deep frying allows the basket to be packed because the hot oil will surround them. And I completely understand wanting to squeeze in those last three wings, but give them some breathing room. If the hot air is not like hot oil, and it needs to circulate around them. They will cook, but they will not crisp nearly as well.
Secret Tip #2 – Baking Powder
Add a little aluminum-free baking powder to the BBQ rub before tossing it with the wings. It helps dry out the skin so it becomes extra brown and crispy in the air fryer. Just be sure you use baking powder, not baking soda, unless bitter wings are the goal!
Make the Sauce Your Own
- Use a classic smoky BBQ sauce, a sweeter honey BBQ sauce or something with a little more heat. This recipe is pretty forgiving when it comes to flavor.
- For sweet heat, brush the wings with BBQ sauce and finish them with a drizzle of my Hot Honey Sauce.
- You could also stir a splash of bourbon into the BBQ sauce for a deeper flavor. For a completely different direction, add a little soy sauce, sesame oil and garlic.
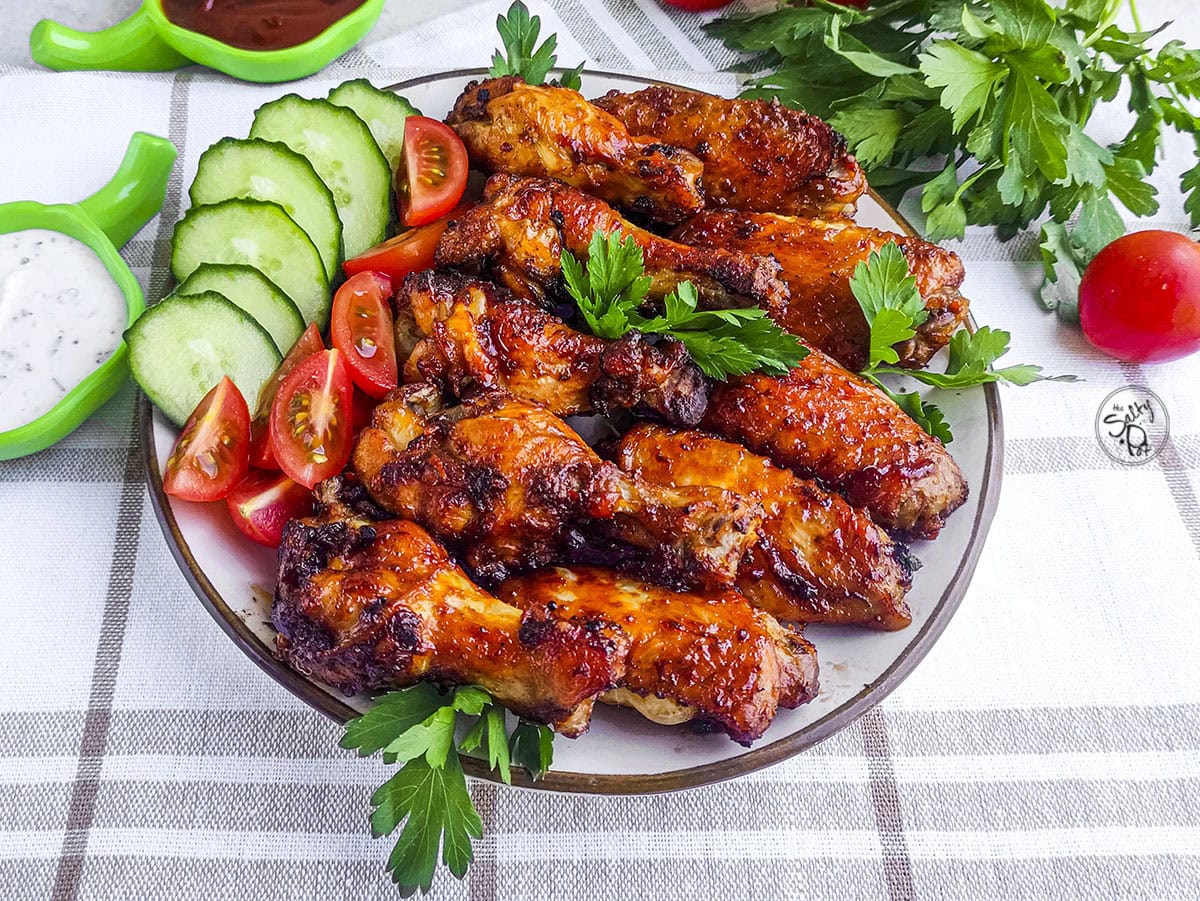
✨ No Air Fryer? You Can Still Make Them
Arrange the seasoned wings on a wire rack set over a sheet pan and bake them in a 425°F oven, flipping partway through.
Once the chicken is cooked and the skin is crispy, brush the wings with BBQ sauce and broil them briefly to set the glaze.
Stay close to the oven while they broil, though! Sugary BBQ sauce can go from sticky and gorgeous to burnt surprisingly fast.
However you cook them, the thickest part of the wings should reach 165°F. Make sure the thermometer is inserted into the meat without touching the bone.
Turn Them Into a Proper Wing Night
A crisp coleslaw or simple veggie-and-dip plate would also freshen things up without creating a bunch of extra work.
These BBQ wings can disappear pretty quickly all on their own, but they are also easy to turn into a full meal.
Serve them with an easy Spaghetti Salad (served cool to contrast super well with any spicy dip you might have going on). My Corn Salad with Bacon is a favorite as well as my Zesty Dorito Mac and Cheese!
If you are craving more of a pub-style situation, add a batch of Air Fryer Zucchini Sticks. You can cook the sticks right after the wings while the air fryer is already hot.
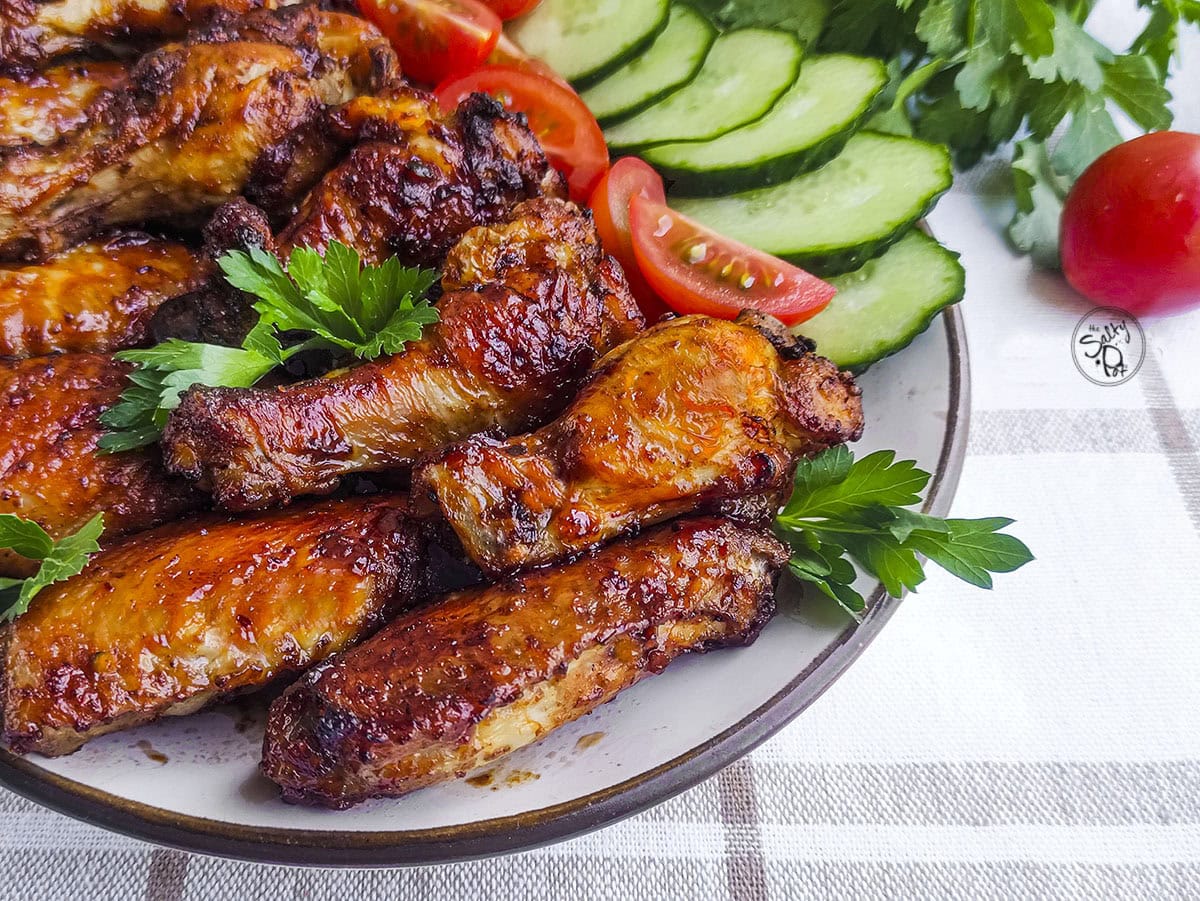
🍽️ If a Few Wings Somehow Survive
Keep leftover wings in an airtight container in the refrigerator for up to four days.
The air fryer is the best way to bring back some of their crispiness. Reheat them at about 370°F for a few minutes, checking often because the sauce can brown quickly.
So, as you can see my hungry friend, no grill, vat of oil or restaurant wing order required. Just crispy chicken, sticky BBQ sauce and several napkins because there is absolutely no dignified way to eat a saucy wing.
Enjoy!
~Joanne
Air Fryer BBQ Chicken Wings
These Air Fryer BBQ Chicken Wings are crispy on the outside, tender on the inside, and coated in a sticky, caramelized barbecue glaze. Ready in about 30 minutes!
Ingredients
- 1 lb Chicken wings (split into flats and drumettes)
- 1 tsp Olive oil
- 1 tbsp BBQ rub
- 1/4 cup BBQ sauce (or measure with your heart).
- ½ tsp aluminum-free baking powder, optional
- Pinch of salt (optional, omit if rub contains salt)
Instructions
- Place wing pieces on paper towels and pat completely dry on all sides.
- Transfer wings to a bowl, add olive oil, salt (if using), (optional baking powder) and BBQ rub. Toss until every wing is evenly coated.
- Preheat air fryer to 400°F. Arrange wings in a single layer in the basket, leaving small gaps for air circulation.
- Air fry for 10 minutes, flip wings with tongs, and cook for an additional 8–10 minutes until skin is golden brown and crispy.
- Brush each wing generously with BBQ sauce using a silicone brush.
- Return to the air fryer and cook for an additional 2–3 minutes at 390°F until the sauce is tacky, bubbly, and caramelized and the wings have reached 165°F. Serve hot!
Notes
- For the crispiest skin, dry the wings thoroughly before seasoning them and avoid overcrowding the air fryer basket.
- Aluminum-free baking powder is optional, but it helps the skin brown and crisp. Do not substitute baking soda.
- Cooking time can vary depending on the size of the wings and the style of air fryer.
- Add the BBQ sauce only during the final few minutes so its sugars do not burn.
- If your BBQ rub contains salt, do not add the additional salt.
Oven Instructions: Arrange the seasoned wings on a wire rack set over a foil-lined baking sheet. Bake at 425°F for 40 to 45 minutes, flipping halfway through. Brush with BBQ sauce, then broil for 2 to 3 minutes until the sauce is hot, sticky and lightly caramelized. Watch closely so the sauce does not burn.
Nutrition Information:
Amount Per Serving: Calories: 0Total Fat: 0gSaturated Fat: 0gUnsaturated Fat: 0gCholesterol: 0mgSodium: 0mgCarbohydrates: 0gFiber: 0gSugar: 0gProtein: 0g
All nutritional information is based on third-party calculations and is only an estimate. Each recipe and nutritional value will vary depending on the brands you use, measuring methods, and portion sizes per household.