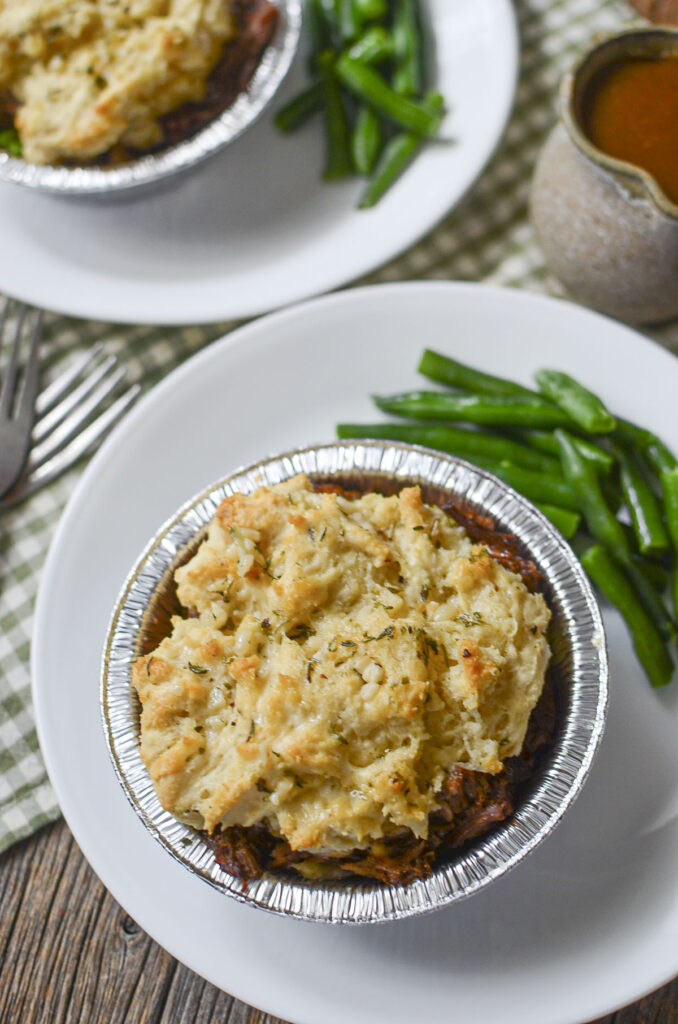
Easy Beef Pot Pie Freezer Meals (Great for leftovers!)
You know that gloriously delicious pot roast you made the other day with all the leftovers? Yeah, that one. Use them up by making these individual beef pot pie for one with biscuit topping in easy, freezable single servings so they are ready to become your second act dinner when you are.
Don’t have leftovers? You can start fresh. Just make my 3-packet pot roast recipe, or even grab a pre-cooked roast from the store
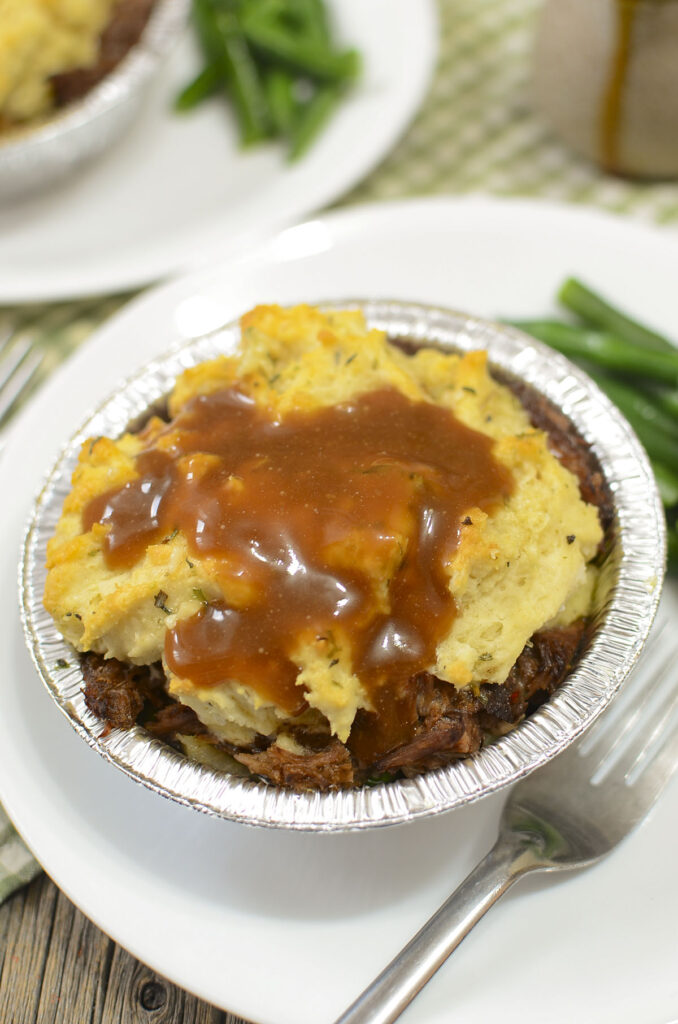
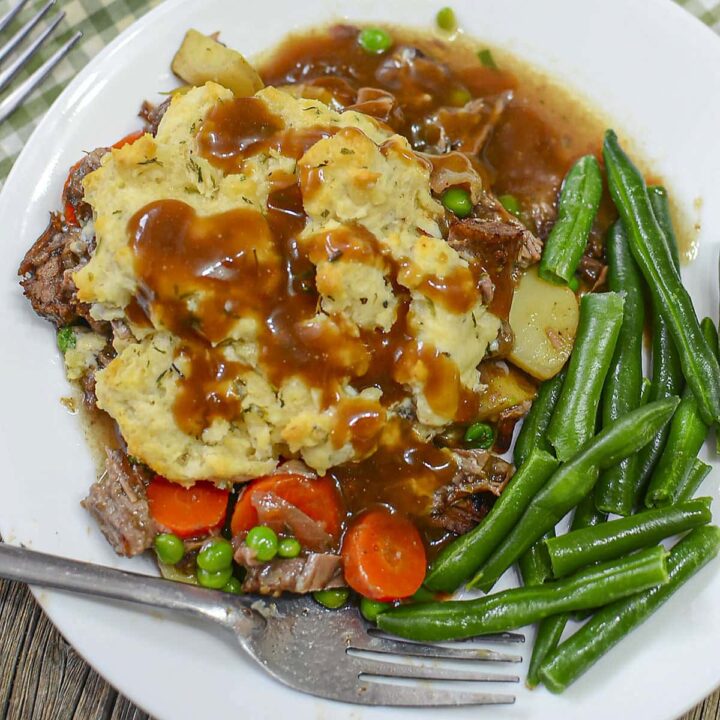
Who wouldn’t want a hearty beef and veggie pie with gravy that took you less than 15 minutes to make?
I batch-cook and freeze meals into single servings because not only do I cook for my Mom, who lives with parkinsons, I also hate starting dinner from scratch every night for myself.
This beef pot pie is exactly the kind of “tired human” dinner I want stocked in my freezer. It’s comforting, budget-stretching, and I always make them with leftovers I already have.
That’s the magic of my 3-packet pot roast method (yep, I use it on chicken too). You stretch one family-style roast into multiple dinners without boring yourself to tears by eating it over and over the rest of the darn week.
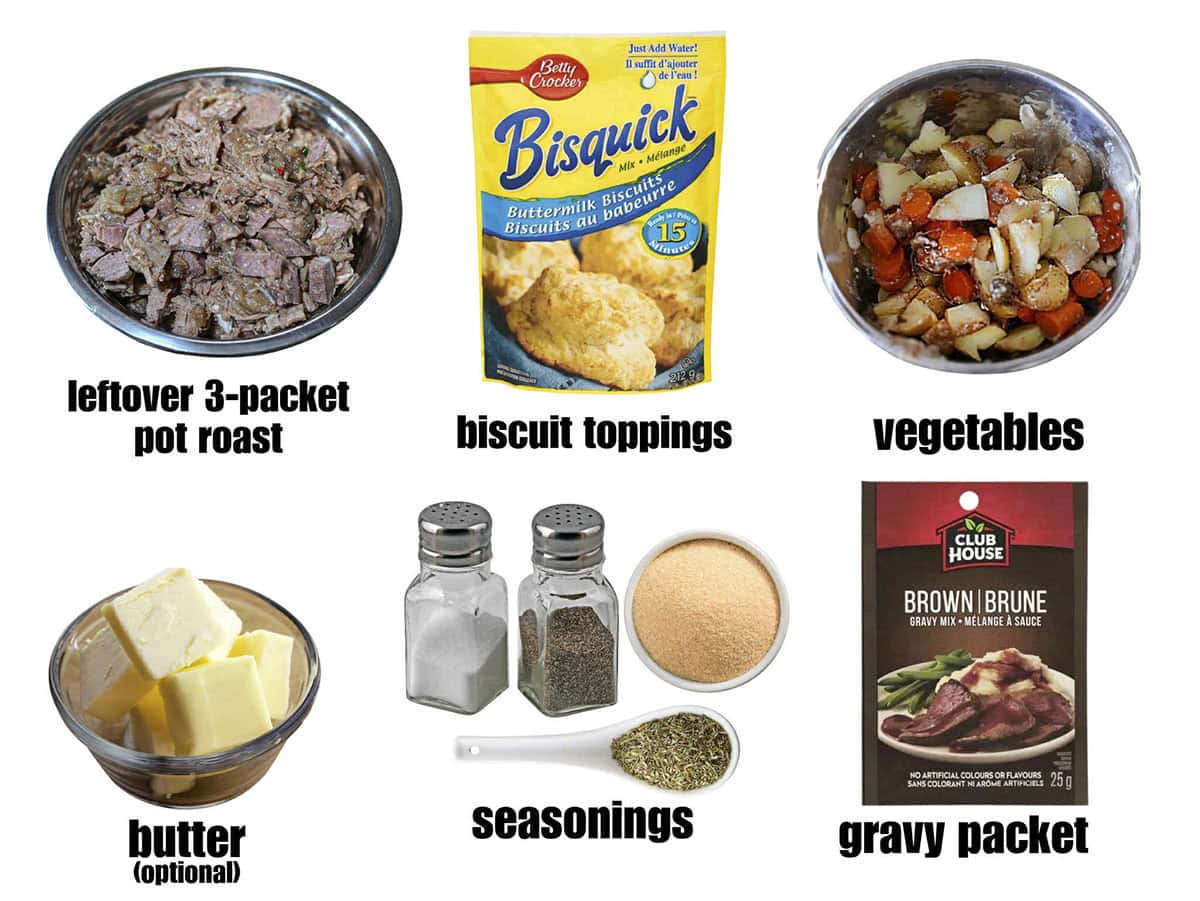
Ingredient Lineup
- ✅Leftover 3-packet pot roast: shred or chop into bite-sized pieces.
- ✅Leftover roast gravy (about 1–2 cups) OR make a quick gravy from a packet if needed. I do that all the time!
- ✅Vegetables: I used the leftovers from my pot roast, but feel free to use frozen veggies of your liking.
- ✅Biscuit topping: my go-to, but puff pastry or pie dough makes an equally tasty lid.
- ✅Seasonings: salt, pepper, garlic powder, and dried thyme to zhuzh up the biscuit topping if you want even more flavor.
- ✅Butter: Optional, but I like to brush a bit on top of the biscuit topping for even more deliciousness.
Swaps & Shortcuts
- 🔄Meat: Swap in shredded chicken (from a 3-packet chicken!) or leftover turkey. Also, if you have no leftover roast, I have bought a grocery store pre-cooked roast for these before. Lastly, ground beef works just as well as any other of the proteins listed.
- 🔄Crusts: Use puff pastry, pie dough, or even crescent roll dough instead of biscuits.
- 🔄Veggies: Frozen mixed veg = fastest route. Fresh veggies? Cook them a bit before layering.
RECIPE NOTE: Each pot pie had about 4–6 oz beef, ~4 oz veggies + gravy, and 1.5–2 biscuits worth of topping. Your yield may vary depending on how much roast + veggies you have left! *See recipe card for further information.
Directions at a Glance 👩🍳

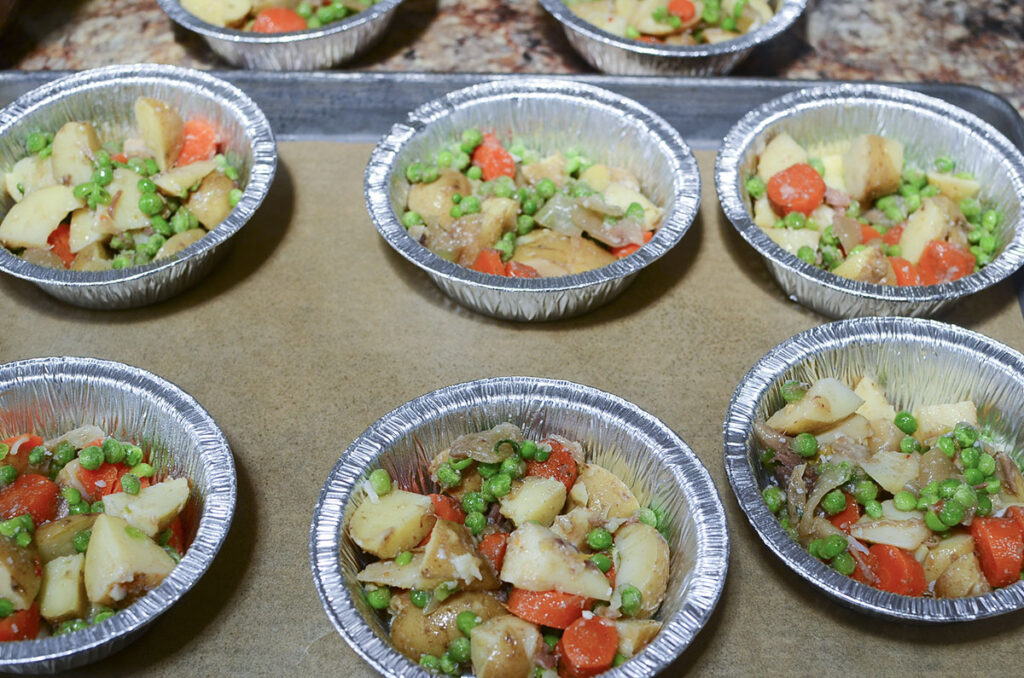
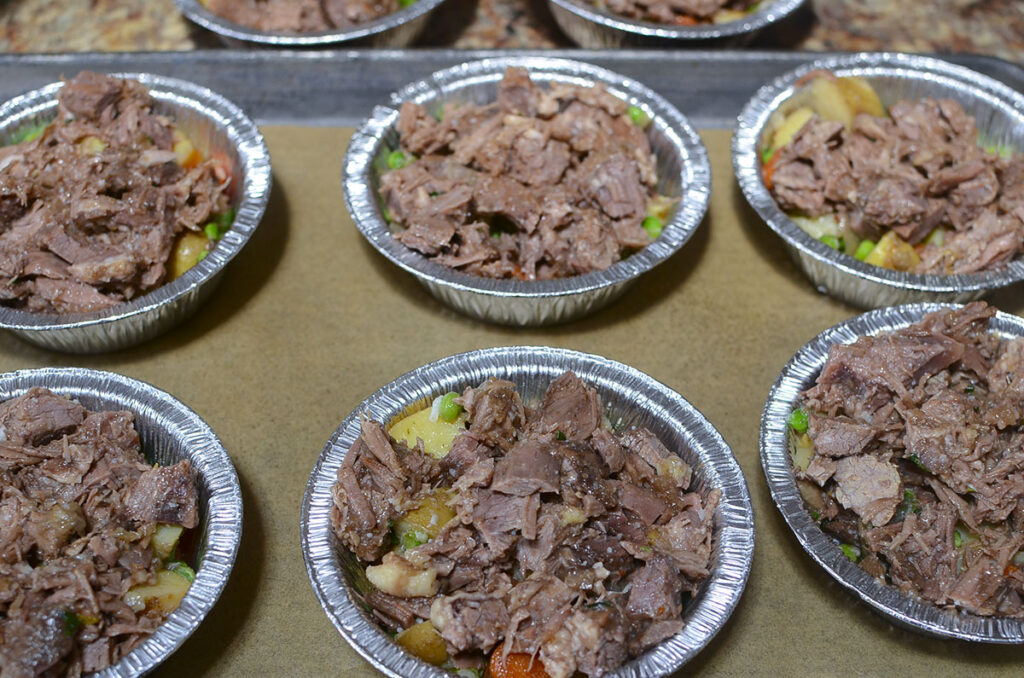
- Fill the ramekins (Foil containers): Whether they’re made of foil or ceramic, use what you have on hand and what’s suitable for your heating method (foil + microwave = no bueno). Place the beef at the bottom of the containers.
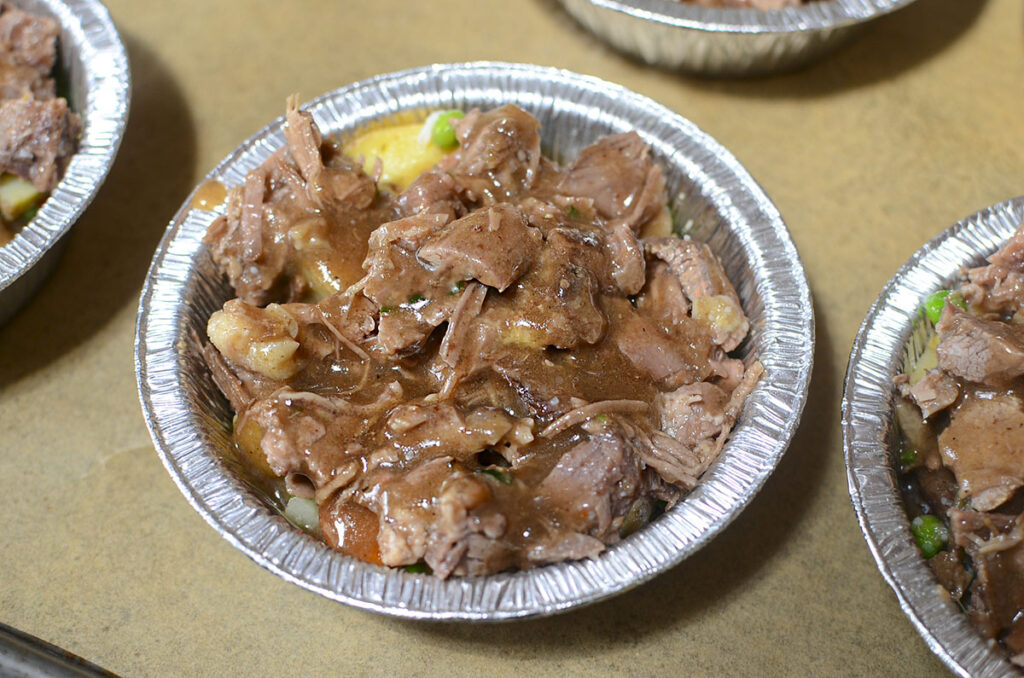
- Add the cooked veggies on top of the beef. Drizzle with gravy.
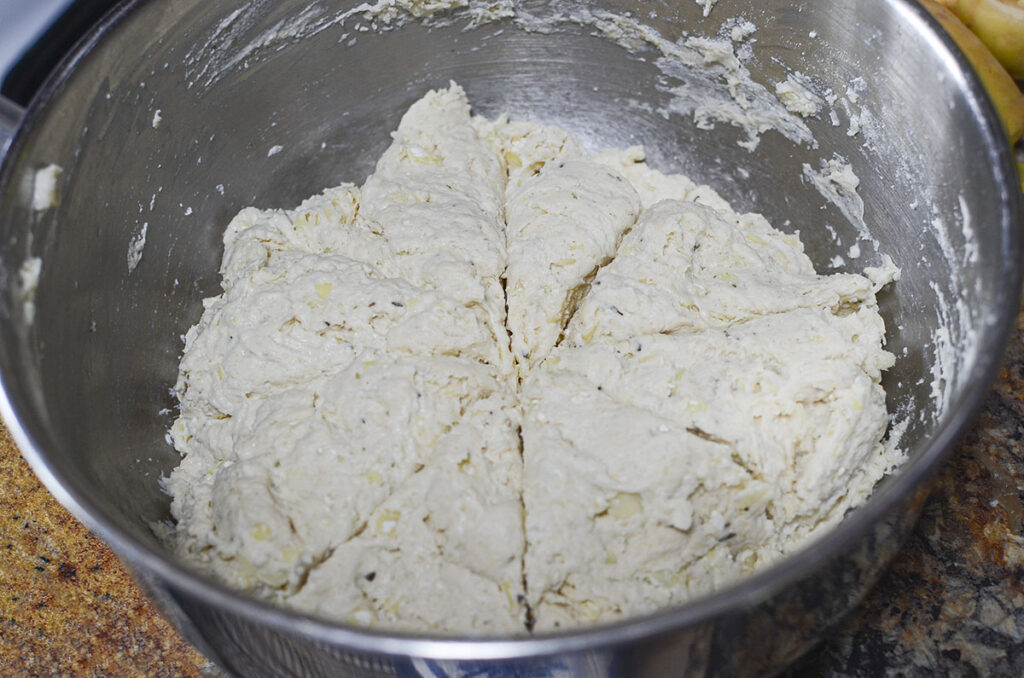
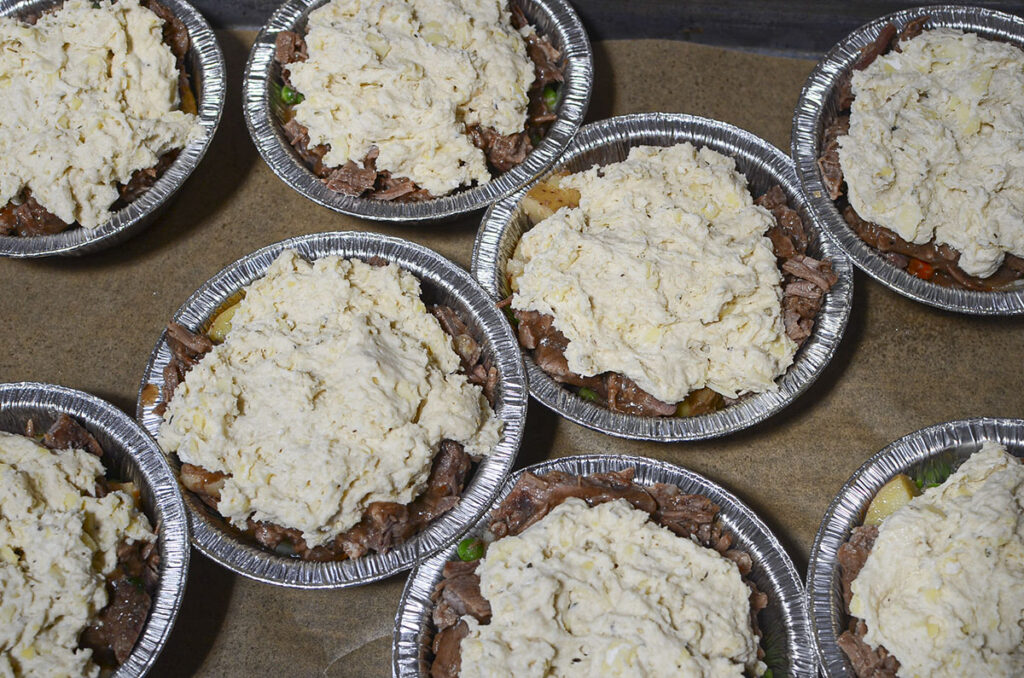
- Mix up the topping and add it on top of the veggies. (or lay on puff pastry/pie crust)
- Bake: 375°F until the biscuits are golden and the filling bubbles, 20–25 minutes.
- Let cool and wrap in foil, and label.

Salty Pot Tip: THESE are the foil container sizes I used. Be sure to label the foil meals with what’s in the container, and if you’re a caretaker cooking for a senior, remember to add easy reheat instructions as well.
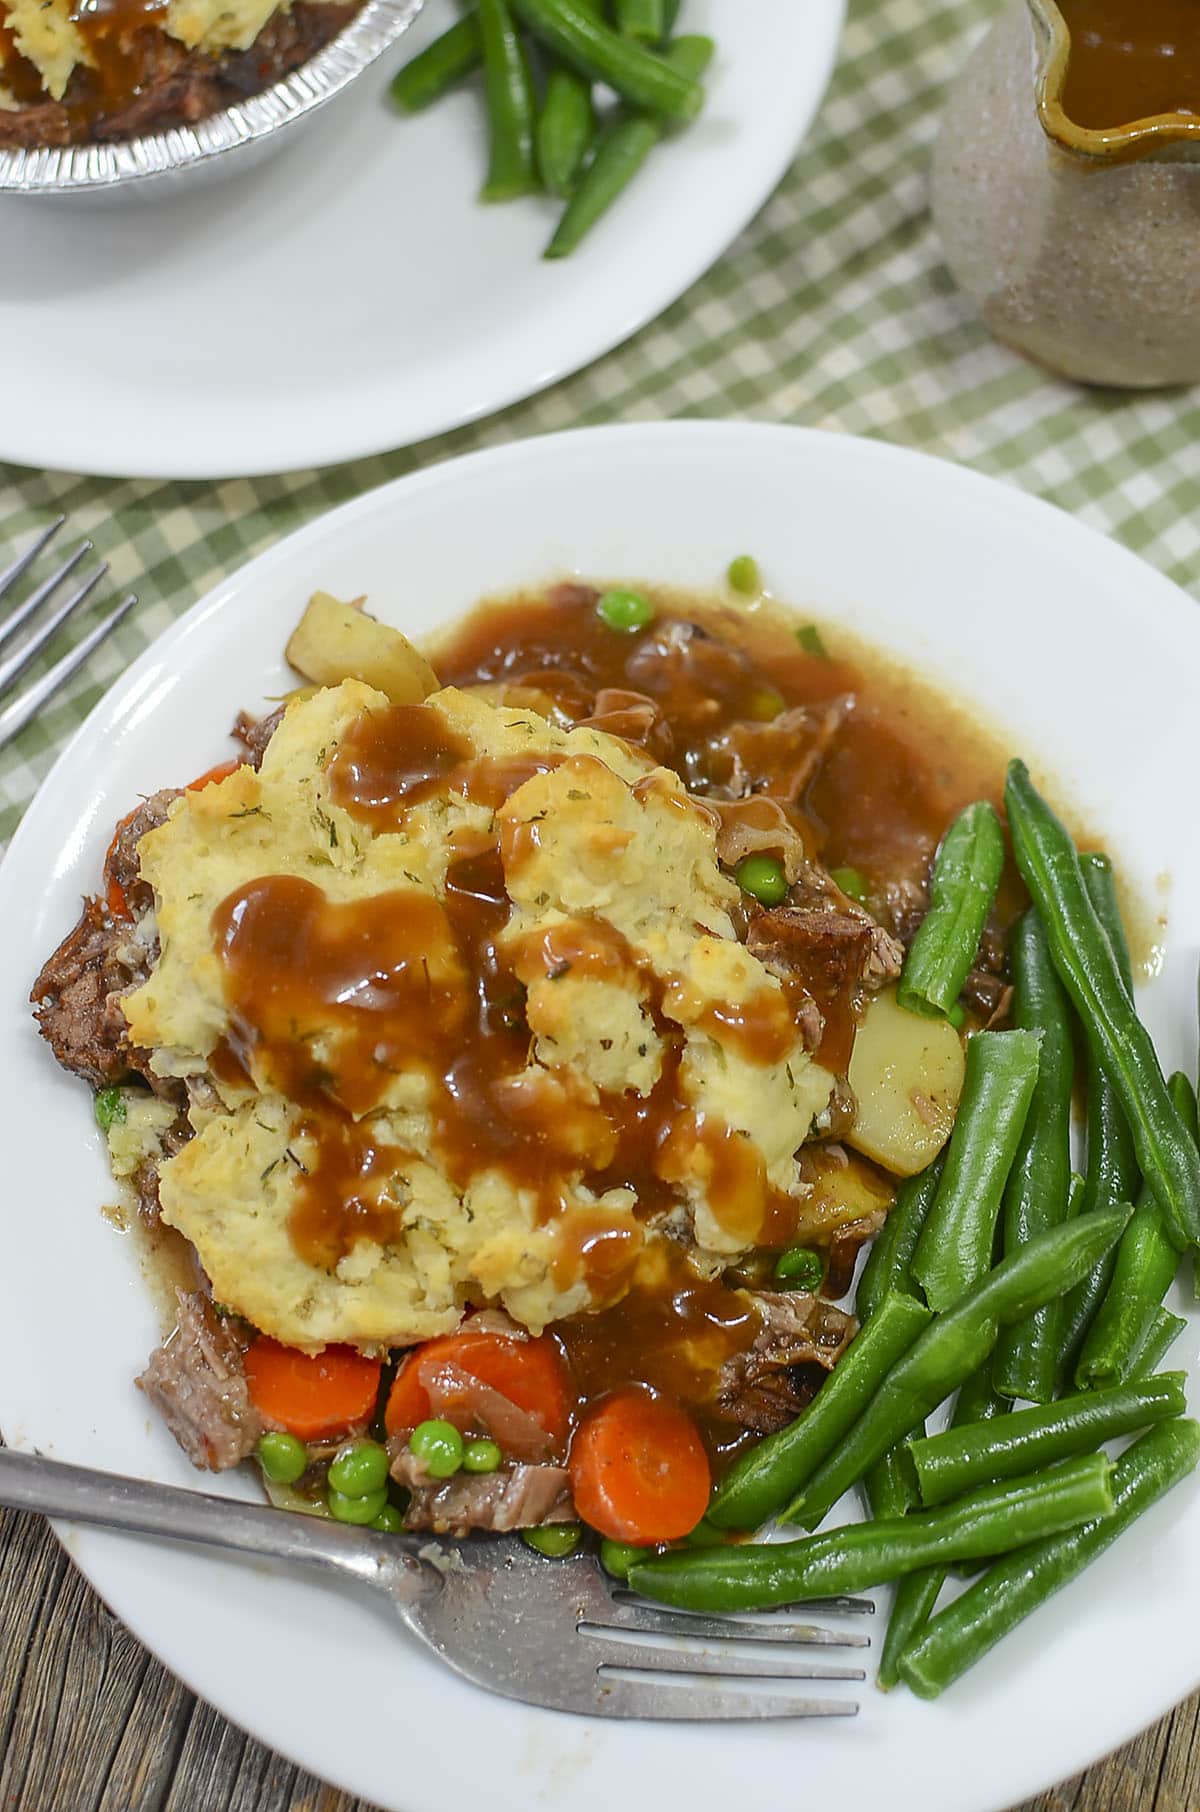
Serving Suggestions 🍽️
Serve with a crisp salad, steamed green beans, roasted Brussels sprouts, or just enjoy it straight from the ramekin with a spoon. It’s rustic comfort food, friend, so no other sides are required if you’re just too tired.
The Freezer Plan ❄️
Storage: Freeze up to 3 months wrapped tightly in heavy-duty foil. For extra freezer protection, further store stacked in freezer-friendly ziplock bags.
Reheating: Ideally, thaw overnight, then reheat at 350°F until warmed through. For short notice, remove from the freezer and microwave from frozen (remember to remove all foil please!) for 5-6 minutes on high or until heated through and bubbly!
Cooking once and eating many times is such a game-changer — especially if you’re cooking just for yourself, helping out a senior, or simply too tired at the end of the day to fuss with dinner. These beef pot pies prove how easy it is to turn one 3-packet roast into a freezer stash of comforting, ready-to-heat meals.
If you’re building your own “restaurant in the freezer,” this is the kind of recipe that keeps weeknights simple, budget-friendly, and stress-free.
👉 Have you tried making pot pies from your leftovers? Tell me in the comments how many portions you got from your roast — I’d love to hear! And if you’re new around here, don’t miss my other freezer meal recipes for singles and seniors so you can fill your freezer with meals that make life easier.
Beef Pot Pie with Biscuit Topping (Freezer-Friendly Single Meals)
Cozy beef pot pie made from leftover 3-packet pot roast, topped with golden biscuits. Perfect for freezing in single portions. Yield will vary depending on how much roast + veggies you have left.
Ingredients
- 3 - 4 lb beef pot roast (Please see the notes below)
- Leftover gravy from roast (about 1–2 cups, or make up a gravy packet)
- Leftover cooked vegetables (carrots, onions, potatoes, peas, etc.)
- 2 packs Bisquick add-water-only mix, 7 ounces (or 1 sheet puff pastry / pie crust per 4 servings)
- Garlic powder + dried thyme (optional, for biscuit mix)
- Salt & pepper, to taste
Instructions
- Preheat oven to 375°F.
- On a baking sheet, lay out and spray with non-stick spray the containers you'll be using for the pot pies.
- Chop or shred leftover roast beef into bite-sized pieces. Add them to the bottom of the containers. (I used approximately 4 ounces in each container).
- Divide the cooked veggies evenly over the meat in the ramekins.
- Make up the gravy and evenly drizzle that over the veggies into the containers.
- Mix Bisquick according to package directions, adding garlic powder and thyme if you like. Drop or spread dough evenly over each portion (or use puff pastry/pie dough).
- Bake 20–25 minutes, or until the topping is golden and filling is bubbly. Brush melted butter over the top when removing from the oven, if you'd like.
- Let cool completely and wrap each container in heavy-duty foil. Label and place in the freezer.