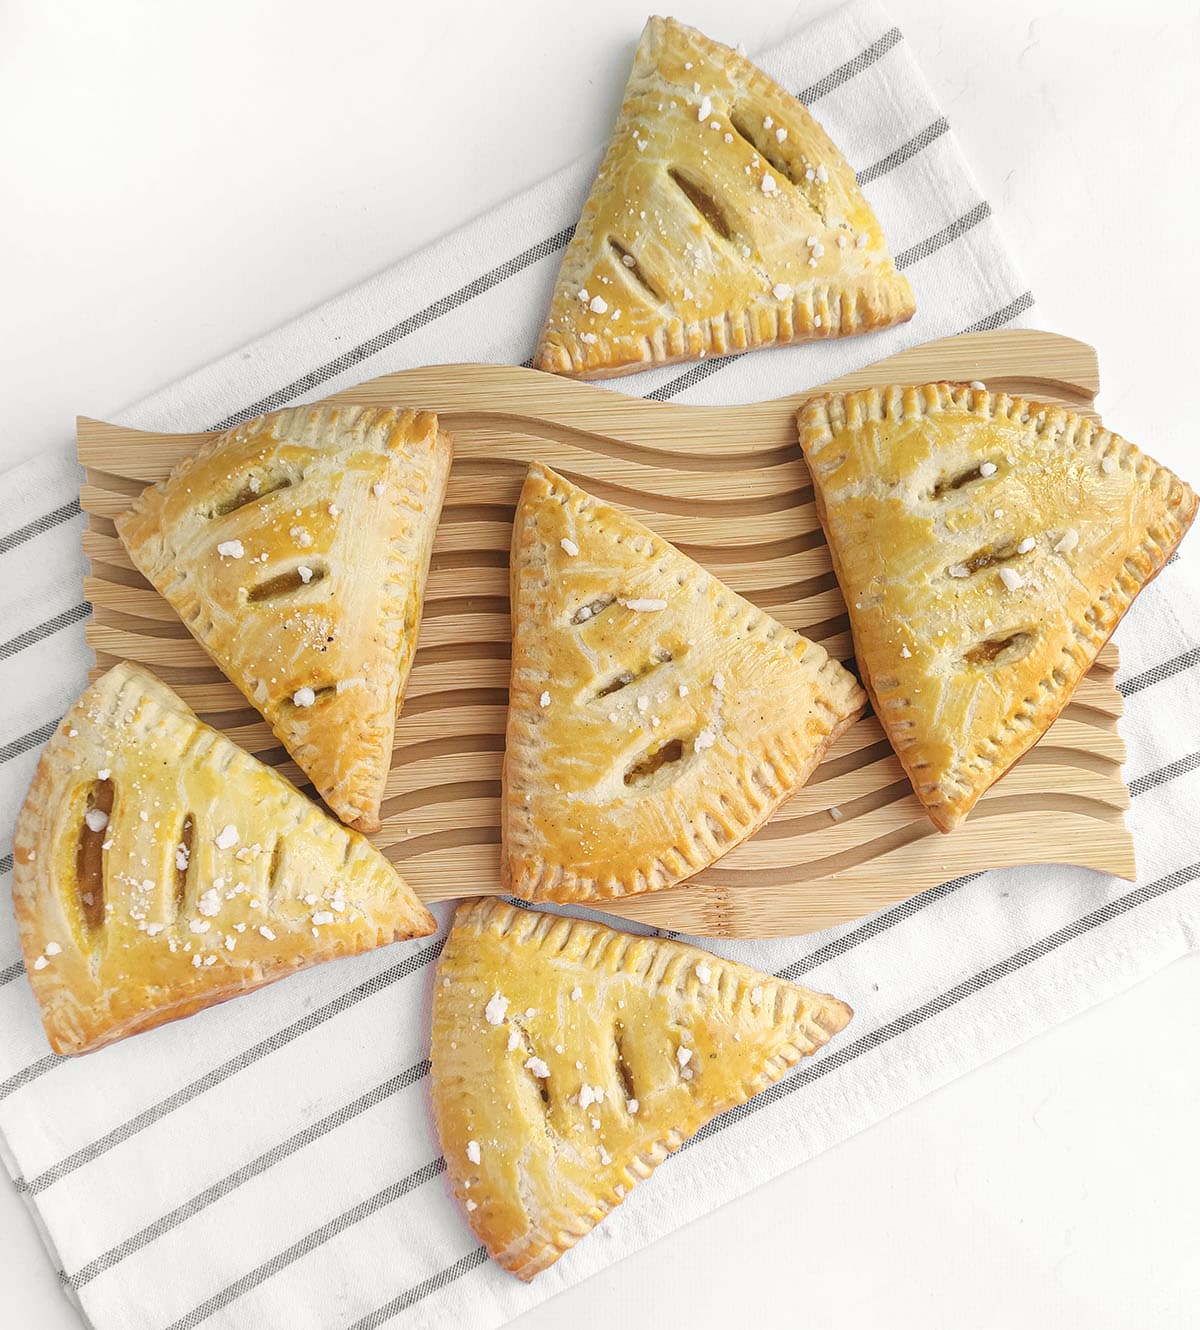
Best Easy Pumpkin Hand Pies (Flaky & Cute!)
Wait… individual slices of pumpkin pie that you can actually hold in your hand without making a total mess?
SIGN ME UP.
So, autumn is officially here. The air is crisp, the leaves are turning golden, and my kitchen smells like a spice factory in the best way possible. While traditional pumpkin pie is great, wrestling with a whole pie pan and a server at a party is just not my vibe… at all. That is where these cute Pumpkin Hand Pies come in!
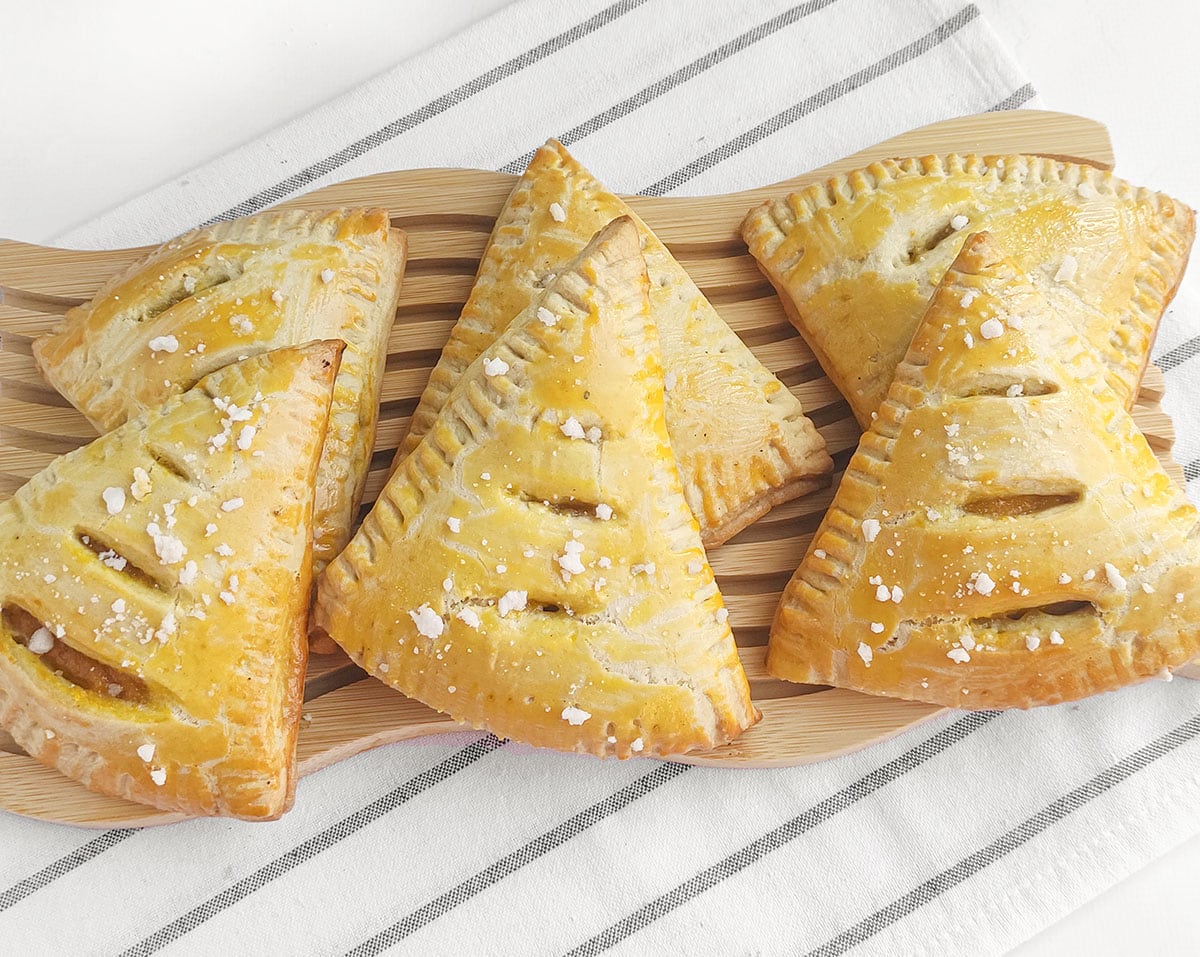
They look like adorable mini pumpkin pie slices, but they are fully portable, super flaky, and packed with a tender, soufflé-like spiced pumpkin filling. You get all that cozy fall flavor inside a golden crust with no pie-pan drama. Grab a cup of coffee (or drizzle some of my homemade pumpkin spice coffee syrup into your morning mug… treat yourself!) and let us make a batch!
🌟 Ingredient Notes
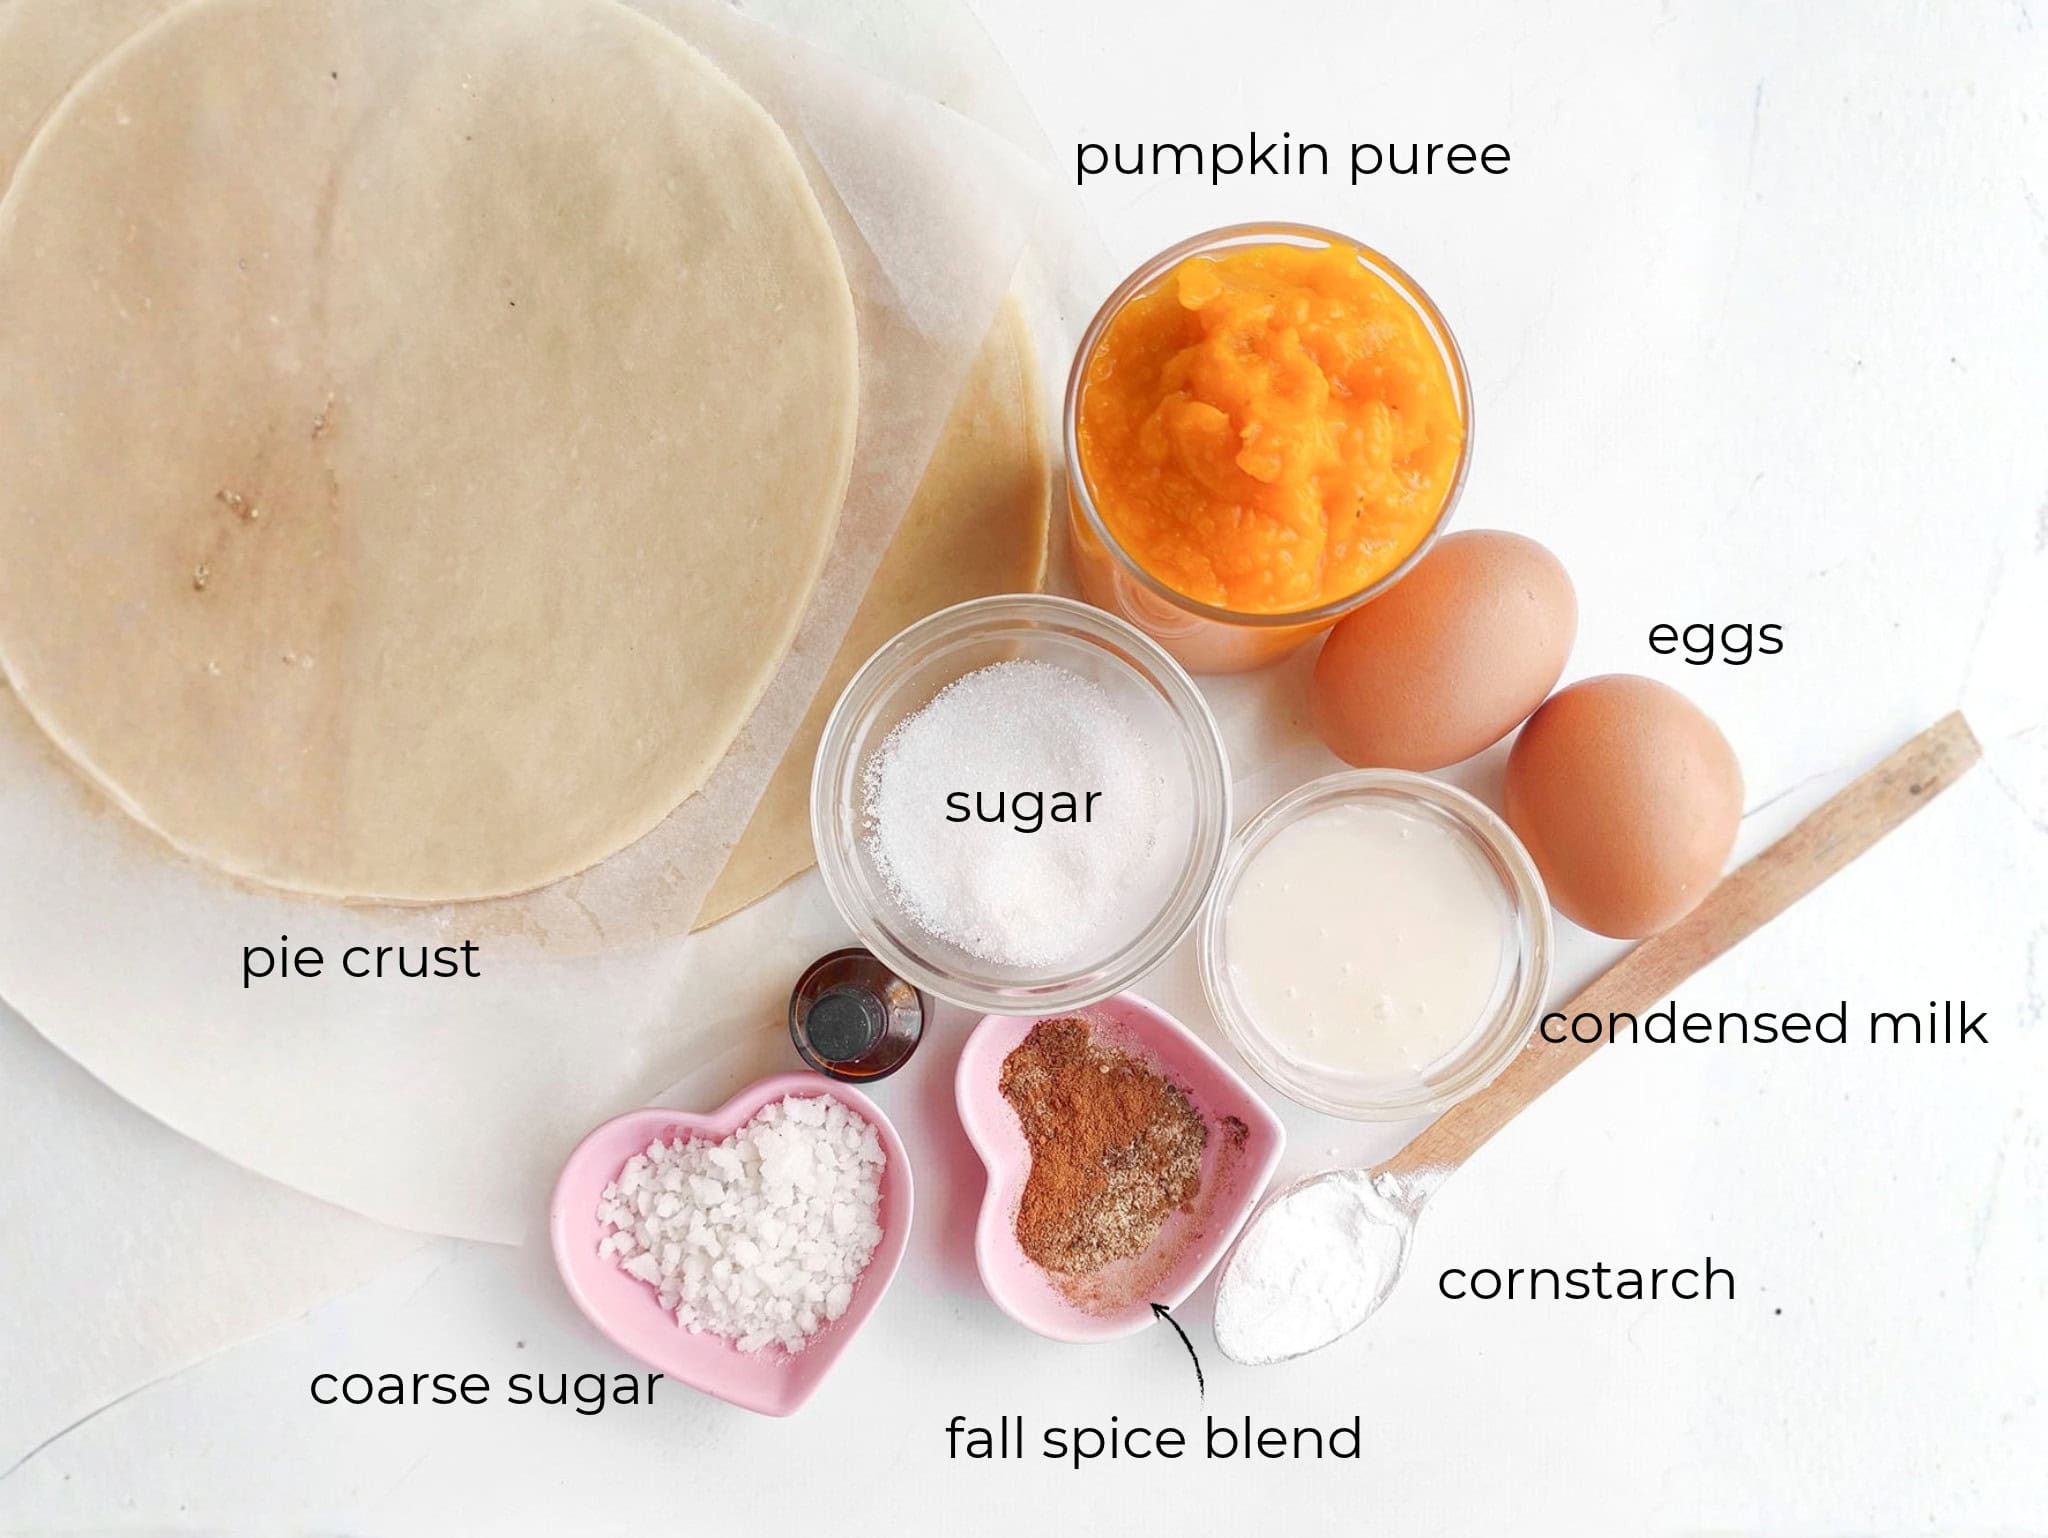
- ✅ Pie Crusts – Two store-bought refrigerated pie dough circles keep this stupidly fast and easy. You can totally make homemade dough from scratch if you feel like flexing those skills, but store-bought is my secret weapon when I want dessert NOW.
- ✅ Pumpkin Puree – Plain canned pumpkin puree here, folks! Do not accidentally grab the pre-spiced pie mix or things will get weirdly sweet. If you are crazy about quick pumpkin treats like my 2-ingredient pumpkin brownies, just hoard a few extra cans in your pantry like I do.
- ✅ Condensed Milk – Adds that rich, creamy sweetness and gives the filling a silky, custard texture once cooked.
- ✅ Sugar – Just to add a bit more sweetness to the filling.
- ✅ Cornstarch – This is our insurance policy! It helps set the liquid filling so it cooks down thick and smooth instead of exploding out of the crust and running all over your baking sheet.
- ✅ Eggs– One goes straight into the filling mixture, and the second gets separated into white (to glue the dough edges together) and yolk (for that shiny, bakery-style golden glaze!).
- ✅ Fall Spice Blend – Cinnamon, ginger, nutmeg, and cloves for that iconic autumn smell that makes your whole house feel cozy.
- ✅ Coarse Sugar or Sprinkles – Sanding sugar, crumbled rock sugar or sparkly fall sprinkles for a sweet, crunchy top because we like things looking pretty around here!
How to Make Pumpkin Hand Pies
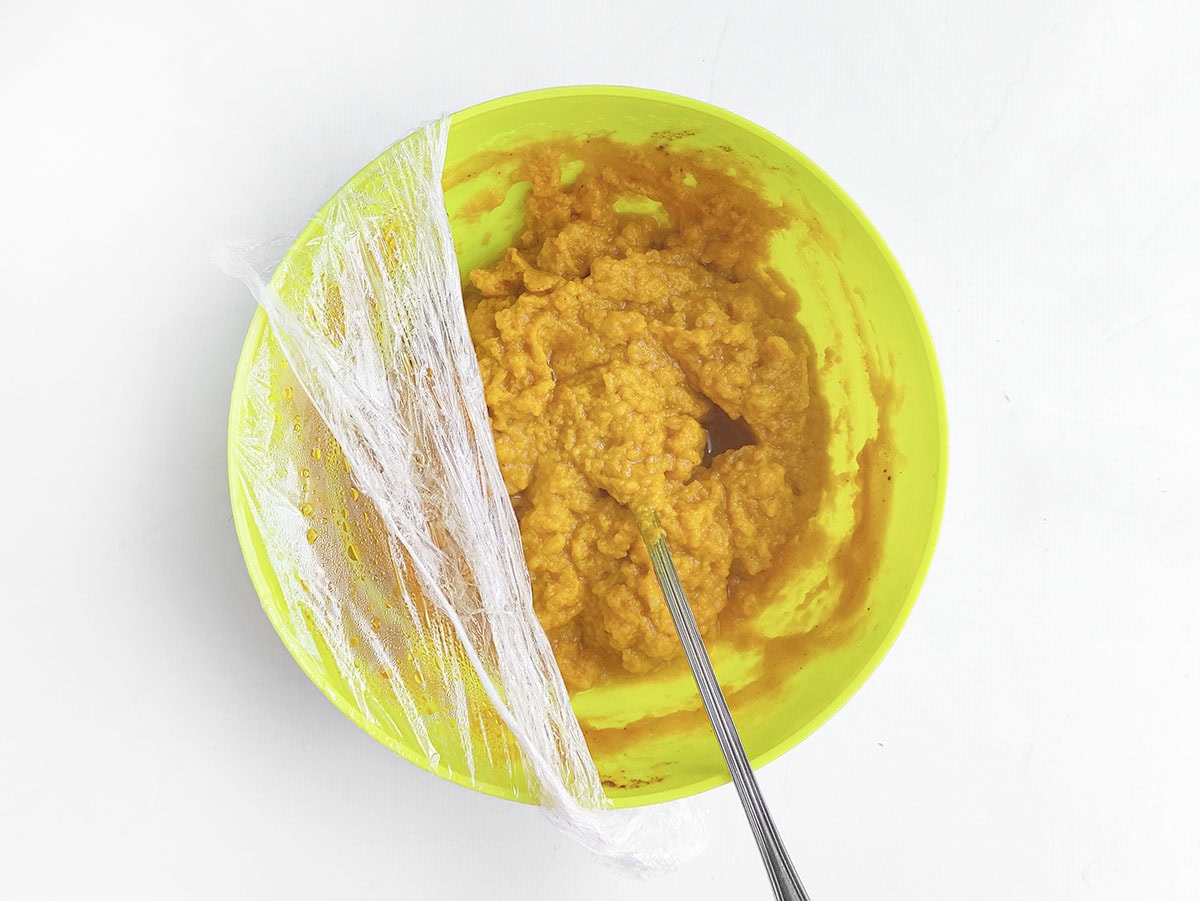
1. Microwave the filling first??? YES! We are whipping together our pumpkin, sweetener, spices, and a couple secret thickeners in a bowl and giving it a quick blast in the microwave. It turns into this rich, silky soufflé-style filling that will not run all over your pan!
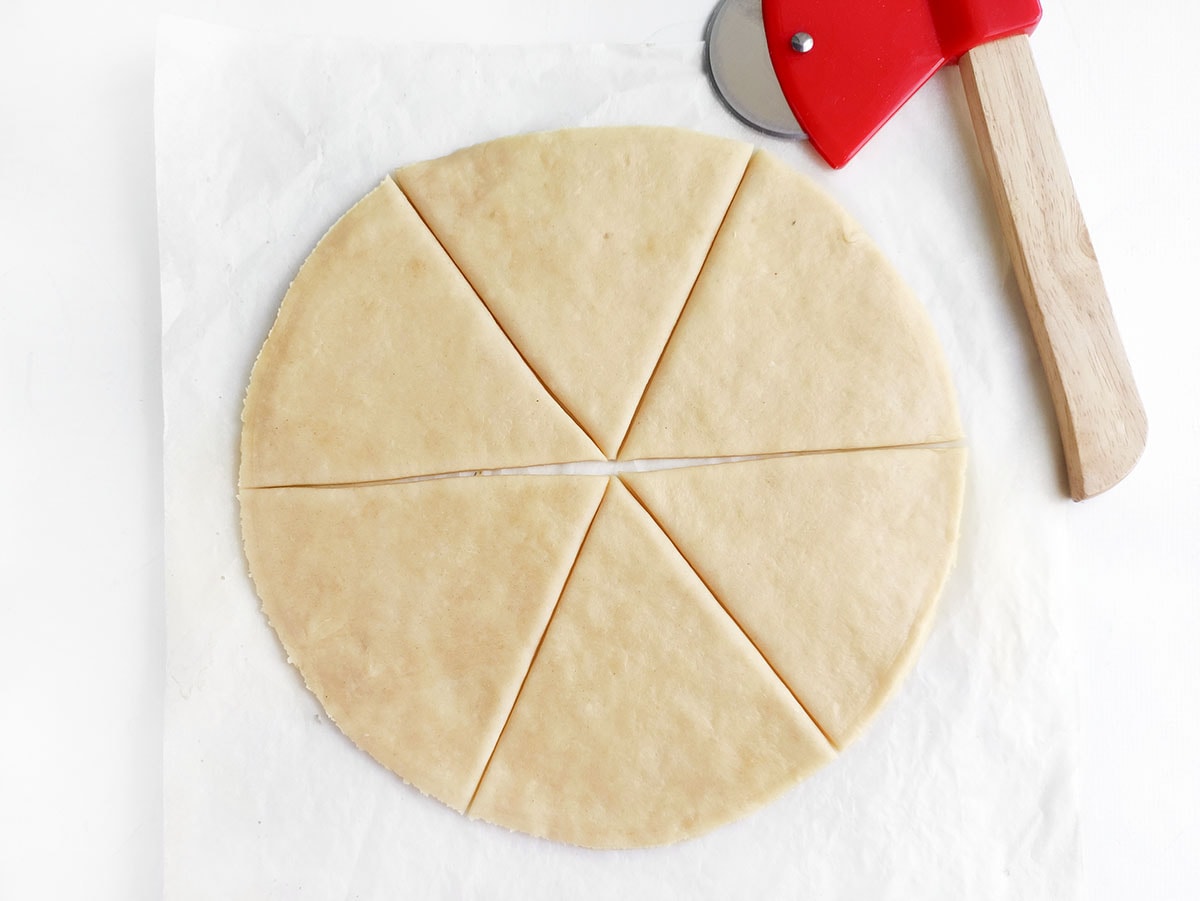
2. Roll out your pie crust circles and slice them into equal triangle wedges using a pizza cutter. You will end up with a pile of cute little dough triangles ready to transform into mini pie slices.
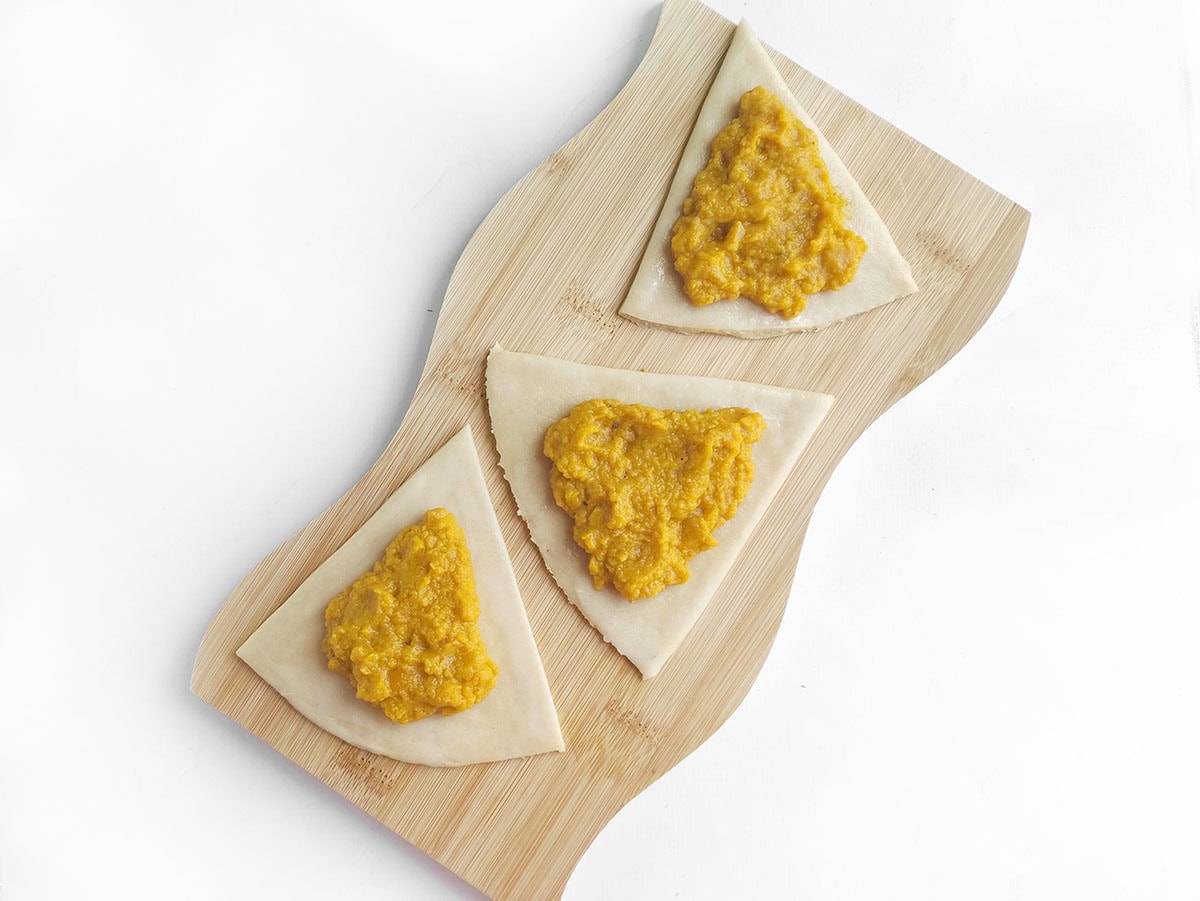
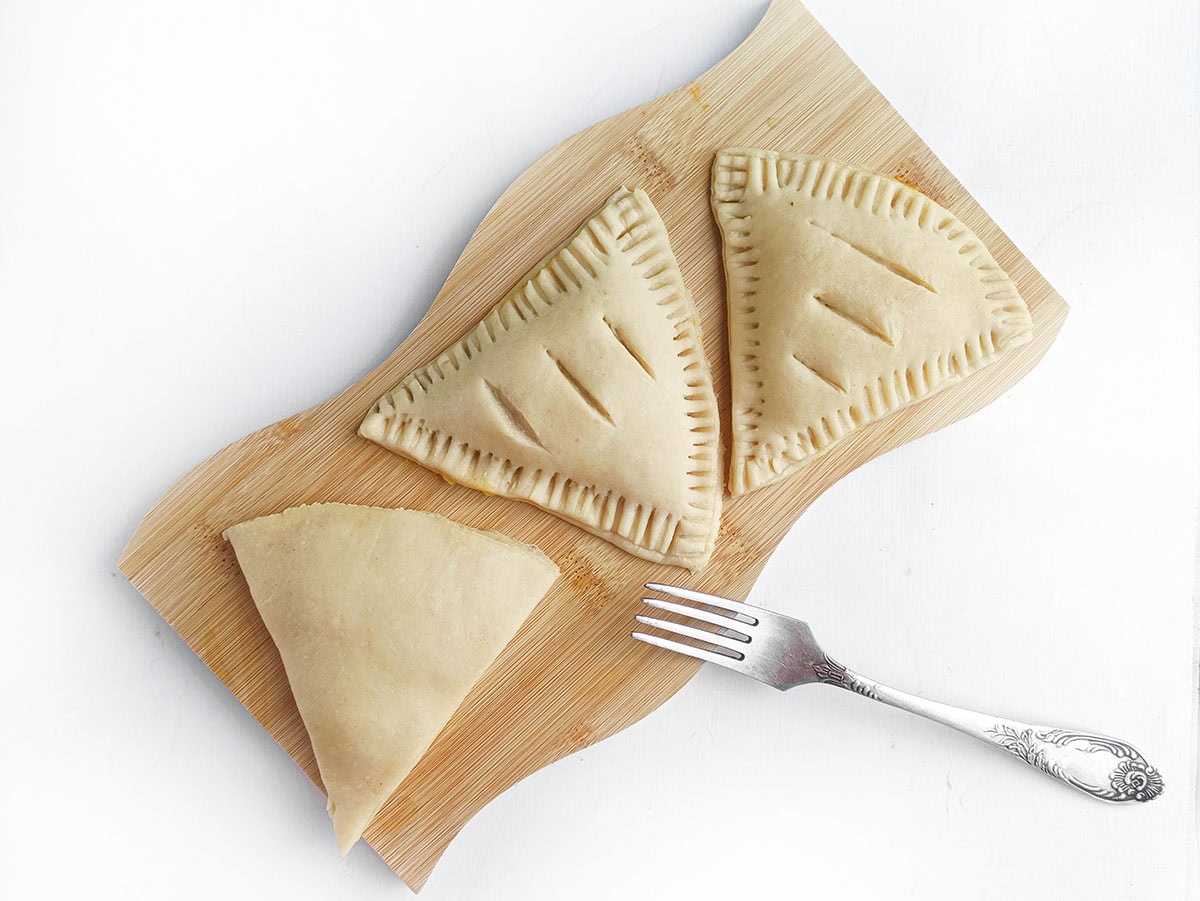
3. Scoop that cooled spiced filling right onto your dough bases, seal up the edges, and cap them with your top crusts. Give the edges a good crimp with a fork so nothing escapes, and poke a few tiny slits on top for steam.
4. Paint the tops with a little egg yolk wash for that gorgeous bakery sheen, dust them with coarse sugar, and pop them into a hot oven until the pastry puffs up golden brown and your kitchen smells like heaven!
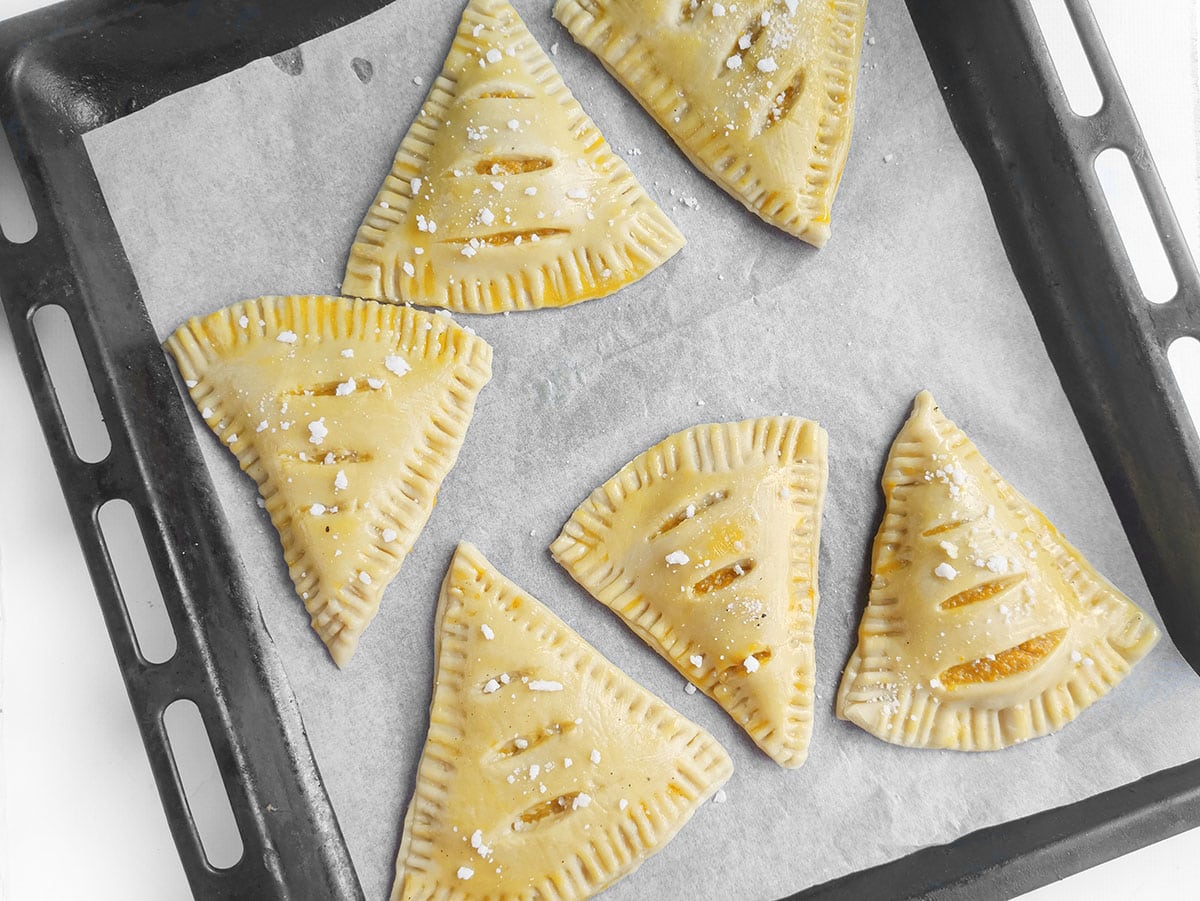
5. Bake!
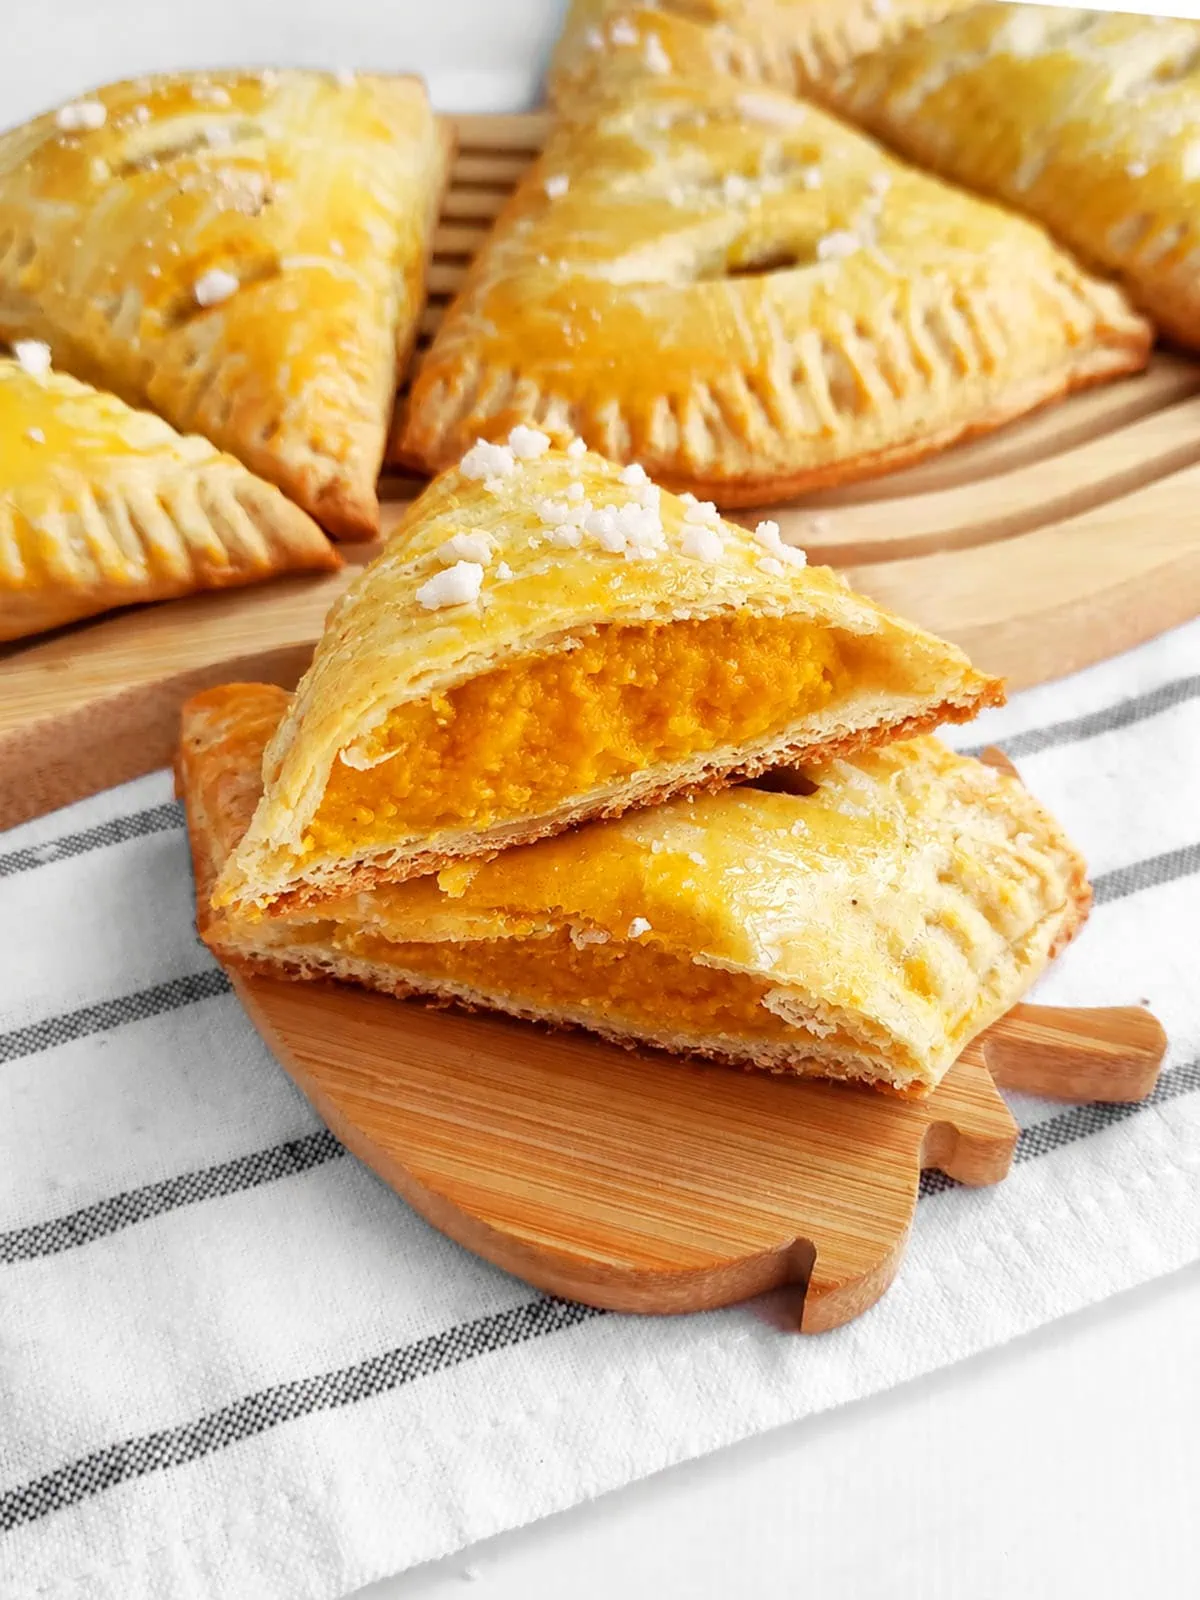
🍂 Flavor Tweaks
If you want to play around with the filling, you have options… and they are ALL super delicious!
Fold a couple of tablespoons of softened cream cheese right into the pumpkin mixture for a secret cheesecake center, swap out the sugar and condensed milk for a thick drizzle of salted caramel sauce (OMG, yes!), or mix two-thirds pumpkin puree with one-third apple or pear butter if you want a bright, fruity autumn vibe… you really can’t go wrong here!
My Hand Pie Obsession!
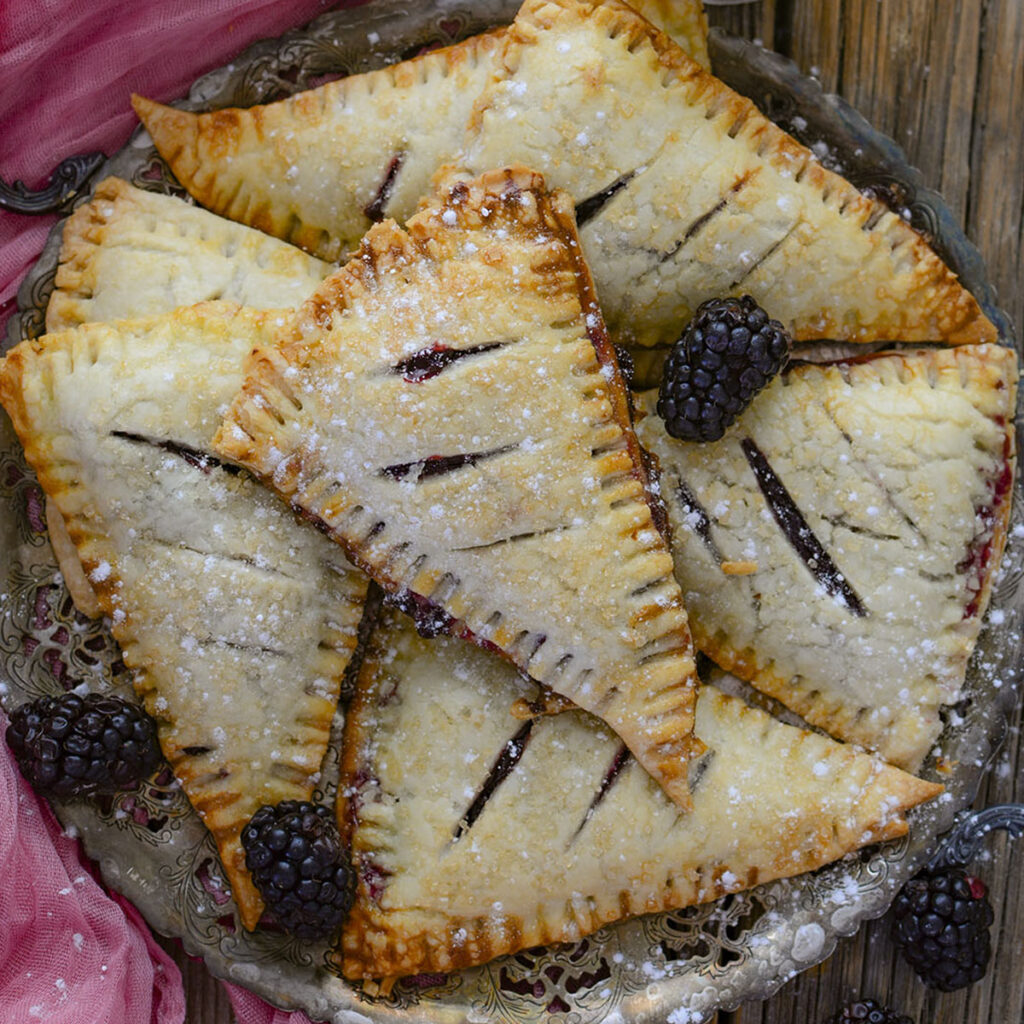
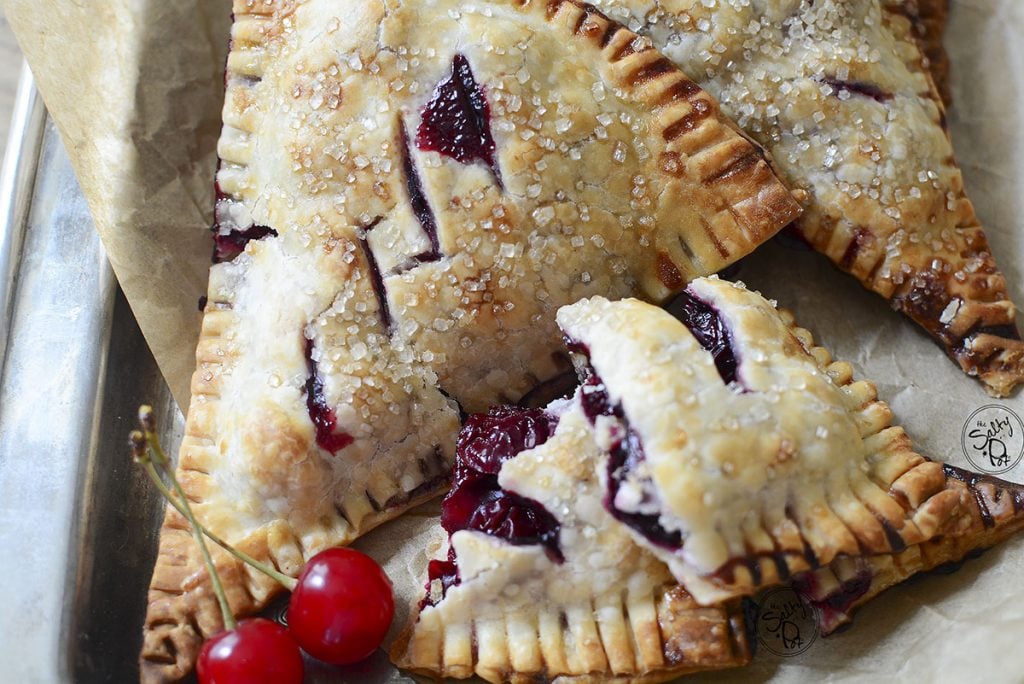
I might have a hand pie problem… I’m admittedly obsessed with hand pies ’cause they are just so fun to eat and nobody has to wash a pie dish! I suggest to check these recipes too:




Freshness & Reheating Reality Check
- Room Temp & Fridge: Keep your baked hand pies in an airtight container on the counter for up to 2 days, or toss them in the fridge for up to 5 days if they somehow last that long without getting eaten.
- Reheating Hack: Please do not microwave these unless you enjoy chewy, bad pastry! Pop them in an air fryer or a 350°F oven for 4 to 5 minutes to get that crust shatteringly crisp again.
❓ Frequently Asked Questions
Because canned pumpkin puree is super watery! Microwaving it with the cornstarch and egg pre-cooks the custard so it thickens up before going into the pastry. That way, your hand pies bake crisp and golden without turning into a soggy, wet mess on the pan!
100% yes! Assemble the hand pies completely, put them on a baking sheet in the freezer for 30 minutes until solid, then toss them into a freezer bag. Bake straight from frozen at 350°F, just adding 3 to 5 extra minutes to the bake time. Easy peasy!
Portable pumpkin pie slices with a flaky crust and zero pie-dish stress… seriously, what is not to love??? Serve these warm with a giant scoop of vanilla ice cream or a massive dollop of whipped cream, and watch them gone!
Drop a comment below and let me know if you went with coarse sugar or cute fall sprinkles on top!
~Joanne

Pumpkin Hand Pies Recipe
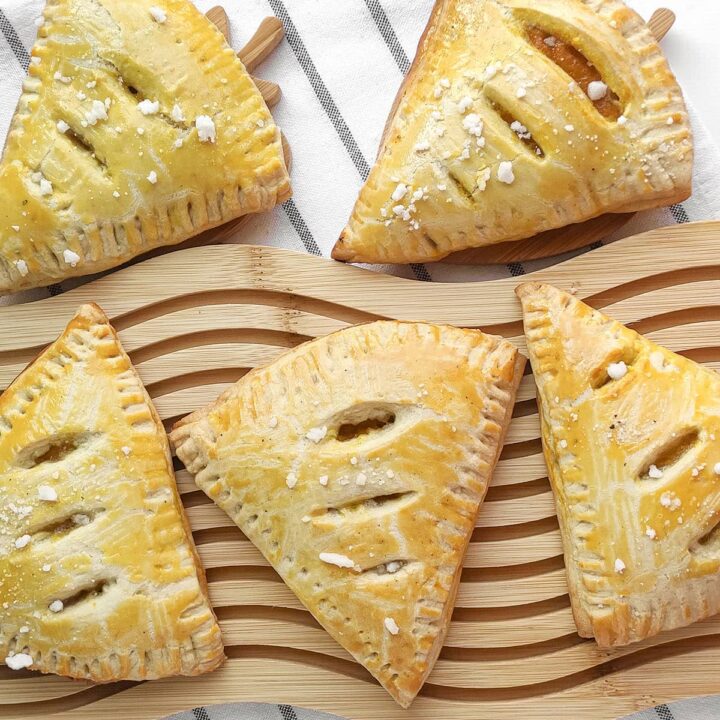
Flaky, portable mini pumpkin pie slices made with store-bought pie crust and a rich, spiced pumpkin filling!
Ingredients
- For the Dough & Topping:
- 2 circles Prepared pie crust (store-bought or homemade)
- 1 Large egg (separated into white and yolk)
- 1 tsp Pie crust sugar (or fall sprinkles)
- For the Spiced Pumpkin Filling:
- 1 ¼ cups Plain pumpkin puree
- 1 tbsp Sweetened condensed milk
- 2 ½ tbsp White sugar
- 1 ½ tsp Cornstarch
- 1 Large egg
- 1/5 tsp Ground cinnamon
- 1/5 tsp Ground ginger
- 1/5 tsp Ground nutmeg
- 1/5 tsp Ground cloves
Instructions
- In a microwave-safe bowl, whisk together the pumpkin puree, sugar, condensed milk, cornstarch, spices, and 1 whole egg until smooth.
- Cover the bowl with plastic wrap and microwave on high for 5 minutes. Carefully remove the wrap, stir the thickened filling, and let it cool completely.
- Unroll both pie crust circles on a flat surface. Use a pizza cutter to slice each circle into 6 equal triangle wedges (12 wedges total).
- Separate your second egg into two small dishes (white in one, yolk in another).
- Lay 6 dough triangles on your work surface and scoop a generous portion of cooled pumpkin filling into the center of each.
- Brush the edges with beaten egg white, place a remaining dough triangle over top, and press the edges firmly with a fork to seal. Cut 3 small slits on top of each pie for steam to escape.
- Preheat oven to 350°F and line a baking sheet with parchment paper. Arrange the hand pies on the sheet, brush the tops with beaten egg yolk, and dust with coarse sugar or sprinkles.
- Bake for 12 to 15 minutes until golden brown and flaky. Cool on a wire rack before serving warm with whipped cream or ice cream!
Notes
- Skip fighting with a knife to cut even pie wedges! A standard pizza roller glides right through cold pie dough without pulling or tearing the pastry edges... it is a total game changer!
- Make sure your microwaved pumpkin filling cools down before scooping it onto the dough! Hot filling will melt the cold butter in the crust before it even hits the oven, causing your pastry to lose all those beautiful flaky layers.
Nutrition Information:
Yield: 6 Serving Size: 1Amount Per Serving: Calories: 402Total Fat: 17gSaturated Fat: 6gUnsaturated Fat: 11gCholesterol: 63mgSodium: 273mgCarbohydrates: 55gFiber: 3gSugar: 6gProtein: 6g
All nutritional information is based on third-party calculations and is only an estimate. Each recipe and nutritional value will vary depending on the brands you use, measuring methods, and portion sizes per household.