Juicy Blackberry Hand Pies (Easy Dessert Recipe)
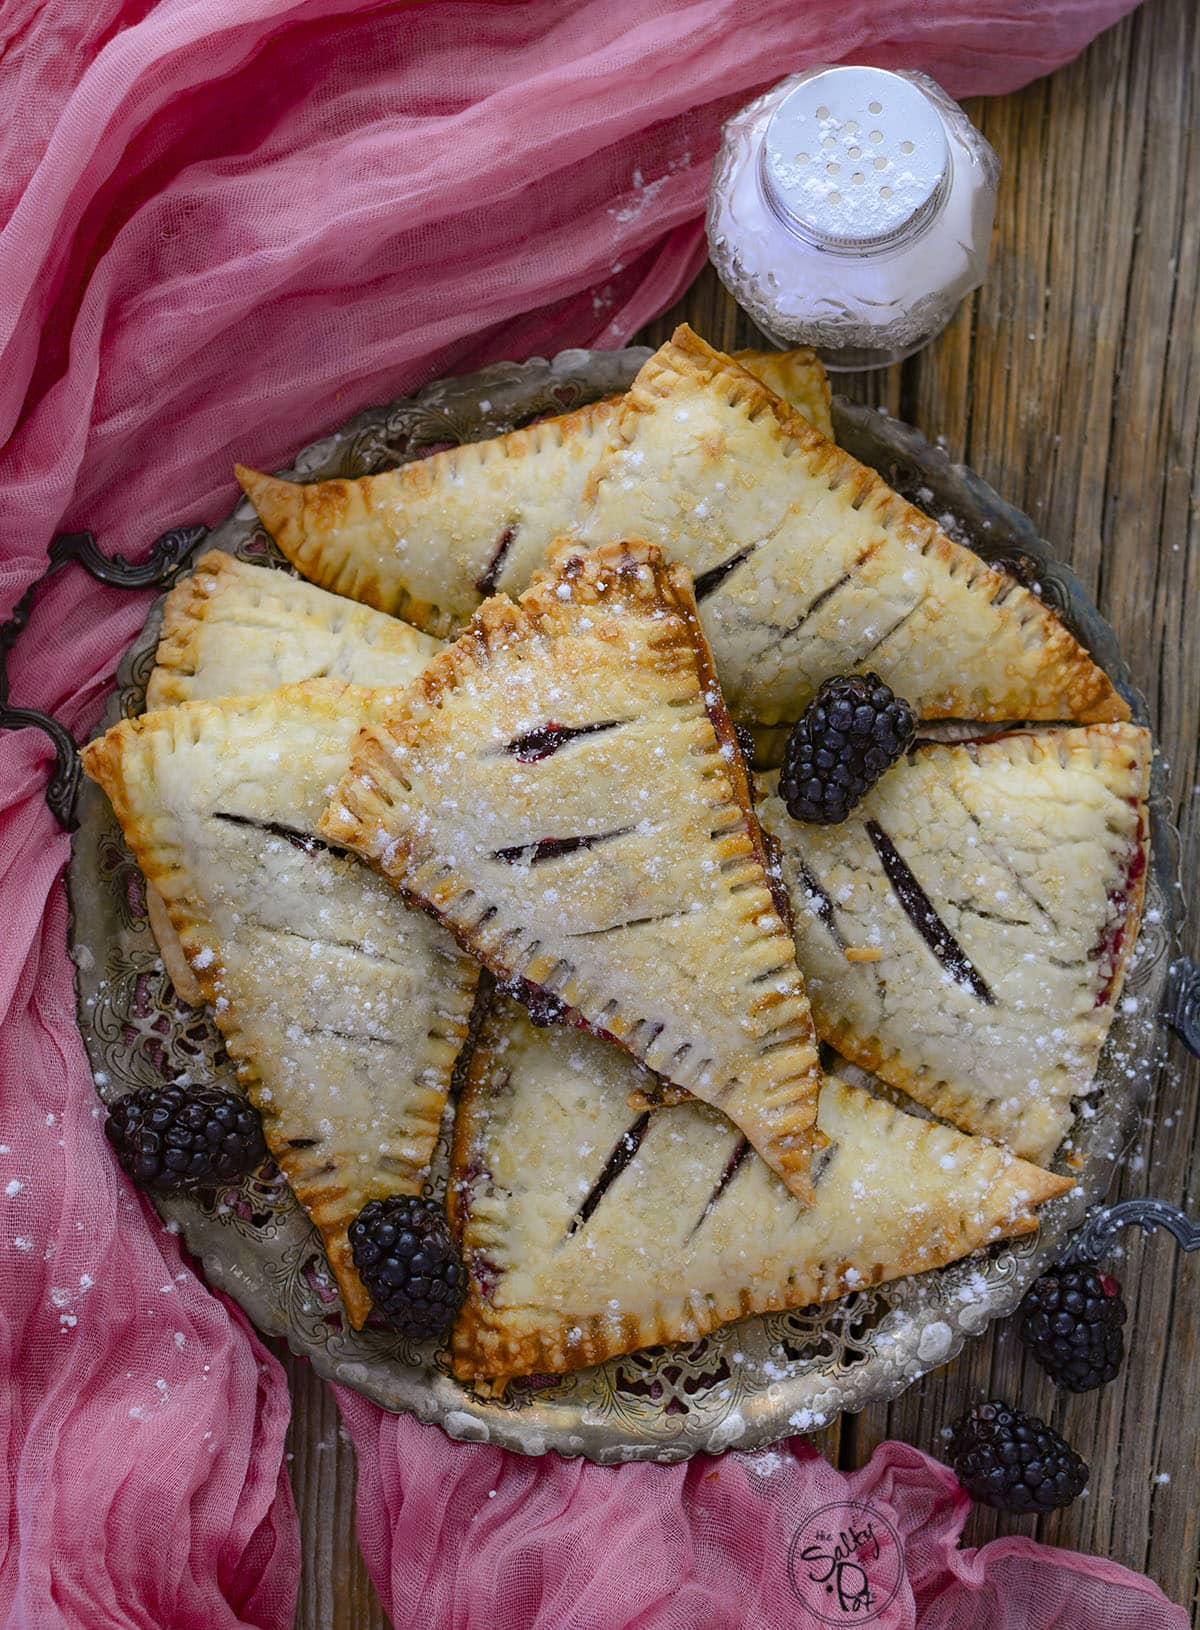
This Blackberry Hand Pies recipe is basically the ultimate “I want to eat pie but I don’t want to make pie” hack.
You know I’m obsessed with hand pies. They’re portable, they’re cute, and most importantly, you don’t have to share a single slice with anyone else. It’s your own personal pie, and honestly, that’s the kind of self-care we all need. If you’ve tried my Easy Sour Cherry Hand Pies, you already know the drill – crispy, flaky crust and a center that’s bursting with fruit.
🌟 Ingredient Notes
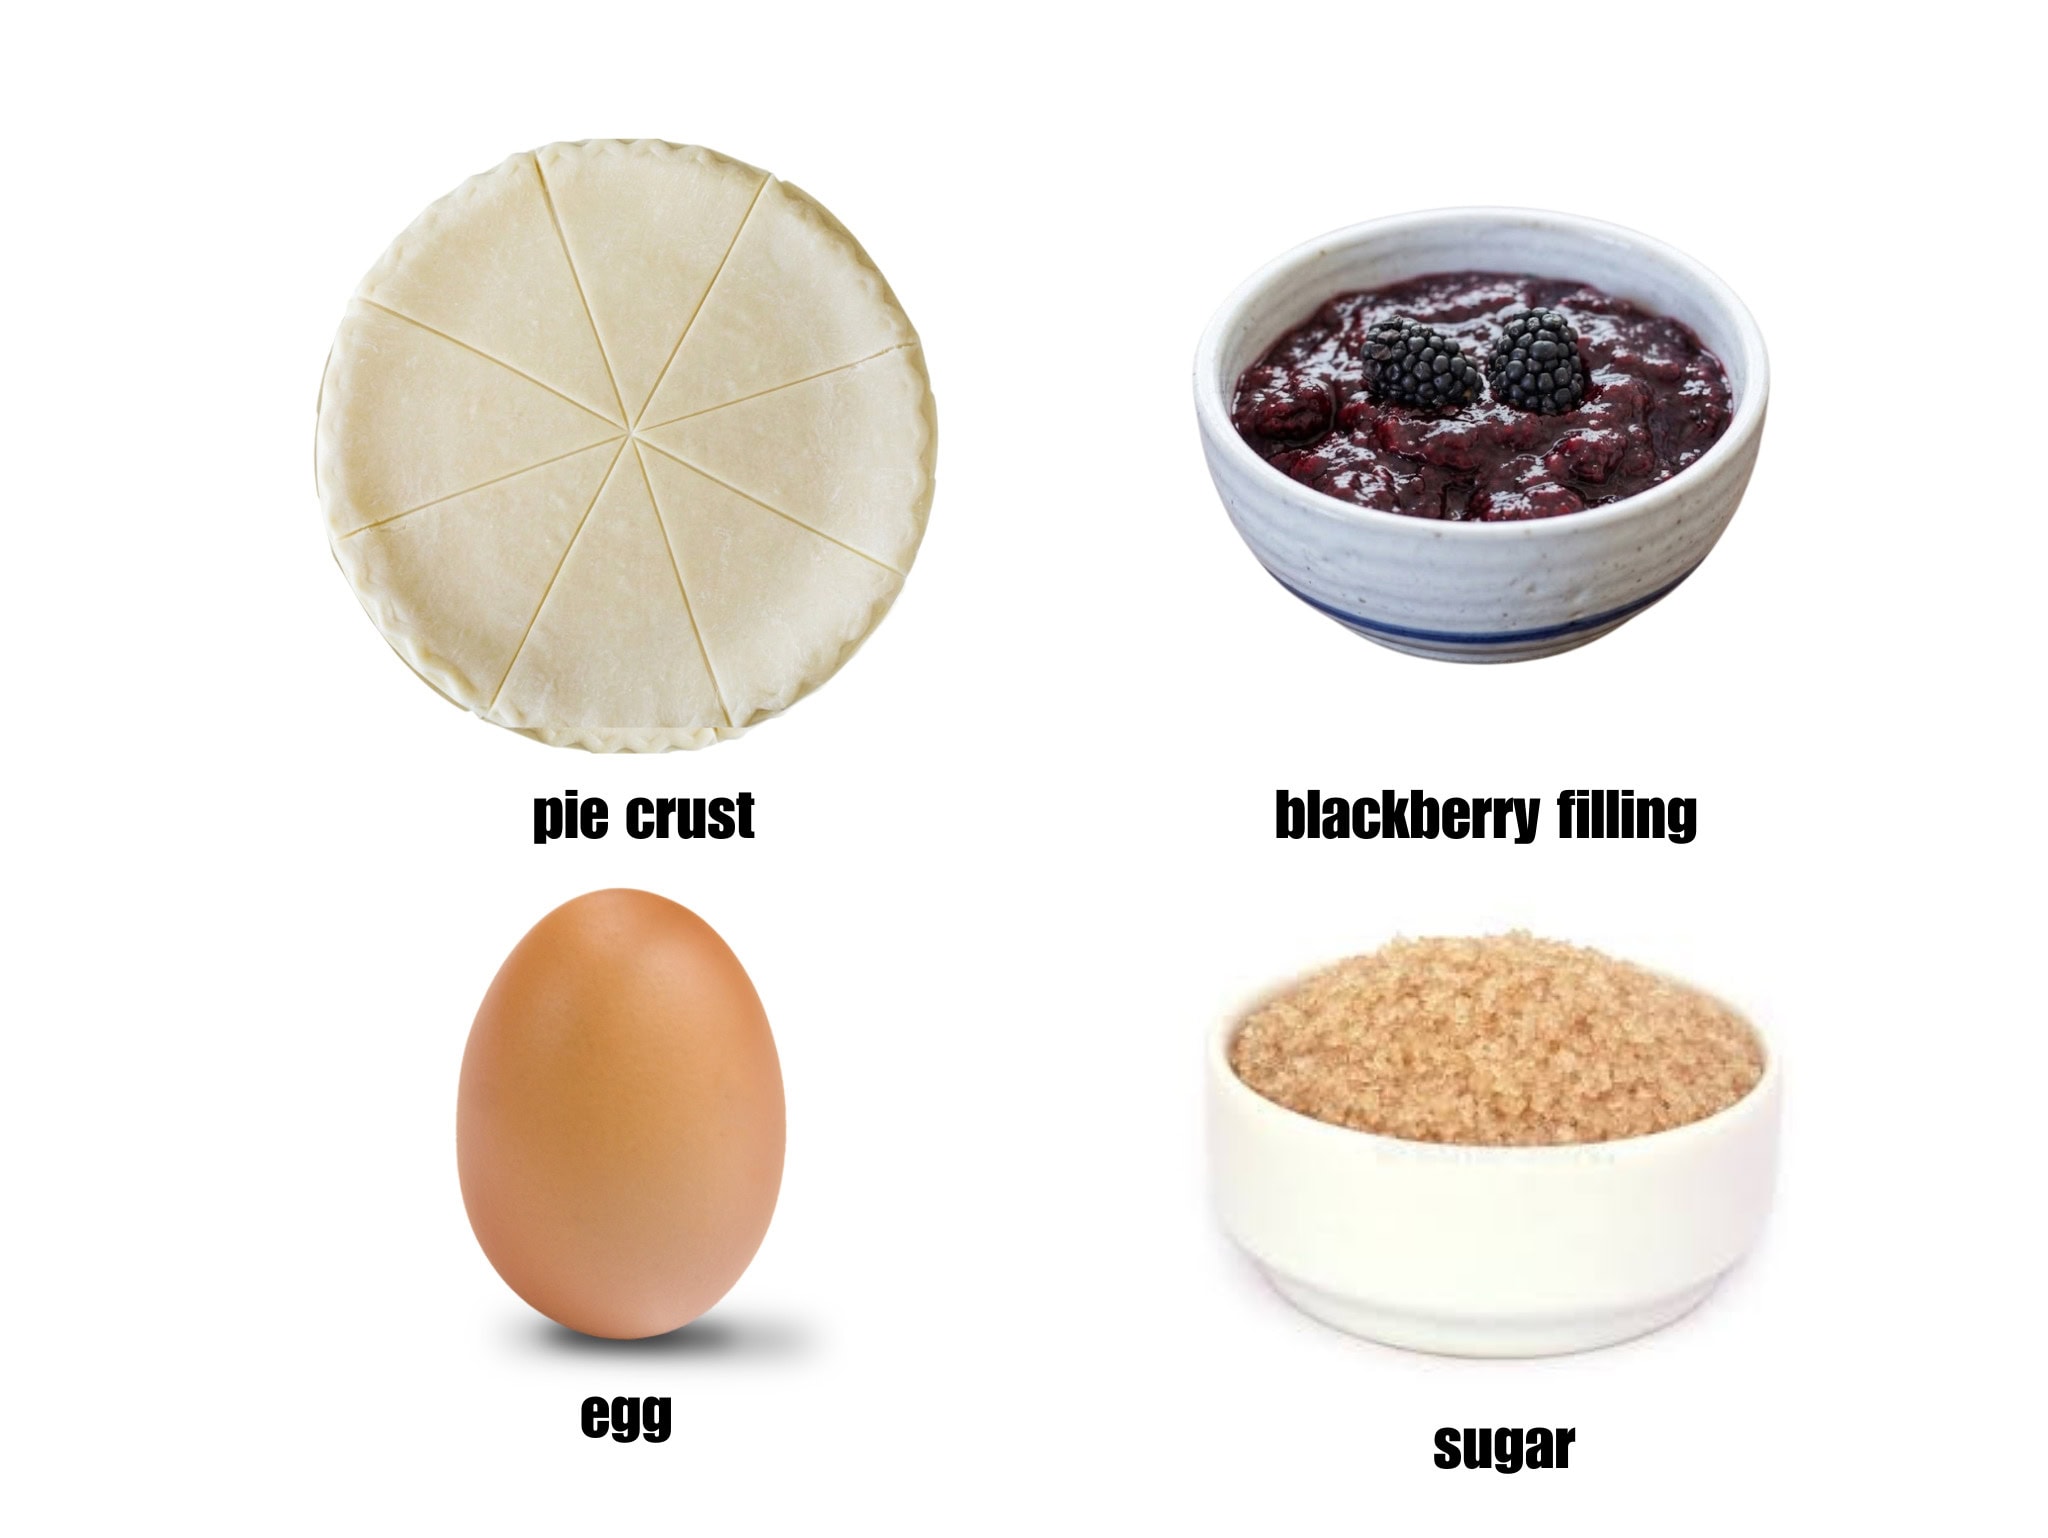
✅Pie Crust – You can use store-bought refrigerated crust if you’re in a “don’t talk to me until I’ve had sugar” mood. But if you’re feeling ambitious, try this Homemade Pie Crust from Sam at Sugar Spun Run. It’s flaky, buttery, and everything pie crust should be.
✅ The Filling – Use my Blackberry Pie Filling recipe for that authentic, jammy flavor. If you’re truly in a rush, a can of store-bought works too.
✅ Egg – For the egg wash. You want that gorgeous golden color on the crust, so don’t skip this!
✅ Sugar – I like a coarse sparkling sugar on top because it makes them look fancy and adds a crunch that is just… chef’s kiss.
How to Make Blackberry Hand Pies
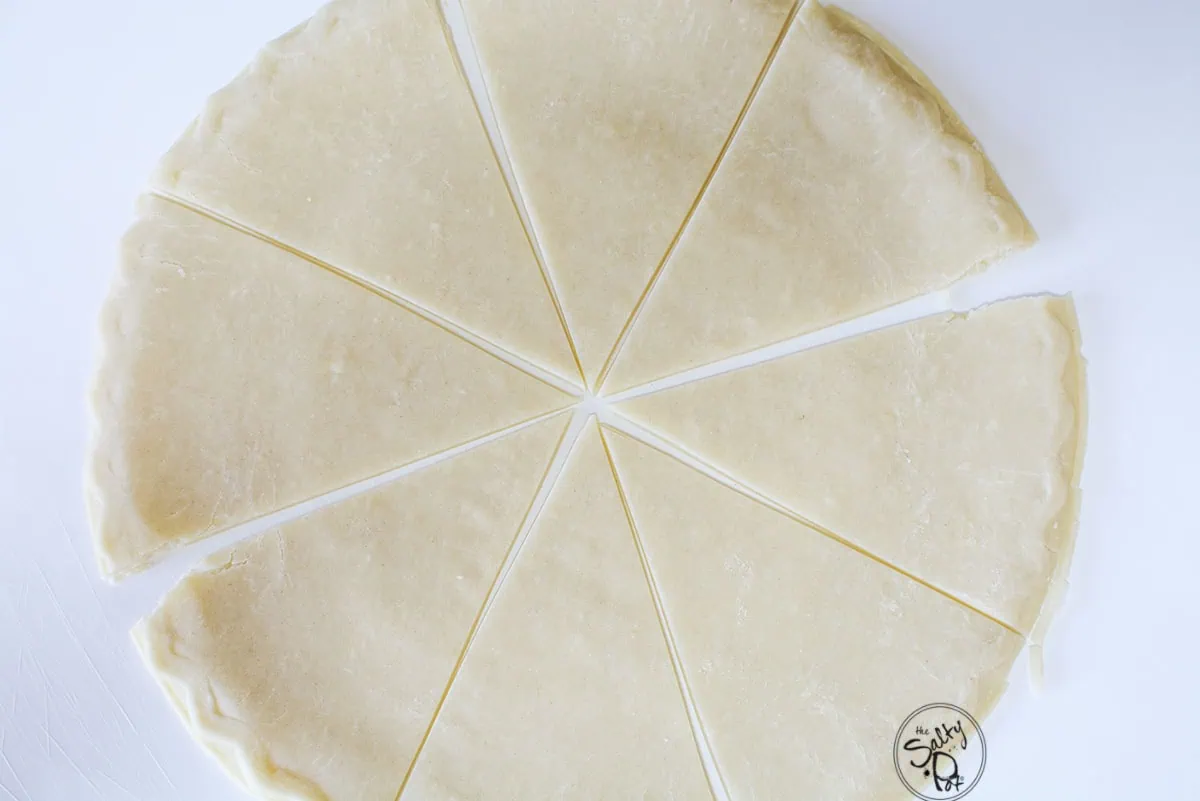
- Cut your pie crust into circles or rectangles.
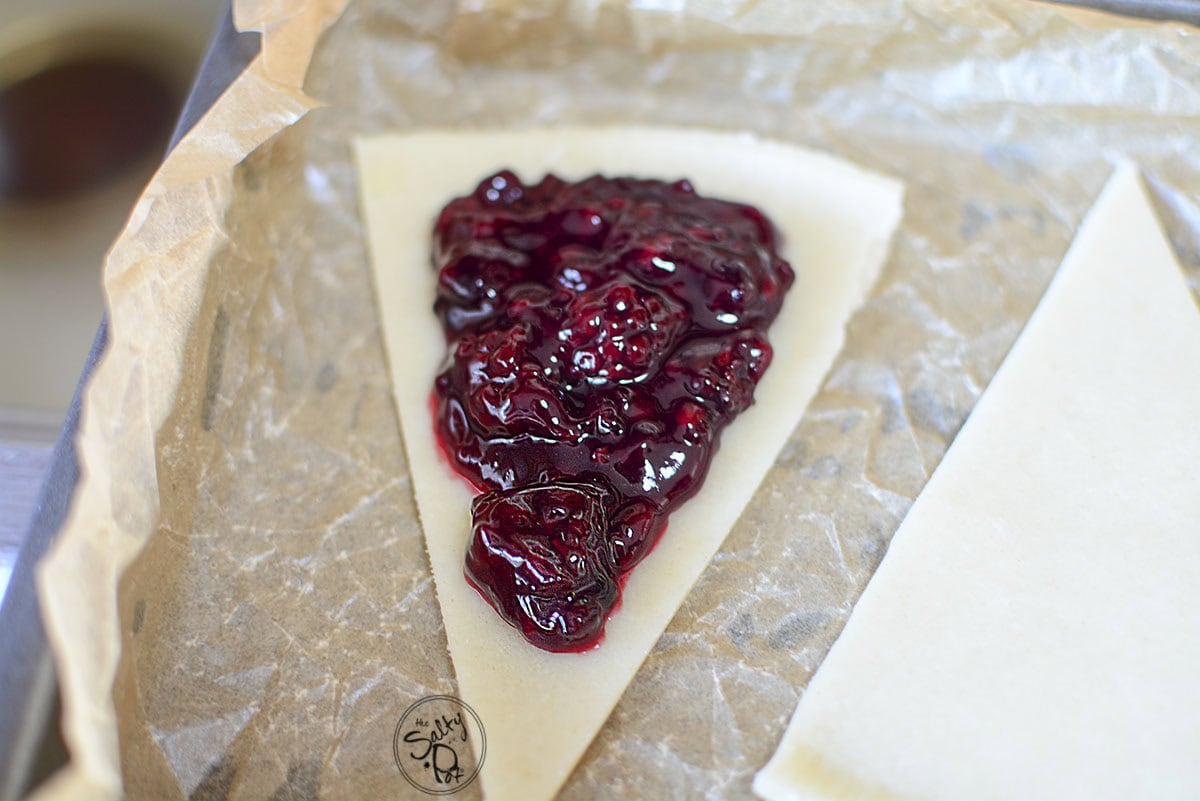
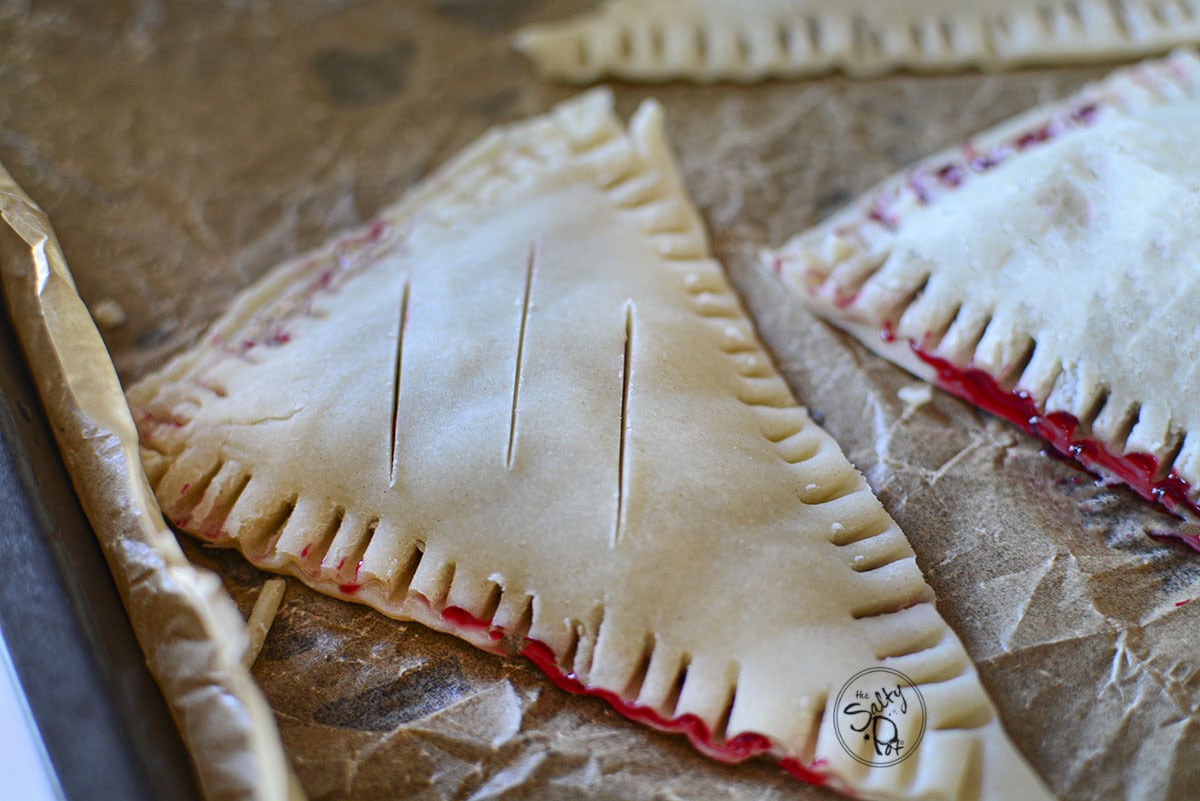
- Dollop the filling in the center, but don’t go overboard or they’ll explode like fruit volcanoes!
- Fold them over and crimp the edges with a fork to keep the goodness locked inside.
- Brush with egg wash, sprinkle with sugar, and bake until they’re golden and beautiful.
Serving Tips for Blackberry Hand Pies
I usually eat these while standing over the kitchen counter, but you can be more civilized:
- If you’re hosting a summer bash, pair these with a cold glass of my Blackberry Iced Tea. It’s blackberry on blackberry, and no, there’s no such thing as too much.
- One of my most favorite ways to eat them is with some vanilla bean ice cream.. but the key is to make the ice cream super soft and use the hand pie like a dipper – ohhhmyyygoodnesssss!!! Don’t judge me.
- If you have leftovers (rare, I know), drizzle some Blackberry Simple Syrup over them for a double dose of berry goodness.
Storage and Freezing
- If you actually have leftovers, store them in an airtight container for 2–3 days on the counter or a week in the fridge. To keep that crust from getting sad and soggy, skip the microwave and reheat them in the oven or air fryer until they’re crispy again.
- Freeze the raw, crimped pies on a tray until solid, then toss them into a bag. When a craving hits, just bake them straight from the freezer then just add about 5 minutes to the timer and you’re in berry heaven!
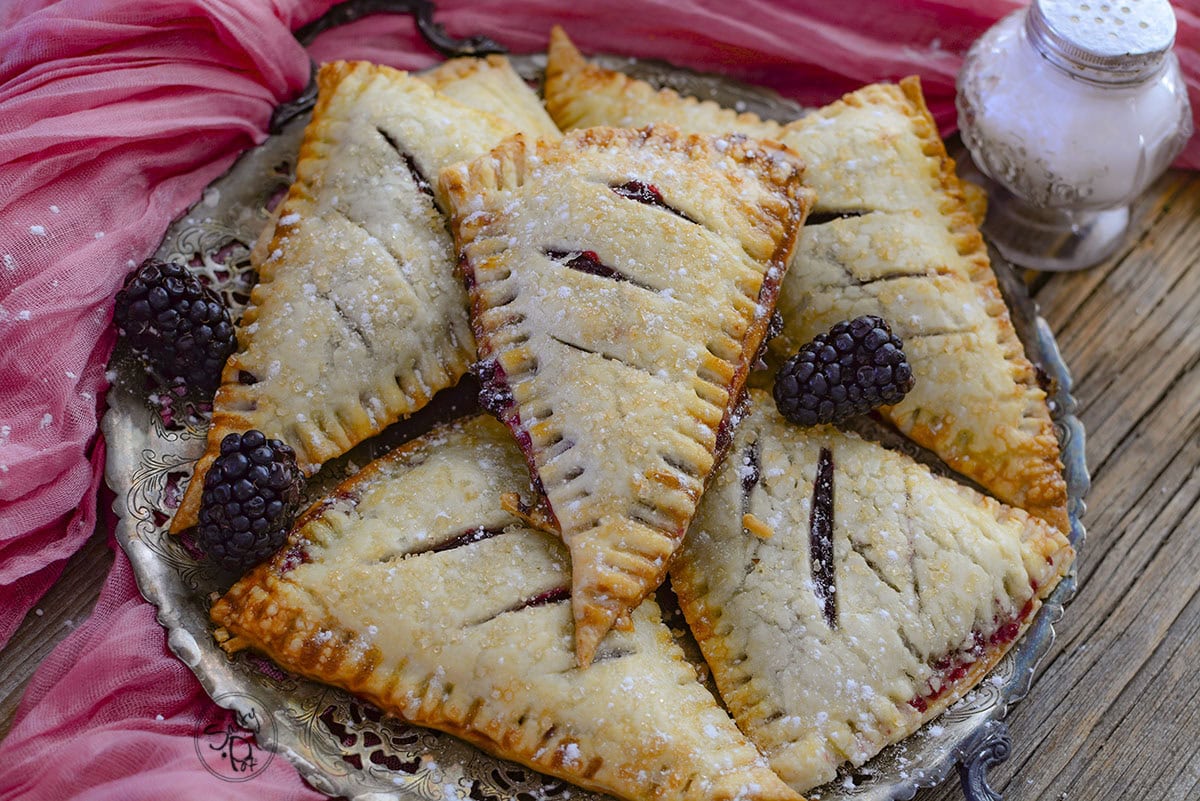
Thanks for hanging out in my kitchen today! These blackberry hand pies are proof that you don’t need a lot of ingredients to make something amazing.
I’d love to hear how yours turned out! Did you stick with the classic triangle shape or try something new? Leave a comment below and let me know, I love hearing from you. Happy baking!
~ Joanne
Don’t forget to save this Blackberry Hand Pie pin to your favorite Pinterest board for later!

Blackberry Hand Pies
A sweet, jammy, and flaky handheld treat. These Blackberry Hand Pies are incredibly easy to make using either homemade or store-bought crust and are perfect for parties or a quick sweet fix.
Ingredients
- 1 box Refrigerated Pie Crust (2 crusts)
- 1 cup Blackberry Pie Filling
- 1 Egg (for egg wash)
- 1 tbsp Water or Milk
- Coarse sugar for sprinkling
Instructions
- Preheat your oven to 400°F (200°C) and line a baking sheet with parchment paper.
- Roll out your pie crust on a lightly floured surface. Use a round cutter or a knife to cut out 3-4 inch shapes.
- Place about 1-2 tablespoons of blackberry filling in the center of half the shapes.
- Top with the remaining crust shapes (or fold over if using rectangles).
- Use a fork to crimp the edges tightly so the filling stays put.
- Whisk the egg and water together, then brush the tops of each pie generously.
- Cut a tiny slit in the top of each pie to let steam escape, and sprinkle with coarse sugar.
- Bake for 15-20 minutes or until the pastry is golden brown. Let them cool slightly before eating so you don't burn your tongue!
Notes
- Don't forget to poke that little hole in the top! Without it, the steam builds up and your hand pies will puff up like blowfish and potentially leak everywhere.
- If your crust is a bit dry and won't stick, dip your finger in a little water and run it along the edge before crimping. It’s like glue for dough.
- Keep your pie crust as cold as possible until you're ready to bake. If the dough gets too warm and floppy, the butter melts too early and you lose those flaky layers we’re all after!
Nutrition Information:
Yield: 8 Serving Size: 1Amount Per Serving: Calories: 185Total Fat: 9gSaturated Fat: 3gUnsaturated Fat: 6gCholesterol: 24mgSodium: 140mgCarbohydrates: 23gFiber: 2gSugar: 8gProtein: 3g
All nutritional information is based on third-party calculations and is only an estimate. Each recipe and nutritional value will vary depending on the brands you use, measuring methods, and portion sizes per household.